


As an affiliate, I earn from qualifying purchases, but this doesn't affect the reviews or recommendations—your trust is important to me!
1. Mastering DIY: Step-by-Step Guide to Origami Bookmarks 2. Experiment Time: Construct Your Own Solar Oven at Home 3. Taste the Rainbow: Vibrant Rainbow Fruit Skewers Recipe 4. Seeking Adventure: Scavenger Hunt 101 with DIY Nature Compass


Today, We're Making:
- Craft: DIY Origami Bookmarks
- STEM experiment: Homemade Solar Oven
- Food recipe: Rainbow Fruit Skewers
- Game: Scavenger Hunt in Nature with a DIY Compass
- DIY Miniature Greenhouse Project: Using recycled materials like old CD cases or plastic bottles, kids can create a miniature greenhouse. This STEM project could be linked to learning about plants and photosynthesis.
- DIY Paper Circuit Cards: This could be an exciting and creative introduction to electronics. All that's needed are copper tape, a coin-cell battery, an LED light, and creativity. Paper Circuit Cards can be designed as per any popular YA.
Welcome to the Realm of DIY Creativity
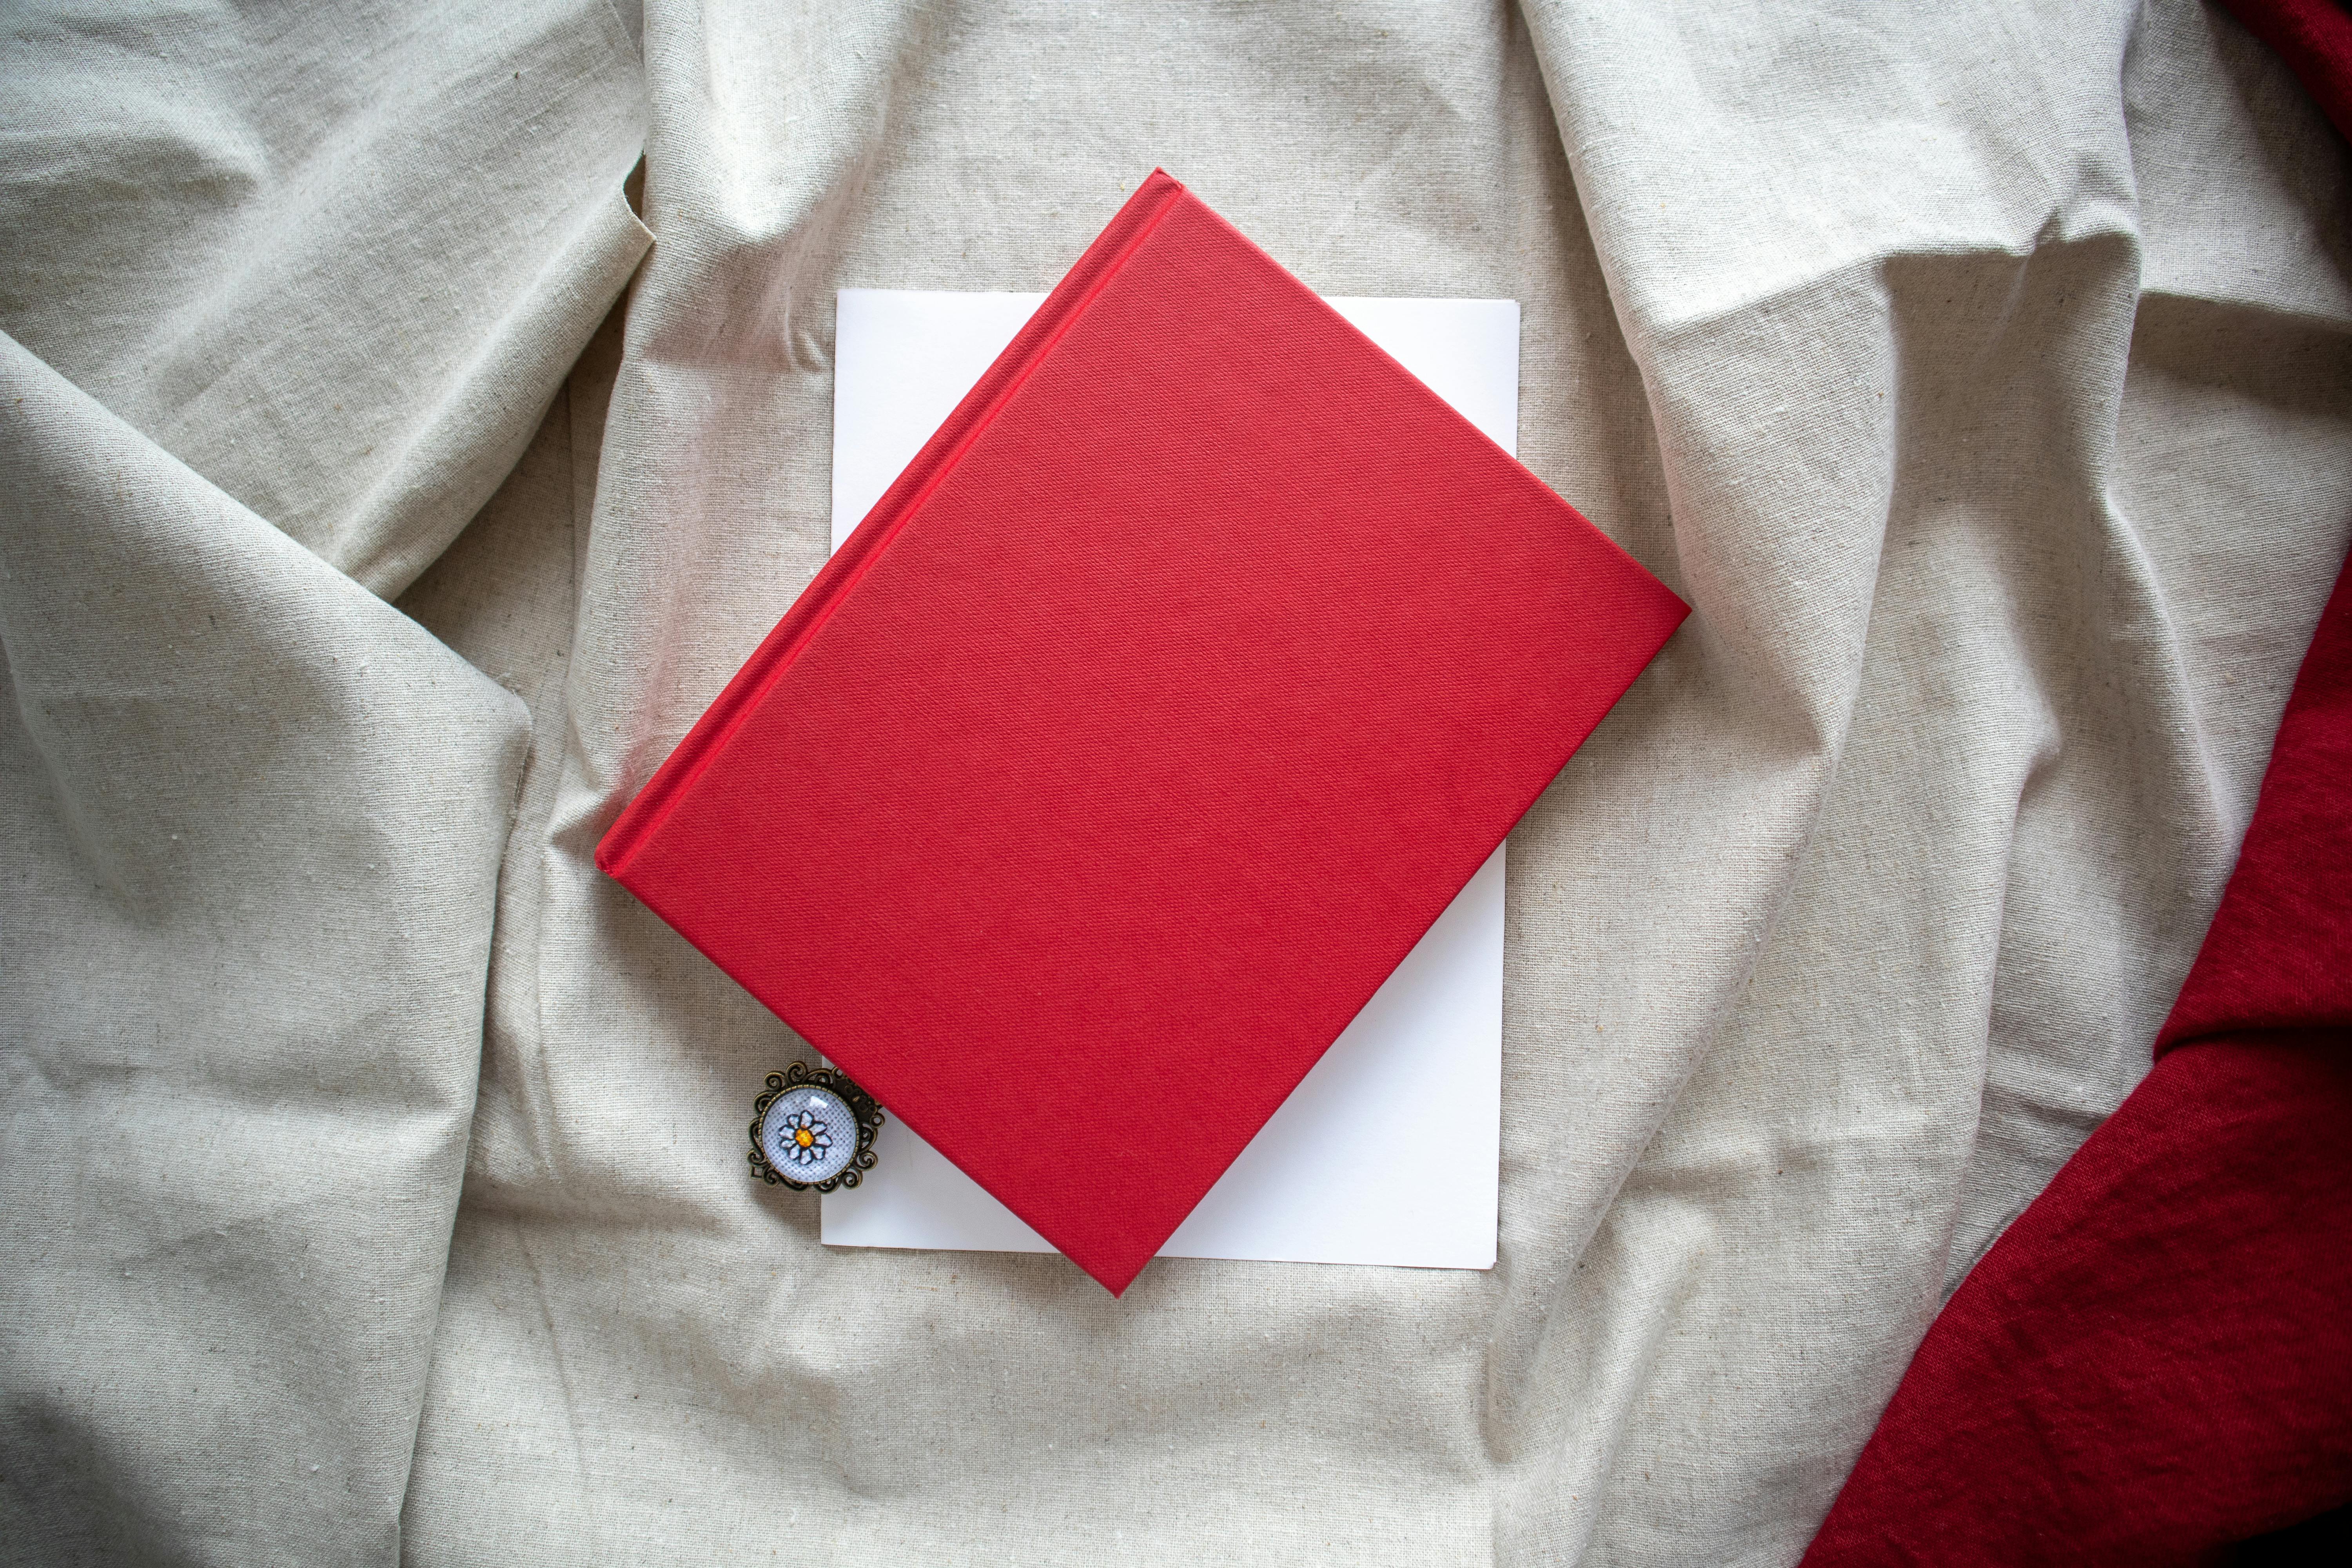
1. DIY Origami Bookmarks
Have you ever felt that personal touch in your bookmarks was missing while you dive into your favorite novel? If yes, then let this Japanese art of paper folding, Origami, surprise you. Welcome to the step-by-step guide to self-crafting DIY Origami Bookmarks! Unveil your creativity, improve your fine motor skills and lend an aesthetic addition to your quiet reading time with these handmade bookmarks. This home project wouldn't just be interesting but also enlighten you about this ancient and mesmerizing craft idea. Let's embark on this fascinating journey, shall we?
2. Build your homemade solar oven
As we steadily move towards sustainable living, harnessing the power of sunshine has never been more critical. Or fun. Welcome to a DIY challenge where science meets the eco-friendly life - constructing your very own homemade solar oven. Armed with a step-by-step building guide, this STEM experiment lets you engage with green energy and learn about solar heating. This exciting educational project is about more than renewable energy; it's about creating lasting memories while learning some significant science.
3. Rainbow Fruit Skewers recipe
Who said that eating healthy has to be boring? Get ready to taste the rainbow with our vibrant Rainbow Fruit Skewers recipe. Perfect for a kid-friendly snack, an indulgent yet healthy dessert or as a fun addition to your party food ideas, these vibrant fruit skewers capture the essence of fresh fruit in a creative way. No matter if you are planning a quiet vegan meal or looking for a colorful summer recipe, there's no better time to bring this edible rainbow into your culinary repertoire.
4. Scavenger Hunt in nature
Need a family activity that combines creativity, adventure, and a little science? Look no further than our Scavenger Hunt in nature, complete with DIY compass instructions. This outdoor play isn't just about spotting objects or completing tasks; it's about exploring nature, learning through play, and fostering love for the great outdoors. Whether you're a novice navigating your local park or an experienced explorer diving deep into the wild, our DIY Nature Compass will help keep you engaged and oriented in your creative adventure.
Starting off with Your Origami Bookmarks
Your journey into crafting DIY Origami Bookmarks begins with choosing your favorite origami paper. Consider its stiffness, texture, color, and pattern as these all play a vital role in the creation of your bookmark. Once you've got your origami paper, it's time to dive right into the paper folding process. Our step-by-step guide makes it a breeze, even if you're new to this Japanese art.
Feeling the paper fold and bend at your fingertips not only stimulates your fine motor skills but it's also a therapeutic exercise. As you progress and follow the origami instructions carefully, you'll marvel at how a simple square sheet metamorphoses into beautiful handmade bookmarks, ready to personify your reading experience.
The Science and Power Behind Solar Oven
Now that you're ready, let's get into the nitty-gritty of putting together your homemade solar oven. Our easy-to-follow building guide helps you assemble this STEM experiment right at home. Keep in mind that the main ingredient here is none other than sunlight - the heart of solar power.
As you arrange reflective materials and insulators, you're not only constructing a DIY solar oven, but you're also understanding solar heating mechanisms and experiencing renewable energy in action. This little project pushes you to grasp the science behind eco-friendly living while getting closer to sustainable living, making it an intriguing educational project.
The Magic of Rainbow Fruit Skewers
Arrange your freshly cut vibrant fruit in the order of a rainbow on each skewer for an eye-catching display. The array of colors make this skewer recipe visually appealing to kids, and even adults can't resist this fun food. The key to creating beautiful Rainbow Fruit Skewers lies in choosing a variety of fresh fruit that colors your platter like a bright, summer day.
Remember, besides being a fabulous party food idea, these skewers are a bundle of health and goodness disguised as a dessert. You'll love how this kid-friendly snack not only satiates your sweet tooth but also complements your pursuit of a healthy lifestyle.
On the Hunt with Your DIY Compass
Once you have your DIY Nature Compass ready, it's time to set foot into the wilderness. The real thrill of our scavenger hunt lies in exploring nature, propelled by a guidance tool you've made yourself! Make a list of natural objects you might come across in your outdoor play— things like a bird's feather, blooming flowers, unique leaves — to add a layer of fun to your adventure.
Your scavenger hunt journey stands as a testament to learning through play, awakening curiosity while enhancing awareness of the natural world. This family activity can indeed transform any walk in the park into a fun-filled and creative adventure.

In Conclusion: Crafting Memories with Origami Bookmarks
As you start your journey into the world of Origami, remember to embrace the learning curve and the joy that comes with it. Each fold, each crease brimming with creativity, you're not just forming bookmarks but also crafting memories. So, welcome this delightful escapade of paper folding and let your DIY Origami Bookmarks accompany you through compelling storylines and tranquil reading times. Get ready for this amalgamation of artistry and literature.
In the End: Embrace Solar Power with your Solar Oven
As we conclude our solar oven construction journey, remember, you've not just built a functioning oven, but also a tangible testament to your commitment to sustainable living. Each meal you cook harnessing the sun's power will be a nod to Mother Nature herself. This green project—fun, engaging, and educational—has created room for scientific exploration while instilling a greater appreciation for renewable resources. So, put on your experimental hat and have fun cooking with your homemade solar oven.
Wrapping Up: Rainbow Fruit Skewers, a Delicious Palette
As we draw to a close, let's take a moment to appreciate the beauty, vitality and flavor that our Rainbow Fruit Skewers bring to our plate. By incorporating this vibrant dessert into your meal planning, you've embarked on a colorful journey of healthful indulgence. Keep creating, keep experimenting, and most importantly, keep enjoying the natural sweetness that this spectrum of fruits has to offer.
Ending Notes: Adventure Awaits with your DIY Compass
As we end our guide to DIY compass and scavenger hunting, remember each fallen leaf, each colorful feather, is a step closer to understanding and respecting the richness of the world we live in. Guided by a compass made with your own hands, every adventure becomes personal, every exploration shapes invaluable memories. So go ahead, step into the wild, witness the wonders of nature, and let the needle of your DIY compass guide your explorations - one adventure at a time.
You May Also Like These:
DIY Miniature Greenhouse Project
Materials Needed:- Old CD cases or plastic bottles
- Tape or adhesive glue
- Potting mix
- Seeds of your choice
Instructions:
Step 1: Gather MaterialsCollect all materials listed above, ensuring that the CD cases or plastic bottles are clean and dry.
Step 2: Construct The FrameUsing the old CD cases or plastic bottles, arrange them to form the shape of a greenhouse. Use tape or adhesive glue to hold the pieces together. Ensure to create a door or opening for easy access.
Step 3: Fill With SoilAdd potting mix to the greenhouse, filling it up until it's about half-full.
Step 4: Planting the SeedsPlant the seeds in the potting mix, ensuring to evenly distribute them. Ensure the seeds are covered with a thin layer of soil.
Step 5: Add Water and SunshineWater the seeds lightly and place your greenhouse in an area where it will receive lots of sunlight.
Step 6: Watch Your Garden GrowMonitor your greenhouse daily, watering the plants when needed. In a few weeks, you should see your seeds sprouting and beginning to grow.
This miniature greenhouse is a great STEM project for kids to learn about the lifecycle of plants and the effect of a greenhouse on plant growth. It's also a great way to reuse old CD cases or plastic bottles. Enjoy this DIY project with your children!
Crafts
Materials Needed:
- Construction paper
- Glue stick
- Assortment of beads
- Scissors
Instructions:
1. Cut the construction paper into desired shapes.
2. Glue the beads onto the paper.
3. Let the craft project dry for an hour.
STEM Projects
Materials Needed:
- Coin-cell battery
- LED light
- Copper wire
Instructions:
1. Connect one end of the wire to the coin-cell battery.
2. Connect the other end of the wire to the LED light.
3. Observe the LED light turn on.
Food
Ingredients:
- 1 cup of flour
- 1/2 cup of sugar
- 2 eggs
- 1/2 cup of butter
Instructions:
1. Preheat the oven to 180 degrees Celsius.
2. Mix all ingredients in a bowl.
3. Pour the mixture into a baking pan and cook for 40 minutes.
Games for a coin-cell battery
Materials Needed:
- Coin-cell battery
- LED lights
- Cardboard
- Copper tape
Instructions:
1. Place the battery on the cardboard and surround it with copper tape.
2. Connect the LED lights to the battery using copper tape.
3. Enjoy your DIY battery-powered LED board game.
Instructions: Crafts
Button Badge Materials:- Button Badge Maker Kit
- Your favorite stickers or designs
- Take a button badge from the maker kit.
- Place your preferred design or sticker on it.
- Using the button maker, press the design onto the button.
Instructions: STEM Projects
Building a Simple Circuit with a Coin-cell Battery Materials:- A coin-cell battery
- A small LED light
- Small piece of aluminum foil
- Ensure the LED's longer leg is touching the battery's positive side.
- Use the aluminum foil to attach the shorter leg to the battery's negative side.
- Your LED should now light up, demonstrating a simple circuit.
Instructions: Food
Preparing a Simple Peanut Butter Sandwich Ingredients:- 2 slices of bread
- Peanut butter
- Take the 2 bread slices and spread the peanut butter on one side of each.
- Press the slices together, making sure the peanut butter sides touch.
- Your peanut butter sandwich is now ready. Enjoy!
Instructions: Coin Games
Coin Flip Game Materials:- A coin
- Decide heads or tails with your opponent.
- Flip the coin.
- The side of the coin facing up is considered the winning side.
Crafts
Materials Needed:
- Foam Paper
- Scissors
- Glue
Instructions:
- Cut the foam paper into shapes
- Glue the shapes together to create your design
- Let it dry
STEM Projects
Materials Needed:
- Educational Robotics Kit
- Instructions Manual
Instructions:
- Read the instructions manual for the robotics kit
- Assemble the robot as per the guide
- Code the robot as per the instructions
Food
Ingredients:
- 2 cups flour
- 1 cup sugar
- 1/2 a cup milk
Instructions:
- Mix all the ingredients together
- Bake at 180C for 30minutes
- Allow to cool before serving
Games for an LED Light
Materials Needed:
- LED Light
- Stickers
Instructions:
- Stick stickers on the LED light
- Switch on the light and have fun with the patterns!
Paper Circuit Cards
Materials Needed:
- Copper Tape
- LED Lights
- 3V Coin Battery
- Conductive Adhesive
- Cardstock or Pre-made Cards
- Scissors
- Hole Punch
- Tape
Instructions:
Follow these steps to create your own Paper Circuit Cards:
- Design your card: Start by creating a design for your card. Keep in mind where you want to place your lights.
- Stick copper tape: Track the path where you want your circuit to run using the copper tape. Make sure the conductive side is facing up.
- Place LED lights: At the places you desire, leave a mark where you will fix the LED lights.
- Fix LED lights: Punch a hole at each marked point. Insert LED light and tape down the wire to the copper tape.
- Attach battery: Stick your battery at the end of your copper tape circuit. Make sure the LED lights turn on before continuing.
- Finalize card: Check & ensure your circuit is fully working. Fold your card together and apply any additional decorations.