


As an affiliate, I earn from qualifying purchases, but this doesn't affect the reviews or recommendations—your trust is important to me!
Crafting Your Own Rain Cloud Weather Predicting Experiment Guide

Today, We're Making:
- DIY Rain Cloud Weather Predicting Experiment
- DIY Solar System Mobile: This project encourages kids to learn about our solar system and its planets. Kids can create a hanging mobile using craft supplies like Styrofoam balls, paint, string, and a coat hanger. Each planet can be painted to resemble the real ones and attached with strings to a hanger or stick. They can then learn about each planet’s relative distance from the sun and order in the solar system.
- Homemade Barometer: Teach kids about atmospheric pressure and how it impacts the weather. Using a jar.
- - DIY Rain Cloud Weather Predicting Experiment
- - DIY Solar System Mobile: This project encourages kids to learn about our solar system and its planets. Kids can create a hanging mobile using craft supplies like Styrofoam balls, paint, string, and a coat hanger. Each planet can be painted to resemble the real ones and attached with strings to a hanger or stick. They can then learn about each planet’s relative distance from the sun and order in the solar system.
- - Homemade Barometer: Teach kids about atmospheric pressure and how it impacts the weather. Using a jar.
DIY Rain Cloud Weather Predicting Experiment Guide
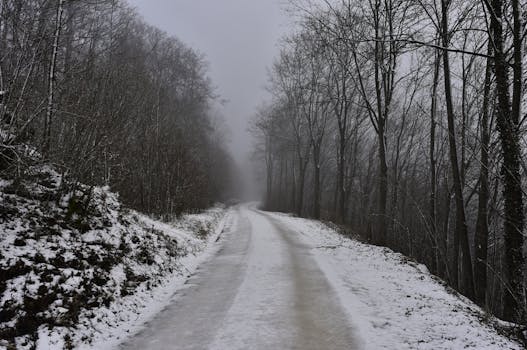
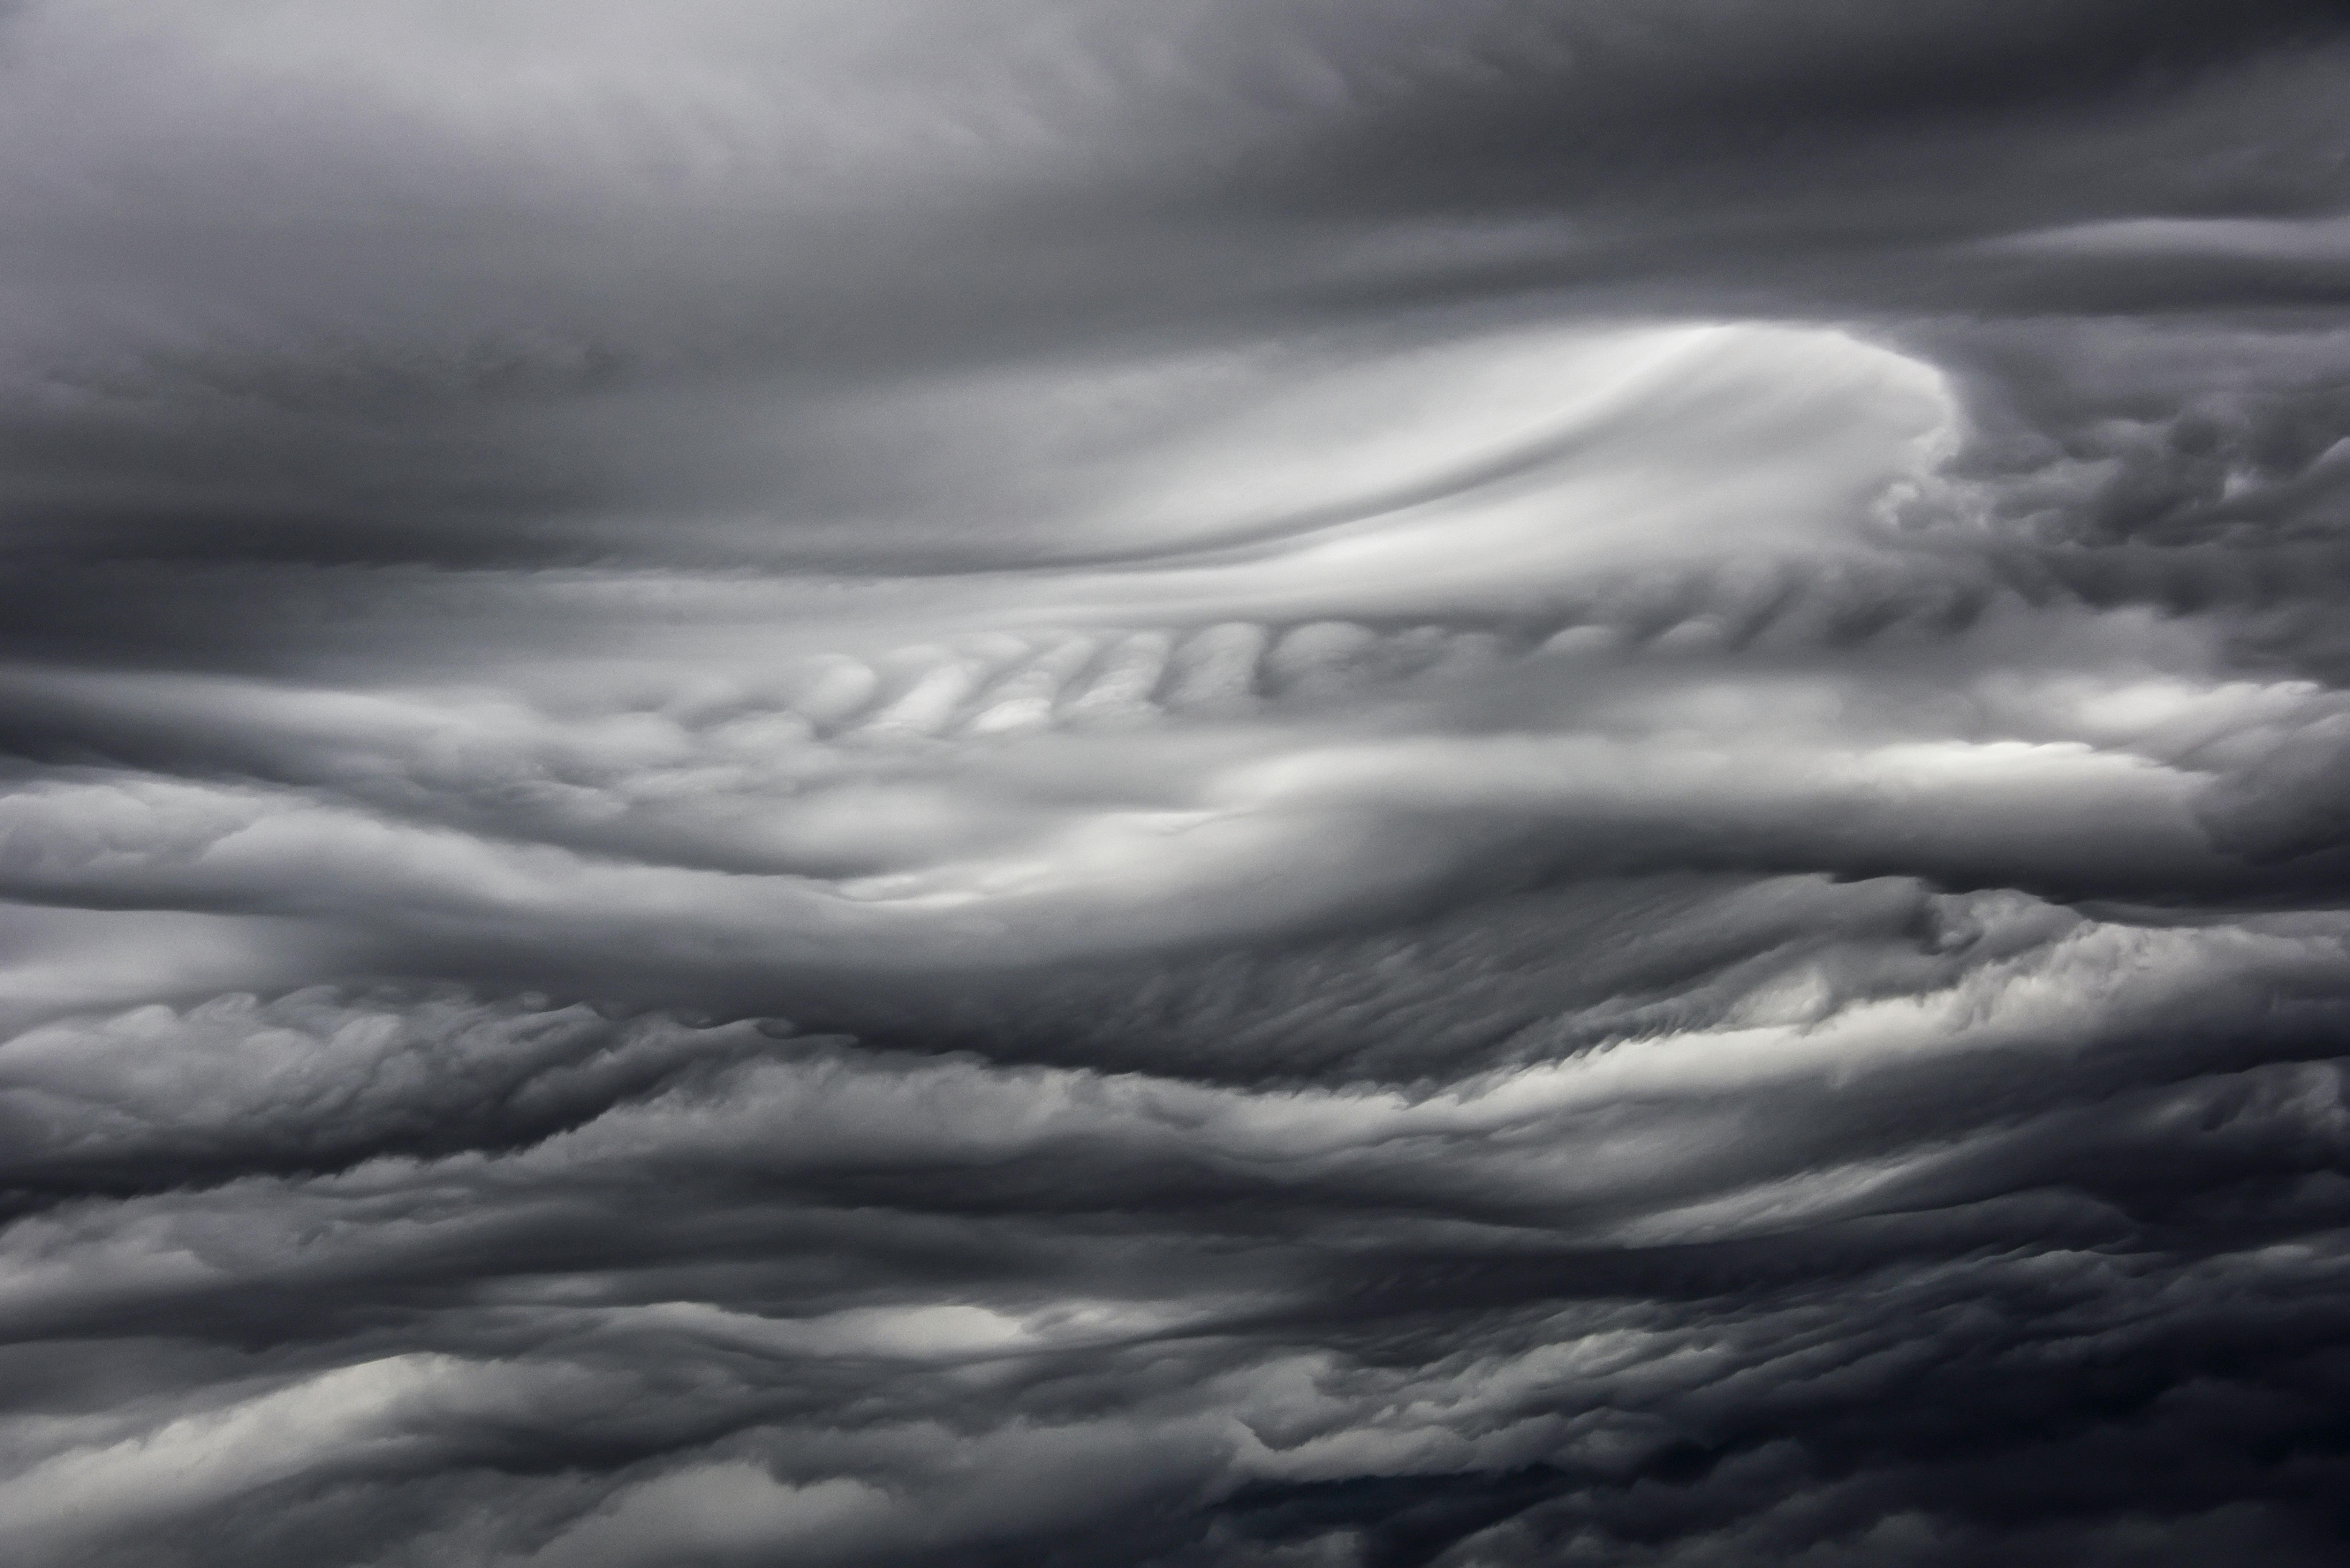
Have you ever thought of crafting your own weather forecast system right at your cozy home corner? Ignite your inner meteorologist and learn practical science in a fun, engaging way with our DIY Rain Cloud Weather Predicting Experiment Guide!
Stepping into the world of DIY Meteorology
Not only it extends your knowledge about weather patterns, but it also acts as an intriguing activity that can be a brilliant addition to your homeschooled curriculum or a rainy day pastime. With our Home-Made Weather Forecast guide, we help you predict whether it's time for umbrella jackets or sun hats.
Embark on this exciting adventure
So, let's set off on this exciting adventure of crafting a rain cloud with a dash of curiosity and a sprinkle of enthusiasm, and unlock the secrets of weather prediction in your very own living room.
Getting Your DIY Rain Cloud Weather Predicting Experiment Up and Running
Now that we've zinged up your interest in our DIY Rain Cloud Weather Predicting Experiment, let's touch on what you'll need to pull off this fun and educational weather experiment guide. It's critically important to have a clear glass jar, shaving cream, some water, and blue food coloring. That's right, we'll craft weather predicting kit from things you can easily find around your house!
As the aspiring home-crafted meteorologist, fill the glass jar with water to about three-quarters of the way up. Very gently, you'll add a 'cloud' of shaving cream on top of the water. But remember, just like the clouds outside, yours too shouldn't be too heavy. Hence keep the shaving cream light and fluffy. Now, the birth of our DIY Rain Cloud is complete, but is it going to rain?
From a DIY Rain Cloud to Your Own Rain Forecast
The real magic of the Rain Cloud Experiment begins with the drops of the blue food coloring. The concentrated food coloring represents the 'water vapor' in our atmospheric simulation. Slowly start adding it onto your fluffed-up DIY rain cloud. This is where you finely craft your cloud prediction guide, and the fun with our home-made weather forecast system starts to brew!
As you continue adding drops of food coloring to your cloud, visualize this as water vapor clinging onto the particles in the atmosphere. As more and more droplets gather, they form what we see as a cloud. But clouds can't hold all the moisture indefinitely. Just as in nature, your DIY weather experiment similarly mimics the natural world. When the saturation point is reached in your cloud, the 'moisture' starts to 'rain' down into the water in your jar.
Unlock Your Weather Experiment Guide
You don't need to be a certified meteorologist to predict rain at home or to teach your kids the captivating science of weather patterns. The validation of seeing these patterns replicated in this DIY Rain Cloud Weather Predicting Experiment is profoundly educational and delightfully entertaining. Engaging with this hands-on DIY meteorology can invoke an appreciation and understanding of the forces of Mother Nature, from the cozy comforts of your home. Craft your own rain forecast, predict, and you might just impress your friends on your next camping trip. They'll truly appreciate your homemade weather predictor when it saves the day from a sudden downpour!
And There We Have It!
You, my friend, have officially stepped into your very own DIY meteorology boot camp.
You've created a terrifically informative and amusing weather simulation right in your cozy living room, using our Rain Cloud Weather Predicting Experiment Guide. In doing this, you've not only gained a greater understanding of the intriguing world of weather patterns, but also stirred up a tempest of fun and curiosity.
Forecast with Confidence, From Home!
Next time the clouds gather, instead of guessing, you can forecast with confidence, right from your home. So, next time the sky looks overcast, share a wink with it. Because now, you've got its secret.
Embrace the Fun in Science
Embrace the fun in science, uncover the mysteries of nature, and never stop exploring. Happy predicting!

You May Also Like These:
DIY Solar System Mobile
This project is designed to encourage children to learn about our solar system and its planets, using simple craft materials. By the end of it, you'll have a hanging mobile with all the planets of our solar system!
Ingredients:
- 10 Styrofoam balls in various sizes
- Acrylic paint in multiple colors
- Paint brushes
- Nylon string
- Sewing needle
- Scissors
- Long wooden stick or dowel
Instructions:
- Gather all of your materials: Have everything at hands reach to make process easy and enjoyable.
- Paint the Styrofoam balls: Using the acrylic paint and brushes, paint each ball to represent a planet. The largest should represent the sun, and the others can represent the planets of our system, in their relative sizes.
- Allow the balls to dry completely: Once painted, place the balls in a safe location to dry.
- Attach the nylon string: Thread the nylon string through the sewing needle, then push the needle through the center of each styrofoam ball and remove it, leaving a length of string on either side.
- Tie the string to the stick/dowel: Let the balls hang down at different lengths to represent the varying distances of the planets from the sun.
- Hang the mobile: Choose a place in your home to hang your solar system mobile, making sure it's high enough for all of the 'planets' to hang freely.
STEM Project: Building a String Telephone
Ingredients:
- 2 empty, clean, and dry tin cans or plastic cups
- 50 feet of sturdy string
- 2 paper clips (optional)
- Scissors
- A nail or other pointed tool (for creating the hole)
Instructions:
- Clean cans or cups: Ensure the cans or cups are clean and dry. Remove any sharp edges.
- Make a hole: Using a nail or other pointed tool, make a small hole in the bottom of each of the cans or cups.
- Thread the string: Thread one end of the string through the hole in the first can/cup, and the other end through the hole in the second can/cup.
- Secure the string: If you are using paper clips, tie each end of the string around a paper clip. If not, just tie a big enough knot so that the string does not pull back through the hole. The paper clip or knot should sit inside the can/cup and prevent the string from pulling through.
- Check the setup: Pull the cans or cups apart until the string is taut. You will get the best results if the string does not touch anything other than the cans/cups.
- Test your telephone: One person should speak into their can/cup whilst the other listens to their can/cup. Can you hear each other? If not, check the string is still taut and the knot or paper clip is still in place.
Note: The string telephone works by transmitting sound vibrations along the string. This is similar to how real telephones work, but instead of sending electrical signals along wires, your telephone sends physical vibrations along the string.
STEM Project: String Structure
Ingredients:- 1 roll of string
- A set of sticks or straws
- Scissors
Approximately 1-2 hours
Instructions
Step 1: Gather Your Materials
- Ensure everything from the ingredients list is ready.
Step 2: Cut the String
- Cut the string into lengths of about 1 meter or longer as per your design.
Step 3: Create the Base of the Structure
- Using the sticks/straws, create a shape of your choice (triangle, square, pentagram, or any other shape). Secure the joint points using the string.
Step 4: Build the Structure
- Continue to build upon the base, securing each new stick/straw with the string at the joints. Keep adding levels until you have reached your desired height. Remember to ensure the structure is stable as you add to it.
Step 5: Sit Back and Admire!
- Congratulations! You have now successfully completed your STEM project which showcases fundamental engineering and science principles. This string structure project will help enforce fundamental STEM concepts in an enjoyable and hands-on way.
Ingredients:
Here's what you'll need to get started:
- Coat hanger or stick
- String, at various lengths
- 9 Styrofoam balls of various sizes
- Acrylic paint in a variety of colors (including but not limited to blue, red, yellow, grey, brown)
- Paint brushes
- Clear spray varnish (optional)
Instructions:
- Prepare Your Space: Lay down some newspaper or a drop cloth to protect your work surface.
- Paint Your Planets: Each Styrofoam ball will represent a planet. Refer to images of the solar system to paint each ball the appropriate color. Allow them to dry thoroughly.
- Apply Varnish: For a more 'space-like' effect, spray each ball with a clear varnish. This will give them a shiny, planetary feel. Allow to dry.
- Attach Your Planets: Cut your string into various lengths. These will be used to hang the painted balls from your coat hanger. Attach one string to each ball. Remember, the order of the planets from the sun: Mercury, Venus, Earth, Mars, Jupiter, Saturn, Uranus, Neptune.
- Hang Your Solar System: You now have your very own model of the solar system! Hang it up in your desired location and enjoy your lovely handiwork.
Homemade Barometer STEM Project
Project Overview:
This hands-on STEM project will help your kids understand atmospheric pressure and its impact on the weather. We'll create a homemade barometer using simple household items.
Materials:
- A glass jar
- A balloon
- A rubber band
- A straw
- Glue
- Cardboard
- Marker
Instructions:
Step 1: Prepare the Jar
Take a clean, empty glass jar. Make sure the glass jar is dry before you begin the experiment.
Step 2: Create a Lid
Cut the balloon in half. Stretch the top part of the balloon over the top of the glass jar. Secure it with a rubber band, making sure it's tight and has no wrinkles. This effectively seals the jar and creates a pressure-sensitive lid.
Step 3: Attach the Straw
Cut the straw to a reasonable length. Leave one end of the straw to just touch the balloon surface, while the other extends past the edge of the jar. Attach the straw to the balloon surface using glue, ensuring it sticks properly and is sturdy.
Step 4: Create a Pressure Scale
Place the jar on a piece of cardboard. Draw a vertical line beside the straw on the cardboard, marking it from bottom to top. This will act as your atmospheric pressure scale.
Step 5: Monitor the Changes
Over the course of a few days, monitor the movement of the straw. The straw will move up and down the scale depending on the atmospheric pressure. On a low-pressure day (usually cloudy, rainy days), the pressure inside the jar will be higher than outside, causing the balloon to bulge outward and the straw to rise. Conversely, on high-pressure days (typically sunny and clear), the pressure outside is greater, causing the balloon to be pushed inward and the straw to fall.
Paying close attention to these changes will teach children how atmospheric pressure impacts the weather. Enjoy this hands-on learning experience!


