


As an affiliate, I earn from qualifying purchases, but this doesn't affect the reviews or recommendations—your trust is important to me!
Creating Beautiful DIY Layered Sand Art at Home

Today, We're Making:
- - DIY Layered Sand Art
- - DIY Colorful Tie-Dye T-Shirts
- - Handmade Beaded Friendship Bracelets
- - Homemade Modelling Clay Creations
- - DIY Paper Mache Animal Masks
- - Personalized DIY Fabric Tote Bags
Imagine Transforming Simple, Colored Sand into Breath-Taking DIY Layered Sand Art
In the comfort of your own home, you can unfold a world of creativity with simple, colored sand. Sounds incredible, right? But believe me, it's absolutely attainable.
Unleash Your Creativity with Sand Art
Whether you're a parent searching for creative kids crafts, a do-it-yourself enthusiast seeking affordable art projects, or you're just an artistic soul looking for a new medium to master, sand art could be your next great venture.
Turn Your Home into an Art Gallery with DIY Sand Art
Using DIY sand art techniques and a little dose of creativity, this exciting home craft not only enhances your artistic skills but also gives your home decor a personalized, fun DIY touch. After all, art isn't always about expensive canvas and fancy oil paints. Sometimes, it's about taking something simple like sand, and layering it in a way that it tells a beautiful, vibrant story.
Let's Explore the Fascinating World of DIY Layered Sand Art Together
Join us as we delve into the fascinating world of DIY layered sand art. It's a journey you won't want to miss.
```html
Materials Needed
The delight of DIY Layered Sand Art lies not only in the creative process but also in its simplicity of use. To start, you'll need a few easy-to-find materials:
- Colored sand of various hues. Though ready-made kits are available in craft stores, making your own colored sand opens a whole new world of customization. Plus, it's a fun DIY project in itself.
- A clear glass container, which can be anything from a fancy vintage bottle to a simple mason jar. It's your canvas, so choose one that suits your style.
With these inexpensive items, creating unique art at home becomes a breeze, there's no need to go on a shopping spree in an art supplies store!
The DIY Layering Technique Decoded
Here's where the magic really begins. Creating your masterpiece involves carefully pouring into your container one layer of colored sand at a time. This is the heart of our project: the DIY Layering Technique. For each layer, tilt the glass slightly. Pour the colored sand along the side of the container where it’s tilted. Use a funnel for a more controlled sand flow, ensuring cleaner, crisper layers.
Remember, the patterns for layered sand art are dictated by the way you pour the sand. Straight layers create a calm, serene visual, while angled layers and waves breathe dynamic energy into the piece. There's no right or wrong way, so get creative with it!
Transform Your Indoors with DIY Home Decor
Sure, we all love those lavish home decor items that decorate elaborate homes in magazines and Instagram feeds. But the truth is, personal touches are what really make a space feel like home. Your own DIY sand art is not only an affordable art project, it adds a unique character to your decor. Display your finished piece in a prominent place to showcase your creative crafts. Who knows, these might even become the conversation starter at your next housewarming or dinner party!
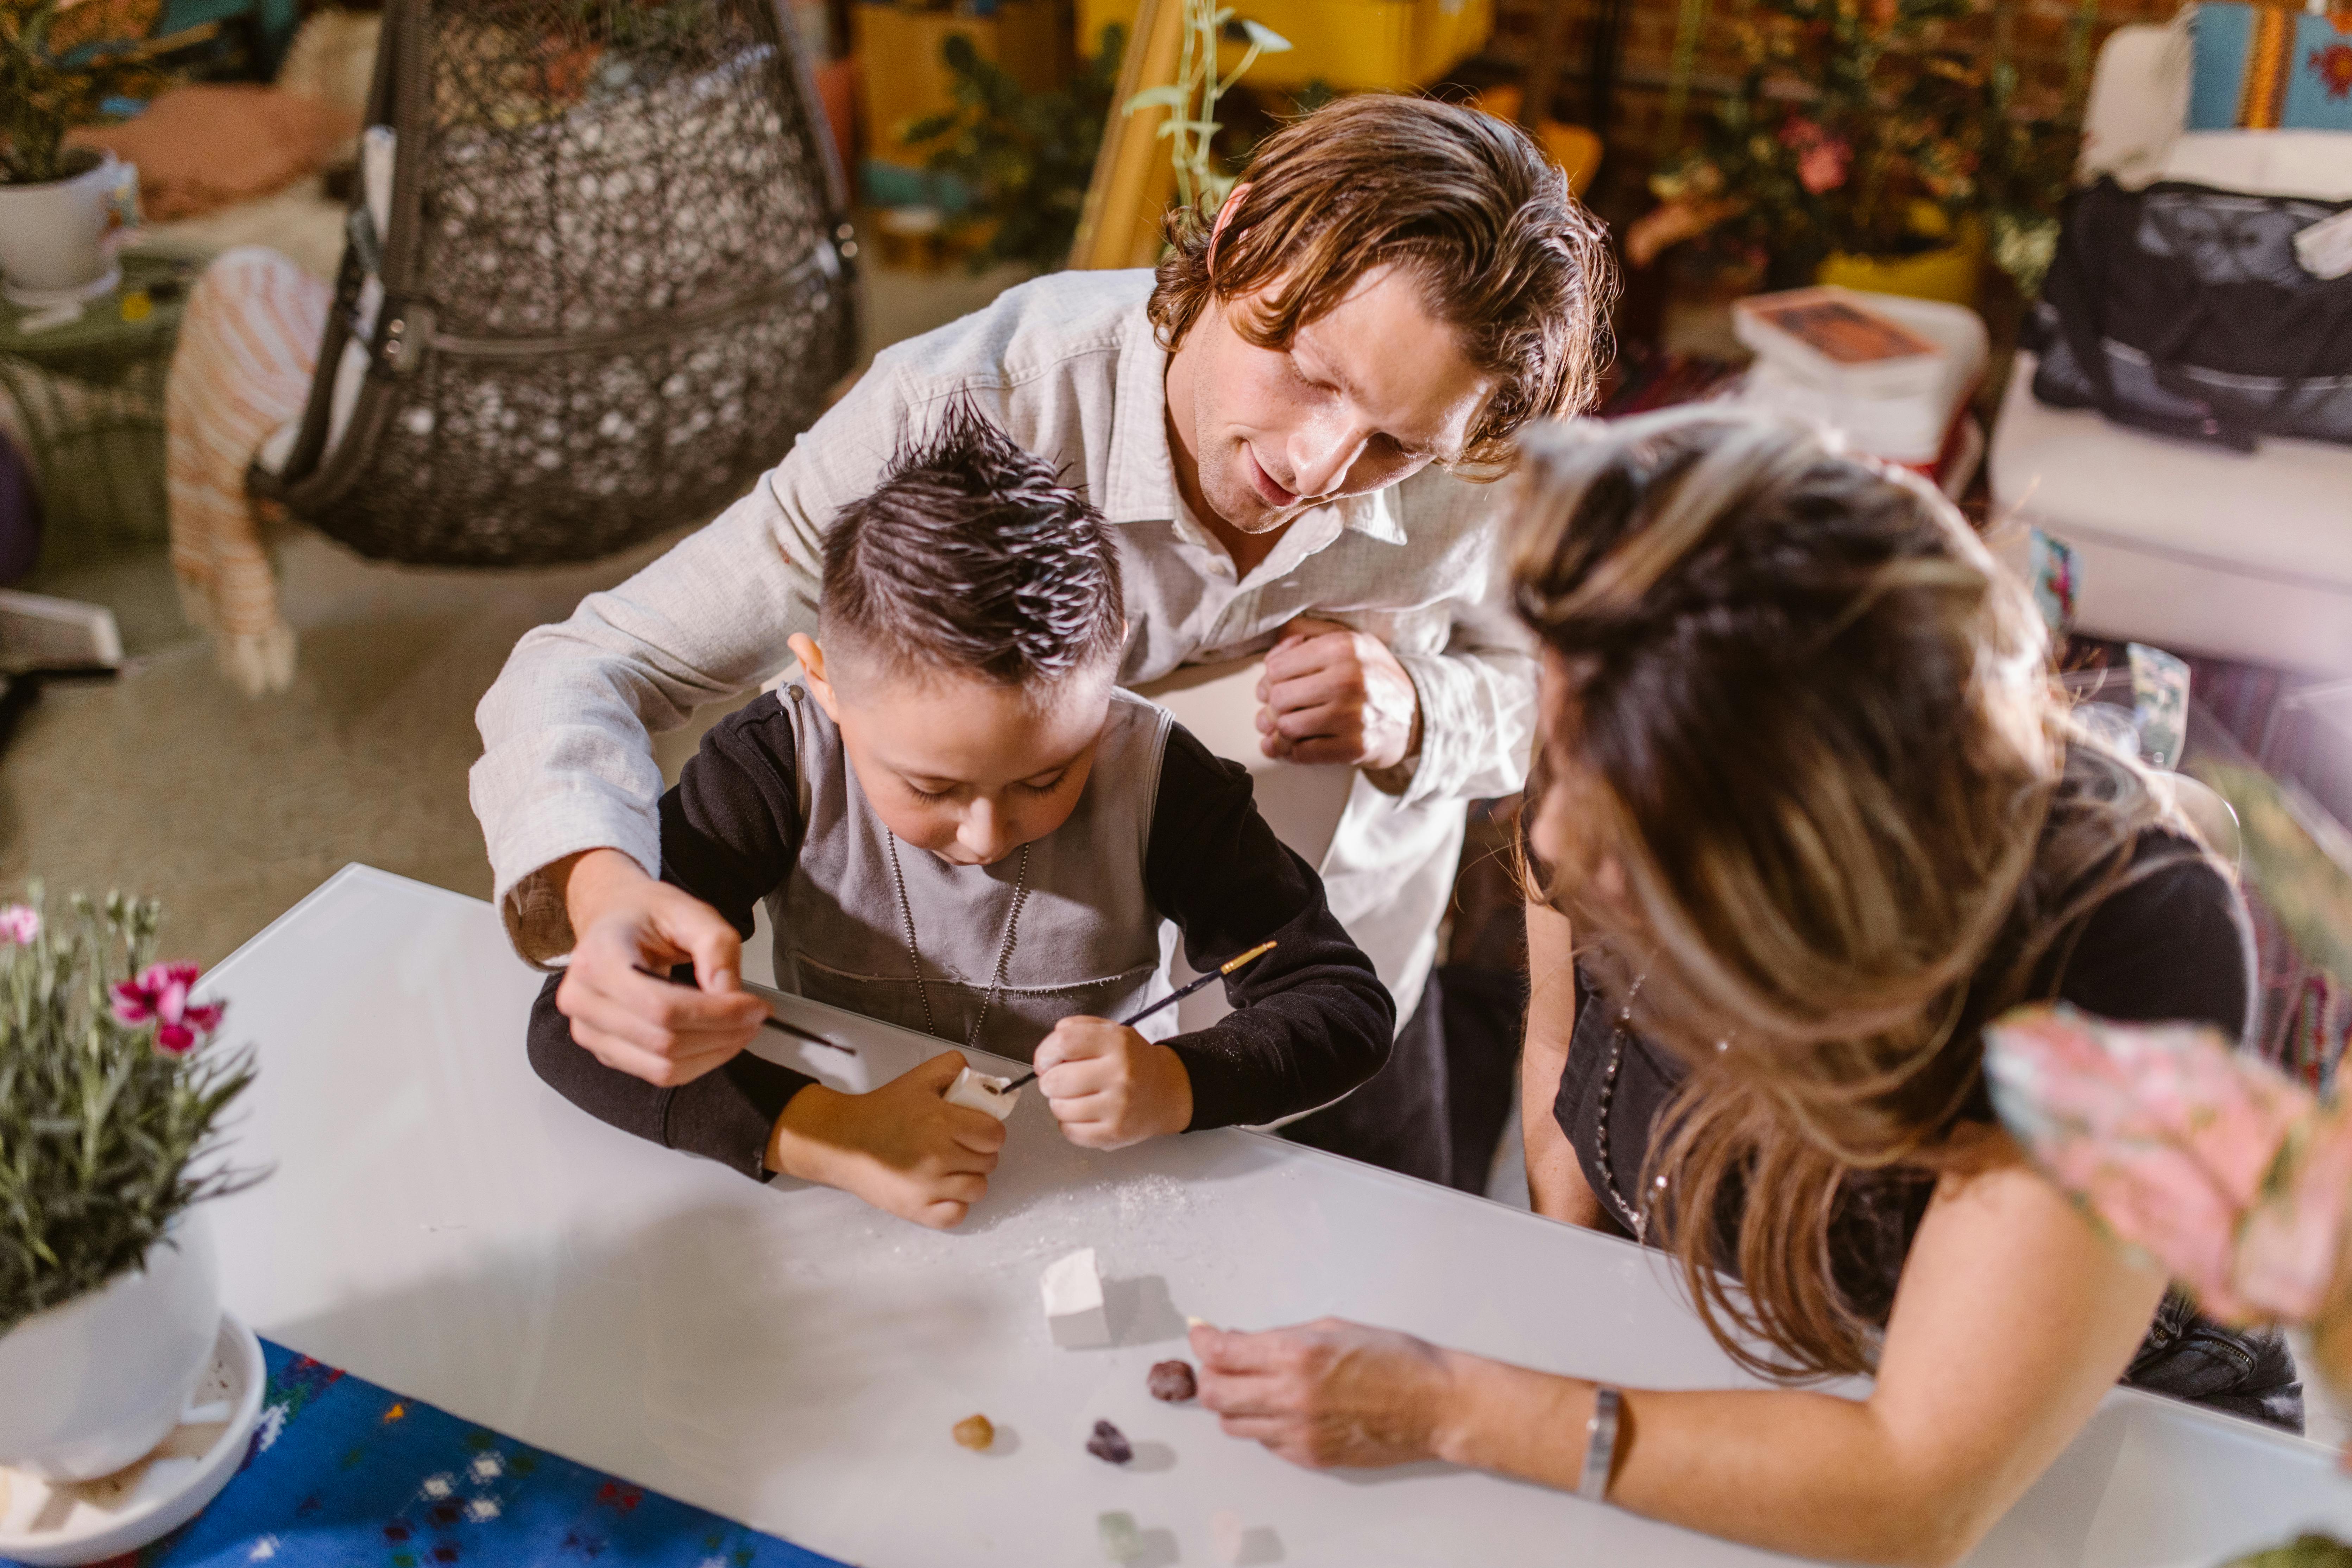
Exploring the World of Art with Kids Crafts
Colored sand–it's inexpensive, vibrant, and non-toxic, making it the ideal medium for kids crafts. With easy guidance, children will immensely enjoy creating layered sand art. The benefits? It keeps them occupied, introduces them to the joys of creating art, and importantly, fosters their fine motor skills. Just imagine the proud grin on your little one's face, showing off their DIY masterpiece.
This home craft is not just about the end result but the journey, the process of creating, experimenting, bringing an idea to life. Yes, it's time to go beyond the expensive canvases and embrace the charm of simple yet beautiful sand art. Let's get started and pour in some artful fun!
```
The Artistry of Layered Sand Art
As we’ve traversed through the creative terrain of layered sand art, we’ve seen how this simple, delightful medium can unleash a colorful tapestry of personalities—from the enthusiastic DIYer to the dedicated parent nurturing their child’s creativity, and the home decorator craving a unique touch.
Building your own vibrant sand art masterpiece isn't just about creating a visually appealing piece, it's about savoring the journey—the delight of mixing colours, the thrill of designing layers and the joy of seeing your art come alive. Remember, every speck of sand tells a story and every layer, a new chapter.
So, grab that jar, pour in your creativity, and let your homemade layered sand art tell your unique story to the world. Because, in the end, isn’t that what true art is all about?
Let's Keep Exploring and Creating
Let's keep exploring, keep creating, and keep making our world a little bit brighter—one grain of sand at a time.
You May Also Like These:
DIY Colorful Tie-Dye T-Shirts
Ingredients:
- One white cotton t-shirt
- Tie-Dye kits (containing dyes, squeeze bottles, rubber bands and plastic gloves)
- Plastic table cover or garbage bags
- Plastic Ziploc bags
- Water
- Mild detergent
Instructions:
- Prepare your work area by covering it with the plastic table cover or garbage bags to protect from staining.
- Soak your shirt in warm water. The shirt should be damp, not soaking wet.
- Wring out excess water and lay the shirt flat on your work surface.
- Crunch, twist or tie the shirt using the rubber bands to create your desired tie-dye pattern.
- Put on the plastic gloves and prepare the dye according to the instructions on your Tie-Dye kit.
- Apply the dye to the shirt by squeezing it from the bottle. Remember to apply different colors to different sections of the shirt for a vibrant, multi-colored outcome.
- Once done, put the dyed shirt in a Ziploc bag and let it sit for at least 6-8 hours or overnight. The longer it sits, the more vibrant the colors will be.
- After the waiting period, remove the shirt from the bag and while still tied, rinse off excess dye under cold running water. Continue to rinse until water runs clear.
- Remove the rubber bands and rinse again. Wash the shirt separately in mild detergent and warm water in the washing machine and then dry normally.
Note: The color will continue to bleed for the first few washes, so make sure to wash the shirt separately from other laundry.
Crafts for Homemade Modelling Clay Creations
Materials Needed
- 2 cups of All-Purpose Flour
- 1 cup of Salt
- 1 cup of Water
- 1 tbsp Vegetable Oil
- Food Coloring (optional)
Steps to create your own Modelling Clay
- Mix all dry materials: In a large bowl, combine the 2 cups of all-purpose flour and 1 cup of salt. Ensure the ingredients are well mixed.
- Add in your wet materials: Gradually add in your water and vegetable oil and stir to form a dough. If you are using food coloring, now would be the best time to add this to your mix. Remember to knead well after each addition.
- Knead the Dough: Once the dough is formed, knead it on a flat surface until it is smooth and pliable. If your dough is too sticky, you may add a little bit of flour; if it is too dry, add few more drops of water.
- Store your Clay: Now, your homemade modelling clay is ready to be used. If you plan to use it later, store it in an airtight container to prevent drying out.
Tips for creating your Clay Creations
- Start Simple: If this is your first time working with clay, start with simple projects.
- Use Tools: Use clay tools or household items like toothpicks, straws, or spoons to add details to your work.
- Let it Dry: Once you have finished your creation, leave it to dry at room temperature. Note that this may take 1-2 days depending on the size of your project.
- Paint and Preserve: For an extra touch, you can paint your dried creation. To keep them longer, you can seal them with a clear acrylic sealer.
Safety Note
Remember, this model clay is not suitable for consumption, ensure to use it under the supervision of an adult when with children.
Homemade Modelling Clay Creations
Encourage your child's creativity and fine motor skills all while having fun with this simple, non-toxic, and affordable homemade modelling clay recipe! Below you'll find easy-to-follow instructions to make this fun craft:
Ingredients
- 1 cup of flour
- 1/2 cup of salt
- 1/2 cup of water
- Food coloring (optional)
Instructions
Step 1: Combine the Dry Ingredients
In a large bowl, combine the flour and the salt. Stir until evenly mixed.
Step 2: Add Water
Slowly begin adding the water to your dry mixture. Stir continuously as you pour to ensure an even, smooth consistency.
Step 3: Knead the Dough
Once the dough starts to take form, use your hands to knead it. If the dough is too sticky, add a bit more flour, and if it is too dry, add a tad more water.
Step 4: Add Food Coloring (Optional)
If you would like to add color to your clay, now is the time to do so. Add as many drops of food coloring as needed to achieve your desired color. Knead the dough some more until the color is evenly spread.
Step 5: Create!
Your homemade modelling clay is ready. Give it to your child and help them shape and create whatever their imagination brings to life!
Tip
Store the leftover modelling clay in an airtight container to keep it soft for the next crafting session.
Detailed Instructions for DIY Paper Mache Animal Masks
Materials Needed:- Old Newspapers
- White Craft Glue
- Water
- Balloon
- Paint Brushes
- Paints
- Masking Tape
- Scissors
- Prepare your work area: Spread out newspapers to keep your work surface clean.
- Make the Paper Mache mixture: Mix equal parts of glue and water in a large bowl.
- Prepare newspaper strips: Tear the newspaper into strips roughly 1 inch wide. You’ll need a good amount to cover your balloon multiple times.
- Inflate the balloon: Blow up the balloon to the size you want your mask to be.
- Apply the strips: Dip a strip of newspaper into the Paper Mache glue, remove the excess and apply it to the balloon. Repeat this step until the balloon is covered. Remember to leave an area for the eyes and mouth.
- Let it dry: Allow the mask to dry completely. This usually takes about 24 hours.
- Pop the balloon: Once the Paper Mache is dry, pop the balloon and remove it through the eye holes.
- Cut out the mask shape: Using the scissors, cut out the shape of your desired animal.
- Add features with masking tape: Use masking tape to create dimensional features like ears, snouts, beaks, etc.
- Paint the mask: Use your paint brushes and paints to give your animal mask color and life.
- Leave to dry: Leave the painted mask to fully dry before wearing.
With these simple steps, you and your children can create beautiful Paper Mache animal masks, right at home!
DIY Personalized Fabric Tote Bag
Create a practical and artistic accessory with a personalized DIY fabric tote bag. Perfect for grocery shopping, hauling books and other everyday items, this craft is as useful as it is beautiful and allows you to express your creativity in a unique and functional way.
Ingredients:
- Fabric: a tote bag made from sturdy material like canvas or denim. (Mid to heavy weight fabric)
- Fabric markers or paints: These will be used to personalize and decorate your bag.
- Masking tape: To help create clean lines when applying your design with paint.
- Fabric Glue: In case you want to add any 3D items.
- Scissors: You will need a pair of scissors if you will be cutting out any designs.
Instructions:
- Prep your fabric: Before you start creating, wash, dry, and iron your bag to ensure it is clean and wrinkle-free. This will make drawing or painting on it easier and will prevent colors from running.
- Plan your design: Sketch out your design on a separate sheet of paper before attempting anything on the bag. This helps to avoid any mistakes that might be difficult to repair.
- Secure your surface: Depending on the type of design, you might want to place a piece of cardboard or a thick book inside your bag to prevent any paint or markers from bleeding through to the other side.
- Transfer your design: Depending on the complexity of your design, you may want to lightly sketch it onto your bag before you start using paint or markers.
- Apply your design: Start coloring in your design. Use masking tape where necessary to create clean lines. Let each color dry before you start on a new one to prevent accidental smearing.
- Final touches: Once your design is dry, go over it again to clean up any lines or fill in any spots you missed. Add additional elements such as glitter, gems, or fabric cutouts with fabric glue if desired.
- Let it dry: Allow your bag to dry completely. This can take up to 24 hours depending on the materials used.
After following these instructions, you should have a beautiful, personalized tote bag that reflects your taste and style. Have fun, be creative, and enjoy your new tote!