As an affiliate, I earn from qualifying purchases, but this doesn't affect the reviews or recommendations—your trust is important to me!
Creating Botanical Specimen Pressing Craft: A Step-by-Step Guide


Today, We're Making:
- Botanical Specimen Pressing Craft
- Miniature Fairy Garden: Involve children in creating a pint-sized, whimsical world using small plants, moss, pebbles, and miniature figurines. This project ties in perfectly with the botanical theme and encourages children's creativity and imagination.
- Tissue Paper Flower Bouquets: This craft project involves creating beautiful flowers using tissue paper in various colors. The children can experiment with different shapes and sizes to mimic real life blooms. Once finished.
Botanical Specimen Pressing Craft: Art and Science Combined
Do you often find yourself captivated by the subtle beauty of nature's intricate artwork on display? Have you ever wished you could preserve that charm in a time capsule to add a touch of natural enchantment to your living space, or perhaps gift a piece of nature to someone you cherish? Welcome to the fascinating art of Botanical Specimen Pressing Craft!
DIY Nature Art: Part Craft, Part Science
This DIY nature art, part science and part craft, allows you to encapsulate the fleeting beauty of plants and flowers that spellbound you on a pleasant morning walk. Our step-by-step guide will introduce you to easy-to-follow botanical pressing techniques and dried flower crafts, unfolding the secrets of plant preservation to help you create botanical art right at home.
Exploring the Intriguing World of Botanical Crafts
Let's dive straight into the intriguing world of botanical crafts, shall we?
``` ```
Botanical Specimen Pressing 101 – Getting Started
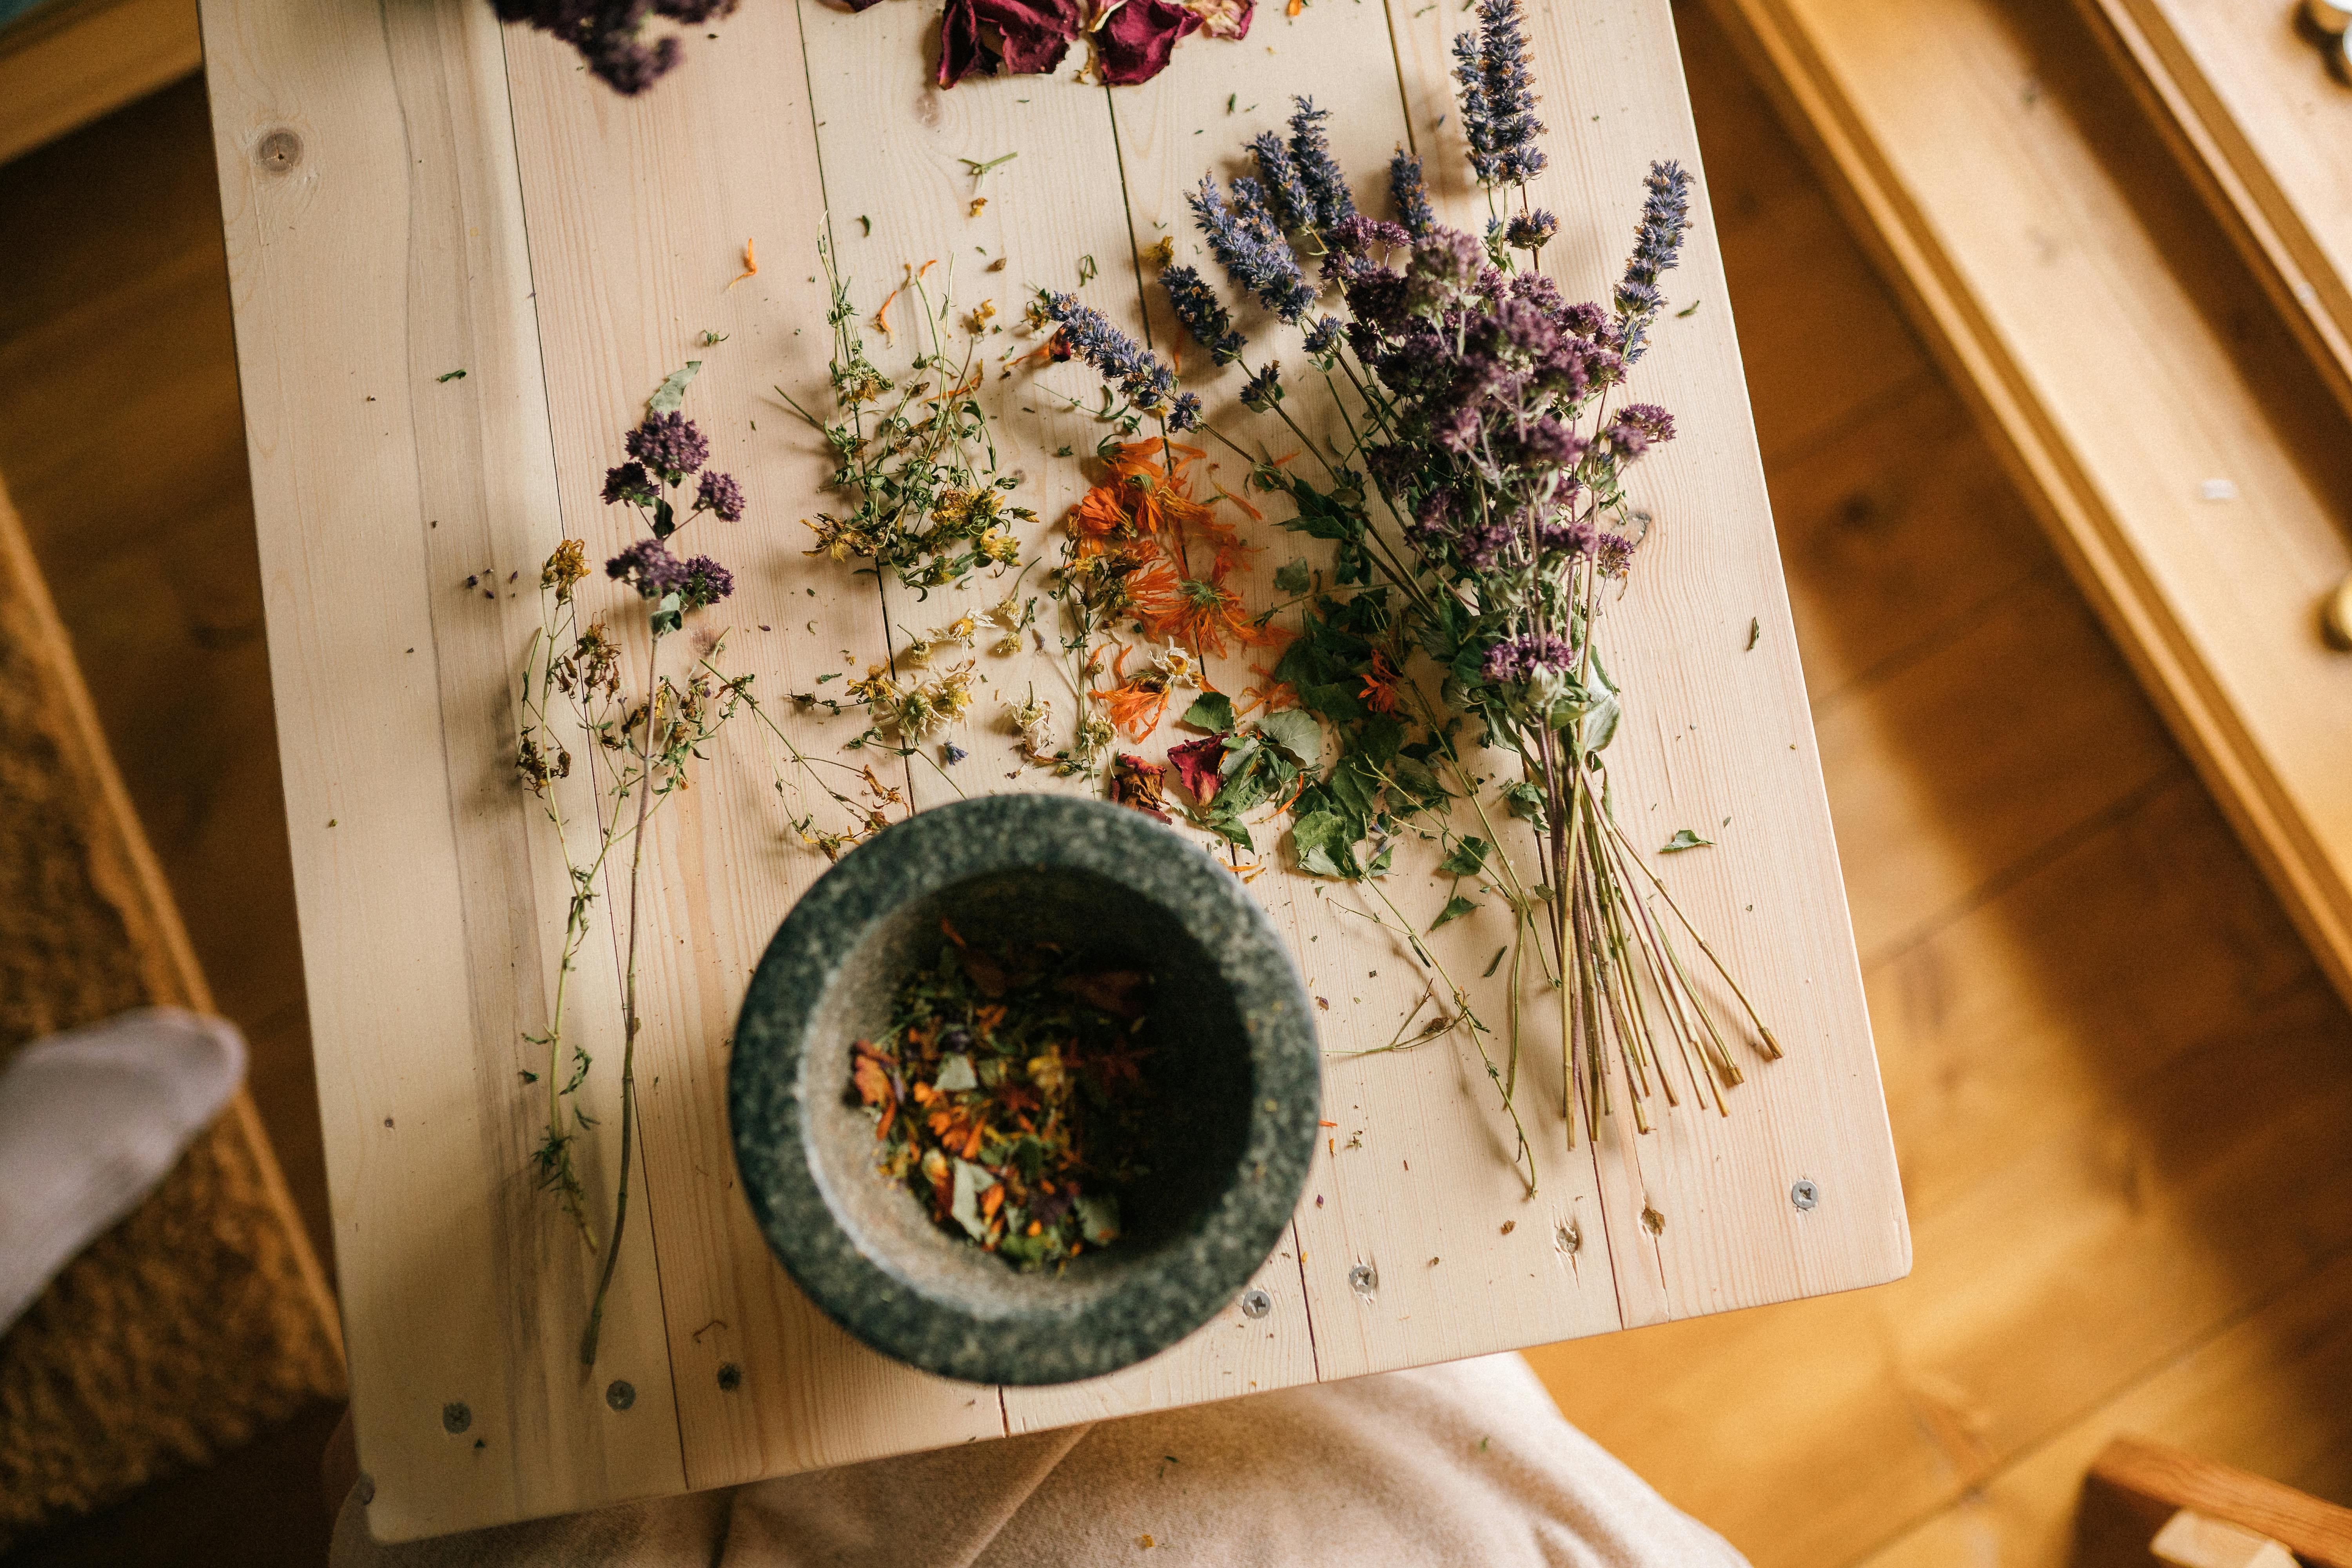
First things first, let's make sure we have all the right tools in place. The equipment needed for the Botanical Specimen Pressing Craft isn't complex or expensive – in fact, most items can be found right at home! You would need a notebook, blotting paper, heavy books, and of course, your chosen specimens - flowers, leaves, or even thin twigs.
The best part about DIY Botanical Specimen Pressing is the treasure hunt that begins right in your backyard! While picking your specimens, opt for less delicate, more sturdy botanicals like ferns, violets, and roses. Autumn leaves with their vivid hues also result in stunning botanical art that can bring a splash of color to your living space.
The Art of Plant and Flower Pressing
Now to the most thrilling part of botanical crafts: the pressing process. Start by positioning your chosen specimen between two sheets of blotting paper. Next, place this setup sandwiched in between the pages of a heavy book. Lastly, place another heavy book on top to exert the required pressure. This simple yet magical process in the Botanical Pressing Tutorial helps in preserving the natural beauty of the flora, which can be used to create enchanting DIY nature art.
It's important to note that patience is key when it comes to botanical pressing techniques. Depending on the kind of plant material used, it can take anywhere from a week to an entire month for the specimen to be pressed and dried completely. During this time, it is paramount to keep changing the blotting papers every few days to avoid molding.
Creating Botanical Art with Dried Specimens
The joy of creating botanical art doesn’t stop at pressing your specimens! These dried florals and foliages can be turned into more than just a collection of pressed plants. They can be framed for botanical home decor items or used in various DIY botanical projects. These projects can range from scrapbooking, card-making to designing your own Nature Crafts.
You can even create personalized gifts with dried flower crafts. A framed pressed flower art design or a botanical-themed bookmark makes an incredibly thoughtful, unique gift that carries a bit of natural charm with it. It’s not just a gift; it’s a framed piece of nature itself; it’s a time capsule of memories attached to the specimen you pressed. This is the kind of personal, heartwarming gifting that no store-bought items can match.
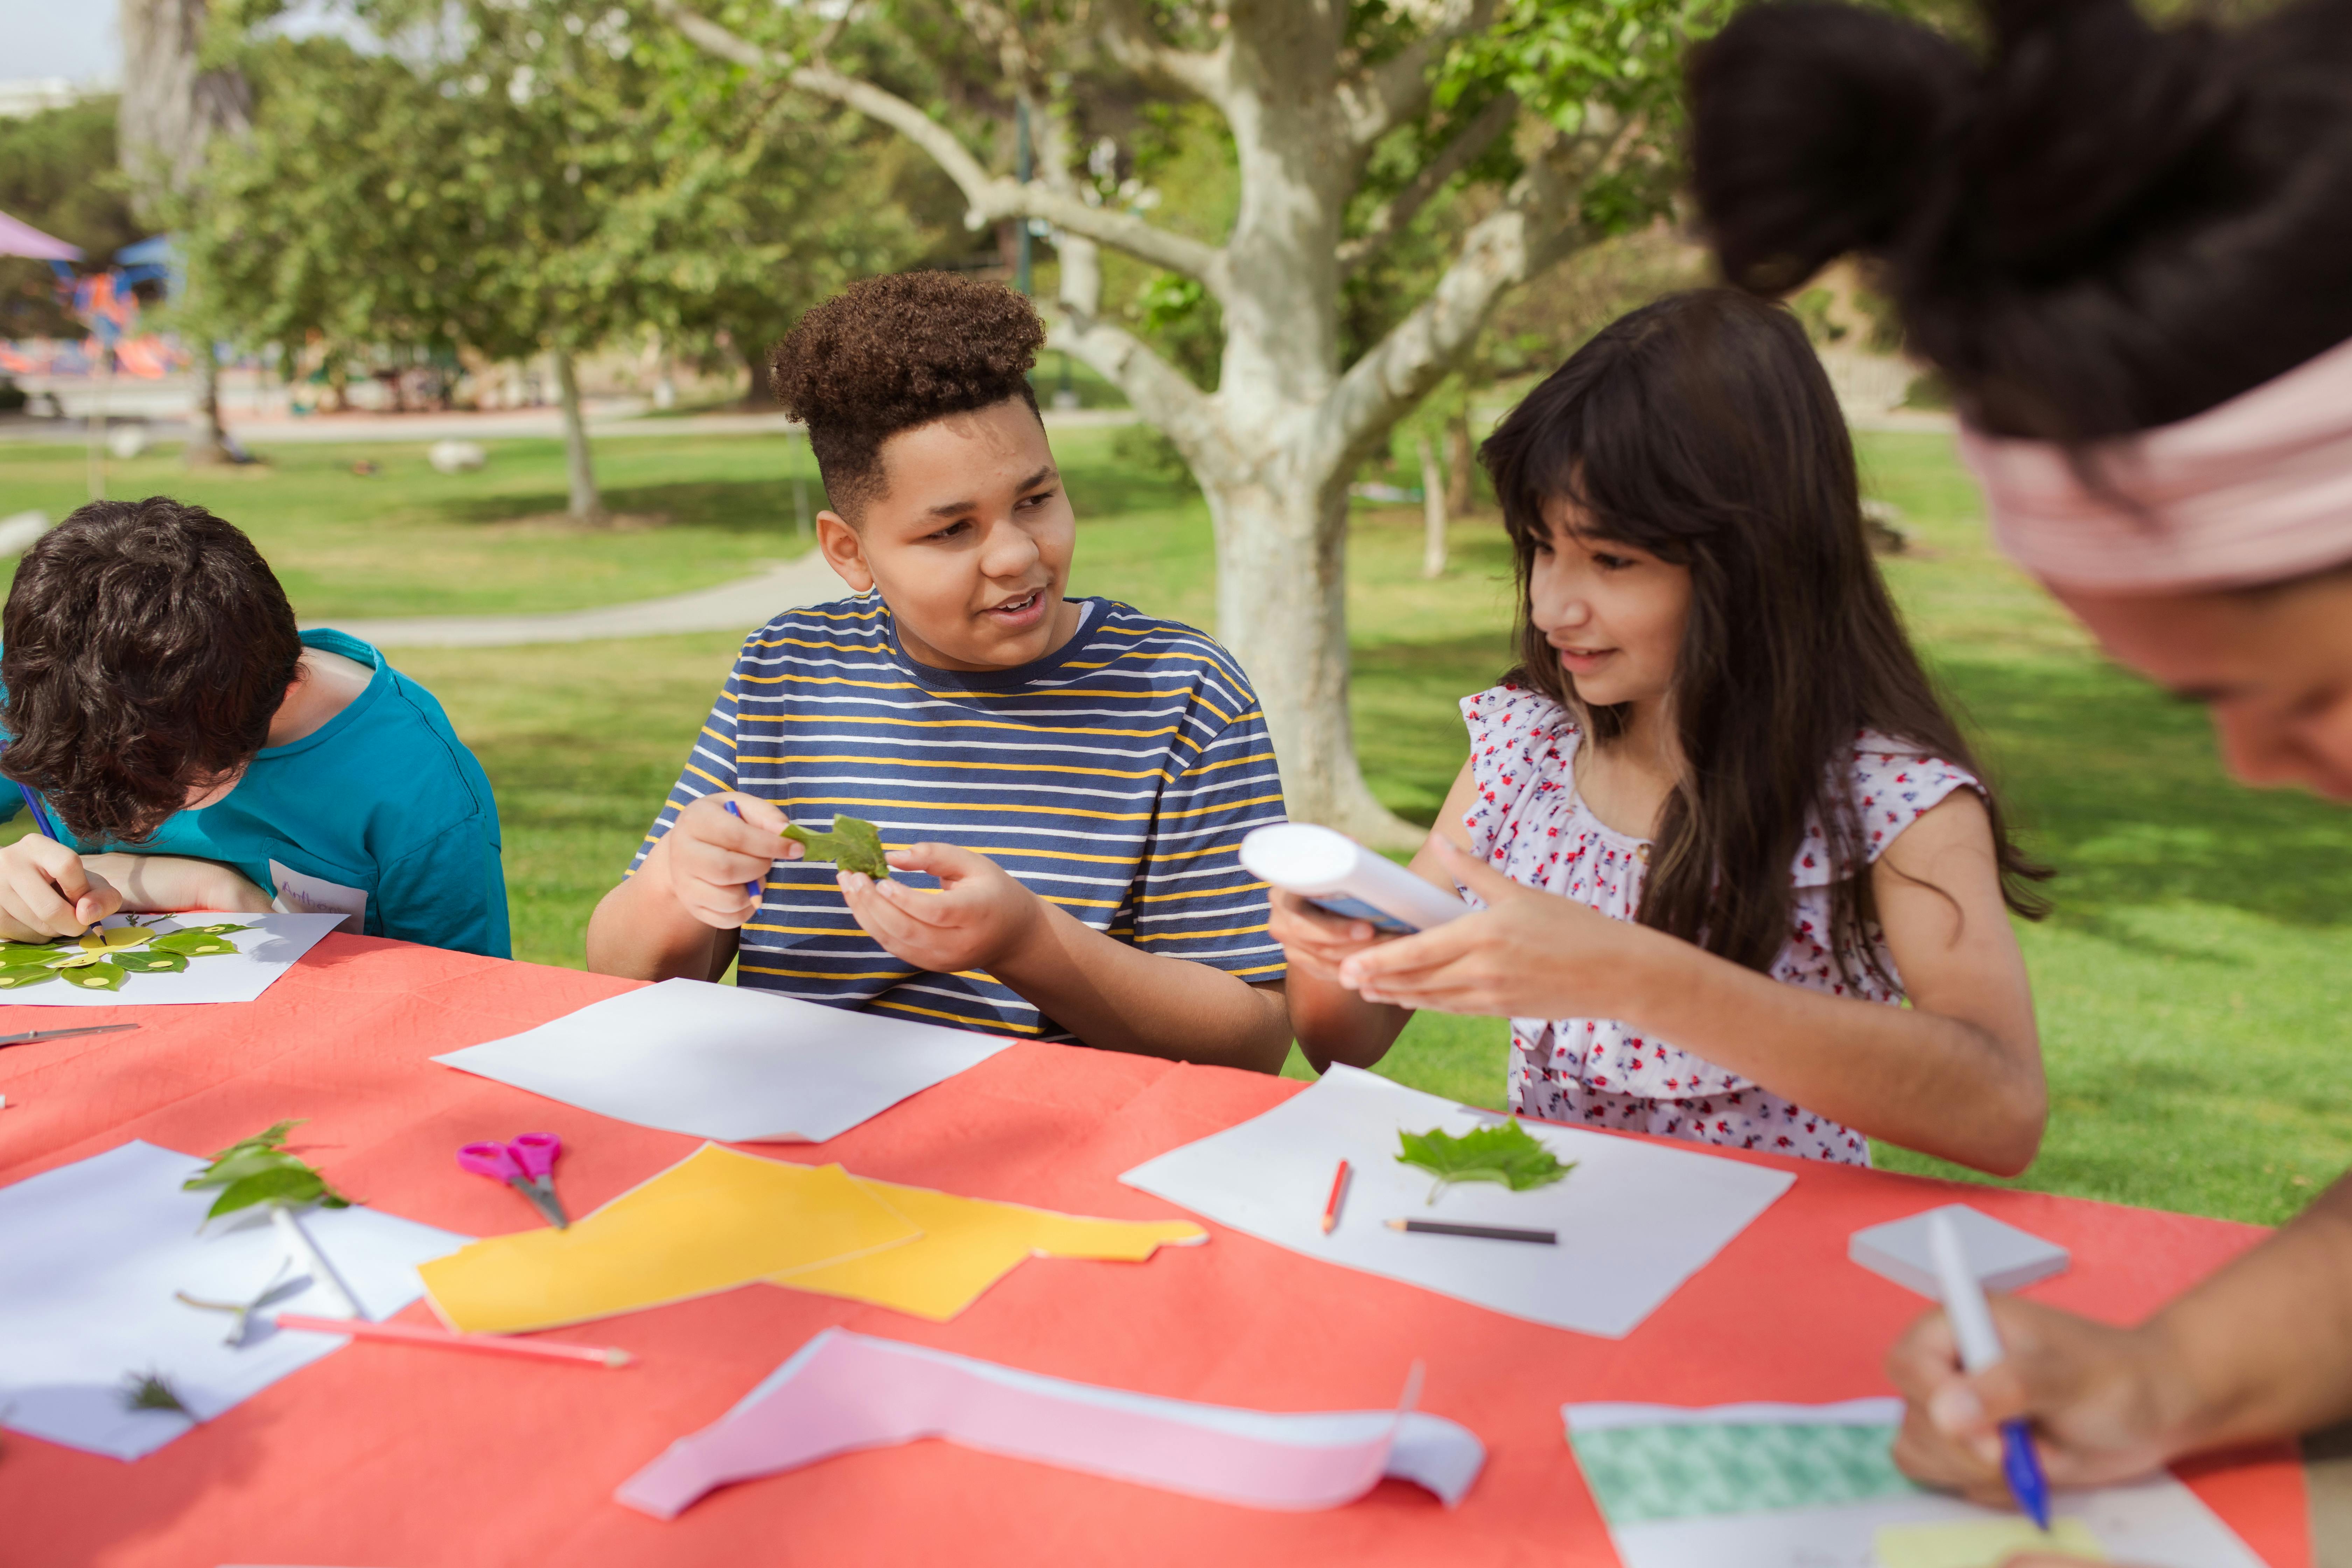
Mastering Leaf Pressing Techniques for Different Foliage
Leaf pressing follows the same pressing technique as flowers. However, given the vast variety of foliage, you may have to tweak the approach based on specific characteristics. For instance, for leaves with more moisture content, it's essential to change the blotting paper more frequently.
In the same vein, more substantial leaves might require more weight to be applied for ideal pressing. The beauty of mastering leaf pressing techniques is in its versatility. From ferns to autumn maple leaves, you can create diverse botanical art that captures the essential essence of different seasons.
Plant Preservation – A Rewarding Part of Botanical Crafts
One of the most profound perks of indulging in Botanical Specimen Pressing Craft is the beautiful act of plant preservation. By pressing and preserving plants and flowers, you're not only indulging in a tranquil pastime but also taking part in an act of care for nature. There's something deeply satisfying about preserving a piece of natural beauty that was otherwise ephemeral.
In doing so, you're making an effort to admire, preserve, and share the charm of nature through your craft. So, as you step into this tranquil, enriching hobby of Botanical Crafts, remember the essence - to cherish and conserve nature's fleeting moments in your own little time capsules of botanical art.
The Art of Botanical Specimen Pressing Craft
So there you have it, the art of Botanical Specimen Pressing Craft beautifully laid out, step by step. It's not just about creating lovely pieces of art, but also about cherishing and preserving the fleeting beauty of nature. Who knew you could turn your morning walks or backyard strolls into a rewarding hobby that yields precious art pieces?
Let the plants and flowers that caught your eye during those serene moments become immortal inside your homely abode or as a warm, thoughtful gift. This delightful craft brings you closer to nature and its enchanting beauty. So, what's stopping you from starting?
Grab your tools, dive into your garden, and let the art of preservation begin. Your next masterpiece in Botanical Specimen Pressing Craft awaits you!
You May Also Like These:
Miniature Fairy Garden: A Step-by-step Guide
Welcome to our magical step-by-step guide on how to create your very own Miniature Fairy Garden at home. This craft activity is a perfect way to engage and bond with your little ones. Encourage your child’s imagination and creativity as they create a fairyland right in your home.
Ingredients/Supplies
- Small container or garden pot
- Potting soil or dirt
- Small fairy garden decor (tiny furniture, miniature houses, etc.)
- Small plants or moss
- Small pebbles or glitter for decoration
- Fairy figurines (optional)
- Hot glue gun and glue sticks
Steps to Create Your Miniature Fairy Garden
- Start by cleaning your chosen container.
- Fill the container halfway with potting soil or dirt.
- Next, arrange your small plants or mosses in your mini garden according to your taste.
- Then decide where you would like to place your fairy garden decor. Once you get a layout that you love, stick them into place using a hot glue gun.
- Decorate the garden with small pebbles to create small footpaths. Glitter could be used to give a magical effect.
- If you have any fairy figurines, place them in the garden.
- Lastly, let your little ones sprinkle some 'fairy dust' (glitter) over the garden for a final touch of magic!
Hope this step-by-step guide helps you in creating a charming fairy garden with your child. Have fun crafting!
Moss Craft Instructions for Parents
This DIY craft is a fantastic project for both parents and kids. We'll be making beautiful moss crafts that are fun to make and beautiful to look at. Here's how to get started:
Ingredients
- Moss - You can often collect this for free from your own backyard or local woods. Ensure it's damp and green, not dry and brown.
- Craft glue - This will be used to attach the moss to the craft base.
- Craft base - This can be anything: a plain wooden box, picture frame, old shoe, ceramic pot, etc.
- Clear acrylic spray - optional, but this helps to preserve the moss and increase the lifespan of your craft.
Steps
- Gather all your ingredients: The moss, craft glue, and your chosen craft base should all be within reach.
- Clean your craft base: Ensure that your base is clean from dust and oil. Use a damp cloth to wipe it down and let it dry.
- Sort your moss: Arrange your moss into patches which are pleasantly green and have a good texture. Remove any dirt or small insects that may be hiding among the moss.
- Glue the moss: Use craft glue to attach the moss to your cleaned craft base. Make sure to cover the entire base of your craft object with moss. Allow the glue to dry for the time recommended on its instructions.
- Spray the moss: Once the glue is dry, for an optional protective layer, spray the moss with a clear acrylic spray. Let it dry for several hours or overnight before touching your moss craft.
And there you go! You now have a lovely piece of natural decor to beautify your home or give as a gift to a loved one. Happy crafting!
Crafts for Moss
Here are clear and printable instructions for creating crafts using moss. A wonderful project for kids and parents!
Ingredients
- A handful of fresh moss
- Blender
- 2 cups of plain yogurt or buttermilk
- Hose or spray bottle with water
- Plastic wrap
- A flat surface (Stone, brick or untreated wood)
Instructions
- Gather fresh moss: Find a spot where you can legally and ethically gather some fresh moss. A small handful will suffice.
- Blend moss and yogurt: Place the moss and the yogurt or buttermilk into the blender and blend until the mixture resembles a thick milkshake. You have now made a moss milkshake!
- Apply mixture: Using a paintbrush, spread the moss shake onto your chosen flat surface in the pattern you wish your moss to grow. It could be a picture, letters, or just a general covering.
- Moisten and cover: Spray the painted area with water until it's damp but not soaking. Then cover with plastic wrap. This will create a greenhouse effect, encouraging the moss to grow.
- Maintain the area: For the first couple of weeks, spray the area with water every day to keep it moist and remove the plastic to let it breathe for a few minutes per day.
- Wait and watch: Now comes the hardest part – waiting! Within two or three weeks, you should start to see tiny green sprouts. Those are your new moss plants. Keep up the routine for about a month or until the moss has taken well.
Enjoy making your crafts for moss!
Crafts for Pebbles
Ingredients:
- Pebbles: These can be found anywhere, preferably with smooth, flat surfaces to maximize your decoration space.
- Paint: Acrylic paints work best as they stick well to stone and last for a long time. You'll need a variety of colors depending on your design.
- Paint Brushes: Various sizes are necessary for intricate designs.
- Clear Sealant: This is used to preserve your artwork once finished, outdoor modge podge or clear varnish work well.
- Newspaper or Cloth: To protect your workspace from any potential mess.
Instructions:
- Locate Your Stones: Find pebbles that are smooth and relatively flat - these are the easiest to decorate.
- Prepare Your Space: Spread out newspapers or an old cloth to catch paint splatters.
- Wash Your Pebbles: Rinse under warm water and scrub off any dirt. Dry completely before painting.
- Design Your Pebble: Sketch your design on the pebble using a pencil. Be creative - these can be images, patterns, or even words.
- Paint Your Pebble: Carefully paint your design onto the stone. Allow to dry. Putting on two coats may make colours brighter.
- Seal Your Design: Once your paint is completely dry, coat your pebble in clear sealant. Let dry according to the sealant instructions. This will ensure your design lasts as long as possible.
<h1>DIY Tissue Paper Flower Bouquets</h1> <h2>Materials Needed</h2> <ul> <li><b>Tissue paper</b> in a variety of colors</li> <li><b>Green pipe cleaners</b></li> <li><b>Scissors</b></li> <li><b>Ruler</b> (optional)</li> </ul> <h2>Instructions</h2> <ol> <li>Choose your desired colors and stack 6-8 sheets of <b>tissue paper</b> together. The size of the sheets influences the size of your flowers. Consider using 5'x7' or 8'x10' sheets for smaller flowers, and larger sizes for bigger blooms.</li> <li>Fold the stacked tissue paper back and forth in a <b>accordion fold</b> style. This creates the petal layers in the flowers.</li> <li>Once the entire stack is folded, twist a <b>green pipe cleaner</b> around the middle of the folded stack.</li> <li>Carefully begin pulling the layers of tissue paper apart. Start from the center and gently pull each layer towards the pipe cleaner. This will create the <b>fluffy appearance</b> of the flower.</li> <li>After all layers have been pulled apart, fluff and shape the flower to your liking.</li> <li>Repeat the process to create as many flowers as you like. Then, gather all the <b>pipe cleaner stems</b> together to form a beautiful bouquet.</li> </ol> <p>This botanical themed craft will stimulate children's creativity and imagination while teaching them about flower structures and the joy of handmade gifts.</p>