As an affiliate, I earn from qualifying purchases, but this doesn't affect the reviews or recommendations—your trust is important to me!
Creating Your Own Wind-Powered Sail Car STEM Experiment

Today, We're Making:
-
-
- DIY Wind-Powered Sail Car STEM Experiment -
- DIY Recyclable Plastic Bottle Rocket: This project encourages children to explore physics and recycling together. Kids can build their own rockets using old plastic bottles, vinegar, and baking soda, then test flight distances, considering factors such as propulsion strength and rocket design. -
- Easy Homemade Robot: Using items like cans or cardboard
Imagine cultivating a child's curiosity about renewable energy, engineering, and the magic of physics, all while weaving a creative and hands-on learning experience.
A DIY Wind-Powered Sail Car STEM Experiment offers this unique privilege. This fascinating STEM activity is not only a fantastic way to ignite a passion for science in kids, but it also offers education in a thrilling, hands-on manner.
By learning how to construct your own wind car design, you plunge into the heart of resourceful, green transportation, turning your home into a vibrant educational hub.
This mixture of fun and education introduces children to the sustainable practices of the future, sparking creativity and inspiring critical thinking about environmentally friendly activities.
The First Step to Your DIY Wind-Powered Sail Car STEM Experiment
There's nothing quite like a hands-on project to spark intrigue, and the first step to embarking on our exciting DIY Wind-Powered Sail Car STEM Experiment involves gathering your required materials. You'll need a few household objects such as cardboards, straws, skewers, tape, and a few other items readily available in your toolbox or local craft store. Once your items are amassed, the real fun can begin.
The process of making a Wind-Powered Sail Car has been designed to be engaging and open to personalisation. You're not just embarking on an Engineering Project, but expressing yourself through design and building gives our little scientists an avenue to truly interact with the theory and practicality of STEM.
Creating this homemade wind vehicle goes beyond satisfying the curiosity of your budding scientist. It’s a creative process that is meant to stimulate hands-on learning and boost skills in teamwork, problem-solving, and critical thinking. A wind car is more than just a science experiment; it’s a practical DIY Science Experiment that holds abundant learning opportunities.
The Heart of The Project Is Renewable Energy
The whole idea behind learning about Sustainable Energy is to understand the world and its resources better. Your DIY Wind Car serves as an experiment with wind energy for your kids and brings this sustainable energy concept closer to home.
The beauty of this project lies in its simplicity and the profound educational experience it delivers. As kids construct their Wind Car Design, they get to experiment with wind energy and learn aerodynamics principles that govern the movement of the vehicle powered by wind. It’s a way for them to see Renewable Energy in action and understand its importance in everyday life.
Creating a self-built wind car and observing its functionality allows children to learn about green transportation within a STEM Activity. It may seem like a plaything, but it’s an effective tool that instils a sense of responsibility towards the environment, promoting environmentally friendly activities and education innovation.
Connection to Real-World Engineering Concepts
This isn’t just a play-time experiment, but a real-life application of key engineering principles. Stemming from this idea, the wind-powered sail car project becomes more than just science at home, but ropes in real-world engineering concepts and offers education through the hands-on STEM activity.
When children build wind car using their designs, they aren't just toying with an idea - they're interacting with real-world engineering, aerodynamics principles, and learning physics in a concrete, hands-on way. This beautiful blend of learning and fun is what makes the Wind-Powered Sail Car such an excellent tool for education.
It’s intriguing how a DIY STEM experiment, can connect some seemingly complex principles with the straightforward fun of creating your own wind car design. This is hands-on learning at its best, designed to inspire kids to engage with STEM activities in a creative and thrilling manner. So, ready to transform the learning experience? Let’s get started with this fantastic DIY STEM experiment and pave the way for future eco-warriors.

Creating your own wind-powered sail car
Creating your own wind-powered sail car is an engaging, practical way to bring the fundamentals of STEM to your homes—tapping into creativity, developing problem-solving skills and fostering an appreciation for renewable energy.
By constructing and operationalizing this wind car, you don't just create a compelling toy, but also a learning tool that opens wide the doors of real-world engineering concepts and conservation.
A step towards a more sustainable future
As we journey towards a more sustainable future, the ability to understand and utilize green technology grows ever important—a fact this DIY STEM project encapsulates perfectly.
Let's fuel kids' natural inquisitiveness
So, let's continue to fuel that natural inquisitiveness, nurture that growing intellect and inspire the next generation of environmental pioneers—one wind-powered sail car at a time.

You May Also Like These:
DIY Recyclable Plastic Bottle Rocket
This project encourages children to explore physics and recycling together. Kids can build their own rockets using old plastic bottles.
Ingredients:
- Two Plastic Bottles (2 Liter size)
- Cardboard or Construction Paper
- Tape
- Scissors
- Cork
- A pump with a needle adapter (like a bicycle pump)
- Water
Instructions:
- Prepare Your Rocket: Cut the bottom off of one plastic bottle. This will be the top section of your rocket.
- Create Fins: Cut three triangles out of your cardboard or construction paper. Tape these around the base of your top section to act as fins.
- Attach Together: Take your second bottle, which will act as the bottom section of your rocket, and securely tape it to the top section. Ensure that the lids of the bottles are facing each other.
- Place the Cork: Place the cork in the top bottle's lid. Make sure it fits snugly.
- Prepare for Launch: Fill the bottom section of your rocket about one third full with water.
- Launch Your Rocket: Take your rocket outside and place it on a flat surface. Use your pump to start pumping air into the bottle. Keep pumping until the pressure forces the cork out and launches the rocket into the air!
Note: Adult supervision is highly recommended for this project, particularly during the launching phase.
Making STEM Fun: Baking Soda Volcano
Turn your kid's interest into an exciting science experiment with this Baking Soda Volcano project. In this hands-on experiment, your child will learn the basic principle of a chemical reaction.
Ingredients
- 1 cup Baking Soda
- 1 cup Vinegar
- 1 tablespoon Dish Soap (helps to make the eruption last longer)
- Food coloring (optional)
- A container (to make the 'volcano' - a plastic cup is fine)
- A tray (to catch the lava)
Instructions
- Place your container in the middle of the tray.
- Fill the container almost to the top with baking soda.
- Add a few drops of food coloring and a squirt of dish soap into the container.
- Slowly start pouring vinegar into the container and watch your volcano erupt!
Remember, science experiments are fun, but they can be messy. Make sure to protect your surfaces before starting, and have a great time!
Dissolving Shell Egg - A STEM Experiment
Materials:- 1 Raw Egg
- White Vinegar
- 1 Glass Jar
- Place the raw egg in the glass jar.
- Fill the jar so the vinegar covers the egg completely.
- Let it sit for 24 hours. Change vinegar if it gets too cloudy.
- Remove the egg, rinse under cold water and gently rub the shell.
- Observe as the shell dissolves, leaving a 'naked egg'.
Baking Soda Volcano - A Science Experiment
Materials:- 1 Small Plastic Bottle
- Vinegar
- Baking Soda
- 3 tbsp of Warm Water
- Dish Soap
- Food Coloring
- 1 Tray
- Position the water bottle in the center of the tray.
- Fill the bottle halfway with warm water.
- Add a few drops of food coloring and a bit of dish soap into the water bottle.
- Add baking soda to the water bottle.
- Pour vinegar into the bottle and quickly step back and watch your baking soda volcano erupt!
STEM Project: Test Flight Distances
Materials Needed:
- Construction paper
- Scissors
- Foldable meter stick or tape measure
- Marker
- Notebook and pen for recording data
Instructions:
Step 1: Create Your Paper Airplane
Using a piece of construction paper, fold your paper into the design of an airplane. Remember, the design of your airplane can affect the distance of its flight.
Step 2: Mark Your Launch Line
Using the marker, create a 'launch line'. This will be the line from which you will launch your paper airplane.
Step 3: Launch Your Airplane
From the launch line, give your airplane a gentle throw. Ensure to throw it with the same speed and angle each time for consistency.
Step 4: Measure the Distance
Using your foldable meter stick or tape measure, measure the distance from the launch line to where your airplane landed. Record this distance in your notebook.
Step 5: Repeat Steps 3 and 4
Perform several trials, repeating steps 3 and 4 multiple times and recording each distance. This will allow you to calculate an average distance for your paper airplane.
Step 6: Analyze Your Results
After launching your airplane several times and recording all the distances, you can now calculate the average distance your airplane travels. This can be done by adding all the recorded distances and dividing by the number of trials you conducted. This STEM project allows you to understand the scientific method, the importance of consistent experimentation and data collection.
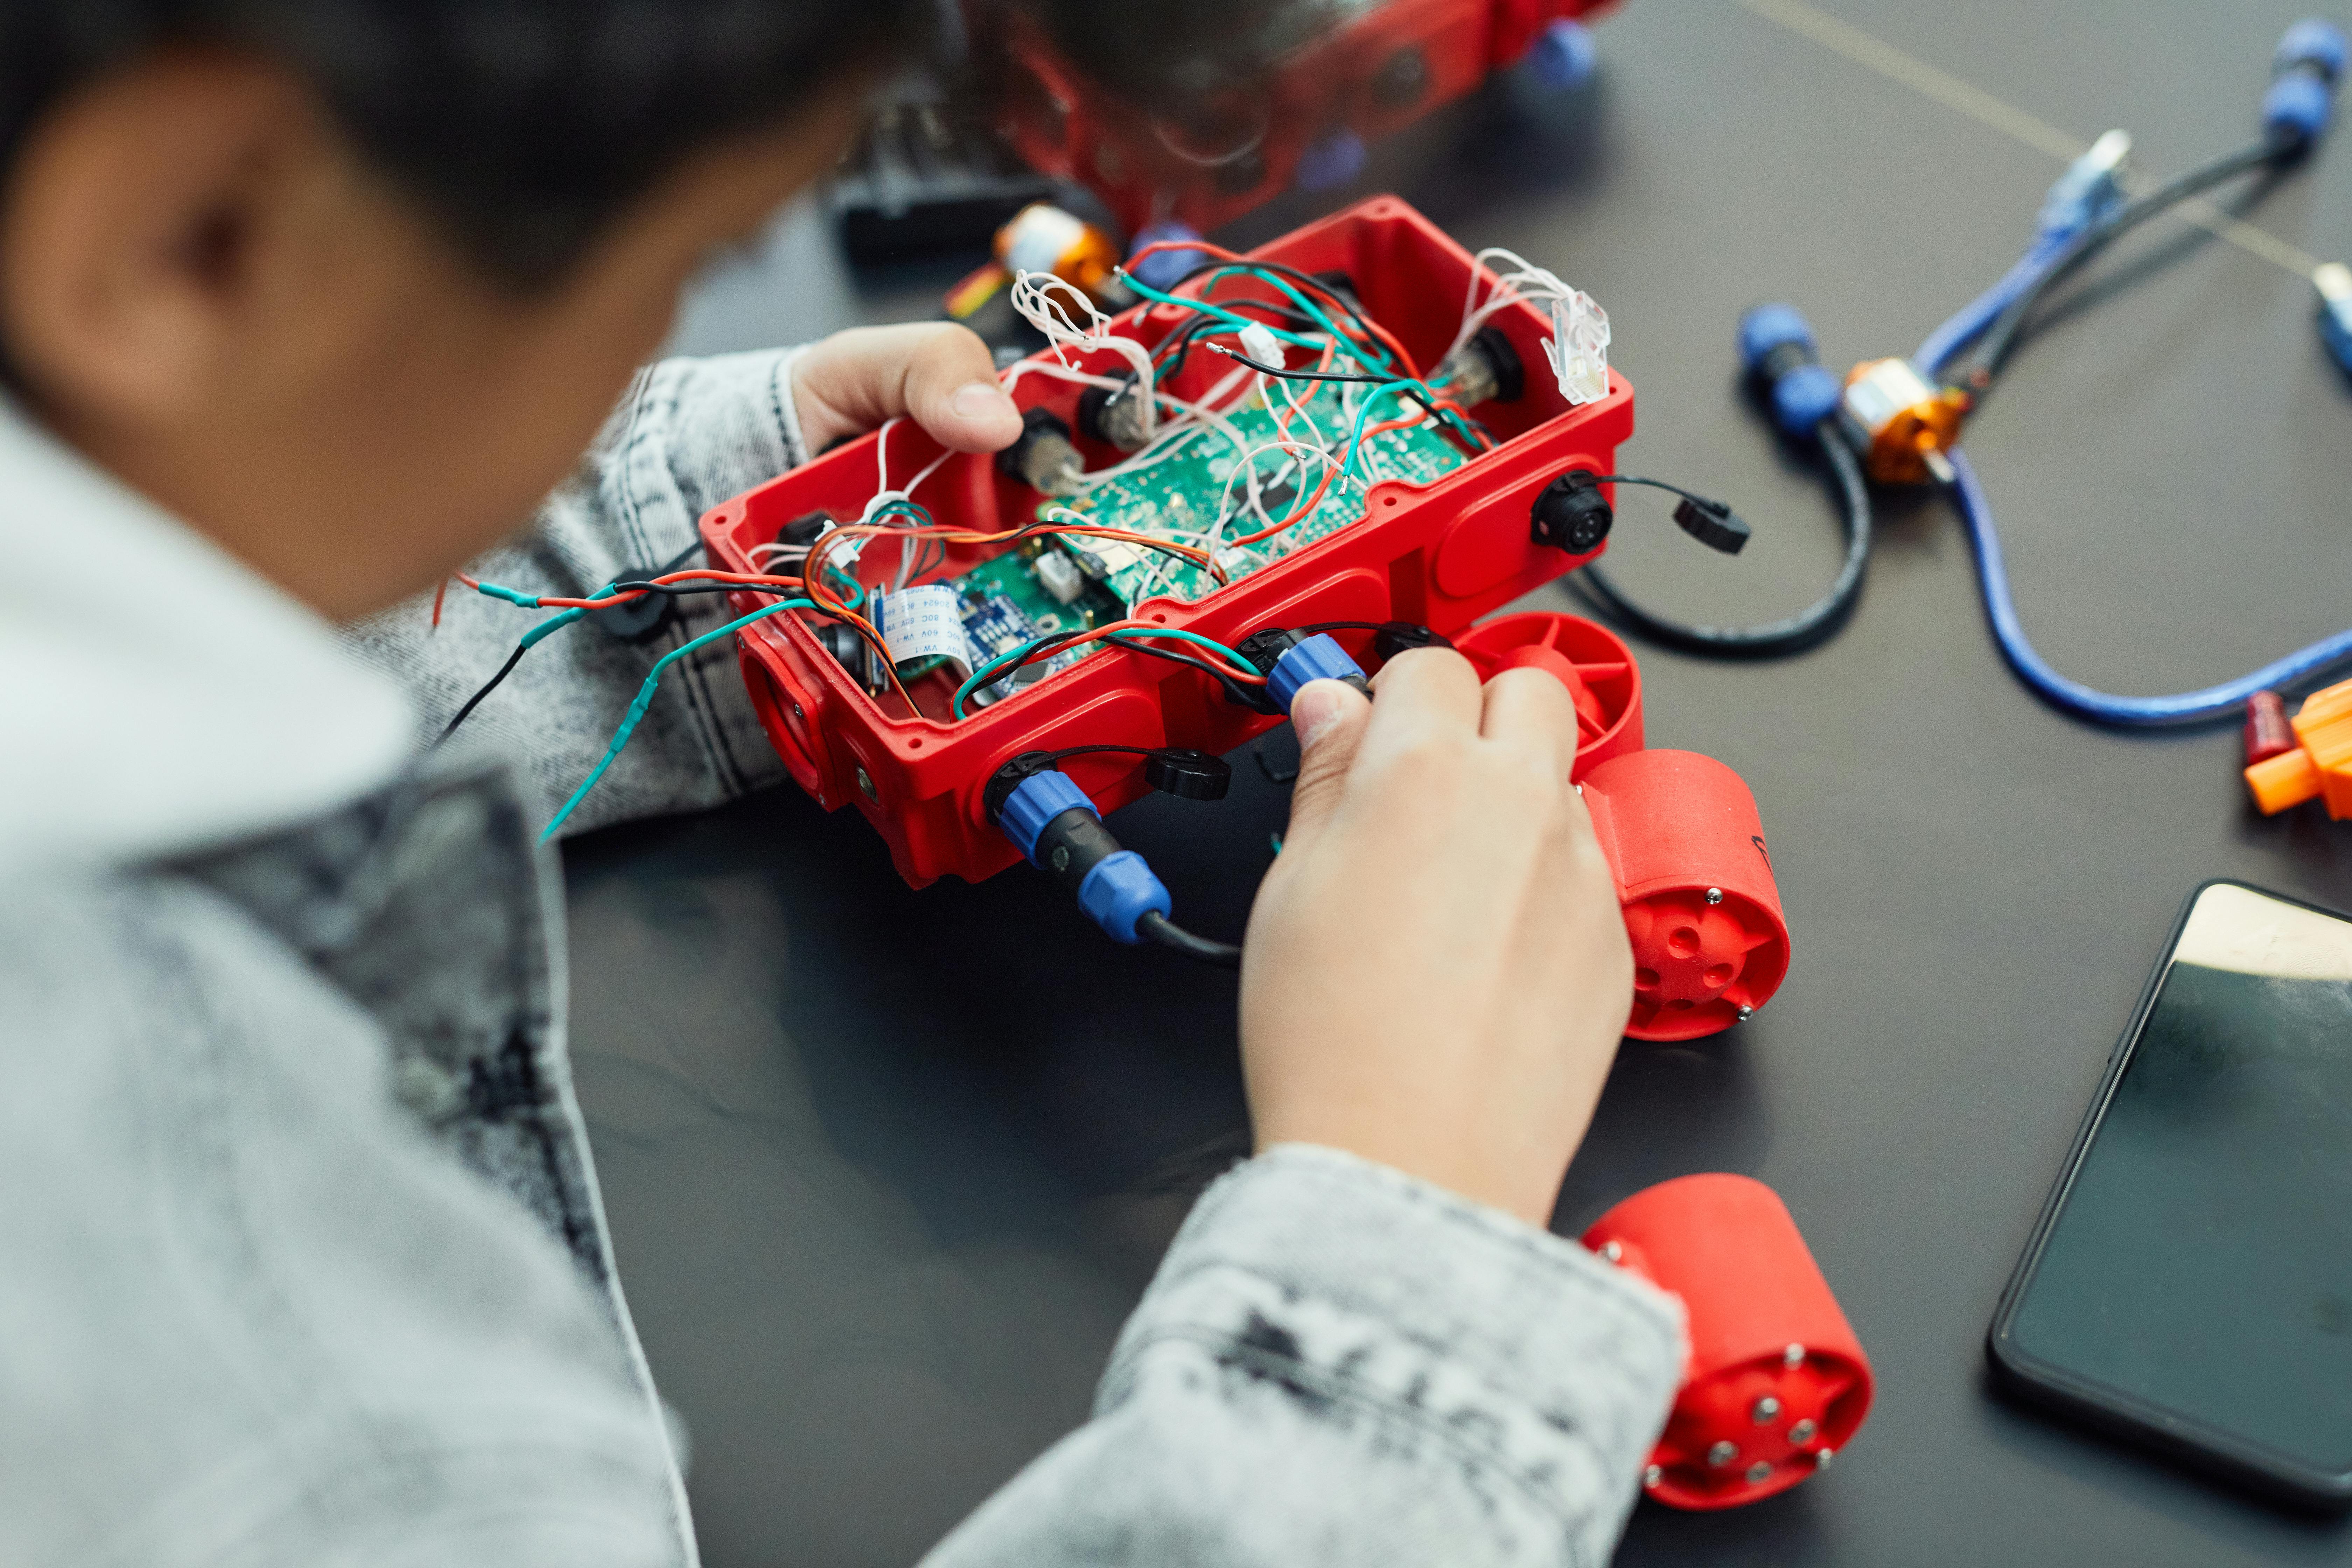
Easy Homemade Robot Project
Materials Needed:
- Tin cans or cardboard boxes
- Small DC motors (2)
- 9-volt battery and clip
- Switch
- Wheels (2)
- Hot glue and glue gun
- Tape
- Wire (assorted colors)
- Arts and crafts supplies for decoration
Steps:
Step 1: Setting Up Your Robot's Body
Using your tin can or cardboard box, create the body of the robot. Decorate it as desired using your craft supplies. Ensure to leave space for the motors and wheels.
Step 2: Attaching the Motors
Hot glue one motor to each side of the body. Make sure the rotating part of the motor is on the outside.
Step 3: Attaching the Wheels
On each motor, secure a wheel. It should be on the rotating part of the motor.
Step 4: Wiring the Motors to the Battery
Using the wires, connect one wire from each motor to the 9-volt battery clip. Attach the other wire on each motor to the switch.
Step 5: Securing the Battery and Switch
Hot glue the battery and switch to the top of the robot's body. Make sure to place them where you can easily turn the robot on and off.
Step 6: Final Check
Turn on the switch. Your robot wheels should spin and it should be able to move forward. If not, re-check your wiring and secure any loose connections.
Remember: this is a beginner project and the robot will only move in a straight line. You can make it more complex by using more motors and adding a remote control!


