


As an affiliate, I earn from qualifying purchases, but this doesn't affect the reviews or recommendations—your trust is important to me!
DIY Dreamcatchers: Fun and Creative Craft for Kids

```html
 ```
```
DIY Dreamcatchers: A Creative Project for Kids
Dreamcatchers Craft Adventure
DIY Dreamcatchers for Kids
Dreamcatcher Mobile Craft for Kids Room
Step 1: Creating the dreamcatcher
Step 2: Adding decoration to the dreamcatcher
Step 3: Preparing the family photograph
Step 4: Fixing the photo to the dreamcatcher
Step 5: Final Touch
Note: Adult supervision is required when children are using a hot glue gun or scissors.
Instructions for Suncatcher Dreamcatcher Craft
Craft Instructions: Dreamcatcher Storytelling Activity
Today, We're Making:
- - Dreamcatchers
- - Miniature Dreamcatcher Earrings
- - Dreamcatcher Mobile for Kids Room
- - Personalized Dreamcatcher with Family Photo Centre
- - Suncatcher Dreamcatcher using transparent colored beads
- - Dreamcatcher Storytelling Activity (create a dreamcatcher and the children can make up a story around it)
Did you know the ancient tradition of dreamcatcher making was initially a tribal practice by Native Americans, and it symbolized the protection of a peaceful sleep?
Fast forward to today, and they've become an immensely popular addition in homes, adding a hint of bohemian charm, and also a delightful DIY craft for kids.
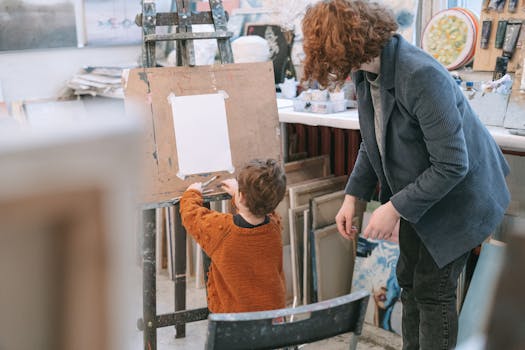
Creative kids projects like DIY Dreamcatchers
Not only do these projects bring out the budding artists in your little ones, but they also capture their vivid imaginations. From picking out materials, attaching feathers and beads, to weaving the intricate web, making dreamcatchers from scratch transforms into a satisfying journey of creativity.
In our 'Craft guide for kids', we’re going to help you and your kids create your very own magical dreamcatchers.
Time to help those tiny hands create some enchanting charm!
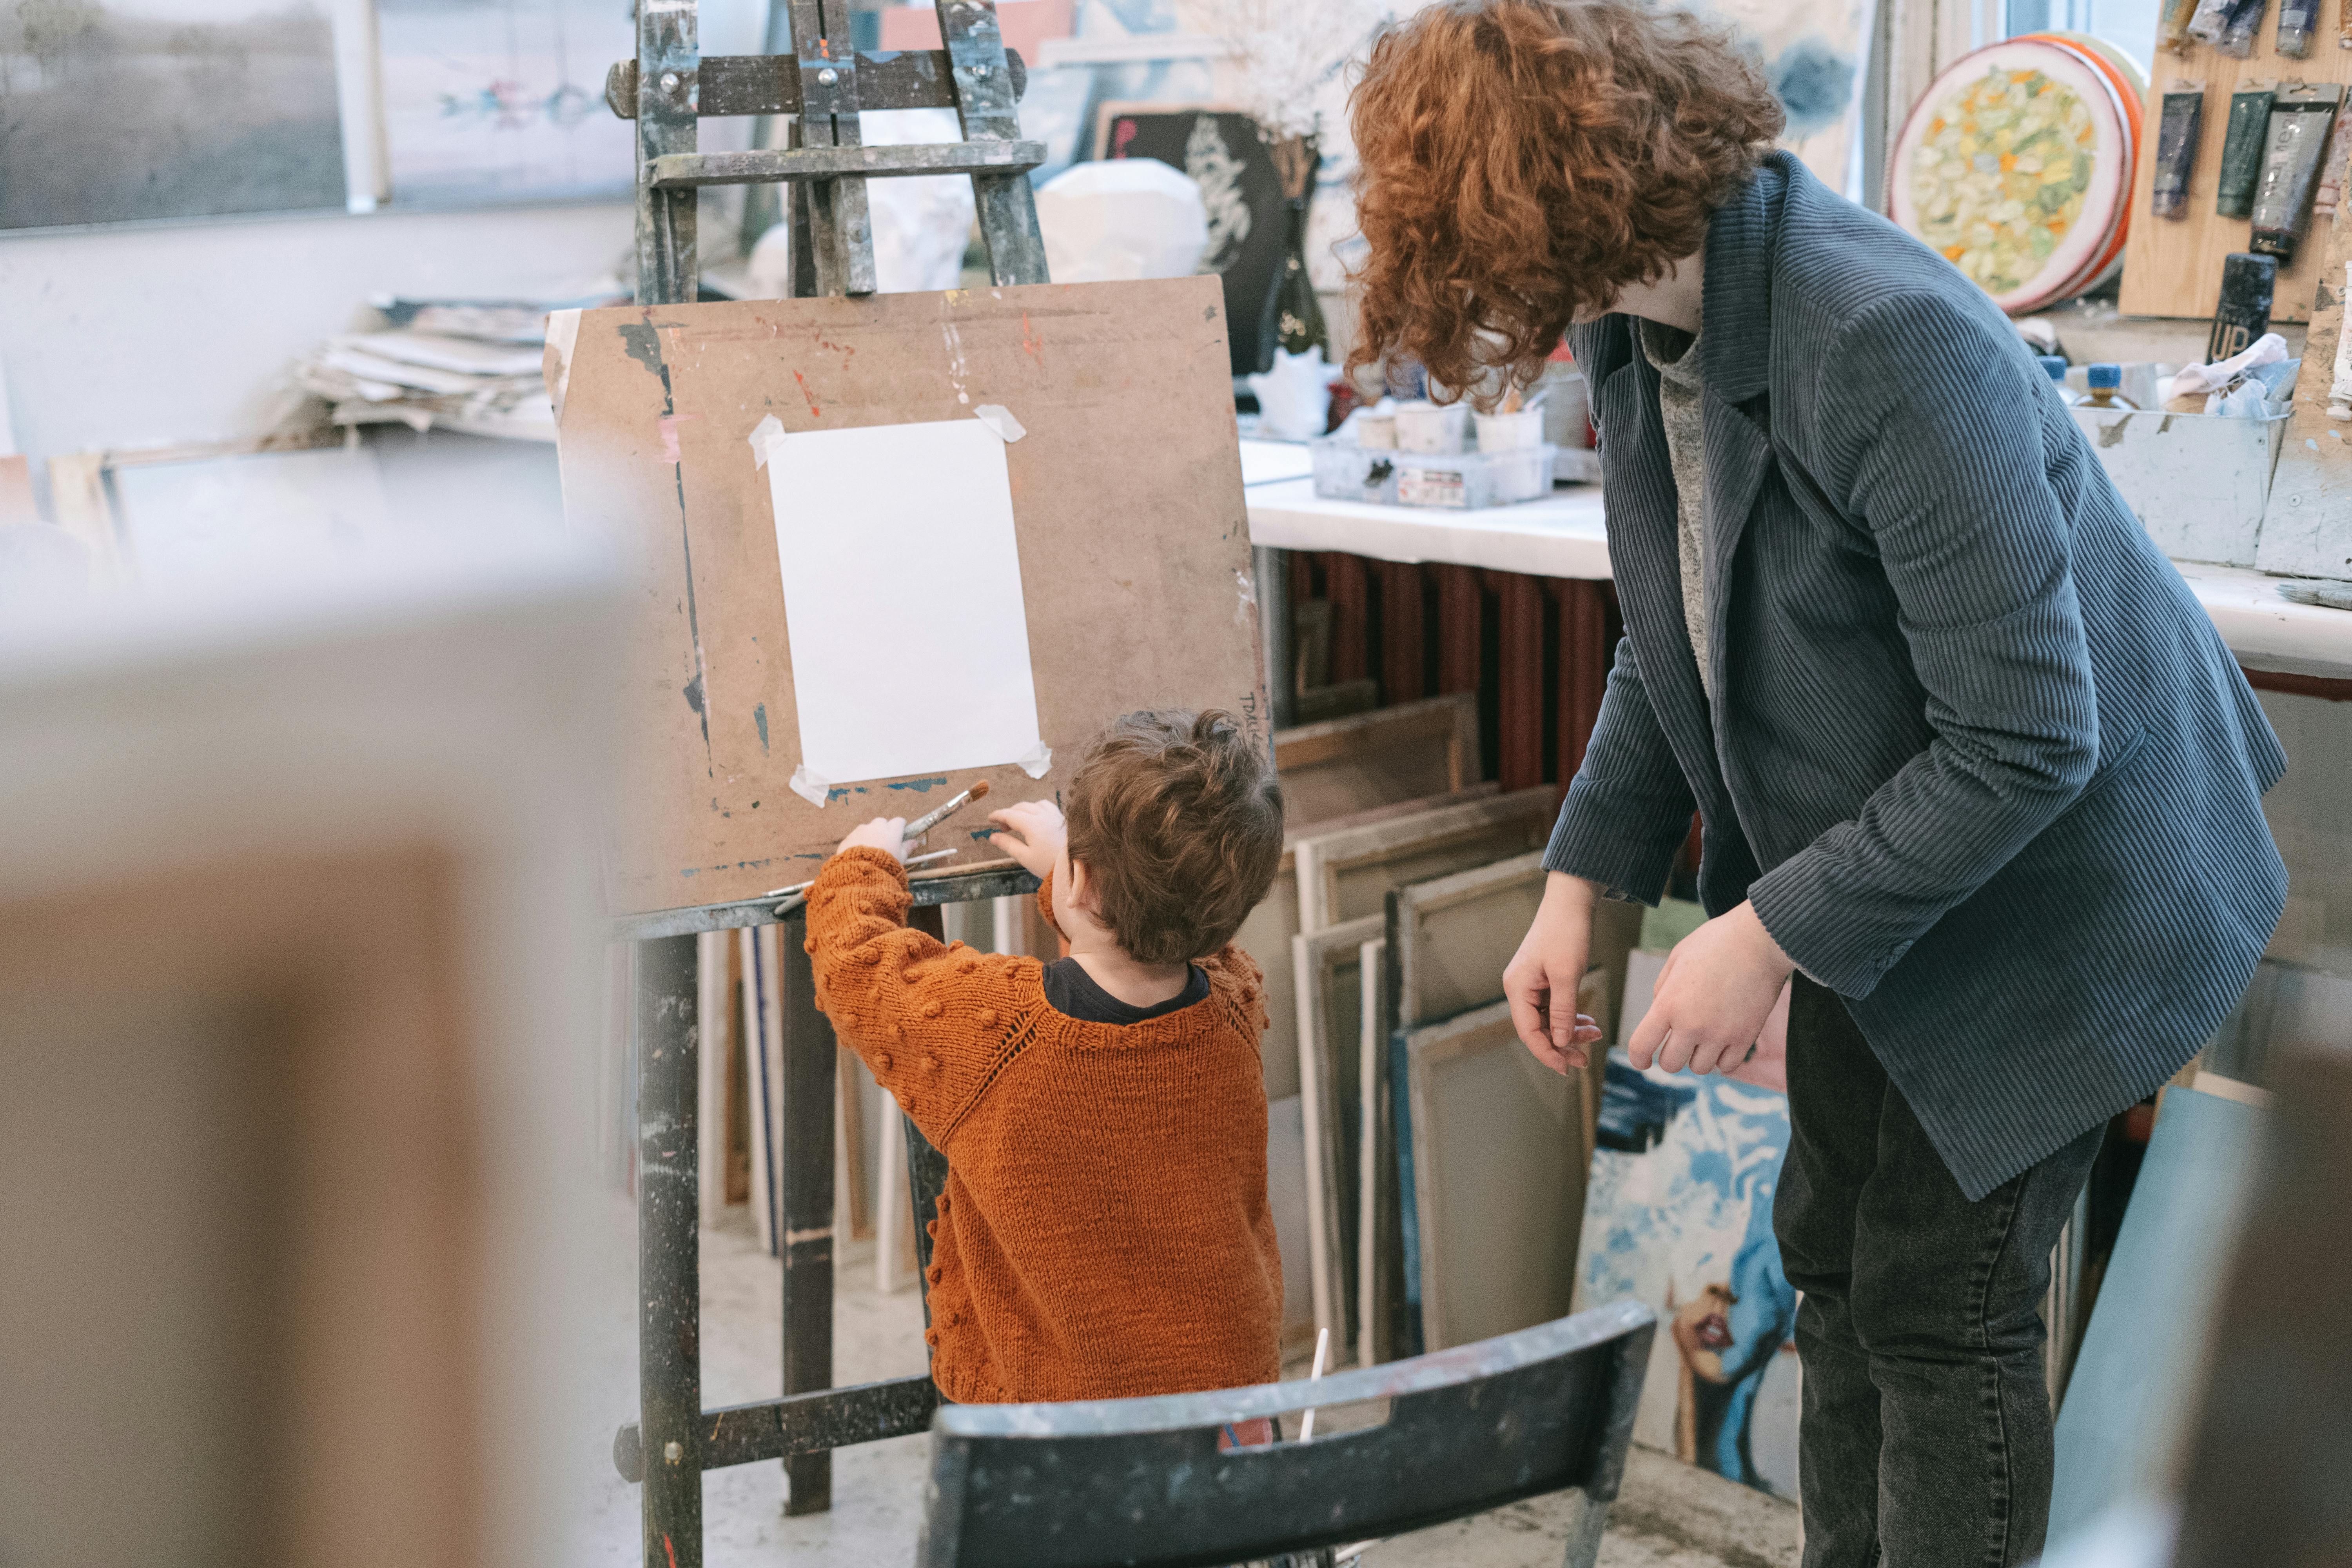
Starting your Dreamcatchers craft adventure
Starting your Dreamcatchers craft adventure begins with gathering the necessary materials. Look for feathers of different shapes and colors, varied sizes of round hoops (gardening wire, embroidery hoops, or even old bangles can work!), an assortment of beads, and some sturdy thread or twine. Remember, this Dreamcatchers tutorial is a DIY project for kids, so be sure to pick safe and child-friendly materials. The process of scouting and choosing supplies is an engaging activity in itself, sparking curiosity, decision-making, and excitement in your little ones. They'll love this fun, creative craft!
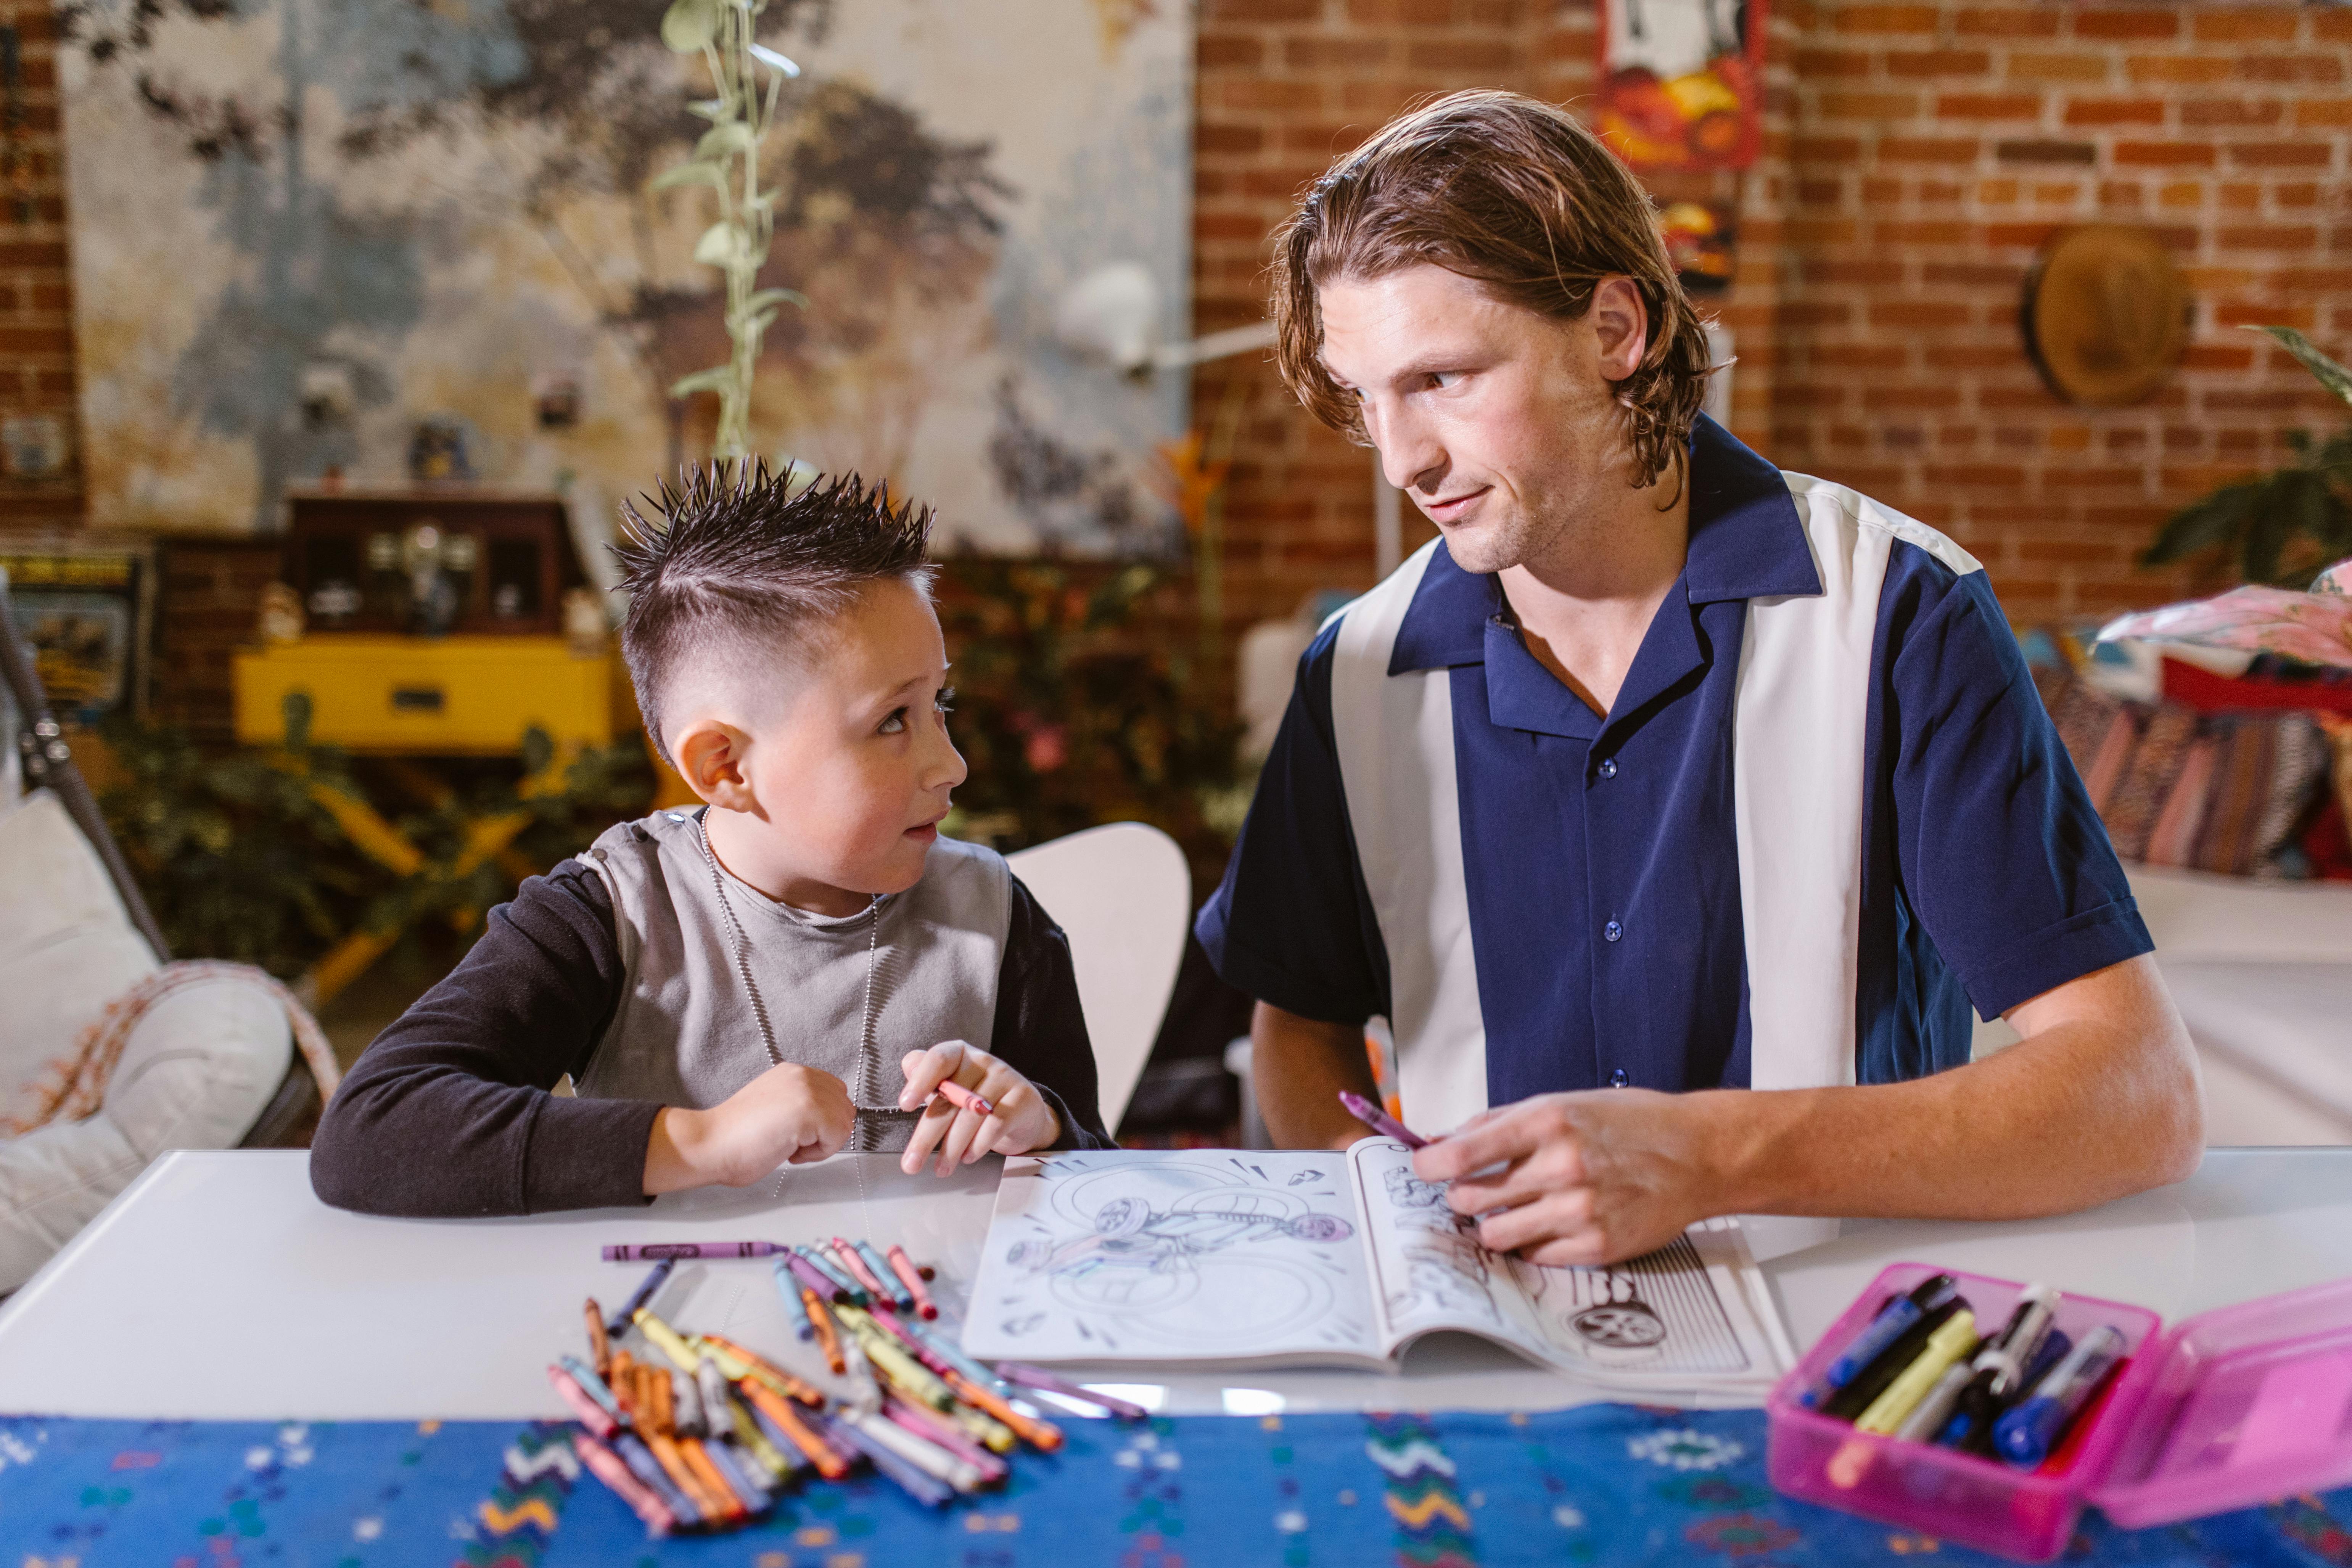
Craft Activities for Kids: Patience and Dexterity
Craft activities for kids, such as making dreamcatchers, are an easy way to teach patience and dexterity. Once the materials are set, begin by wrapping the hoop in thread or twine. Make a point to explain to the kids the purpose of each step in the Dreamcatcher making process. After all, our 'Craft guide for kids' is not just about following instructions; it's about stirring creativity, encouraging communication, and instilling a sense of achievement in the young minds. This Hands-on step will give them confidence in their ability to create.
Weaving the Web: Let Their Creativity Fly
Weaving the web in your DIY Dreamcatchers is where the real fun begins. Your kids can genuinely let their creativity fly by deciding how tightly to loop and knot their thread. This crucial step of the Dreamcatchers tutorial can be made more enjoyable by making it into a story. For instance, you can tell them that each thread in the dreamcatcher web captures a dream. Intricacies like these turn simple DIY projects for kids into treasuring moments that hold lifetime memories. The more dream webs they create, the better they'll get, and the more unique each dreamcatcher will be.
Attaching Feathers and Beads: No Exact Rules
Finally, when it comes to attaching feathers and beads, there are no exact rules. It's all about letting their artistic flair shine. Remind your young ones that feathers and beads are fantasy elements, so they should feel free to attach them wherever their imagination leads them. This interactive step adds an element of personal touch to each project, making those DIY Dreamcatchers truly one-of-a-kind.
Remember, creating dreamcatchers is more than just a fun Kids DIY project—it's also a valuable learning experience that roots confidence, creativity, and mindfulness in your children.
Unleashing the Artistic Prowess of Your Kids
And there you have it!
Unleashing the artistic prowess of your kids through DIY dreamcatchers has never been more fulfilling! It’s a wholesome experience that showcases the beautiful blend of fun and learning, as your little ones narrate their dreams through colorful feathers, sparkling beads, and an intricate web woven with love and dreams.
This Enchanting Craft Project
This enchanting craft project nourishes their imaginative spirit and instills a thrilling sense of accomplishment as they admire their bespoke dreamcatcher. May this crafty voyage be as magical as the dreamcatchers they create, capturing every bit of their ingenuity in its web.
Happy Crafting!
Happy crafting, dear fellow parents and tiny artists!
You May Also Like These:
Miniature Dreamcatcher Earrings Craft
Materials Needed:
- 2 small metal rings (1-2 inch diameter)
- Thread or thin yarn
- A needle
- Beads (small to medium-sized, preferably with large holes)
- Feathers
- 2 earring hooks
- 2 jump rings
- Pliers
Instructions:
Step 1: Wrapping the hoop
Start by wrapping your small metal ring with the thread or thin yarn. Keep it tight and ensure that the entire ring is covered. Tie off the end and trim any excess thread.
Step 2: Weaving the dreamcatcher
Take your thread and create a loop around the ring, then bring the end of the thread through the loop you just made. Repeat this step all the way around the ring. When you reach the starting point, continue the same process but loop the thread around the midpoint of the previous layer. Continue till you reach the center of the ring.
Step 3: Adding the beads
While weaving the dreamcatcher, you can thread beads onto the thread to add extra ornamentation. Simply slide the bead onto your thread and continue weaving. Place them randomly or in a pattern, it’s up to you.
Step 4: Adding the feathers
Tie the feathers to the bottom of your completed dreamcatcher. You can add them to the loose ends of your wrapping thread or tie them on with extra thread. Remember to secure them with a knot.
Step 5: Attaching the earring hooks
Open a jump ring with your pliers, thread it through the top of your dreamcatcher and then through the loop of your earring hook. Close the jump ring using your pliers.
Repeat all the steps to create a pair of earrings.
And there you have it!
Your very own pair of miniature dreamcatcher earrings. Not only are they a stylish accessory, but according to the Native American tradition they can also catch bad dreams and only let the good ones flow through.
Dreamcatcher Mobile Craft for Kids Room
Ingredients:
- Embroidery hoop (large and small)
- Feathers of various colors
- Embroidery floss or yarn
- Transparent fishing line
- Pony beads
- Scissors
- Fabric glue
Instructions:
Step 1: Build the Web
Using the embroidery floss or yarn, make a pattern of your choice on the larger hoop. Tie a knot to secure the floss at the end.
Step 2: Attach the Feathers
Use the fabric glue to attach the feathers to the end of several pieces of the fishing line. Allow them to dry.
Step 3: String the Beads
Add beads to the fishing line above the feathers for decoration. Tie a knot on both sides of the bead to prevent them from moving.
Step 4: Connect the Feathers to the Hoop
Tie the fishing line to the bottom of the hoop, evenly spacing the feathers.
Step 5: Create a Hanger
Cut a long piece of floss and tie it to the top of the hoop. Make a loop so you can hang your dreamcatcher.
Step 6: Repeat the process with the smaller hoop
Attach this smaller dreamcatcher to the main one with beads and feathered fishing line for a unique touch.
Now you have a beautiful homemade dreamcatcher for your kid's room!
Personalized Dreamcatcher with Family Photo Centre Craft Instructions
Materials You Will Need:
- Embroidery Hoop
- String, Yarn or Hemp
- Feathers, Beads, Fabric Strips
- Hot Glue Gun and Glue Sticks
- Scissors
- Your favourite family photograph (small size)
- Cardboard or Photo Paper
- One small circular item ( like a quarter)
- Clear Packing Tape
Instructions:
Step 1: Creating the dreamcatcher
- Take the embroidery hoop and untie the string wrapped around it.
- Using the string, yarn, or hemp, create a spiderweb-like pattern within the hoop. There are plenty of tutorials on YouTube if you're unsure how to create this pattern.
- Once your spiderweb pattern is complete, tightly knot the string and trim off excess length.
Step 2: Adding decoration to the dreamcatcher
- Hot glue the feathers, beads, and fabric strips to the bottom part of the hoop. It creates a nice decorative flow.
- You're free to decorate as you wish, but it's generally best to start from the middle and work your way out.
Step 3: Preparing the family photograph
- Using your small circular item as a guide, cut a circle around the part of the photograph you want to use.
- Stick the photo onto the cardboard or photo paper using clear packing tape. Ensure the picture is secure and won't slide or move around.
Step 4: Fixing the photo to the dreamcatcher
- Now attach the prepped photo at the center of the dreamcatcher using hot glue gun ensuring that it's secure.
Step 5: Final Touch
- Add any additional decorations to the hoop as desired.
- Your Personalized Dreamcatcher with Family Photo Centre is now ready to be displayed!
Note: Adult supervision is required when children are using a hot glue gun or scissors.
Suncatcher Dreamcatcher Craft Instructions
Ingredients:
- Transparent colored beads
- Sturdy wire (preferably non-rust)
- Thin, flexible wire or fishing line
- Small pliers
- Ribbon or fabric for decoration (optional)
Instructions:
- Shape the sturdy wire: First, use the pliers to mould the sturdy wire into a circle. This will act as the frame for our dreamcatcher.
- Prepare the beads and fishing line: Sort your beads in the order you want them on the dreamcatcher. Then, thread them onto the fishing line.
- Attach the beads to the frame: Wrap the fishing line with the beads around the wire circle at intervals, creating a pattern that resembles a web. Secure each wrap tightly to ensure the beads are well-held.
- Add extras: If you wish, add ribbons, tassels, or extra beads on the bottom of the frame for additional decoration.
- Preparation for hanging: Finally, create a small loop at the top of the dreamcatcher with a piece of wire or fishing line so that it can be hung facing a window. The sunlight will shine through the beads, creating a beautiful, colorful effect!
Craft for Dreamcatcher Storytelling Activity
Ingredients:
- A hoop (an embroidery hoop works best)
- String or wool
- Feathers
- Beads
- A needle
Instructions:
Step 1: Start by securing the end of your string or wool to the hoop. You can do this by making a simple knot.
Step 2: Start wrapping the string or wool around the hoop until it's completely covered. Make sure it's tightly wrapped so it won’t slide around.
Step 3: Once you're back to the starting point, start creating the web of the dream catcher. Go through around the hoop with the string creating loops as you go along.
Step 4: When you reach the centre of the hoop, create a loop., this is where the dreams will be 'caught'.
Step 5: At this point, you can choose to add beads to your dream catcher. Thread them onto your string and let them hang in the centre of your dream catcher.
Step 6: Use the remaining string to hang feathers from the bottom of the dreamcatcher. You can add as many feathers as you like.
Step 7: Now that your dream catcher is ready, encourage your children to make up a story around it. They can imagine what kind of dreams it may catch or create a story about the dream catcher's journey.


