


As an affiliate, I earn from qualifying purchases, but this doesn't affect the reviews or recommendations—your trust is important to me!
DIY Fun: Making Macrame Plant Hangers and More at Home


Today, We're Making:
- - DIY Macrame Plant Hanger
- - Homemade Lava Lamp Experiment
- - Peanut Butter Energy Balls Recipe
- - Virtual Scavenger Hunt Game.
- - DIY Galaxy Jar Craft
- - Paper Plane Engineering Challenge
- - Mini Pizza Making session
- - Recycled Material Cardboard Castle
- - Space-Themed Bingo Game.
In the Heart of Every Home: A Canvas for Creative Expression
In the heart of every home, there's an opportunity for creative expression longing for a chance to shine. For those who've already been bitten by the DIY crafting bug, or others just beginning their crafting journey, our homes have become our canvas. One simple, fun and eco-friendly home decor trend that's been making a major comeback is Macrame!
DIY Macrame Plant Hangers: A Touch of Boho Home Decor
Notably, DIY Macrame plant hangers offer a charming and sustainable solution to your indoor gardening DIY project needs - adding a touch of boho home decor to your personal space as you invite an element of urban jungle into your interiors.
Pick Up Your Crafting Supplies and Get Inspired
In this blog post, we're not only going to delve into the knotting techniques of making a beautiful handcrafted macrame plant hanger but will also explore other nifty DIY projects like the homemade lava lamp experiment and the tasty peanut butter energy balls recipe. So, grab your craft supplies, unleash your creativity, and let's add some personal flair to our homes, one DIY project at a time!
DIY Macrame Plant Hanger – The Perfect Addition to Your Indoor Plant Decor
First thing's first! Let's begin our DIY crafting journey with the fascinating art of Macrame. Making your own DIY Macrame plant hanger may seem intimidating at first, but you'll be amazed at how easy it is once you've got the hang of simple knotting techniques. To get started, all you need for your handcrafted home decor item is some cord, a ring, a plant pot and a healthy dose of enthusiasm!
- Start by cutting eight lengths of cord, each about 10 feet long.
- Thread all eight lengths through the ring and fold in half, creating a 'loop' at the ring.
- About two feet down, knot all the cords together to create a thick knot - this marks the top of your plant holder.
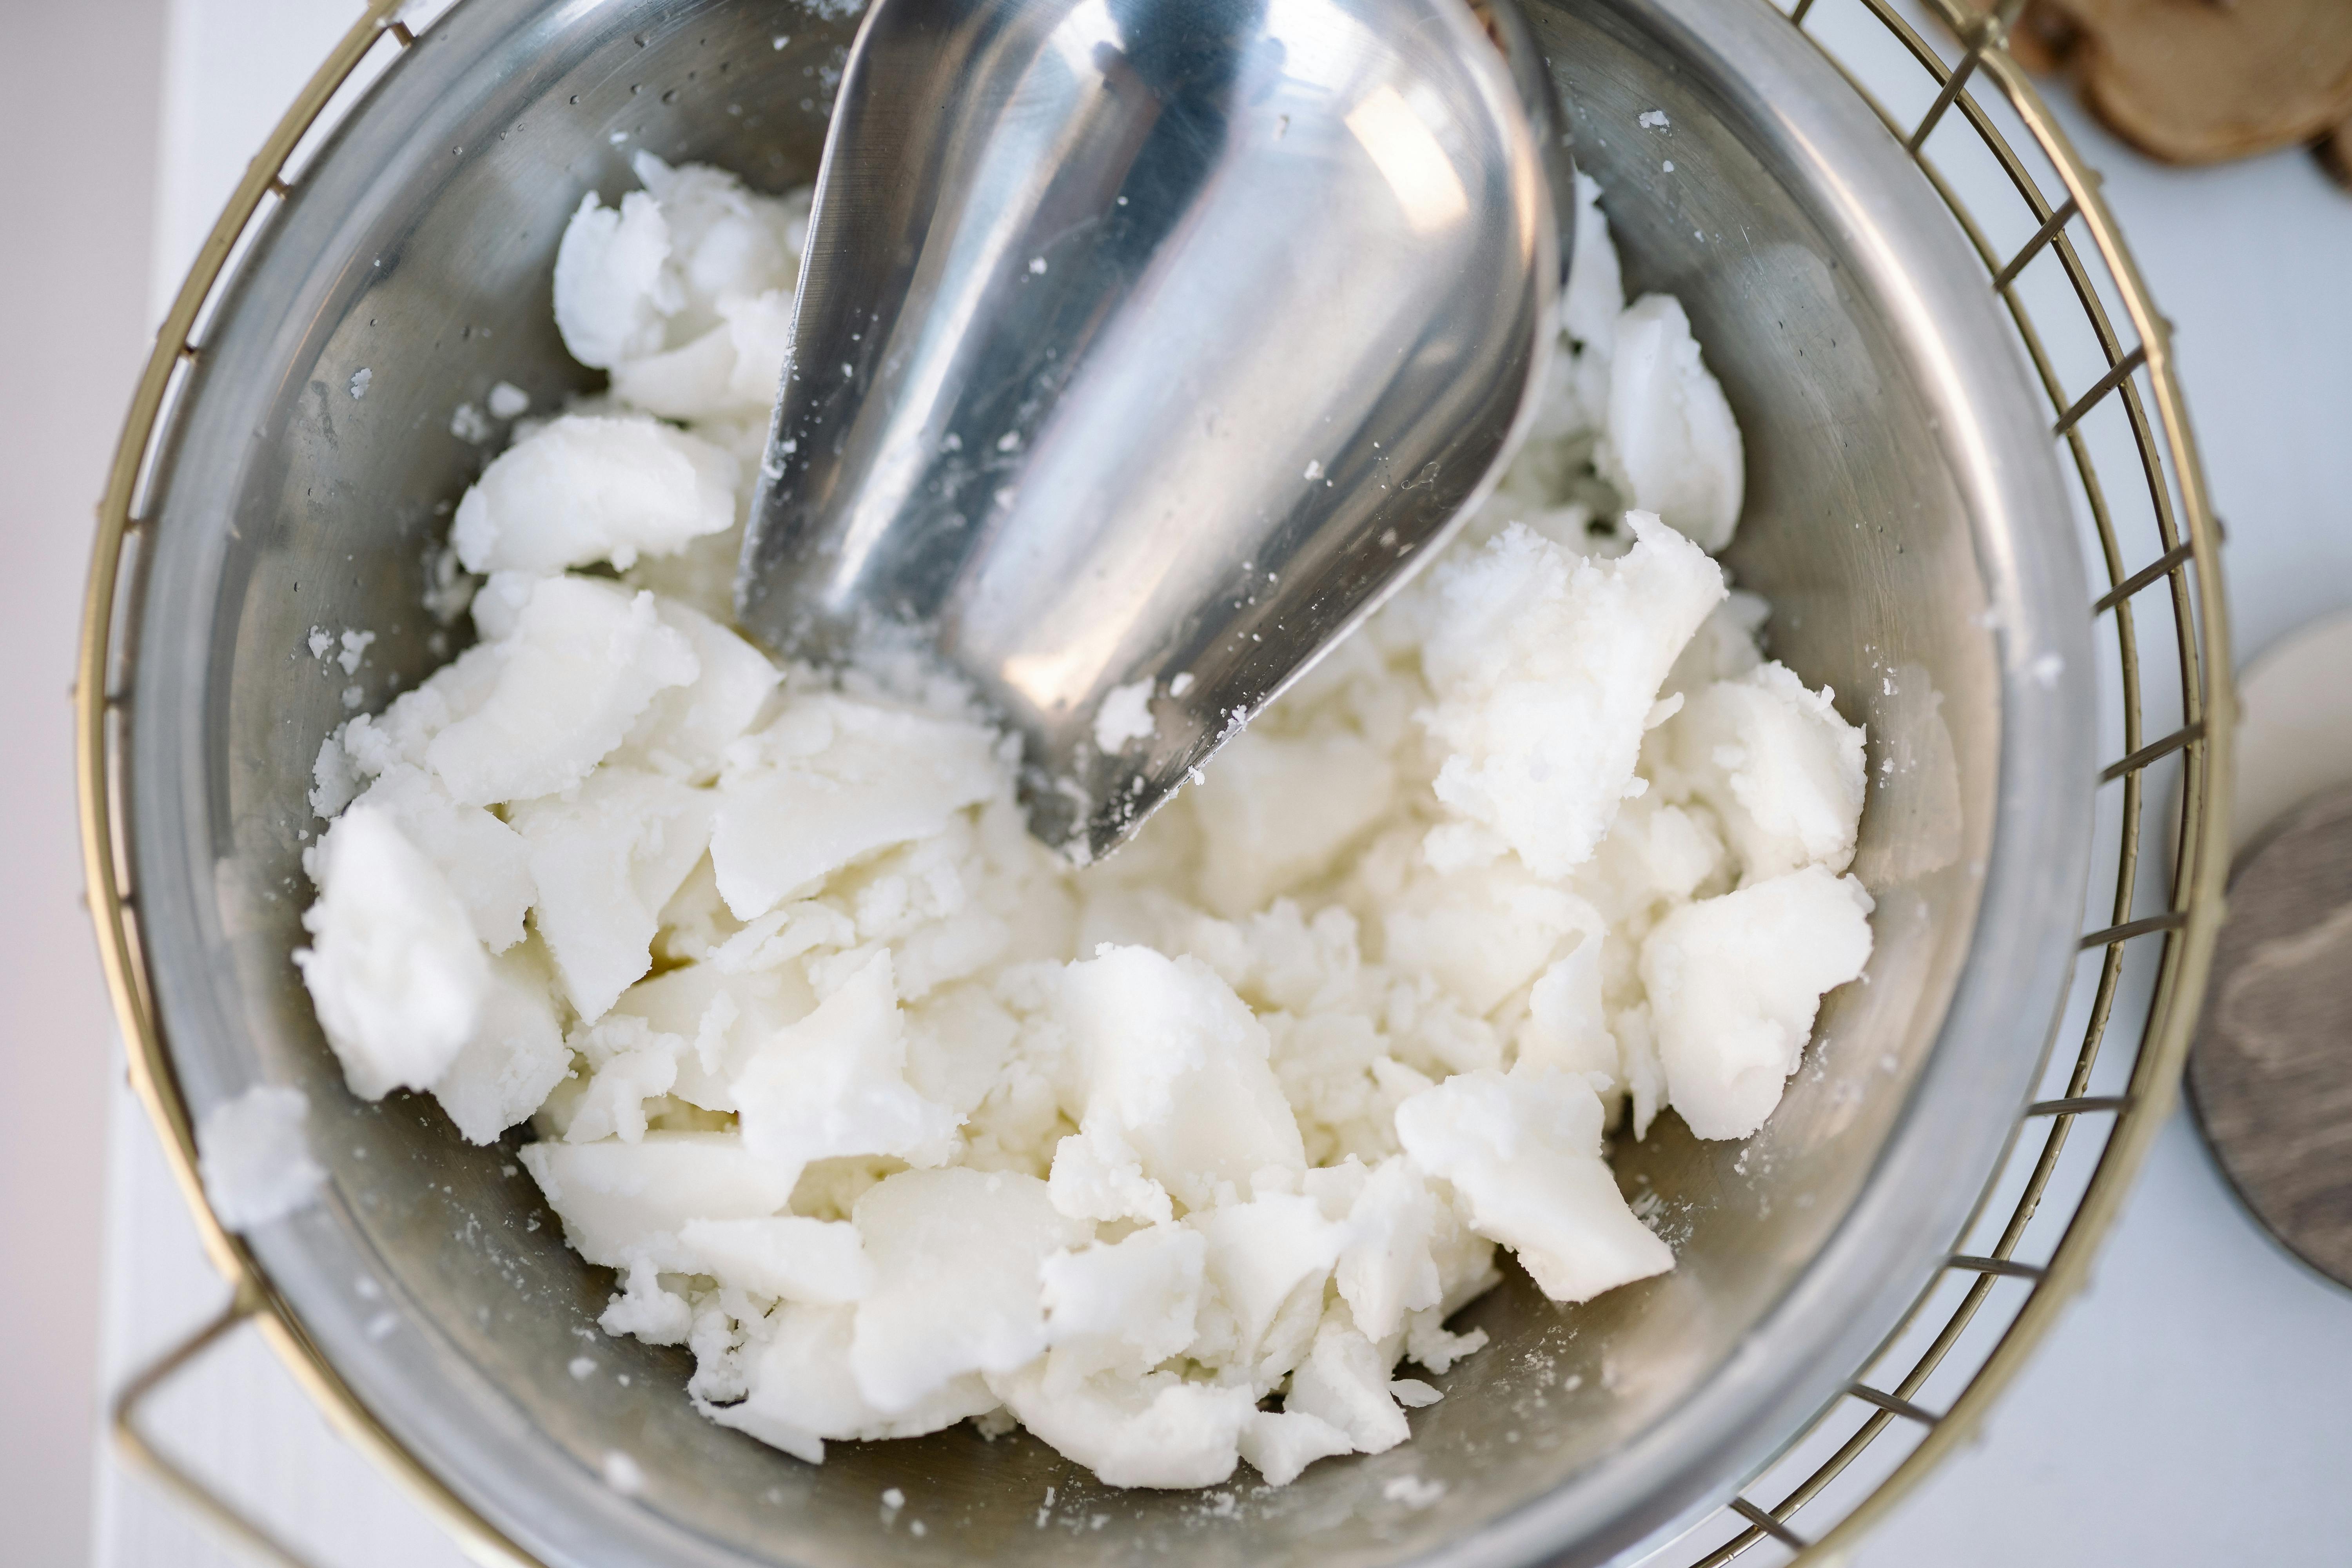
Homemade Lava Lamp Experiment – Fun and Science Rolled Into One!
Moving on from the green living trend to an explosive Science experiment, let's delve into the homemade lava lamp experiment - merging arts and crafts with practical learning. This project is a delightful showstopper, and it's every bit as mesmerising as the real deal, minus any complex electrical wiring or heat lamps!
- Start by filling a clear jar three-quarters full with vegetable oil.
- Pour in water up until the jar is nearly full.
- Drop a few drops of food colouring of your choice.
- Break an effervescent tablet, like Alka-Seltzer, into small pieces and drop them in.
Peanut Butter Energy Balls Recipe - A Delicious DIY Treat
In all this DIY crafting, there's no excuse to forget the snack! Our Peanut butter energy balls recipe is a simple, no-bake snack that's amazing for that in-between crafting energy boost.
- Combine one cup of old-fashioned oats, half a cup of peanut butter, one-fourth cup of honey, half a cup of chocolate chips and one tablespoon of chia seeds in a bowl.
- Roll them into balls and refrigerate until firm.
Virtual Scavenger Hunt Game – A Fun-Filled DIY Endeavor
Lastl cooked, let's y, let's take a moment to step back from the physical crafting and dive into a fun-filled virtual activity – A DIY Virtual Scavenger Hunt Game! Who said you can't have fun online while staying indoors? This fantastic DIY project adds an element of adventure and excitement to your usual indoor activities.
- Make a list of items or clues that participants can find within their homes or online.
- Set a time limit for the game.
- Start the hunt!
The Magic of DIY Crafts
We've unraveled the knotting mystery of macrame plant hangers, witnessed the vibrant dance of the homemade lava lamp experiment, savored the delightful peanut butter energy balls, and delved into the exciting options of a virtual scavenger hunt.
Whether you're a seasoned DIY enthusiast or a beginner, every day presents an opportunity to challenge your creativity and bring your love for DIY crafts to life.
By adding personal accents to your home through these projects, you make your living space uniquely yours. These are not just handicrafts but pieces of your heart, creativity, and resilience.
The Essence of DIY
Remember, the essence of DIY is to have fun, learn new things, express your individuality and create memories. Start today, your home, your rules, and endless creative possibilities await!

You May Also Like These:
DIY Galaxy Jar Craft
Ingredients
- 1 large glass jar (ideally with a lid)
- Cotton balls
- Glitter of different colours
- Metallic paint (preferably purple, blue and black)
- Water
- Spoon or a stick for stirring
Instructions
Follow these step-by-step instructions to create your own galaxy in a jar:
- Begin by stretching the cotton balls a little so they are light and fluffy.
- Put the fluffy cotton balls into the bottom of the glass jar until it's about one-third full.
- Add a layer of glitter on top of the cotton balls. The more glitter you add, the more stars will be in your galaxy.
- In a separate container, mix water and a dollop of metallic paint until the water is coloured.
- Pour this coloured water into the jar until the cotton becomes soaked and all the glitter is covered.
- Add another layer of cotton balls on top of this, followed by more glitter, and then more coloured water. Try using a different coloured paint this time to give your galaxy some depth.
- Continue this process until you reach the top of the jar, and then seal it with the lid.
- Give the jar a good shake to mix the colours and simulate a swirling galaxy effect.
Mini Pizza Making Session
Take a fun approach to meal times by taking your kids on a culinary adventure, making mini pizzas! Here's what you need:
Ingredients
- For the base:
- 2 cups of self-rising flour
- 1 cup of Greek yogurt
- For the toppings:
- 1 cup of pizza sauce
- 1.5 cups of shredded mozzarella cheese
- Your choice of vegetables, meats or other toppings
Instructions
- Prepare the dough: Combine self-rising flour and Greek yogurt in a bowl. Stir until the mixture forms a dough-like consistency. On a flour-dusted surface, knead the dough until smooth.
- Preheat the oven: While preparing the bases, preheat your oven to 450°F (230°C).
- Shape the pizza bases: Divide the dough into small balls. Press and stretch each ball on a baking paper-lined tray to the desired thickness.
- Add the toppings: Spread a thin layer of pizza sauce over each mini pizza base. Sprinkle mozzarella cheese and your chosen toppings.
- Bake: Put the tray in the preheated oven and bake for 10-12 minutes or until the cheese is bubbly and golden.
- Enjoy: Allow the mini pizzas to cool for a few minutes before serving.
Note: Supervision is recommended throughout the process, especially when using the oven.
Mini Pizza Making Session
Ingredients:
- Small pizza bases
- Pizza sauce
- Grated mozzarella cheese
- Your favourite pizza toppings (pepperoni, sliced bell peppers, olives, mushrooms, etc.)
Instructions:
- Preheat oven: Preheat your oven to 200C/180C Fan/Gas 6.
- Prepare the bases: Dish out the small pizza bases onto a baking sheet.
- Spread the sauce: Generously spread pizza sauce over each base.
- Add cheese: Sprinkle a good amount of grated mozzarella cheese on top of the sauce.
- Add toppings: Add your favourite pizza toppings evenly over the cheese.
- Bake: Pop the mini pizzas in the preheated oven and bake for around 10-12 minutes or until the cheese is bubbling and slightly golden.
- Enjoy: Once baked, allow the mini pizzas to cool for a few minutes, then serve and enjoy!
Recycled Material Cardboard Castle Project
Engage your kids with this fun and educational STEM project; create a grand castle right out of recycled cardboard! This imaginative project encourages learning through creative play.
Ingredients
- Large Cardboard Boxes
- Scissors
- Paint (Optional)
- Tape
- Markers
Instructions
- Gather the Materials: Collect all the needed materials. Look for large, sturdy cardboard boxes.
- Design Your Castle: Sketch a rough outline of the castle, deciding where the doors, windows, and towers will be.
- Cut Out the Pieces: Based on your design, carefully cut out the castle pieces from the cardboard boxes. Remember to also cut out spaces for the doors and windows.
- Assemble the Castle: Tape together pieces to create your castle. Start with the walls, followed by the towers. Be sure to secure all joins firmly with tape.
- Decorate: Now comes the exciting part! Use the paint and markers to decorate your castle. Be sure to allow any paint to dry completely before playing.
Games to Play with the Cardboard Castle
Here are a few ideas for games to play with your newly built castle:
- Capture the Flag - Design little flags that can be placed in different areas of the castle to encourage imaginative play.
- Royal Tea Party - Bring in the stuffed animals for a plush-only royal tea party.
- Defend the Castle - Create soft paper balls to serve as 'rocks' for an exciting castle defense game.
Making a cardboard castle is more than just a fun craft project. It’s a great tool for kids to engage in imaginative play and learn valuable STEM concepts. Building it together forms lifelong learning and bonding experiences. Happy building!
Space-Themed Bingo Game
This easy and fun Space-Themed Bingo Game will let your children explore the universe without leaving their seats!
Materials Needed
- Bingo cards
- Printer and paper
- Space-themed stickers or markers
- Scissors (for cutting out the bingo cards if needed)
Instructions
Step 1: Preparing the Bingo Cards- Print out the bingo cards. You could easily create your own or find printable ones online. Each card should have a different arrangement of space-themed symbols or pictures (like planets, stars, rockets, astronauts, etc.). Remember to prepare at least one card per participant.
- Cut out the bingo cards if needed.
- Give each child a bingo card and some space-themed stickers or a marker.
- Explain to the children that the objective of the game is to be the first to get five pictures in a row, horizontally, vertically, or diagonally.
- Begin calling out space-themed pictures randomly from a separate list prepared beforehand. If a child has that picture on their bingo card, they can place a sticker or mark it off with their marker.
- When someone gets five images in a row, they should call out 'Bingo!' Check their card to verify they have marked off the correct images. If they have, they are the winner!
- Continue to play as many rounds as you want, creating new cards each time or erasing the old markings (if you used erasable markers).


