


As an affiliate, I earn from qualifying purchases, but this doesn't affect the reviews or recommendations—your trust is important to me!
DIY Pencil Toppers: Fun and Creative Craft for Kids

Today, We're Making:
- Felt Animal Pencil Toppers: Using a few pieces of different colored felt,kids can cut out shapes to resemble their favourite animal. Using glue,they can assemble the felt pieces onto the top of the pencil for an adorable animal topper.
- Pom Pom Pencil Toppers: This craft involves making small pom-poms out of yarn and glueing them onto the top of pencils. They can add wiggly eyes and felt pieces to create faces on these fluffy toppers.
- Clay Monster Pencil Toppers: Using non-hardening clay,kids can mold silly or scary monster faces and attach them to the tops of their pencils. Different colored clays and googly eyes can make this a fun and creative exercise.
- Beaded Pencil Toppers: This craft requires a selection of colorful beads and some thin wire. Children can thread the beads onto the wire,twist it around the top of the pencil.
Experience the Joy of Creativity with DIY Pencil Toppers
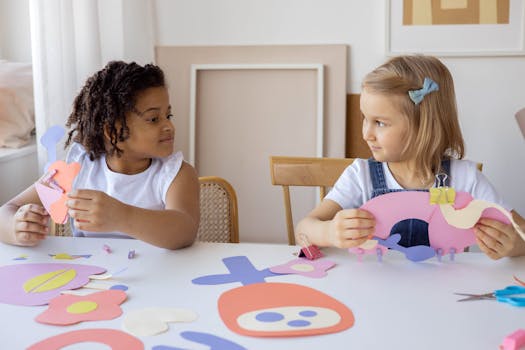
Do you remember when a simple piece of stationary was your gateway to a world of creativity? Let's jog some of that childlike wonder and excitement with fun and creative kids crafts, specifically, DIY pencil toppers.
Studies have shown that such imaginative activities, like crafting pencil toppers, can stimulate a young child's creativity, enhance their focus, and even develop their motor skills.
In Today's Blog
In our blog today, we are going to explore handmade pencil toppers that are not only a terrific children's art project but an exciting, easy, and educational craft that leaves room for a plethora of creativity and fun.
Let's Embark on an Art-Filled Adventure
Hang on to your craft materials as we embark on this art-filled adventure together.
Pencil Toppers: Miniature Storytellers Disguised as Crafts for Kids
At its heart, pencil toppers can become miniature storytellers. Whether children opt for whimsical creatures, oversized flowers, or superheroes, the outcome is an array of fun crafts waiting to be explored and engaged with.
Look at it this way: every child's pencil holds the potential to be a springboard for unending art creativity. The visual beauty of DIY crafts for kids is that each project can be tailored to an individual child's personality and interests. Is your little one a space enthusiast? Cosmic rocket pencil toppers make writing a thrilling trip across the galaxy. Or does your child adore the animal kingdom? Fox, owl, or adorable bear toppers bring an element of the wild right to their desk.
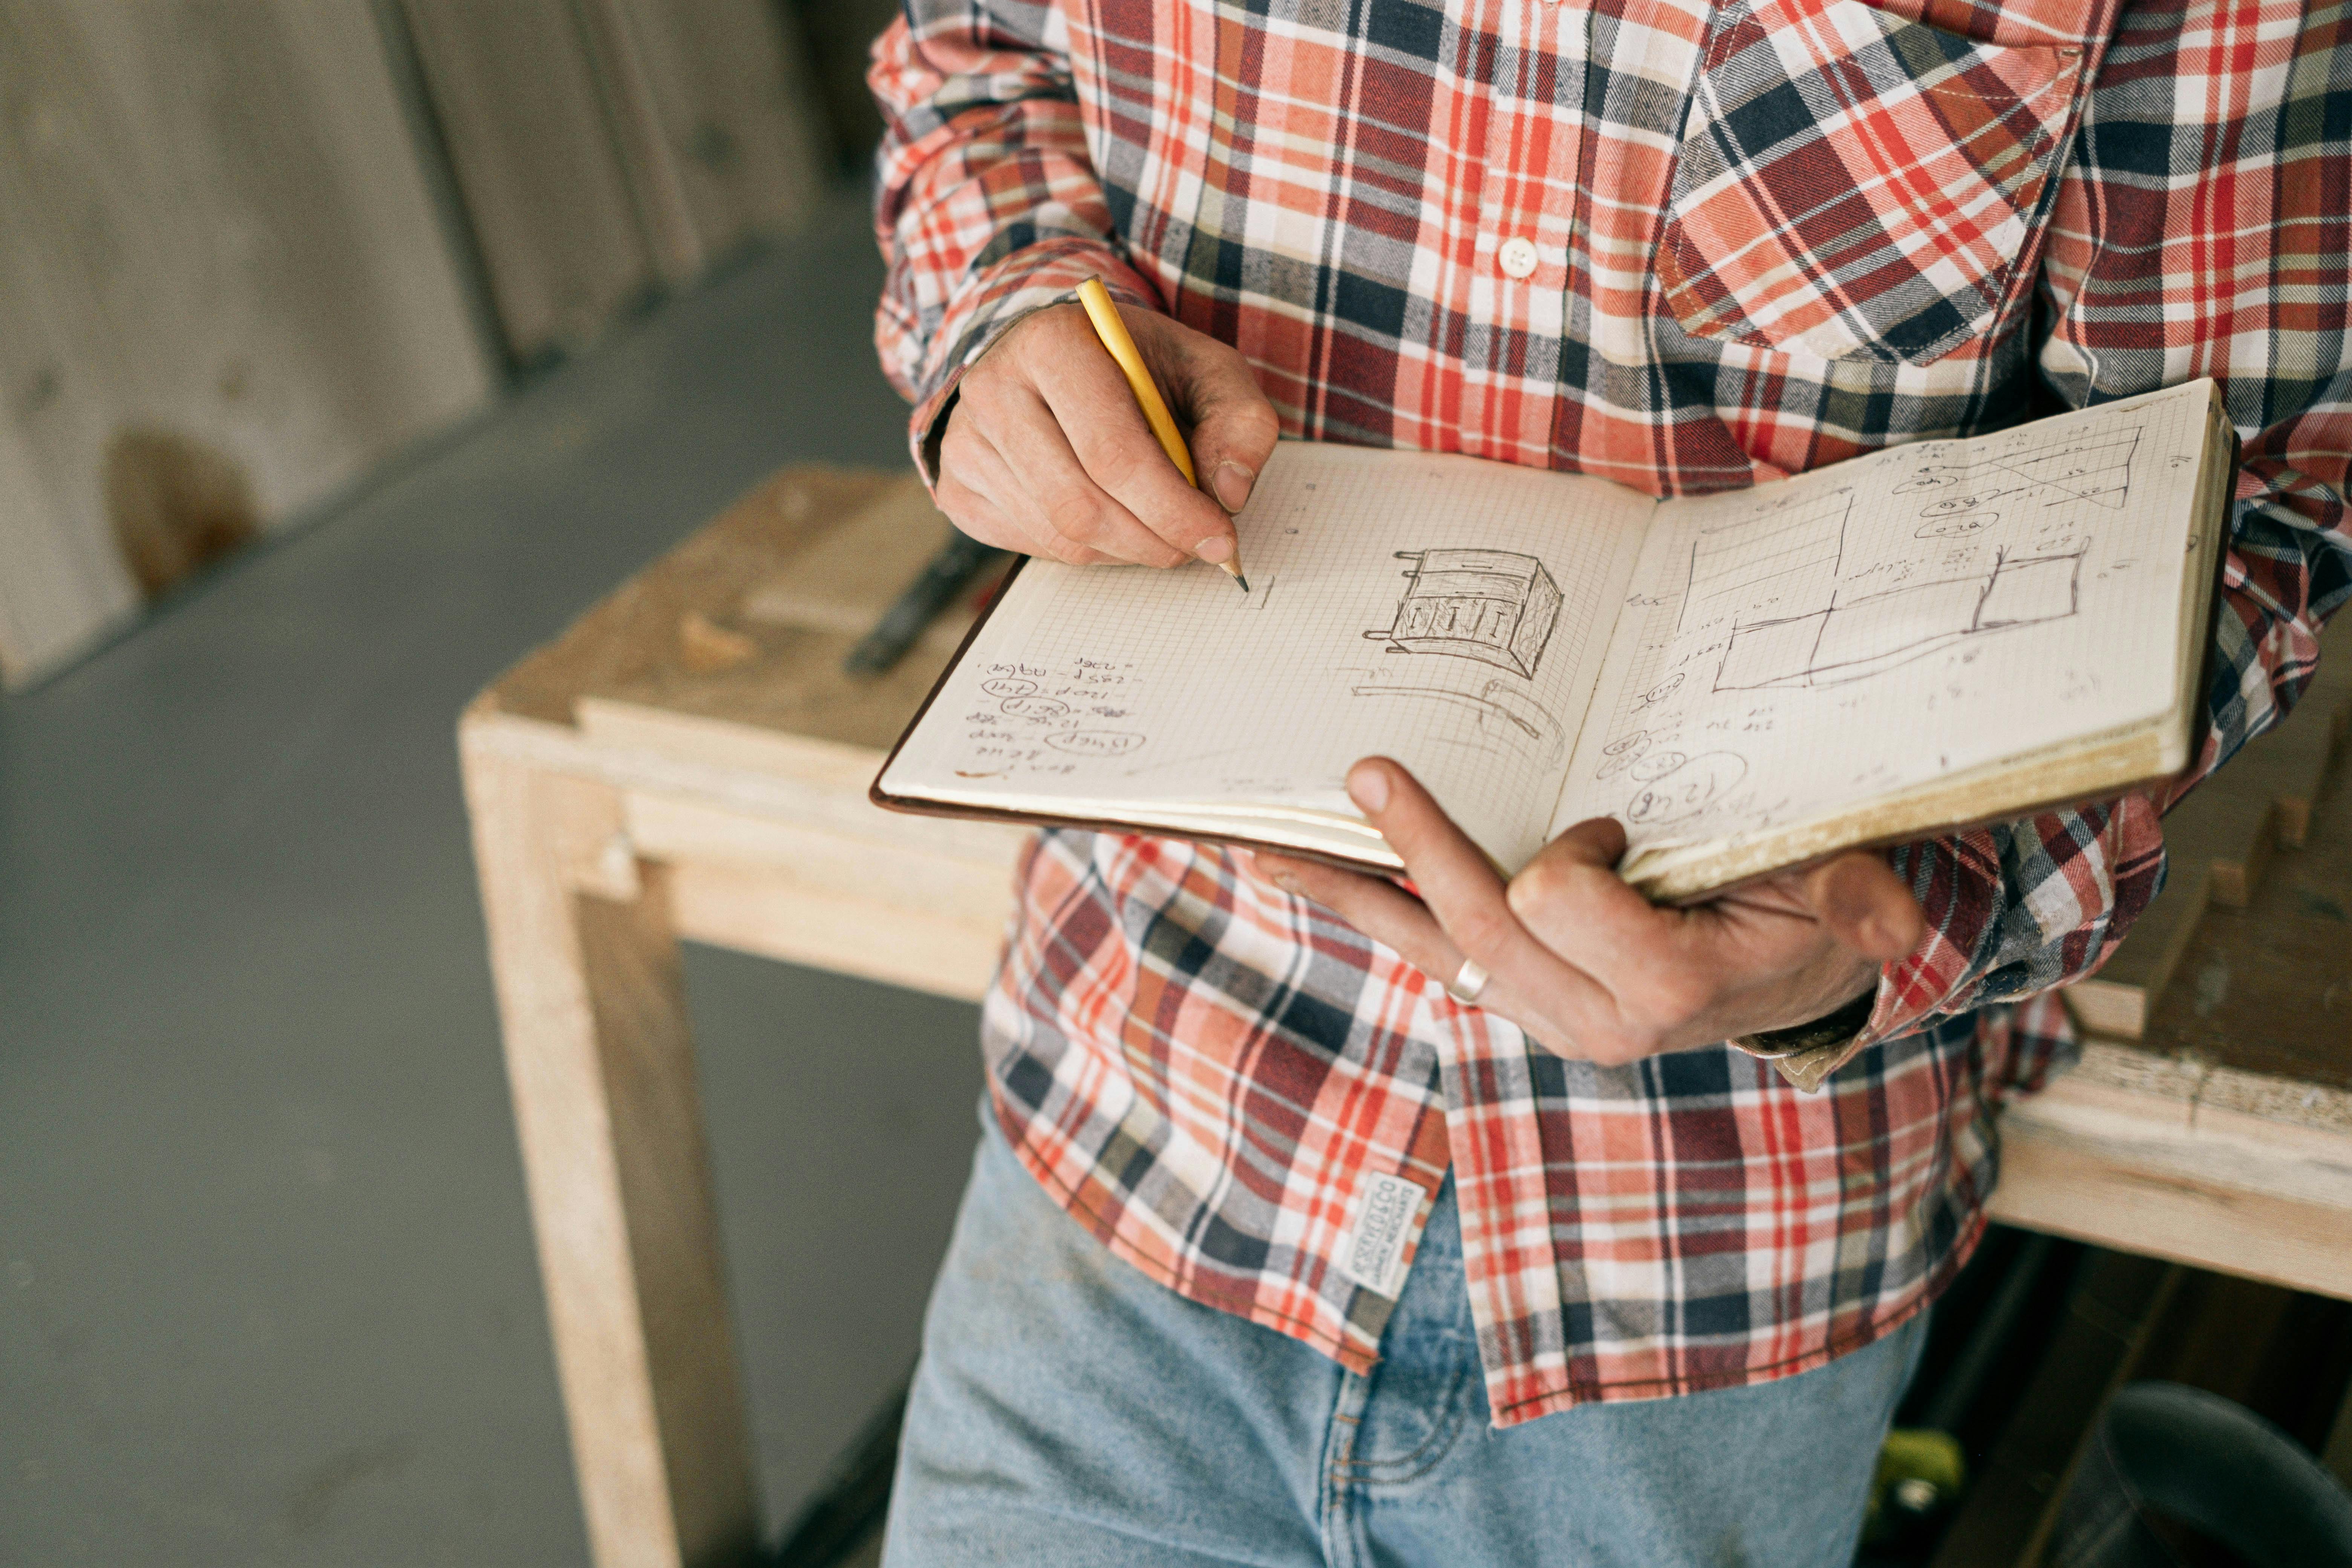
Necessary Materials for DIY Pencil Toppers
Craft materials needed for our DIY pencil toppers are nothing more than everyday items: paper, glue, scissors, and a dash of color, usually from markers or paints.
In this children's art project, ease trumps complexity, and kids are almost always thrilled to create something beautiful from such simple ingredients. Plus, the process of transforming ordinary craft materials into unique pencil decorations will provide an essential lesson in resourcefulness. Most importantly, it feeds into their growing sense of independence and accomplishment, fortifying their self-esteem.
guidance and tutorials for kids
Sometimes, kids seek direction, and pencil toppers provide just that. Pre-selecting a series of craft tutorials for kids DIY projects can be an excellent guiding post. From ladybugs to robots, the internet is swarming with DIY pencil topper instructions that any child would love to embark on. These projects serve as activity ideas for children that will structure their creative energies. Not to mention, their concentration levels will spike as they attempt to follow the tutorials, turning this into a form of educational crafts.
The Importance of The Creative Process
Diving headfirst into the world of paper crafts for kids, the process of creating homemade pencil toppers is just as important as the finished product. It's during this creative process that children learn to fashion their ideas into something tangible, allowing them to engage with their imagination on a whole new level. While cutting, gluing, and shaping, children's fingers learn to motivate their minds, putting the inherent magic of handmade pencil toppers right at their fingertips.
The Role of Love and Patience
That said, the most critical ingredients in any successful art project for kids are buckets of love and a sprinkle of patience. When we invest our time and energy into these kids art ideas, like crafting gorgeous pencil toppers, we're saying to our kids, "Your creativity matters". In this delicate process, not only are kids being actively engaged, but their imagination is being harnessed, their skills sharpened, and maybe you too as a parent will be gifted an opportunity to look at the world from their perspective, a reminder of effortless creativity and undying wonder.
In Conclusion
DIY pencil toppers offer an entertaining and educational path for children to channel their creativity and enhance their skills. Be it rocket ships for the space lovers or adorable critters for nature enthusiasts, the world of pencil toppers waits with endless possibilities to be explored and discovered. As we bring the curtains down on our delightfully creative journey, remember, these crafts are more than just pencil decorations.
Making Craft More Than Just Pencil Decorations
They're opportunities to stimulate young minds, boost their self-esteem, and mold their resourcefulness. So, pull out the scrap paper, cut, fold, and glue. Begin making memories adorned with glitter and glue and filled with laughter.
Unleashing Creativity Through Crafts
Bear witness to the unique story each pencil tells, sparking creativity across every page, making the ordinary, extraordinary! Ensure your little artists realize their creativity matters and that you cherish the magic they create through love and patience.
Childhood: A Time for Exploration and Discovery
After all, isn't that what childhood is all about?
You May Also Like These:
Felt Animal Pencil Toppers Craft Instructions
Ingredients:
- Different colored felt pieces
- Pencil
- Scissors
- Glue
- Googly eyes
- Thread and needle (optional)
Instructions:
- Choose Your Animal: Decide on which animal you want to create. This could range from a bunny to a penguin. Draw or print out a simple outline of the animal face (about the size of your thumb).
- Cut Out the Shapes: Using the drawn/printed template, cut out two identical shapes from your chosen color of felt. These will be the front and back of your pencil topper.
- Decorate the Face: Cut out additional pieces of felt for the details such as ears, beak, noses or whiskers. Glue these onto one of the cut out animal faces. Add googly eyes.
- Thread or Glue: If you're using thread and needle, sew the two animal faces together around the edges but leave the bottom open. Alternatively, you can use glue to stick the edges together.
- Attach to Pencil: Once the glue or thread is firmly set, slide the bottom of the topper onto the top of the pencil. Now your felt animal pencil topper is ready!
Animal Cut Out Craft for Kids
Ingredients:
- Craft paper in different colors
- Scissors
- Glue stick
- Pencil
Instructions:
- Choose your favorite animal: Have the child pick their favorite animal. This will give them a goal to work towards which makes the activity more engaging.
- Draw the shape: Based on their chosen animal, draw the basic shape on one of the colored craft papers using a pencil. This would serve as the body of the animal.
- Cut the shape out: Carefully, with a pair of scissors, cut out the shape that was drawn. Smaller children might need assistance with this step.
- Create additional features: On the other craft papers, draw and cut out unique features of the chosen animal such as ears, tail, legs, etc.
- Glue the features: Using a glue stick, have your child paste these features onto the basic shape to resemble the animal.
- Add more details: Draw eyes, nose, mouth, etc. to give the final touch to the animal cut out.
- Let it dry: Let the craft sit and dry for a few hours. Once dry, it's ready to display!
Felt Animal Pencil Toppers Craft
Ingredients:- Felt in various colors
- Scissors
- Glue
- Pencil
- Thread and needle (optional)
- Googly eyes
- Decide on the animal shape you want for the topper. Draw this onto a piece of felt and cut out two identical shapes.
- Glue the googly eyes onto one piece of the cut-out felt.
- If you desire, you can add more felt pieces to make features like ears, nose, mouth, etc.
- Outline the edge of the felt piece with eyes with glue.
- Stick the other cut-out felt piece on top of it, ensuring the eyes are showing on the outside and the top part of the pencil can fit inside.
- Let the glue dry completely.
- Finally, insert the pencil from the bottom into the glued felt topper.
- Your adorable felt animal pencil topper is ready to use!
Pom Pom Pencil Toppers Craft
Ingredients:- Yarn in various colors
- Scissors
- Glue
- Pencil
- Googly eyes
- Felt for the mouth and nose
- Cut yarn into 6-8-inch lengths.
- Stack about 20 strands of yarn together.
- Tie a knot in the middle of the yarn stack.
- Cut the loops at both ends and fluff them up to create a pom-pom.
- Glue the pom-pom onto the top of the pencil, making sure the knot is at the base of the pom-pom.
- Once dry, stick googly eyes onto the pom-pom.
- Use small felt pieces to create a nose and mouth for the pom-pom face.
- Let all the glue dry before using the pencil.
Clay Monster Pencil Toppers Craft
Ingredients:- Non-hardening clay in various colors
- Googly eyes
- Scissors
- Mold the clay around the top of a pencil, creating a base for the monster face.
- Pinch two small amounts of clay and mold them into horns, ears or any other features your monster might have.
- Attach the features to the base of the monster face.
- Finally, glue on the googly eyes to complete your monster face.
- Allow the clay to set completely before using the pencil.
Beaded Pencil Toppers
Ingredients
- Colorful Beads
- Thin Wire
- Pencils
- Scissors
- Glue (optional)
Instructions
- Prepare the Material: Gather all your beads, wire, and pencils.
- Choose your Beads: Start choosing the beads you want to use for your pencil topper. You can use different sizes, shapes, and colors for variety.
- Thread the Beads: Start threading the beads onto the thin wire. Thread enough beads to be able to wrap around the top of your pencil.
- Wrap the Beads: Take the beaded wire and wrap it around the top of the pencil. Adjust it so that it fits snugly on top and won't easily fall off.
- Secure the Wire: Cut off any excess wire and secure it by twisting the ends together. If needed, apply a small amount of glue to keep the ends from poking out.
- Finishing Touches: Once your beaded pencil topper is secure, you can add any additional decorations or features you'd like. For example, you could add googly eyes or a ribbon bow.
```html
Twist Craft for Kids using a Pencil
Ingredients:
- A pencil
- Colored construction paper
- Scissors
- Glue
Instructions:
- Pick a piece of colored construction paper - Select a color that you love. This will become the main color theme of your craft.
- Cut the construction paper - Cut the paper into thin strips. Each strip should be about 1 cm wide and as long as the paper.
- Apply some glue - Take one end of the paper strip and apply some glue to it.
- Stick the strip to the pencil - Take the glued end of the strip and stick it to the top of the pencil. Make sure it is firmly secured before moving on to the next step.
- Twist the strip around the pencil - Starting from the top, carefully twist the strip of construction paper around the pencil. It should form a spiral pattern around the pencil. Continue until the entire strip is twisted around. Add more glue if needed to ensure the paper is secure.
- Let it dry - Set the pencil aside for the glue to dry. This might take a few hours.
- Repeat the process with more strips - To make your craft look even more fun, repeat the process with other strips of construction paper. You can use the same or different colors.
- Twist it up! - When you are satisfied with your twisted pencil craft, put it aside to dry completely.


