As an affiliate, I earn from qualifying purchases, but this doesn't affect the reviews or recommendations—your trust is important to me!
DIY Seed Bombs: Fun and Creative Gardening Craft

Today, We're Making:
- - Seed Bombs
- - Homemade Seed Bomb Cards: The craft involves embedding seeds into homemade paper,which then can be given as a thoughtful eco-friendly gift that transforms into beautiful flowers or plants.
- - Seed Bomb Bracelets: Using colorful biodegradable materials,children can create fun bracelets filled with seed bombs that can be planted once used.
- - Wildflower Seed Bomb Eggs: Kids can use biodegradable egg shells,soil,and wildflower seeds to create seed bombs. The fun part lies in tossing them out in the wild and waiting for the magic to happen.
- - Decorated Seed Bomb Tins: Children could first design and decorate small tins.
Have You Ever Found Yourself at a Loss when Sifting through the Endless Sea of DIY Crafts?
Trying to find something fun yet eco-friendly to indulge in? Or perhaps you're looking for a way to make gardening a family bonding activity? Maybe you’re simply bored of conventional gardening techniques. Welcome to the world of Seed Bombs - an exciting twist on garden planting that marries the love for creative gardening with the thrill of a little messy play.
Seed Bombs: A Savior to the Eco-conscious
These handmade seed bombs are not only a delightful gardening project but also a silent warrior in the fight for greater biodiversity. Whether you're an aspiring green thumb looking for some gardening tips, or a parent trying to get kids gardening, a simple seed bomb DIY activity like this can add a whole new layer of fun and creativity to your home gardening routine.
Hold on to Your Trowels Folks, Because We’re About to Start Dropping Some Serious Seed Bombs
Let's Dive Into the World of Seed Bombs
Picture this: a small, dense ball of compost, clay, and seeds all elegantly packaged in a shape that can easily be thrown into any corner of your garden - that's a seed bomb. Should I remind you this is a DIY craft designed to be as fun as it is beneficial? The joy of seeing these easy DIY Seed Bombs grow into colorful flowers or even bountiful vegetables is truly unparalleled, cuckolding conventional gardening, and ushering in a new era of creative gardening.
Now, It's a Moment to Roll Up Your Sleeves
Dig into the production of these backyard crafts. Each seed bomb is a tiny ecosystem waiting to birth life; all they need is a spot on the ground and some natural rainwater to get started. Eco-friendly crafts like these are not just nurturing your green thumb, but they're also contributing to a sustainable gardening culture. So how do we create these little balls of joy? Don't worry, my friend. This seed bomb guide will provide a step-by-step seed bomb DIY that's a gardening craft idea that's as easy as pie and twice as fun.
Remember the Best Cooking Experiences?
They are the ones where the kids join in, making a mess in the kitchen, all of you laughing? Now imagine that, but with gardening! It's time you introduced the kids to gardening. Hands full of clay and compost, eyes wide with curiosity and wonder; what better way could there be for kids to learn about growth craft and the cycle of plant growth?
The Beauty of DIY Garden Activities
Like making Seed Bombs is that they transform the concept of gardening into a tactile, engaging, and fun gardening exercise. You'll find yourself marveling at the simplicity and functionality of this gardening craft. Each DIY seed bomb holds within it the potential to house a multitude of plant species. This ecological diversity can greatly improve the soil in your home gardening spaces, transforming even the most barren or degraded areas into a plant-rich green space in your backyard.
Navigating Through Gardening Projects
You'll realize that handmade seed bombs are the perfect blend of science, art, and fun. Be it your backyard, or a vacant plot in your local community; these seed bombs can bring life to any unloved or forgotten spaces. The seed bomb DIY technique is perfect for those corners of the garden that are hard to reach, bringing dashes of color and biodiversity.

In rounding up, handmade seed bombs
Handmade seed bombs are so much more than just an innovative gardening craft; they are little bundles of joy, holding the promise of new life, blooming flowers, and healthier ecosystems.
Making seed bombs
Making seed bombs is not just a task, it's an opportunity to physically connect with the earth, understand the significance of growth and foster a deeper appreciation for nature.
Experience the delight
As you experience the pure delight of watching your seed bombs transform into vibrant green spaces, you'll understand that this isn't just gardening - it's a creative, mindful and sustainable approach to embracing and caring for our remarkable planet.
Start a seed bombing revolution
So go ahead, get your hands dirty, and start a seed bombing revolution right in your backyard!
You May Also Like These:
Homemade Seed Bomb Cards
Ingredients:
- 1.5 cups of recycled paper
- 2 cups of warm water
- A blender
- Mixing spoon
- Strainer
- Craft seeds of your choice
- Towel or Sponge
- Cookie cutter or mould for shaping
Instructions:
- Tear the paper into small pieces and put it into the blender.
- Next, add the warm water to the blender and blend until the paper mixture is a soupy consistency.
- Place the strainer over another container and pour the mixture into the strainer, allowing the water to drain away.
- Gently press the paper mixture in the strainer to remove excess water, and then transfer the paper pulp onto a towel or sponge to absorb any remaining moisture. Leave the pulp to dry for a while.
- Evenly distribute your chosen seeds throughout the damp paper pulp mixture.
- Form the mixture into shapes using a mould or cookie cutter, gently pressing down to compact it.
- Leave the seed bombs to dry in a cool place for a couple of days until they're hard.
- Once dried, your seed bomb cards are ready to be gifted! They can be sown directly into the ground where nature will do the rest.
Seed Bomb Bracelets Craft
Ingredients:
- Colorful biodegradable paper
- Seed mix (choose seeds of flowers or plants that you would like to grow)
- Water
- Baking sheet
- String or biodegradable twine
- Scissors
Instructions:
- Start by ripping your biodegradable paper into small pieces.
- Place the ripped paper into a bowl and fill with enough water to cover the pieces. Let the paper soak until it becomes soft and mushy.
- Mix in your chosen seeds with the paper pulp.
- Take a small amount of the paper and seed mixture and roll it into a ball. This will be your seed bomb.
- Place the seed bomb onto a baking sheet. Repeat with the rest of the paper and seed mixture.
- Once all your seed bombs are on the baking sheet, leave them to dry for 24-48 hours.
- When the seed bombs are fully dry, take your biodegradable string and tie the seed bombs together to form a bracelet.
Usage:
Once you have your seed bomb bracelet, you can give it as a gift. The recipient can then plant the seed bombs by simply placing them in soil and watering them. In a few weeks, they will have beautiful flowers or plants growing from what was once their bracelet. A truly eco-friendly gift!
Wildflower Seed Bomb Bracelets
Looking for a fun and eco-friendly craft activity for your child? Here's one! Your child can create beautiful bracelets filled with seed bombs. Once they've worn out the bracelet, the seed bombs can be planted to transform into lovely wildflowers. Pretty neat, right?
Ingredients:
- Biodegradable eggshells
- Wildflower seeds
- Colored yarn or thin rope
- Newspaper or craft paper
- Water
- Potting compost or clay
Instructions:
- Preparation: Cover your work area with newspaper or craft paper for easy clean-up.
- Eggshells: Carefully crack the top of each egg, remove the egg content for use in the kitchen, rinse the eggshell, and let dry. Discard or compost the egg carton.
- Making Seed Bombs: Mix a handful of potting compost or clay with some wildflower seeds in a bowl. Add a few drizzles of water and stir until you get a sticky consistency that can take the shape of a ball.
- Filling the Eggshells: Spoon the seed bomb mixture into each eggshell until it's half full, making sure each has enough seeds. Gently press down on the mixture.
- Bracelet Assembly: Carefully bore a small hole on each side of the egg using a toothpick or similar tool. Thread a piece of colored yarn or rope through the holes and tie a knot to secure it on each end.
- Wear or Gift: Let the seed bomb dry in the eggshell bracelet for a few days. Your child can now wear their wildflower seed bomb bracelet or gift it to a friend. Remember, once the bracelet is worn out, the seed bombs can be planted and watered in the garden or a pot to grow beautiful wildflowers.
Note:
The time it takes for the wildflowers to grow will vary depending on the type of seeds you used and the current season. This is a wonderful opportunity to teach your child about the lifecycle of plants and the importance of patience. Enjoy!
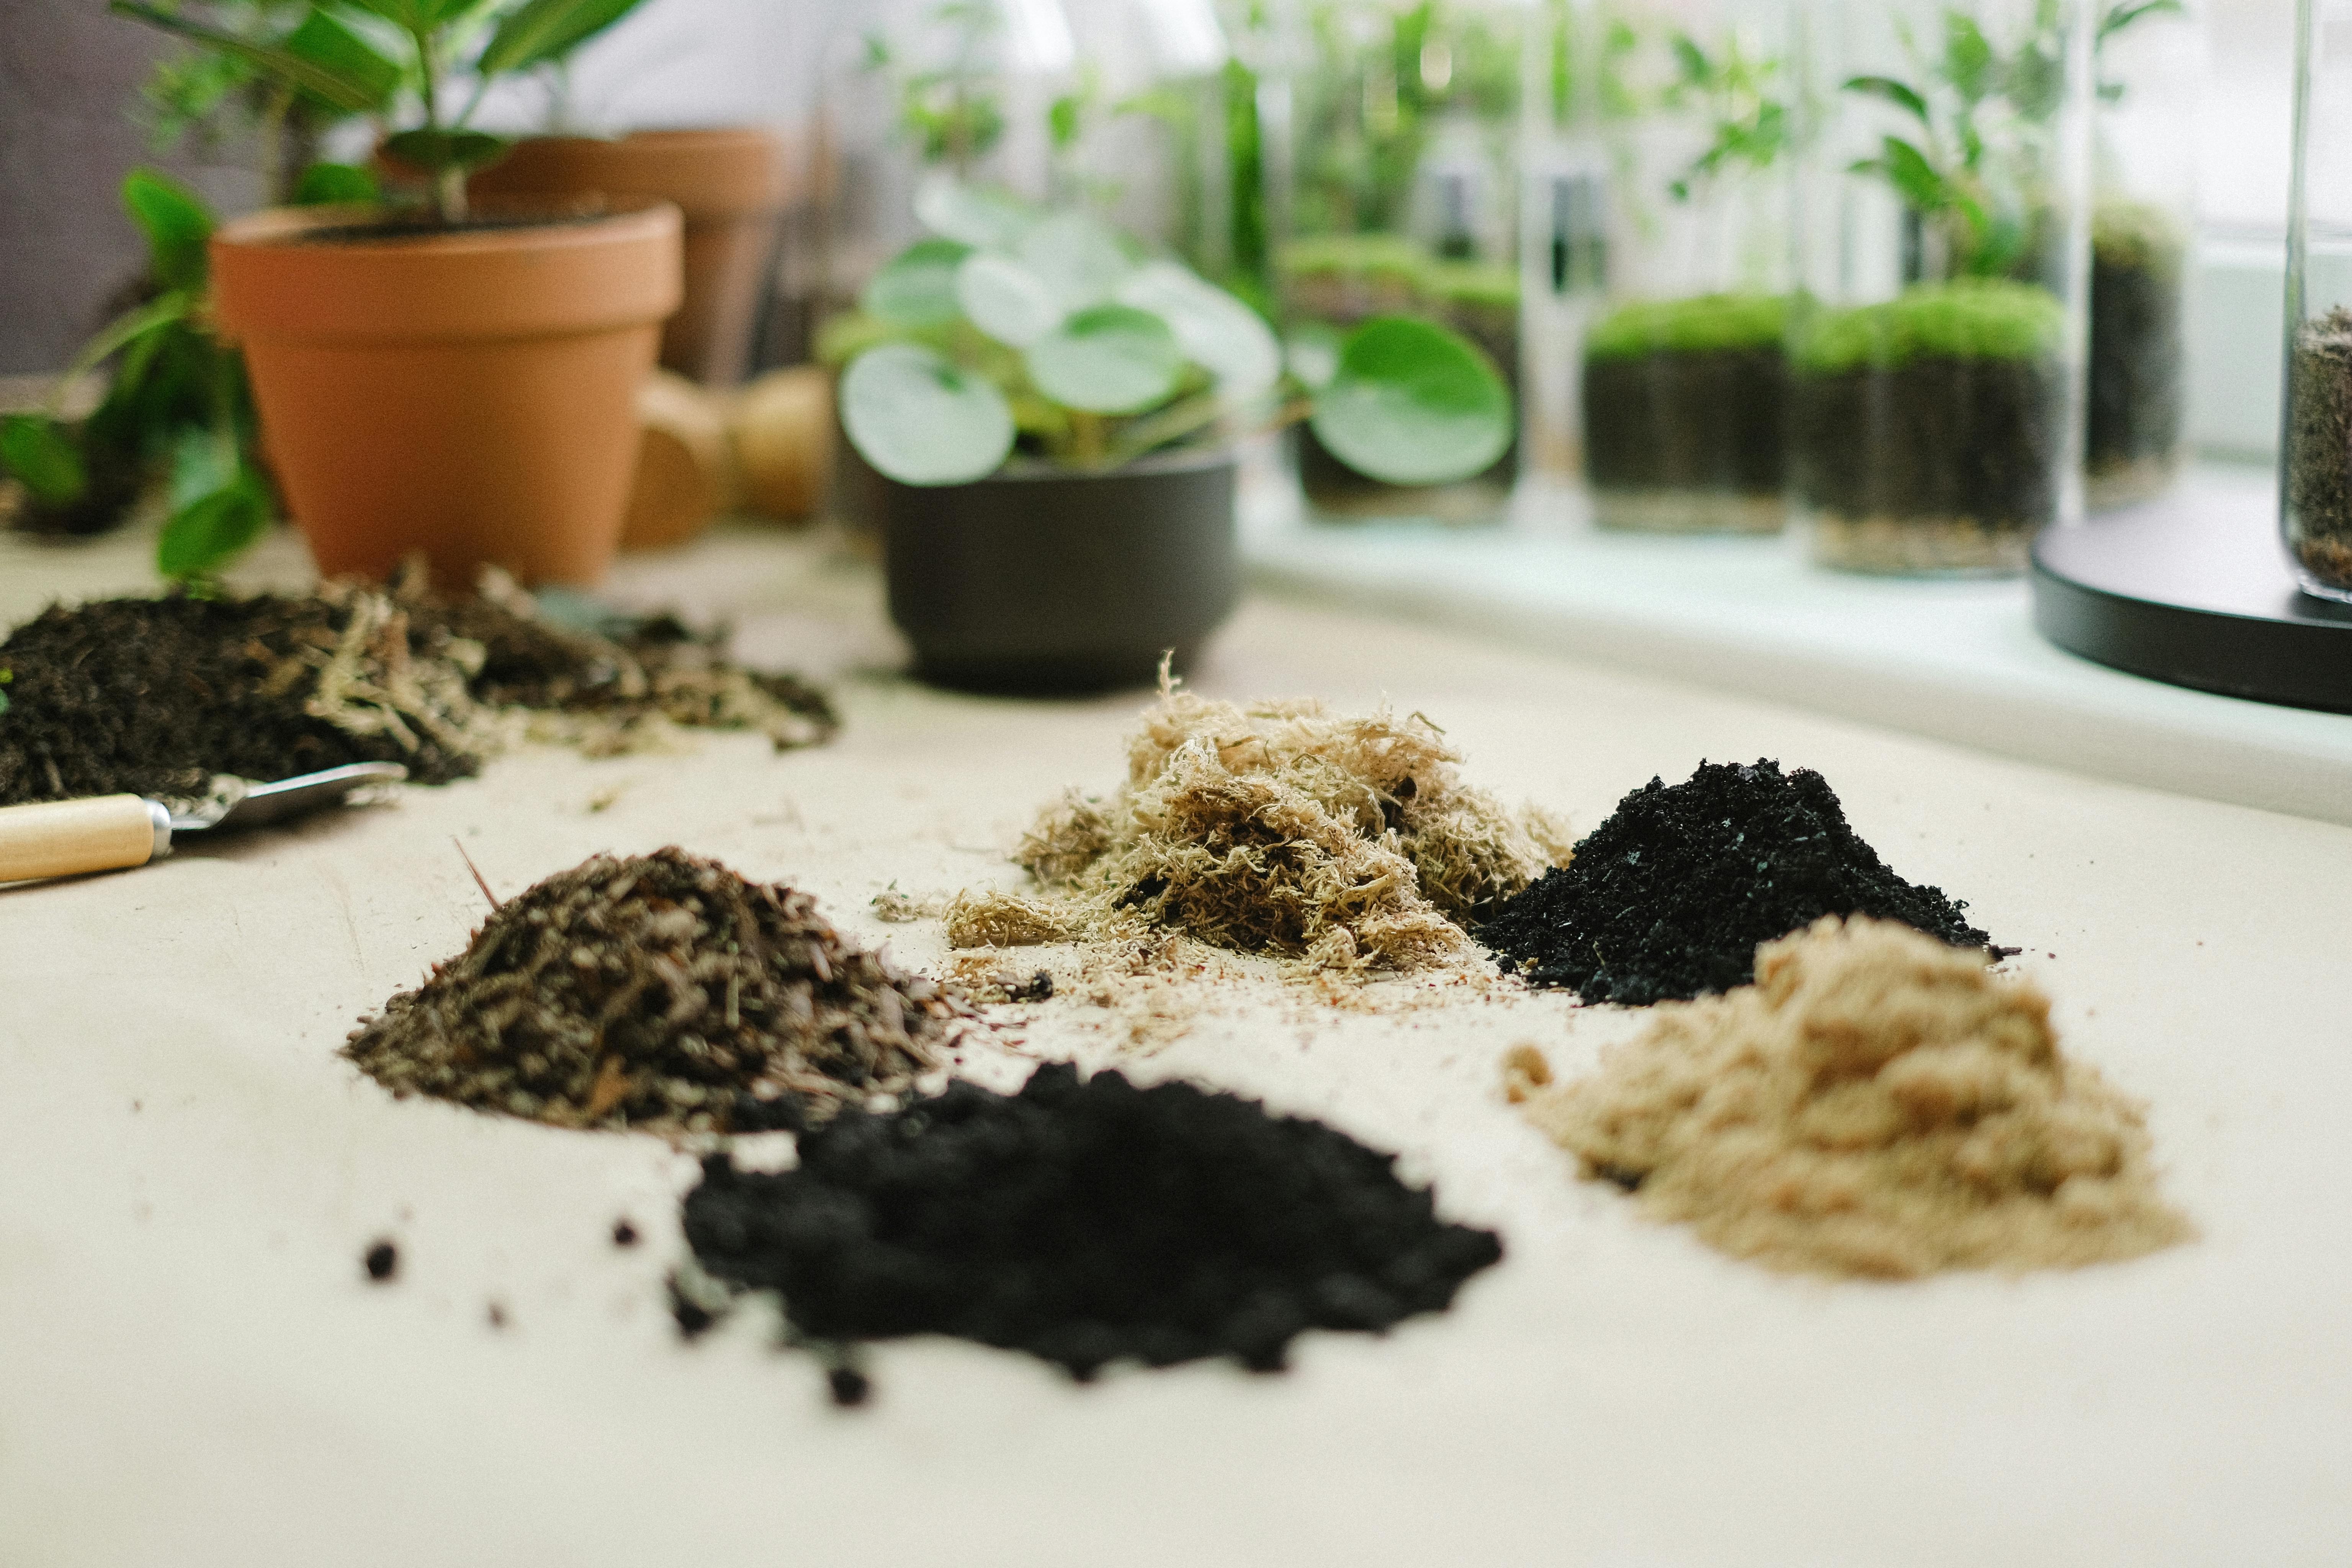
Craft with Soil: Let's Make a Terrarium
Ingredients:
- Glass jar or container (with a lid)
- A small bag of potting soil
- Activated charcoal (found at garden centers)
- Small stones or pebbles
- Plants suitable for terrariums (mini ferns, mosses, succulents)
- Decorative items (optional) such as small figures, colored stones etc.
- Watering spray bottle
Instructions:
- Prepare Your Ingredients: Gather all your ingredients. Make sure your glass container is clean and free from residue.
- Layer your Terrarium: Begin by adding a thin layer of pebbles to the bottom of your container for drainage, followed by a layer of activated charcoal to help these plants stay healthy.
- Add the Soil: After the charcoal, add a thick layer of potting soil.
- Plant Your Plants: Now, carefully plant your chosen plants into the soil.
- Add some Decorations: If you want to add some additional charm to your terrarium, add some decoration items.
- Watering: Using a spray bottle, gently water the terrarium, being careful not to overwater, as the container's lid will provide a greenhouse effect.
- Location: Finally, place your terrarium in a well-lit area but away from direct sunlight.
This craft is a perfect hands-on project for children and parents to work on together. It also serves as an educational tool to teach children about the life cycle of plants, the importance of soil, and the concept of an ecosystem.
Decorated Seed Bomb Tins Craft Instructions
Ingredients:
- Wildflower seeds
- Used coffee grounds or compost
- Potter's clay
- Small Tins
- Non-toxic, child-safe paint
- Paint brushes
- Clear spray sealant (optional)
Instructions:
-
Decorating the Tins:
- Thoroughly clean and dry the small tins.
- Let your children paint and decorate the tins with non-toxic, child-safe paint. Allow their creativity to soar!
- Allow the paint to dry completely. If you're in a hurry, a hairdryer can be used to expedite this process.
- If desired, once the paint is fully dry, apply a clear spray sealant to help preserve the artwork. Be sure to follow the sealant's instructions and safety precautions.
-
Making the Seed Bombs:
- Mix 5 parts potter's clay, 3 parts dry compost or used coffee grounds, and 1 part wildflower seeds in a large bowl.
- Gradually add a little bit of water and knead the mix until it has a consistency similar to Play-Doh.
- Pull off a chunk of the mixture and roll it into a ball approximately the size of a truffle or large marble.
- Do the same with the rest of the mixture and place the seed bombs on a tray to dry. This might take a couple of days, depending on the climate.
- Once dry, place the seed bombs in the decorated tins. They're now ready to be gifted or thrown out in the wild to bloom!
Gently toss your seed bombs in your garden, a field, or a roadside (ensuring it's legal to do so). In a few weeks, you'll be able to see sprouts of beautiful wildflowers. A perfect craft for nature-loving families and a charming way to contribute to local biodiversity!


