As an affiliate, I earn from qualifying purchases, but this doesn't affect the reviews or recommendations—your trust is important to me!
DIY Stained Glass Art: Fun and Creative Craft for Kids

Today, We're Making:
- Stained Glass Art
- Stained Glass Tissue Paper Window: This project involves cutting out designs from black construction paper and then covering with bits of colored tissue paper for a makeshift stained glass aesthetic. The finished artwork can be stuck onto windows and adds a lovely display of colors when the sun shines through.
- Stained Glass Pasta: The children can decorate different shapes of pasta by coloring them using food coloring. Once the colored pasta is dried, they can be used to make various designs on a clear contact paper creating a beautiful piece of stained glass art.
- Stained Glass Suncatchers: Kids could use flat glass marbles found in crafts stores, arrange them into various designs or images on a clear plastic lid, and then fill in the gaps with a mixture of glue and water to make a beautiful suncatcher to hang in a window.
- Wax Paper Stained Glass: The kids can use colored crayon shavings sprinkled between two pieces of wax paper which is then ironed (by an adult) to melt the shavings and create a bright playful stained glass effect. They can cut it out in different shapes to display in the sun.
- Stained Glass Mason Jars: A fun idea would be to create stained glass mason jars using clear glue and food coloring. Kids can apply this colored glue mixture to the jars in various patterns or abstract designs. Once dry, these jars can be used as beautiful candle holders or flower vases.
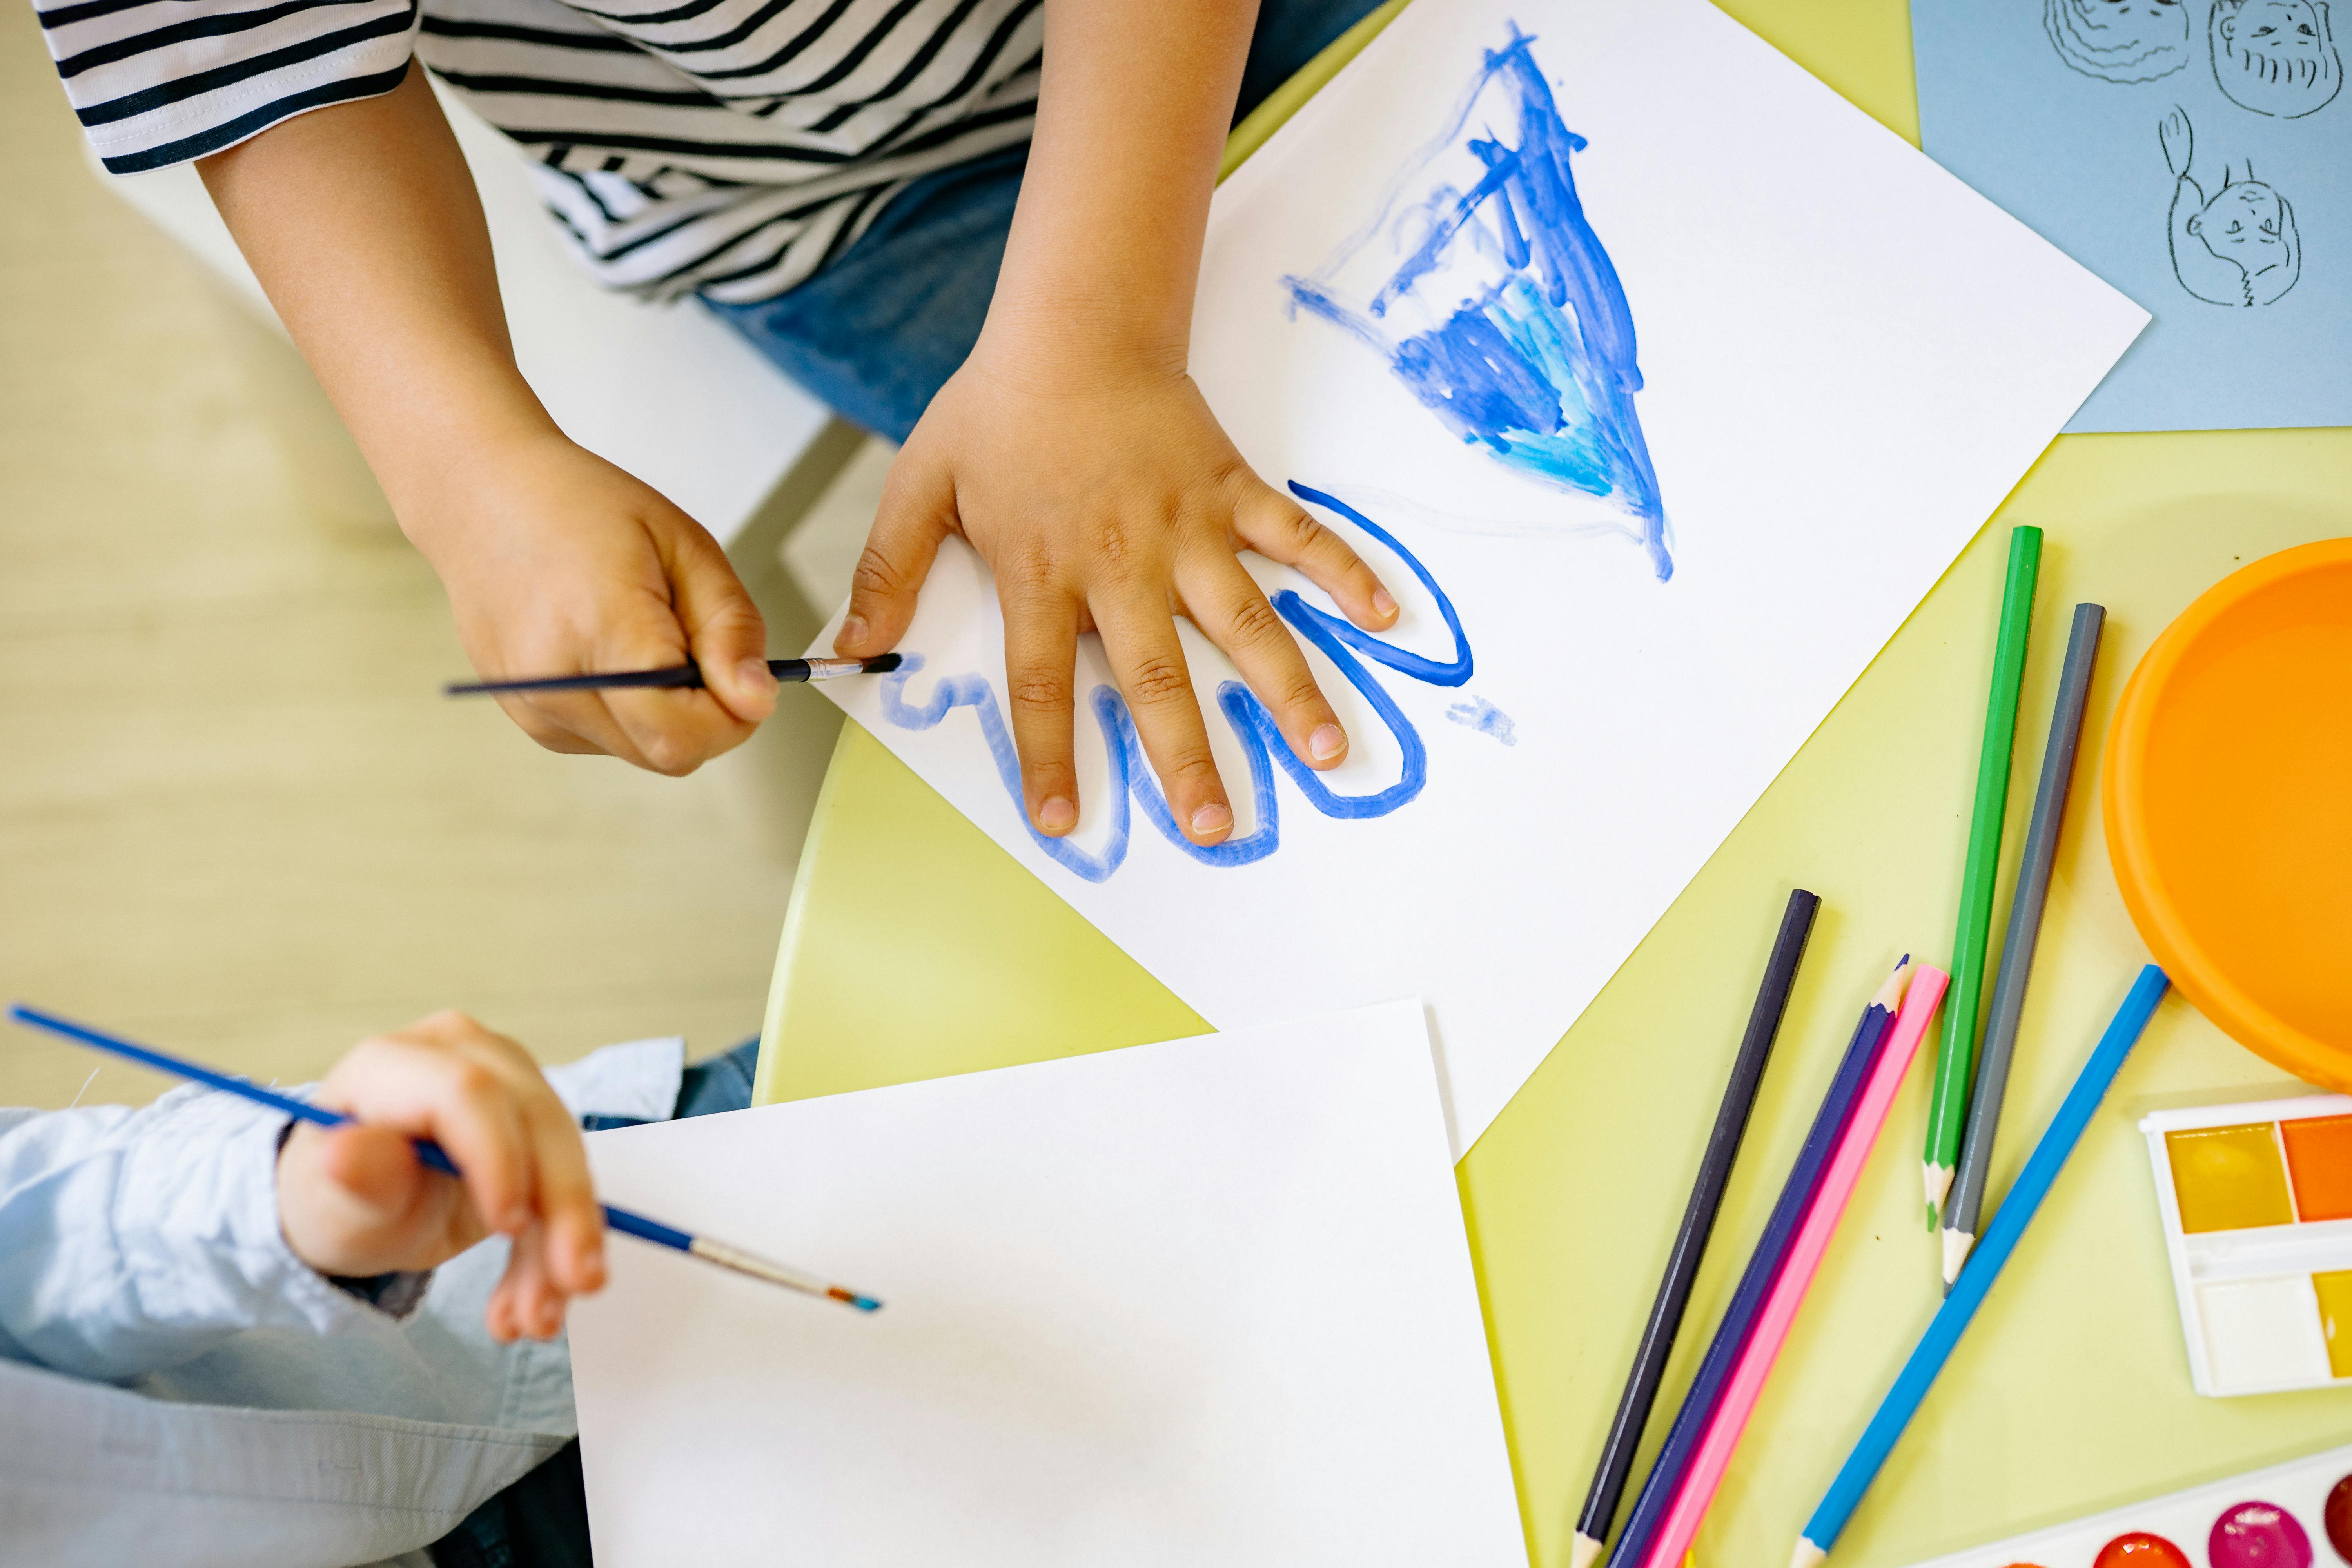
Remember the sheer joy of finger painting?
The fun of dipping tiny hands in vibrant colors and then creating a masterpiece out of it on an empty canvas? Stained glass art is like the grown-up version of that, for kids of all ages. Only, it's more engaging, creative, and magical!
A DIY stained glass art project is a fantastic way to foster creativity and imagination in children.
It's not just an art activity for children, it's a journey into a world of vibrant colors, imaginative designs, and the pure joy of creating something beautiful with their own hands. So, it's time to roll up your sleeves, gather your little artists, and dive into the mesmerizing world of stained glass projects.
Let's create, let's have fun, let's make some magical DIY crafts for kids! Ready?
Start Your Wonderful Stained Glass Art Project!
Now, let's get started with our wonderful Stained Glass Art project! What do we need for our DIY stained glass art? It's simple: wax paper, black construction paper, colorful tissue papers, and glue. That's it! Not only is this an easy kid craft, but it's also quite economical. The items required are usually already available at home. So it transforms not just into an art activity for children but a lesson in resourcefulness too!
Step 1
Cut out a shape or design from the black construction paper. It could be anything that your child likes – a sailing boat, a pretty butterfly, or even a vibrant rainbow. Let the imagination of your little ones flow through their scissors, creating a perfect confine for our colored tissue paper pieces. Remember, this isn't just another of the DIY crafts for kids, but a canvas for them to bring life to their imagination.
Step 2
Next, we begin the process of attaching the colorful tissue paper to our black construction paper silhouette. Tear off pieces, applying glue lightly and easing them into place. And that's where the real fun begins! Watching your young artists engrossed in selecting colors, deciding where each piece fits best to bring out the spirit of their design – it's magical. Our Kids stained glass art project allows children to experience the joy of creation, making every moment of this DIY art project special.
Endless Possibilities
Our stained glass projects come with endless possibilities. There's no restriction on the designs you can create, making it one of the most versatile handmade stained glass activities. One day it could be a beautiful enchanted forest scene, the next day a majestic castle from a bedtime story. Every DIY stained glass art project comes with a new adventure.
Expressing Creativity
As these little pieces of vibrantly colored tissue come together, watch our DIY crafts transcend the realm of 'fun crafts' becoming an expression of your child's creativity. Children's art projects like these not only offer a sneak peek into their alluring world but become precious keepsakes symbolizing their journey into the fascinating world of art.
If your little ones are new to glass crafting for kids, you can start with relatively straightforward designs. Over time, as their skills improve, they can take on more elaborate stained glass DIY projects. Don’t forget, the objective is enjoyment, expressiveness, and learning. Transform your space into a child's art studio, where creativity knows no bound, where every corner tells a tale of your child's artistic endeavors, where everything, from the sunlight to the walls, becomes a part of their stained glass art story.

As we wrap up our DIY stained glass adventure
Take a moment to celebrate the colorful creativity that flourished today. It's been a journey filled with vibrancy, imagination, and pure artistic delight. Every piece of tissue paper, every carefully imagined design, was an insight into the beautiful world of your child’s creativity.
Let's remember
The beauty of these DIY stained glass art projects goes beyond crafting; it's about igniting imagination, nurturing resourcefulness, and making magic with your hands.
So, keep creating, keep exploring, and continue filling the world with the colorful expressions of your little artists. Because every DIY craft day is a new day for a grand adventure in the fantastic world of art.
Bring on those scissors, tissue papers, and glue
- your next DIY stained glass masterpiece awaits!

You May Also Like These:
1. Stained Glass Tissue Paper Window
Ingredients:- Black Construction paper
- Colored Tissue Paper
- Scissors
- Clear Tape or Glue
- Pencil for sketching designs (Optional)
- Begin by drawing your design on the black construction paper. You can create any image or pattern you like. Geometric patterns works great for beginners.
- Using scissors, cut out your design from the construction paper.
- Cover the cut-out areas of your design with colored tissue paper. You can use one color or mix them up for a more vibrant effect.
- Adhere the tissue paper by applying clear tape or glue to the edges.
- Once the glue dries, stick the finished artwork onto your window. When the sunlight filters through, it will mimic the beautiful glow of stained glass.
2. Stained Glass Pasta
Ingredients:- Different shapes of Pasta (like Penne, Wheels or Farfalle)
- Food Coloring
- Plastic Bags
- White Vinegar
- Paper towels
- Separate the pasta into different plastic bags. Allocate one bag per each food coloring.
- In each bag, add about 1/4 teaspoon of food coloring along with 1 teaspoon of white vinegar.
- Seal the bag and shake it until the pasta is completely coated in food coloring.
- Lay out the pasta on a paper towel to dry. This should take at least 2 hours, but could be longer depending on humidity levels.
- Once the colored pasta is completely dry, it's time to create your stained glass pasta art. You can thread them onto a string, glue them onto paper or get creative with your very own design.
Stained Glass Suncatchers Craft Instructions
Materials Needed:
- Clear Contact Paper
- Flat Glass Marbles
- Scissors
- Permanent Marker
- Pattern (Optional)
Instructions:
-
Prepare the Contact Paper: Cut out two identical pieces of clear contact paper from the roll. The size will depend on the desired size of your suncatcher.
- Position the First Layer: Peel off the backing of one piece of contact paper. Lay it sticky-side up on a flat, clean surface.
- Arrange your Design: Take your flat glass marbles and start arranging them on the sticky side of the contact paper. You can create any pattern you like, or follow a pattern that you have prepared.
- Cover with Second Layer: Once you are satisfied with your design, peel off the backing of the second piece of contact paper. Carefully place it sticky-side down on top of your design. Make sure there are no air bubbles trapped inside.
- Trim the Edges: Use your scissors to cut around the design, leaving a small border of clear contact paper around the edges of your glass marbles pattern. This will seal the design and ensure it stays in place.
- Hang and Enjoy: Your stained glass suncatchers are now ready to be hung in a sunny window and enjoyed! Be proud of your handmade piece of art!
Clear Plastic Lid Craft for Parents and Children
Ingredients:
- Clear plastic lids (3+ different sizes) - You can easily find these on various containers such as yogurt, margarine, or ice cream tubs.
- Scissors - Be sure they are sharp enough to cut plastic neatly, yet safe to be used by children.
- Permanent Markers or Glass Paint - These will be used to color the plastic lids. Pick as many colors as you wish.
- White glue - This will hold the pieces together securely.
Instructions:
- Gather your Ingredients: Start by gathering your clear plastic lids, scissors, permanent markers or glass paint, and white glue.
- Cutting the Lids: Cut your plastic lids into different shapes. Depending on the design you have in mind, these could be circles, squares, triangles, or any other shape.
- Coloring the Lids: Once you have your shapes, let your creativity flow by using your markers or glass paint to color the pieces. You can also leave some pieces clear, if you wish.
- Let the pieces dry: If you’ve used paint, let the pieces dry completely. This will usually take a few minutes to an hour, depending on the paint used.
- Arrange your Design: Start arranging your colored shapes onto another clear lid to create your design. Play around with your pieces until you’re happy with your image or pattern.
- Safety: Remember to keep an eye on your children while they are cutting and gluing to prevent any accidents from happening.
- Glue your pieces: Once you're happy with your design, use your white glue to fix the pieces in place. Let it dry completely.
- Bravo! You did it: Now you've made a beautiful and creative craft by recycling clear plastic lids. You can display your craft as is or even attach a string to hang it as a window decoration to let the light shine through the colorful design.
Wax Paper Stained Glass Suncatcher
Let your child explore their creative side with this easy and fun craft. Here are the materials you will need and the steps you have to take:
Materials:- Wax paper
- Crayons (different colors)
- An iron
- Scissors
- String for hanging
- Start by laying one piece of wax paper on a flat surface.
- Have your child sprinkle different colored crayon shavings across the wax paper.
- Place a second piece of wax paper on top of the first.
- As an adult, gently iron over the wax paper to melt the crayon shavings.
- Allow the wax paper to cool.
- Once cool, assist your child in cutting the wax paper into different fun shapes.
- Punch a hole at the top of each shape and thread a piece of string through it for hanging.
- Hang these beautiful suncatchers in the window and watch the sunlight catch the colors.
Stained Glass Mason Jars
Another interesting project for your kiddo might be the Stained Glass Mason Jars. Here's all the information you need:
Materials:- Clear mason jars
- Clear glue
- Food coloring (multiple colors)
- Brushes
- Start by cleaning and drying the mason jars.
- Mix clear glue with different food coloring in separate containers to create various shades of 'paint'.
- Allow your child to paint the outside of the mason jars using the colored glue mixture. They can create patterns or abstract designs to their liking.
- Leave the jars to dry overnight.
- Once dry, place them near a source of sunlight or add a small candle or LED light inside for a beautiful stained glass effect.
Enjoy crafting with your loved ones!
Ingredients:
- Glass jars
- Acrylic paint in your chosen colors
- Paintbrushes
- Newspaper or any sort of covering to keep your surface clean
- Candles or flowers for filling
- Clear sealant spray (optional)
Instructions:
- Clean your jars: Ensure that your jars are free from dust, stickers, or any other debris on the inside and outside.
- Setup your area: Lay out the newspaper or other protective covering over your work surface.
- Paint your jar: Using your chosen acrylic paint and paintbrush, paint the outside of the jars. Let each coat dry before applying the next. You may need 2-3 layers depending on the transparency of your paint.
- Seal (optional): Once your paint has fully dried, you can choose to apply a clear sealant. It renders a more polished, finalized look and helps protect the paint from chipping. Please be sure to follow the instructions on the sealant container.
- Allow to dry: Leave the jars to dry fully for 24 hours.
- Fill your jar: Insert either a candle or beautiful flowers to add life to your new jar. Either will light up the beautiful colors painted onto the glass.
- Clean up: Make sure to clean your brushes and close your paint pots to keep them for future use.


