


As an affiliate, I earn from qualifying purchases, but this doesn't affect the reviews or recommendations—your trust is important to me!
Exploring : Create Your Own Spa Experience with DIY Homemade Bath Bombs
Today, We're Making:
- - DIY Homemade Bath Bombs
- - DIY 'Time Capsule' Craft Project: As the date in question is in 2025, a fun idea could be to create a time capsule craft. Children can decorate their own capsules made from sturdy, decorated cardboard tubes and fill them with items, notes, memories from the current year.
Welcome to the Wonderful World of DIY Homemade Bath Bombs!
We're all about self-care these days with our lives growing busier than ever. The bathroom has increasingly become an exclusive sanctuary; a space to equally relax, invigorate or simply escape the daily grind. Yet, did you know?
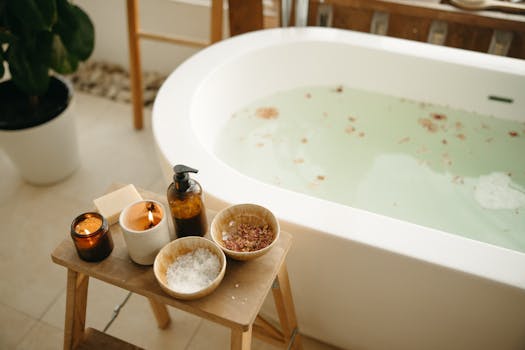
A Splendid Spa-Like Getaway Could Be Just a Tub's Length Away
Toss away those overpriced, store-bought luxury bath products and lean into DIY spa treatments. Let's delve into the therapeutic, delightful, and surprisingly easy process of crafting your own nourishing, scented bath bombs - offering you a sublime slice of relaxation, wellness and aromatherapy all at home.
Plus, these bath bomb recipes even lend themselves as thoughtful, homemade gifts for your loved ones.
By The End of This Article
You'll not only know stepwise how to make these organic bath bombs at home but also see how truly effortless it is to create your own spa-like experience. So why wait? Elevate your pampering game today and tomorrow's bath will thank you.
Let's Dive into the Art of Bath Bomb Making
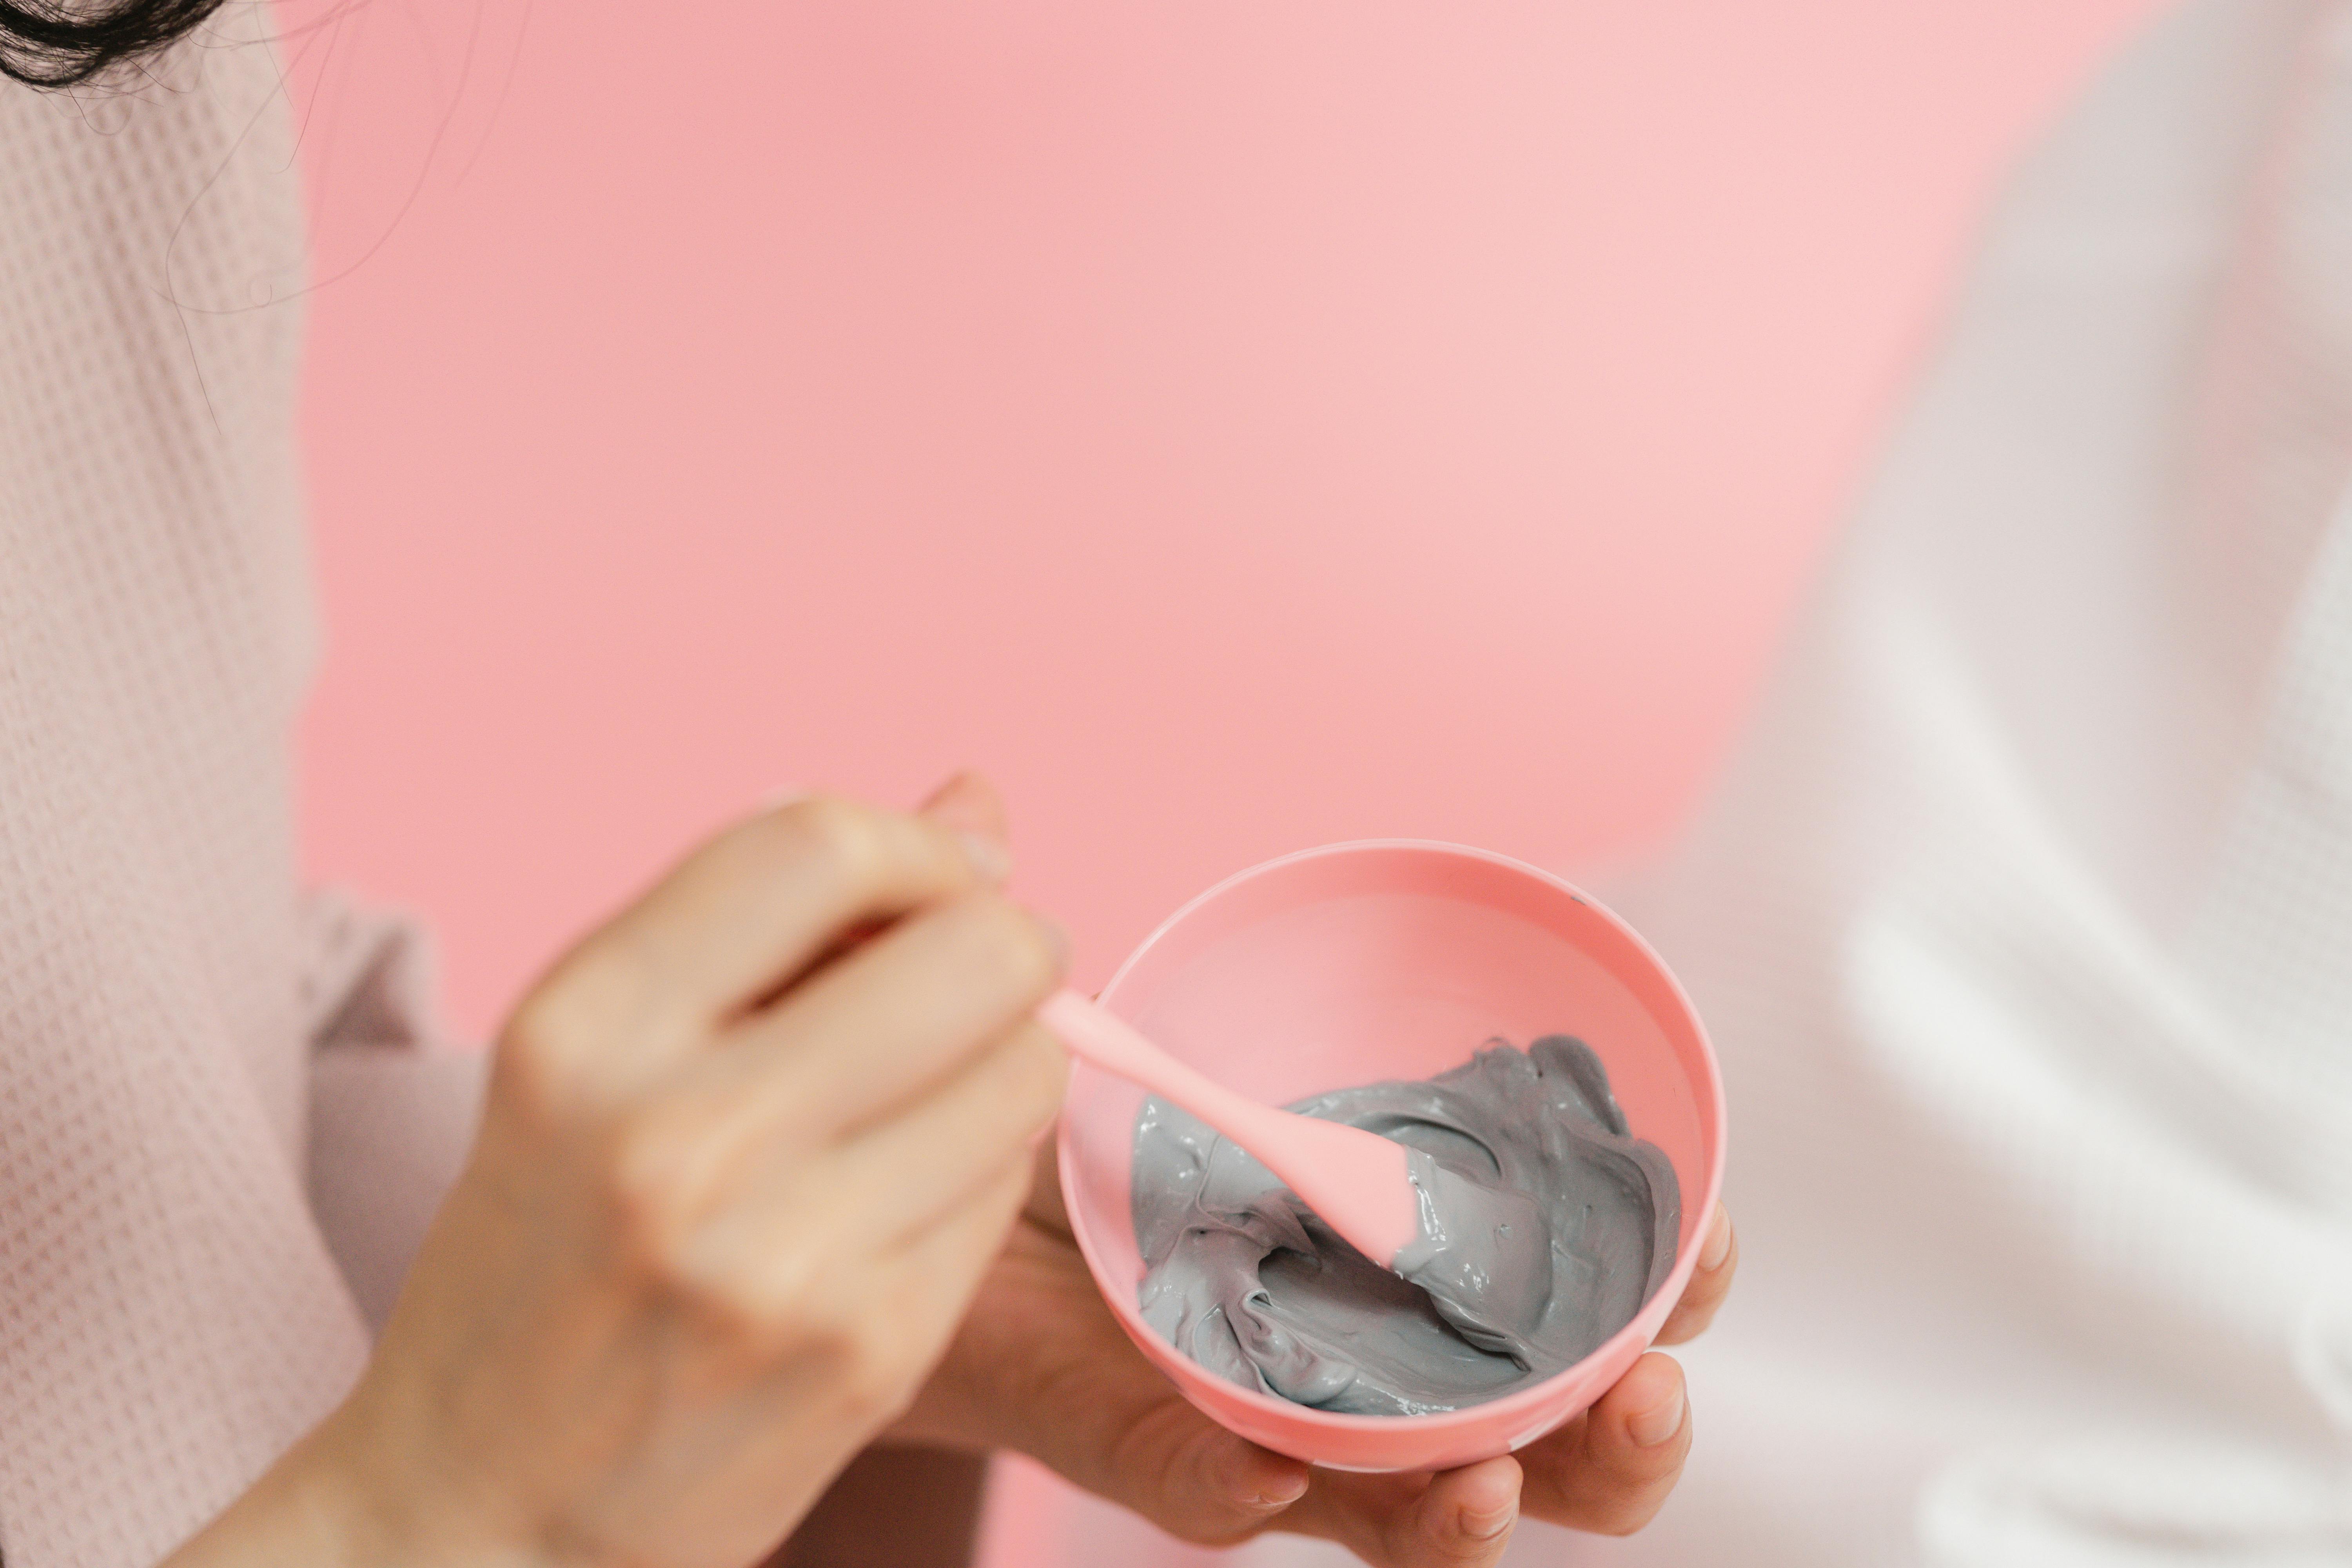
First and foremost, the creation of DIY homemade bath bombs is an exciting hands-on project. You are the creator, the artist of your own personal spa, deciding on the colors, the scents and the added beneficial ingredients. The primary components of homemade bath bombs are essentially baking soda, citric acid and a variety of botanical oils. When you’re crafting bath bombs, you’re exploring the beauty of chemistry at home; the combination of baking soda with citric acid reacts in water to produce that dreamy, fizzy bath bubble effect. The botanical oils you select add to it, not only for their divine scents but also for the unique therapeutic qualities they offer.
The Aromatherapy Involved
Essential oils for bath bombs play a significant role in the overall experience. Carefully ponder over your chosen essential oils; are you looking for a relaxing aroma to de-stress after a long day or an invigorating scent to kick-start your morning? For the ultimate relaxation experience, try using lavender or chamomile essential oils. For an energy boost, try citrus oils such as orange or grapefruit. Aromatherapy at home is no longer an elusive ideal with these luxuriant bath bombs at your disposal.
The Process of Crafting Bath Bombs
An intriguing part of the bath bomb making process is how simple and straightforward it really is! Begin with combining your dry ingredients: the baking soda and citric acid. Then, mix in your choice of essential oils, as well as any additional aromatic botanicals, like rose petals or lavender buds. Find ready-to-use bath bomb molds online or in local craft stores – these range from spheres and hearts to whimsical shapes like stars and flowers. Pack your mixture tightly into the molds, let them dry for a day or two, and voilà, you have your very own homemade bath bombs.
The Health and Environmental Benefits
While store-bought luxury bath products can potentially harbor harmful synthetic chemicals, these natural bath bombs ensure your skincare is as earth and skin-friendly as possible. Harnessing the power of organic ingredients and essential oils, they provide myriad health benefits such as reducing stress, easing body pains and improving skin health. Moreover, these DIY wellness symbols are plastic-free, eco-friendly bath products that give you an opportunity to contribute to environmental conservation and promote sustainable self-care at home.
Gift it Forward
These delightful and nourishing bath bombs are not only a treat for yourself but they make for heart-warming homemade gifts. Whether it’s a birthday, a housewarming party or just a sweet gesture for someone special, a beautifully presented basket full of scented bath bombs exudes effort and thoughtfulness. Not to mention, you’ll be sharing the blissful experience of a personal home spa with others – spreading joy, wellness, and relaxation!

As we conclude this session of bubbles, scents, and self-care...
Remember that wellness is always within reach and that you are fully capable of creating your own slice of spa paradise at home.
Homemade bath bombs bring the luxury of a spa to you, offering not only relaxation, but also the ample benefits of aromatherapy and natural skincare. Go ahead, give this DIY project a try, and before you know it, tomorrow's bath will be a celebration of tranquillity, comfort, and your newfound bath bomb making skills.
It's one small, fizzy step for you, but one giant, effervescent leap for your relaxation game. You've got this, your bathroom oasis awaits!
You May Also Like These:
DIY 'Time Capsule' Craft Project
Ingredients:
- A sturdy box or container
-
Items to put inside the capsule:
- Photos
- Letters
- Newspaper clippings, etc.
-
Packing materials:
- Tissue paper or newspaper
- Bubble wrap
- A set of markers
Instructions:
- Choose your Time Capsule Container: Decide on a sturdy box or container. This could be something as simple as a shoebox, or you might want to invest in a waterproof and rustproof durable box, especially if you are planning to bury your time capsule.
- Collect Items: Gather items that represent the current time. Photos, letters to your future selves, newspaper clippings, a list of popular movies or books, and small trinkets would all be great inclusions.
- Package Everything Carefully: Take each item and wrap it carefully with tissue paper or newspaper before placing it in the box. If any items are particularly fragile, consider using bubble wrap.
- Decorate The Box: Use the markers to write the date and any messages on the box. You could also draw or paint on it to make it more unique and personal.
- Seal the Time Capsule: Once everything is packaged, you can close the box and make sure it’s sealed properly. You can use tape for this to ensure it stays closed until the designated date in 2025.
- Store or Bury: Decide where you’re going to keep your time capsule. You could bury it in the backyard, or store it in a closet or under a bed.
And there you have it – your own DIY 'Time Capsule' ready to surprise you in 2025.
Decorated Cardboard Tubes Craft Instructions
This is a fun and engaging craft activity for parents and children. Now, let's gather our supplies!
Ingredients:
- Cardboard tubes
- Colorful construction paper
- Glue
- Scissors
- Various craft supplies (glitter, stickers, sequins, markers, etc.)
- Items to fill tubes with (small toys, candies, notes, etc.)
Instructions:
- Prepare your Station: Clear a workspace and gather all your ingredients.
- Select and Cut the Paper: Choose a piece of construction paper that fits around the cardboard tube. Cut it out.
- Decorate the Paper: Use markers, glitter, stickers, or sequins to decorate the paper. Let your creativity be your guide!
- Glue the Paper onto the Tube: Once the decoration is dry, glue the paper onto the cardboard tube. Allow the glue to dry completely.
- Fill Your Tube: Now that your tube is decorated and dried, fill it with small items of your choice.
- Seal the Ends: You can seal the ends with small circles of construction paper. Apply glue to the rim of the tube and stick the paper circles. Let it dry.
Fantastic job! Your Decorated Cardboard Tubes are complete. Enjoy!
Cardboard Tube Crafts Instructions
Ingredients:
- Cardboard tubes (toilet paper rolls or paper towel rolls)
- Acrylic Paint (Various Colors)
- Paint Brushes
- Glitter/Stickers (optional)
- Scissors
- Craft Glue
- Filling items (Such as toys, candies, notes, etc.)
Instructions:
Step 1: Preparing the Tubes
Collect and clean your cardboard tubes. Make sure they are dry before starting the craft.
Step 2: Painting
Use your acrylic paint to paint the outside of the tubes. Let your creativity shine, and don’t forget to let them dry after painting.
Step 3: Adding Decorations (Optional)
If you want to add some sparkle or extra decoration, you can use stickers, glitter, or even craft paper cutouts. Use craft glue to adhere these decoratives to the tubes.
Step 4: Filling the Tubes
Once your tubes are painted and fully dry, you can fill them with small toys, candies, notes or whatever items you prefer. Just make sure they fit in the tubes.
Step 5: Sealing the Tubes
You can seal the tubes by folding in the ends. But if you want the tubes to be reusable, you can make a pair of lids using cardstock cutouts glued on the edges.
Note: Always supervise children when using craft materials like scissors and glue. Additionally, make sure the filling items are safe and appropriate for the intended recipient.
Instructions for Creating Craft Notes
Ingredients:- A4 size colorful sheets
- Scissors
- Glue
- Markers
- Stickers or any decorative items (optional)
- Gather all the ingredients. Ensure you have everything you need before you begin.
- Cut the colorful sheets into squares or rectangles, depending on desired note size.
- Fold each cut paper into half. Remember, the fold will serve as the binding of your craft note.
- With your markers, write any message or draw any design that you want.
- If desired, decorate your craft note further with stickers or other decorative items. Use the glue to stick them on.
- Finally, dry your craft note by leaving it open for a few minutes. Once dry, your craft note is ready to use or give as a gift!
Crafts for Memories from the Current Year
Creating crafts that represent the current year's memories is a brilliant way to look back on time. Follow these easy steps to enjoy this perfect family activity.
Ingredients
- Photo Prints: Photos that highlight your treasured memories.
- Craft Paper: To create a beautiful background for your photos.
- Markers and Pens: For decorating and writing.
- Glue and Tape: For securely attaching photos and other items.
- Scissors: For cutting paper and photos.
- Embellishments: Includes stickers, glitter, ribbons, beads etc.
- Craft Frame or Album: To assemble your work in one place.
Instructions
Follow these steps to create your crafts of memories:
- Conceptualize: Decide what kind of craft you want to make - a scrapbook, collage, photo album etc.
- Select Photos: Pick out the photos that best represents your memories.
- Prepare your Paper: Cut your craft paper to appropriate size based on your selected craft.
- Arrange Photos: Decide where you want to place each photo on the craft paper.
- Decorate: Use markers, pens, and embellishments to decorate around the photos. Write short notes for each photo to capture the memory it represents.
- Assemble: Use glue or tape to secure the photos and embellishments in place.
- Finalize: Place your craft in a frame or album to protect it and keep it intact.
With these instructions, you'll be able to create a unique piece of the year's memories. Happy crafting!


