


As an affiliate, I earn from qualifying purchases, but this doesn't affect the reviews or recommendations—your trust is important to me!
Exploring : Creating a DIY Bottle Terrarium: A Fun Science Experiment

Today, We're Making:
- - DIY Bottle Terrarium Science Experiment
- - Future Weather Predicting Station: Along with the DIY Bottle Terrarium Science,kids can be involved in building a basic weather predicting station using recyclable materials. It could include a homemade barometer,thermometer and a rain gauge. They could compare the weather patterns they observe leading up to the current date - 10-15-2025,and make scientific predictions about future weather.
- - Time Capsule Story: Inspire kids to create a time capsule filled with items that reflect their life and times as of 10-15-2025. It could include news articles,pictures.
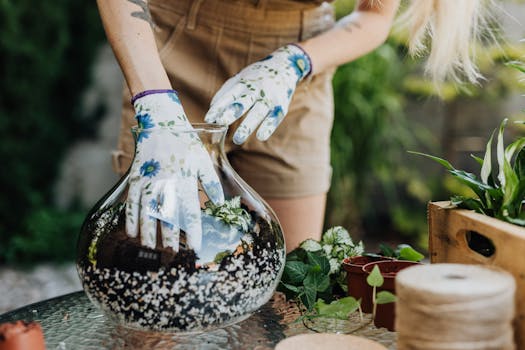
Imagine transforming an ordinary glass bottle into a miniature, living world. Intriguing, right?
Welcome to the magic of creating a DIY Bottle Terrarium!
This fun science experiment not only checks the aesthetics box but also serves as an educational DIY project for everyone from curious kids to adults. A bottle garden or a terrarium is essentially a self-sustaining ecosystem—your miniature rainforest or desert— that brings a slice of nature right to your desktop. Plus, it's a sustainable craft, making a beautiful statement about recycling and indoor gardening.
So, are you ready to dive into the enchanting journey of terrarium making?
Let's demystify the process and make science fun!
Step-by-Step Guide to Building Your Terrarium
After you've found a glass bottle or jar with a lid, it's time to embark on this fun science experiment. Here are the essentials you need for your DIY Bottle Terrarium:
- Soil: This will serve as the base for your mini-ecosystem.
- Small rocks or pebbles: These help with drainage and prevent water from remaining stagnant.
- Charcoal: It keeps the terrarium fresh by filtering the air.
- Plants: A variety of small, indoor plants that can fit inside your bottle making your sustainable craft a green haven!
- Decorative elements: Small figurines, seashells, or decorative rocks add your personal touch!
An Eco-Friendly Craft That Teaches
Creating terrariums is not only about adding a touch of green to your interior decor; it's about learning science and cultivating an appreciation for nature. As you build your terrarium, you understand how each element, from the soil to the plants, contribute to creating a self-sustaining ecosystem. You witness first-hand how the water cycle works in this micro-ecosystem; evaporation, condensation, and precipitation happening right before your eyes in your glass terrarium. This DIY Bottle Terrarium science experiment is a sneak peek into the world of plant science; offering insights into plant growth, photosynthesis, and how to create the perfect conditions and terrarium care tips for the plants to thrive.
Creating a World of Wonder For Kids
This DIY project is an excellent activity for children. It transforms learning science into a tactile, engaging experience the children will love. Building a terrarium piques their curiosity, captivates their imagination, and develops their creativity. It's a far cry from the monotonous learning methods they are used to. Instead, it’s a fun science experiment where they can create their ecosystem! Moreover, kids get a sense of satisfaction and nurture a love for the environment as they watch their plants grow in this homemade terrarium. Encourage their young minds to explore and appreciate nature and the science that makes it work. It's also a unique STEM activity that pushes their boundaries, ignites their minds, and motivates them to learn.
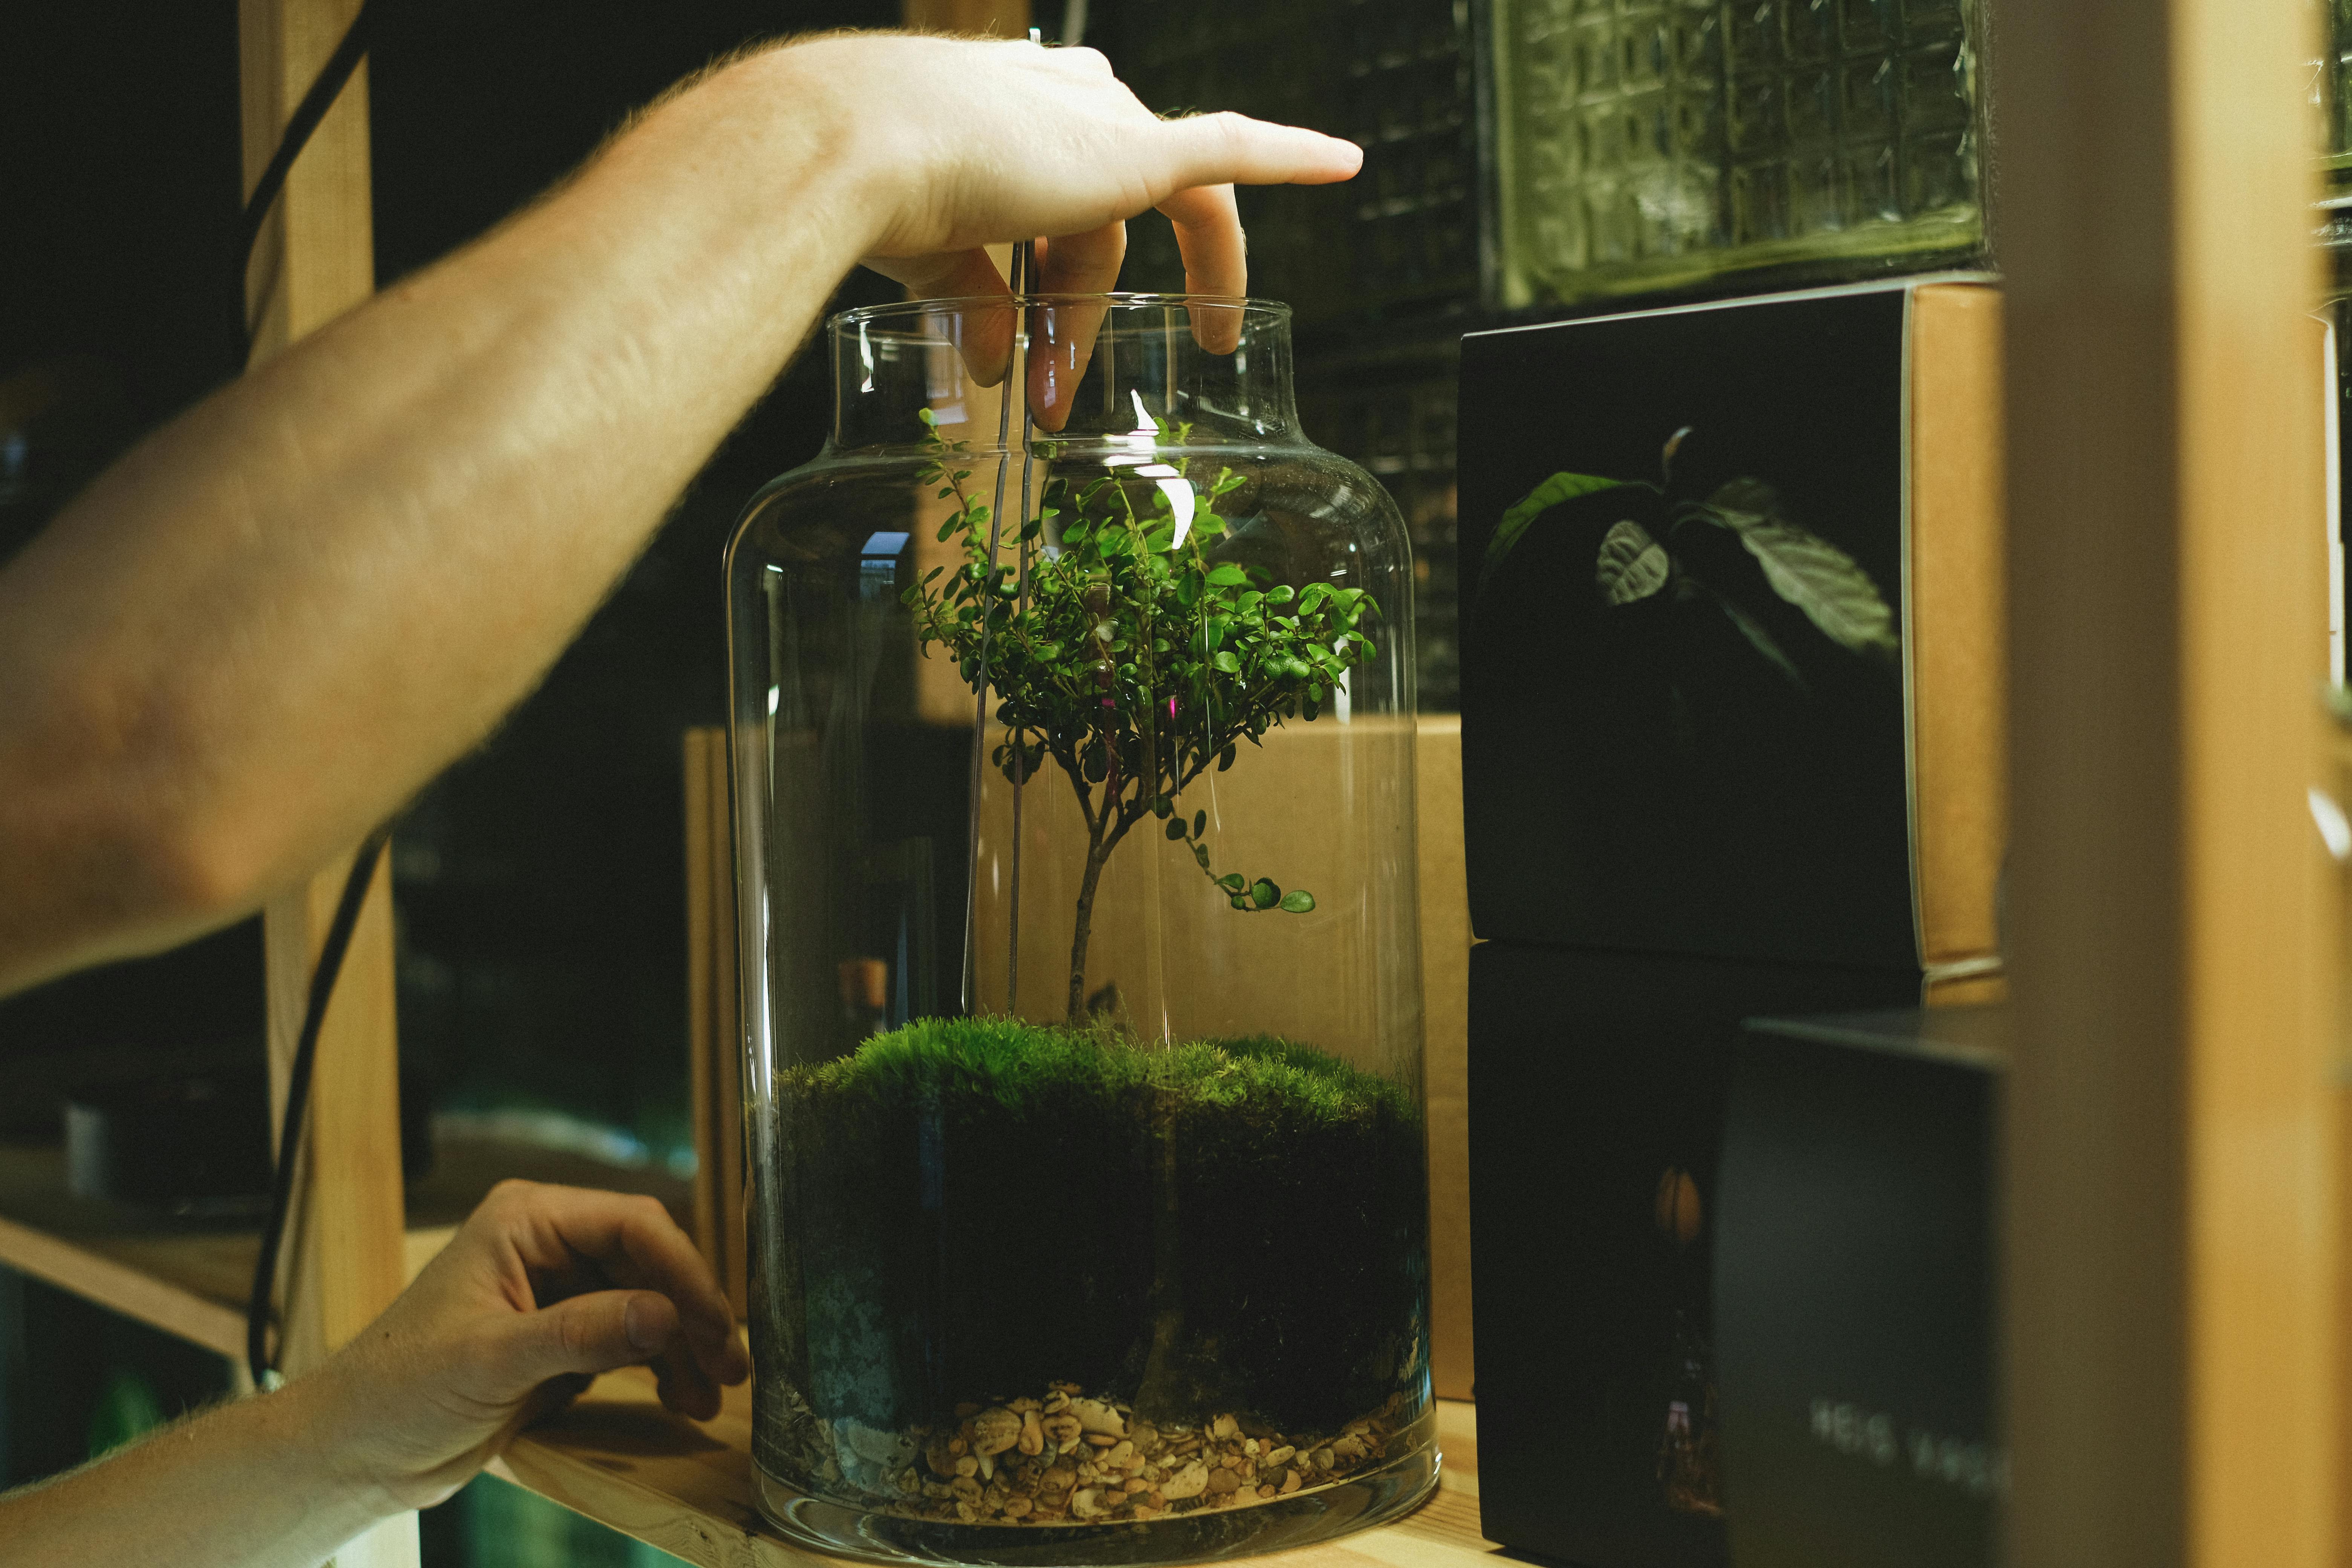
Adding the Green Factor to Your Workspace
Last but not least, these glass terrariums make remarkable additions to your workspace. Amidst a flurry of work, a glance at the lush greenery inside a desktop garden can be quite refreshing. This DIY Bottle Terrarium becomes a personal piece of nature that adds vitality to any indoor space. Plus, it serves as a testament to your commitment to sustainability and indoor gardening. Besides, terrariums need minimal care, making them the perfect companions for busy professionals who love greenery but lack the time for elaborate indoor plant care.
So there you have it!
Creating a DIY Bottle Terrarium is an elegant fusion of art, science, and environmental consciousness.
This project enlightens you about the intricacies of nature, turns the learning process into a fun science experiment for kids, and transforms your workspace into a vibrant, green hub. Plus, the rewarding endeavor of crafting your miniature ecosystem is a lovely way to pledge your commitment to sustainability.
Get Creative!
So get creative, dive into this magical activity, and earn the pure joy that comes from watching your little bottle garden flourish.
Here's to Nurturing Our Inner Botanist
Here's to nurturing our inner botanist and bringing a touch of Mother Nature into our homes and hearts!

You May Also Like These:
DIY STEM Projects
1. Future Weather Predicting Station
Ingredients:
- Large clear glass bottle
- Camphor crystals
- 100% Ethyl alcohol
- Distilled water
- Clear lamp oil
- Food coloring (optional)
Instructions:
- Clean the bottle: Ensure the glass bottle is clean and dry.
- Combine ingredients: Mix equal parts of camphor crystals, ethyl alcohol, and distilled water. Add a drop of food coloring, if desired.
- Fill the bottle: Pour the mixture into the glass bottle until it is 3/4 full.
- Add lamp oil: Fill the rest of the bottle with clear lamp oil.
- Seal the bottle: Apply the seal on the bottle tightly to prevent any outflow.
- Observe changes: Observe the changes in the bottle due to weather conditions. The mixture will form crystal structures in response to changes in temperature and pressure.
2. DIY Bottle Terrarium Science
Ingredients:
- Large clear glass jar with lid
- Potting soil
- Small plants or seeds
- Gravel or small stones
- Activated charcoal (available at pet stores)
- Water
Instructions:
- Layer gravel: Add a 2 inch layer of gravel or stones to the bottom of your jar to create a drainage layer.
- Add charcoal: Sprinkle a thin layer of activated charcoal over the gravel to help control smells and prevent mold.
- Add soil: Layer 3-5 inches of potting soil on top of the charcoal.
- Plant your plants or seeds: Add your small plants or seeds by pressing them gently into the soil.
- Water: Lightly water the soil around your plants or seeds to add moisture but avoid overwatering.
- Seal the jar: Place the lid on your jar to create a closed environment.
- Observe: Place your terrarium near sunlight but not in direct light and watch as your plants grow!
DIY Thermometer and Rain Gauge
Teach your children about weather patterns with this exciting DIY project. With a few simple materials and these instructions, you can create a thermometer and rain gauge for your own backyard science lab. Let's get started!
Materials Needed
For the Thermometer:
- A clear, narrow-necked bottle
- Water
- Rubbing alcohol
- Red or blue food coloring
- Plastic straw
- Modeling clay
For the Rain Gauge:
- A clear, straight-sided jar
- Ruler
- Waterproof permanent marker
Instructions
Building the Thermometer:
Step 1: Fill the bottle about 1/4 full with equal parts of tap water and rubbing alcohol.
Step 2:
Add a few drops of food coloring.
Step 3:
Insert the straw into the bottle, but don't let it touch the bottom.
Step 4:
Seal the neck of the bottle with modeling clay so the straw stays in place, but ensure the straw doesn't get blocked.
Step 5: The homemade thermometer is now ready! Changes in temperature cause the mixture to expand or contract, moving the liquid up or down the straw.
Building the Rain Gauge:
Step 1: Using your ruler and permanent marker, mark a scale in millimeters on the side of the jar.
Step 2:
Place the jar outside in an open area, making sure it's level.
Step 3:
Check the jar after each rain and record the level of the water. Remember to empty the jar after each measurement.
Step 4: The rain gauge is now ready to use! It can be used to measure daily, weekly, or monthly rainfall.
Now you should be able to track temperature and rainfall over time and make some observations about the patterns they form. Happy experimenting!
Ingredients:
- Plastic water bottle (For Rain Gauge)
- Flat baking tin (For Rain Gauge)
- Duct tape (For Rain Gauge)
- Ruler (For Rain Gauge)
- Push pin or drill (For Thermometer)
- Clear straws (For Thermometer)
- Clay (For Thermometer)
- Food coloring and rubbing alcohol mixture (For Thermometer)
Instructions:
For Rain Gauge:
- Cut the top off a plastic water bottle.
- Invert the top and place it inside the bottom portion like a funnel.
- Tape it firmly into position.
- Place your rain gauge in a flat baking tin to catch any overflow.
- Position your rain gauge outside in an open area.
- Measure the rainfall daily by reading the level of water in the bottle with a ruler. Record these measurements.
For Thermometer:
- Pour the food coloring and rubbing alcohol mixture into your clear straw.
- Stick the straw through a hole in the clay, but do not let it go all the way through.
- Seal the end of the straw in the clay so that no alcohol can spill out.
- Mount your thermometer outside in a shaded area, ensuring it is securely taped to a piece of plywood or cardboard.
- Observe and Record the rise and fall of the colored mixture in the thermometer daily. This shows the change in temperature.
Observation:
Start recording your observations using these makeshift tools. Compare the weather patterns that you observe leading up to the current date (10-15-2025).
2. Time Capsule Story
Inspire your kids to create a Time Capsule filled with items that reflect their life and times as of 10-15-2025. It is a fun way to capture this moment in history for future reflection and makes a great STEM project.
Materials Needed:
- An airtight, waterproof container appropriate for burying
- Paper and pens for writing letters or notes
- Various small items representative of today’s era (for example, photos, newspaper clippings, a COVID-19 mask, a memento from a virtual event)
Instructions:
- Gather Materials: Ensure you have all the materials you will need, as listed above.
- Explain the purpose: Start by explaining to your child the concept of a time capsule and its historic significance.
- Choose Items: Help your child select items that best represent their current life and the world around them. These can include photos, favorite small toys, or copies of popular music or movies.
- Seal the Capsule: Once all items have been collected and your child has written their letter or note, place all the items in the container and seal it securely.
- Pick a Spot: Choose a spot in your yard to bury the time capsule. Before burying, ensure you mark the spot for future reference.
- Document: Take photos or make a video of the ceremony to create more memories.
- Unearth in the future: Decide on a date in the future (5, 10, 15 years later) when the capsule will be opened.
This project not only provides a fun activity for kids, but also encourages them to think about how life and times change, predicting what the future might look like, and creating a tangible piece of their own history.
Solar Oven STEM Project
Ingredients:
- Cardboard box
- Aluminium foil
- Plastic wrap
- Black construction paper
- S'mores ingredients - marshmallow, chocolate, graham crackers
Instructions:
Step 1: Prepare the box
Cut a flap on the top side of your box, making sure to leave an inch of cardboard on each side.
Step 2: Apply Aluminium Foil
Glue aluminium foil to the flap cut earlier and inside the box. Ensure it's smooth to effectively reflect sunlight.
Step 3: Black Base
Glue black construction paper to the bottom of the box. This absorbs heat, helping your S'mores cook faster.
Step 4: Cover with Plastic Wrap
Cover the opening of the box, securing the plastic wrap to create a seal. This traps heat inside our solar oven.
Step 5: Bake Your S'mores
Place your S'mores on the black construction paper and position your oven towards the sun. Your Solar Oven is now functional!


