


As an affiliate, I earn from qualifying purchases, but this doesn't affect the reviews or recommendations—your trust is important to me!
Exploring : Creating a DIY Lava Lamp Experiment at Home Easily
Today, We're Making:
- - DIY Lava Lamp Experiment
- - 'Hurricane in a Bottle': This project can be related to the fall hurricane season around the date of 09-24. Kids can create a 'Hurricane in a Bottle' using two soda bottles, water, and glitter to understand how whirlpools are created.
- - 'Solar Oven Smores': As September 24,2025 is close to the equinox, when day and night are almost equal.
Have you ever wished for an exciting science experiment you can perform right there in your living room?
Well, it is time to up the ante with a seriously cool home experiment: a DIY Lava Lamp Experiment. This is more than just a fascinating display of effervescent colors swirling around in a bottle; it's an exciting way to turn your home into a fun-for-all DIY Science laboratory. Imagine the look on your kids' faces when you transform ordinary household items into a magical, pulsating spectacle.
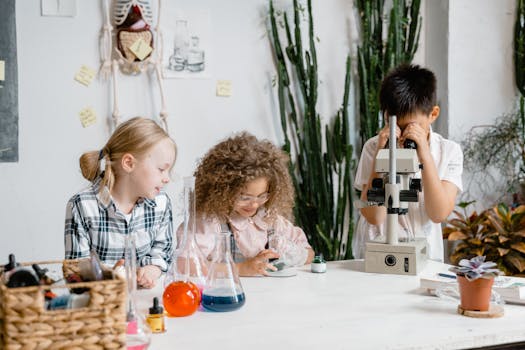
This is one of those easy DIY projects that will help your children learn science at home, integrating hands-on learning, and fun.
So, why not put on your lab coats, and let's dive right in!
Step-by-Step DIY Lava Lamp Experiment
Let's kick off this exciting DIY Lava Lamp Experiment with some essential ingredients and tools. Round up a clear glass container, vegetable oil, food coloring, water, glitter (optional), and effervescent tablets (like an Alka-Seltzer). Your kitchen probably has most of these items already. That's right, no need to break the bank or take a trip to the craft store, these are everyday items that will be part of the magic very soon.
To get the lava flowing, start by filling a quarter of the glass container with water. Add a few drops of food coloring, which would determine the color of your homemade lava lamp. Do you want a cool blue sea-themed lamp? Or perhaps a fiery red one that resembles a true volcanic eruption? The choice is yours!
Easy DIY Projects: It's Lava Time!
After adding color to the water, pour vegetable oil into the container until it's almost full, but remember to leave some room at the top. You'll suddenly notice how the oil floats above the colored water instead of mixing with it. This spectacle is a great way to discuss density with the little ones, and how different liquids can't always blend with each other.
Pop in a glitter now if you have any, for an extra sparkling effect and then comes the climax of our DIY Lava Lamp adventure: drop an effervescent tablet into the glass container!
Instantly, you'll notice the colored water begin to fizz and form bubbles. As they flow throughout the container, they mimic the behavior of real lava lamps. It's not every day you get to perform such an easy and captivating home experiment.
Turning Home Experiments into a Science Lesson
As your family gathers around this easy lava lamp, it creates the perfect opportunity to engage your kids in discussions about scientific principles at play. From density to intermolecular polarity, this DIY science experiment is an incredible, hands-on learning opportunity.
And the best part is, this experiment doesn’t end here! Once the effervescence from the tablet reduces, the colored water settles back at the bottom. Then, it's ready to start over, as many times as you'd like. Add another tablet and sit back to watch the science magic unfold again.
Feeling inspired to try other DIY Science projects? There are countless science experiments at home that kids and adults can enjoy together. They range from making homemade play dough to exploring the wonders of a homemade rainbow. Making science fun and approachable is the key to encouraging lifelong learning.
And there you have it, a phenomenal science experiment right from the comfort of your living room
Blending dazzling fun with learning, the DIY Lava Lamp Experiment is more than just a visual spectacle; it's a creative journey, an unforgettable lesson in chemistry, and a binding family adventure.
Let the glowing colors reflect in the curious eyes of your little scientists as they discover the
magic of density, polarity, and effervescence in this thrilling science experiment at home.
So, what are you waiting for?
Transform ordinary into extraordinary. Let's make learning not merely educative but exhilarating in every sense. Give that old school science a colorful, sparkling twist!
Create, learn, enjoy, because science couldn't get any cooler. It's time to set the lava flowing!
You May Also Like These:
Hurricane in a Bottle STEM Project
Ingredients:
- Two clear 2-liter soda bottles
- Water
- Cooking oil (optional)
- Glitter (optional)
- A washer that fits the mouth of the soda bottle
- Duct tape
Instructions:
- Prepare the Bottles: Remove any labels from the soda bottles and make sure they are clean and dry.
- Fill One Bottle: Fill one bottle about 3/4 full with water. You can add glitter or a few drops of cooking oil to make the hurricane effect more visible.
- Fix the Washer: Place the washer over the mouth of the bottle you have filled with water. Make sure it fits properly.
- Join the Bottles: Take the second bottle and screw it onto the washer securely.
- Seal the Join: Wrap several layers of duct tape around the area where the two bottles meet to reinforce and prevent any water from leaking.
- Create the Hurricane: Turn the bottles upside down so that the bottle with the water is on top. Give it a quick spin and watch your 'hurricane' form in the bottle below.
Note: Always supervise your kids when they are performing these steps to ensure safety.
Solar Oven S'mores Experiment
Materials Needed:
- Cardboard pizza box
- Aluminum foil
- Plastic wrap
- Black construction paper
- Tape
- A stick or a straw
- S'mores ingredients: Graham crackers, Marshmallows, and Chocolate bars
Instructions:
- Cut a flap in the top of the pizza box, leaving about an inch border around three sides.
- Cover the flap with aluminum foil, ensure it's completely covered and smooth out any wrinkles.
- Open the box and cover the interior side of the flap with black construction paper. This will be the cooking surface.
- Cover the opening created by the flap with plastic wrap and secure it using the tape. Ensure it is tightly sealed. This will create a kind of greenhouse effect inside the oven.
- Position your solar oven where it can get maximum sunlight. Use the stick or straw to prop open the aluminum foil-covered flap.
- Place your marshmallow on top of a graham cracker square and position it on the black construction paper surface inside the oven.
- Close the pizza box while ensuring the foil-covered flap is reflecting sunlight into the box.
- Wait and observe. It will take some time for the marshmallow to soften and the chocolate to melt.
- Once done, use a graham cracker to sandwich the marshmallow and the chocolate. Be careful as it can be hot.
- Enjoy your s'more and explore the science behind solar heat!
Note: This experiment should be supervised by an adult, as the solar oven can get hot.
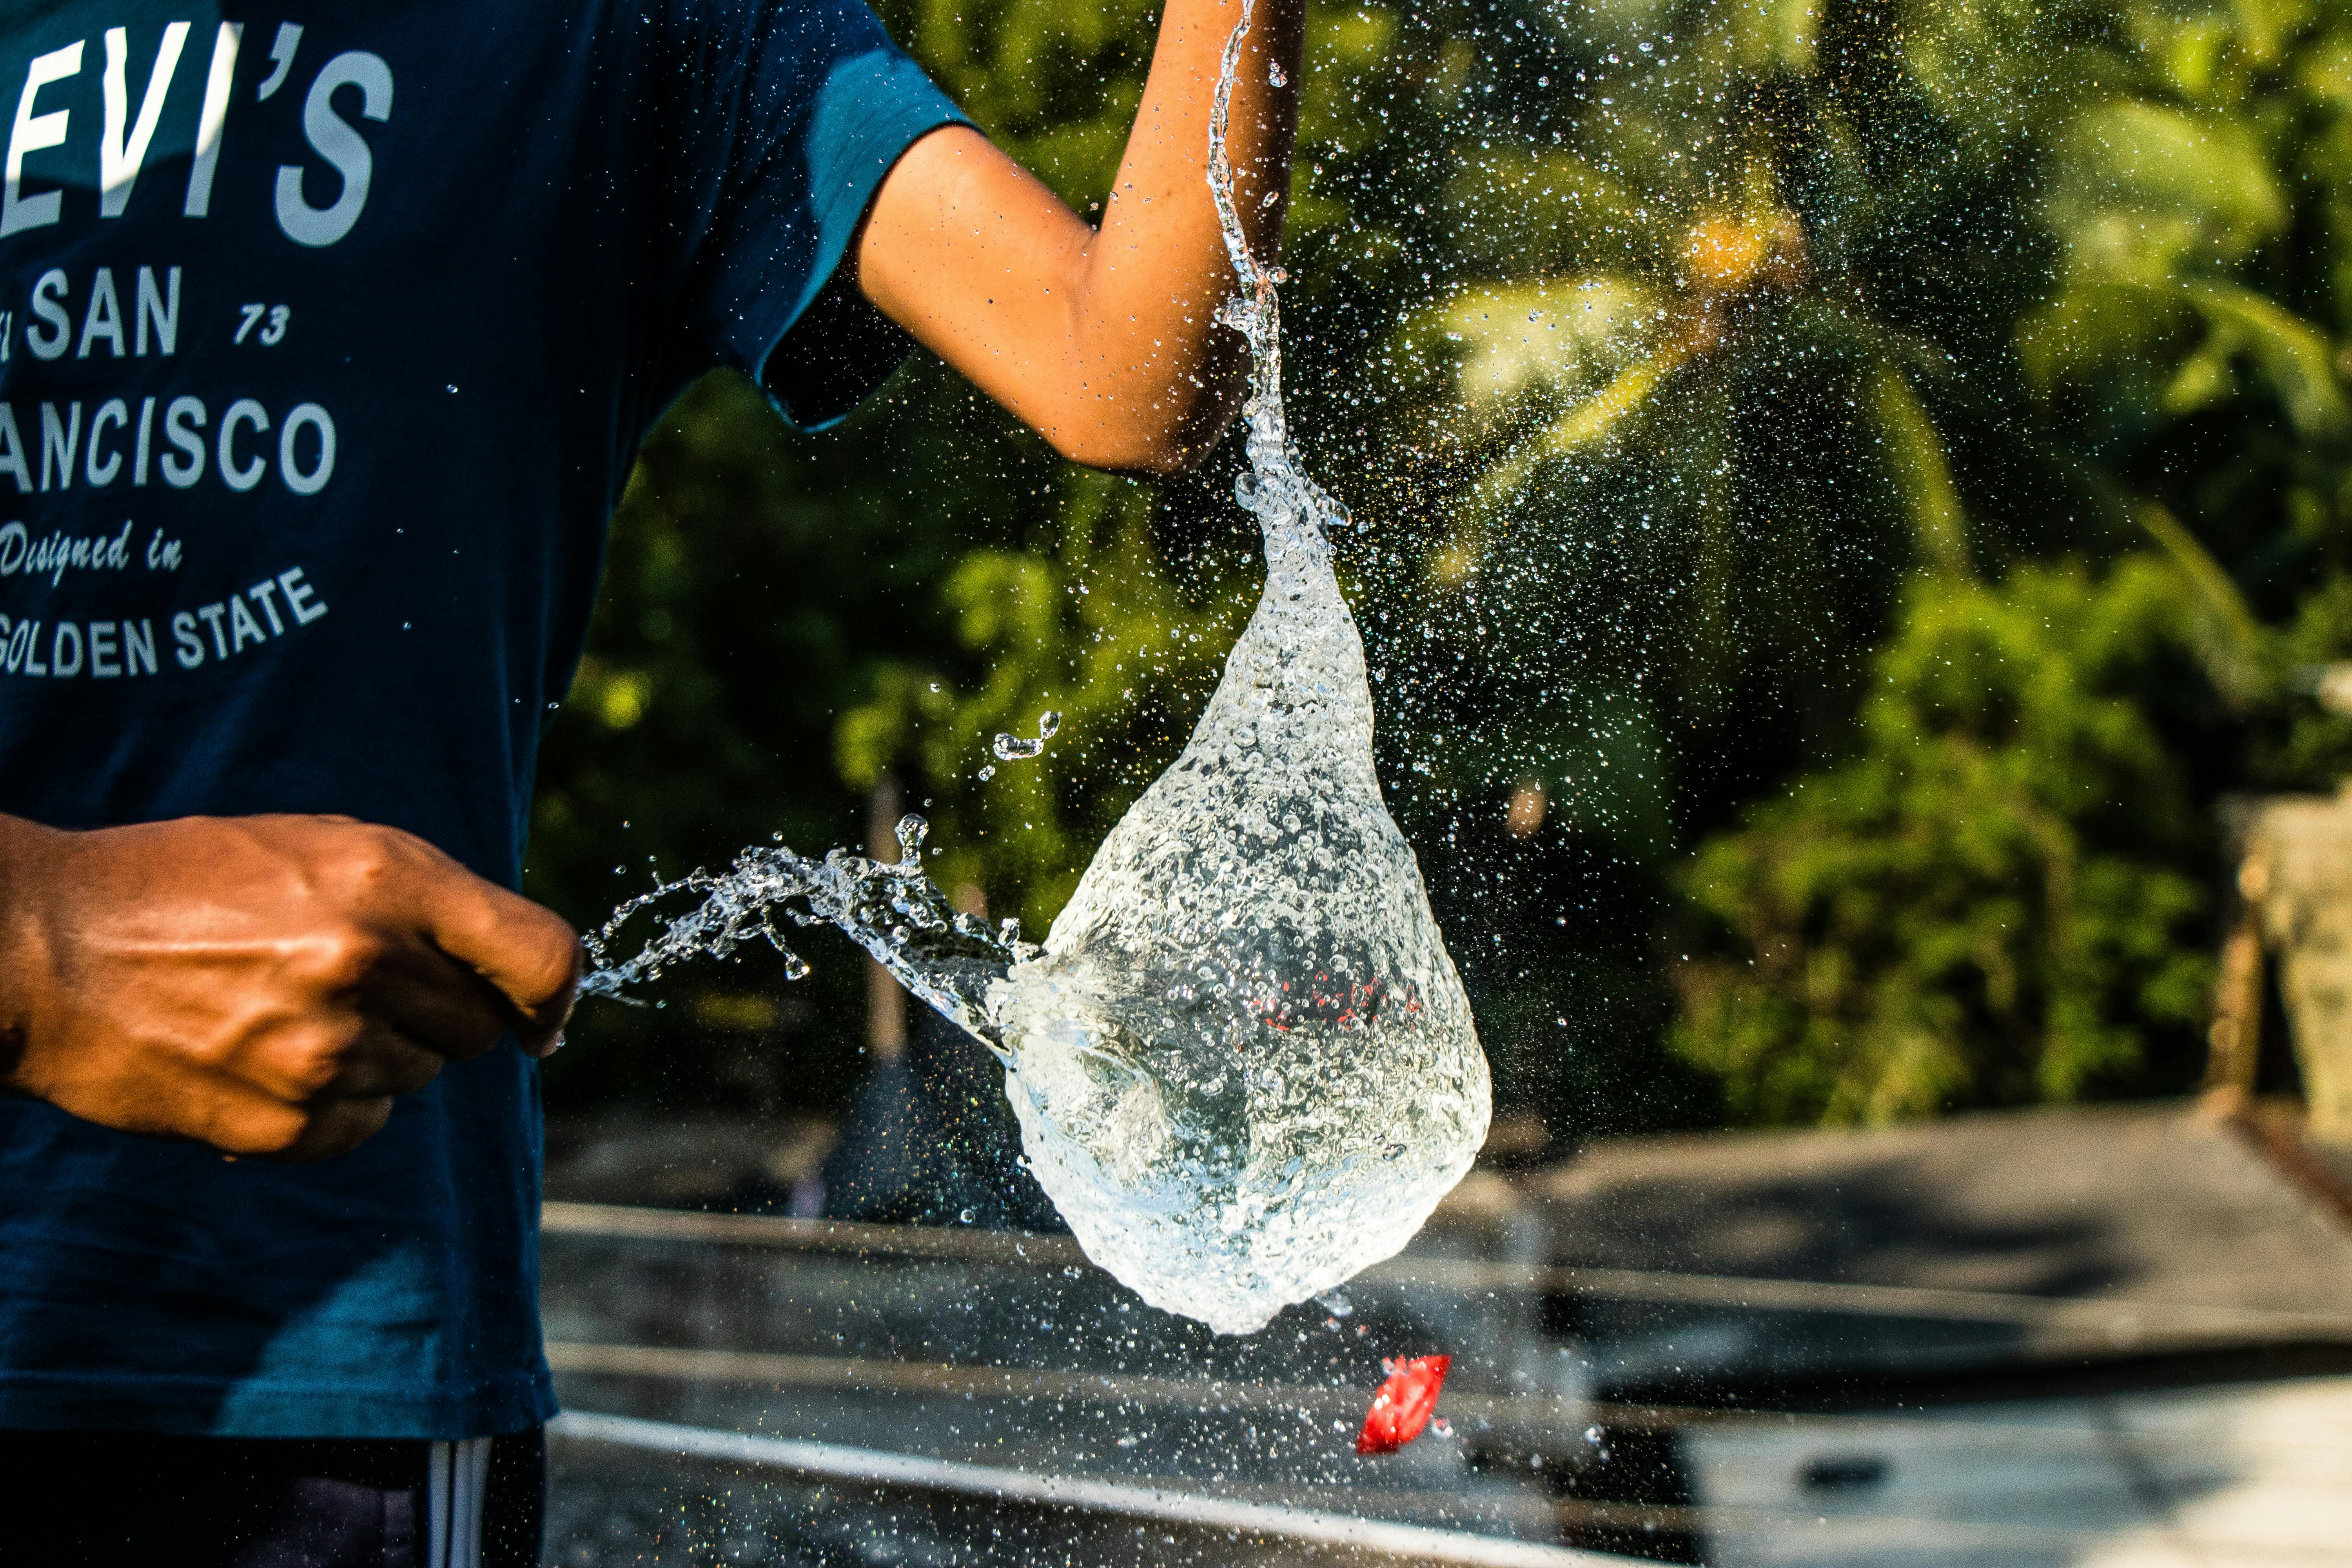
1. 'Glitter Whirlpools'
Materials Needed:
- A clear glass container or jar
- Water
- Glitter
- Dish soap (optional)
Instructions:
- Begin by filling your clear glass container about three-quarters full with water.
- Next, sprinkle a generous amount of glitter into the water. This will help visualize the whirlpool effect.
- If you want to create a longer lasting whirlpool, add a few drops of dish soap to the water. This will reduce friction and allow the whirlpool to spin longer.
- Stir the water in one direction using a spoon or stick. Try to get all the glitter moving in the same direction.
- Once all the glitter is moving, pull your spoon out and watch as a whirlpool forms. The glitter will swirl into the vortex, illustrating how a real whirlpool works!
- Discuss this phenomenon with your child and explain how the centripetal force pulls objects toward the center, creating a whirlpool.
2. 'Solar Oven Smores'
Materials Needed:
- A pizza box
- Aluminum foil
- Plastic wrap
- Black construction paper
- Straw or skewer
- Marshmallows
- Chocolate bars
- Graham crackers
Instructions:
- Start by cutting a flap in the top of the pizza box. Make sure to leave an inch of space around the edges.
- Cover the inside of the flap and the interior of the box with aluminum foil. This will reflect the sunlight into the box.
- Then, tape a layer of plastic wrap over the hole you've cut in the box. This will allow sunlight to enter the box and trap the heat inside.
- Lay down a sheet of black construction paper on the bottom inside of the box. This will absorb heat and help cook our s'mores.
- Next, place your s'more ingredients on top of the black paper. Put together your graham cracker, chocolate, and marshmallow.
- Use a straw or skewer to prop the box flap open at an angle that will catch the most sunlight.
- Finally, place your solar oven in a sunny spot and wait as it heats up and begins to melt your s'more — it could take up to an hour or more, depending on the warmth and brightness of the sunlight.
STEM Projects for 2025: The Equinox Project
Ingredients Necessary:
- A Globe
- Flashlight
- Protractor
- Whiteboard markers
- Construction paper
- Scissors
Instructions:
Step 1: Understand Equinox
The equinox, occurring twice a year around March 20th and September 22nd, is when the center of the sun directly aligns with the Earth's equator. During this time, the length of day and night is approximately equal worldwide.
Step 2: Demonstrating Equinox with the Globe and Flashlight
Using the flashlight as the sun, aim it directly at the Earth's equator on the globe. This illustrates how sunlight is evenly spread across the Earth during an equinox.
Step 3: Measuring Day and Night
With the protractor, measure the division of day and night. They should be approximately the same on the globe-figure.
Step 4: Craft an Equinox Diagram
Using construction paper, draw and cut out shapes to represent the Earth and sun. Position these shapes to depict the equal illumination of the Earth on the equinox.
Step 5: Discuss and Reflect
Talk with your child about the implications of the equinox. Discuss its impact on temperatures, weather patterns, and how different cultures mark these events.
Project Materials
- Sunrise and sunset times from a local newspaper or online resource
- A world map or globe
- 12-hour digital clock or watch
- A sheet of paper
- A pencil
Project Instructions
- Research: Start by finding the sunrise and sunset times for your area on the day of the experiment.
- Observation: Note the time it is taking from sunrise to sunset and calculate the length of the day by subtracting the sunrise time from the sunset time.
- Record: Write down your findings on a piece of paper.
- Calculate: Repeat steps 1 through 3 on the day when day and night are approximately equal i.e., during the equinox.
- Compare: Now, compare the length of the day you observed at the beginning of the project with the day on the equinox. Are they almost equal?
- Discuss: Discuss with your child why there are certain days in a year when day and night are almost equal. Use a globe to explain how the tilted axis of the Earth results in varying lengths of day and night throughout the year.
Note: Safety is of utmost priority. Do not allow your child to look directly at the sun during any stage of this activity.


