


As an affiliate, I earn from qualifying purchases, but this doesn't affect the reviews or recommendations—your trust is important to me!
Exploring France: Craft Your Own French Marinière Nautical Striped Shirt DIY Guide
Today, We're Making:
Here is your HTML code: ```html
- - DIY French Marinière (Nautical Striped Shirt) Craft.
- - 1. Eiffel Tower Paper Mache: Using newspaper, a balloon, and a simple glue mixture, guide children to construct their own miniature Eiffel Tower. Finishing touches can be added with silver or gray paint to replicate the real monument. This FranceCraft can be made even more fun with a historical lesson about the Eiffel Tower and France
- - 2. Mini French Flags: This inexpensive and easy craft involves popsicle sticks.
As entrancing as a spellbinding novel: The Iconic French Marinière Nautical Striped Shirt

The story of the iconic French Marinière nautical striped shirt has been woven into the very fabric of French maritime tradition. From sartorial symbol of the seafarer to a staple in French style clothing, this quintessential design has navigated its way into the heart of global fashion.
But did you know you can craft your own DIY French Marinière with just a bit of determination and a dash of DIY fashion flair? Indeed, with this Marinière shirt DIY guide, you'll be navigating the waves of nautical fashion and embarking on a rewarding homemade French fashion adventure.
Who knows? You might just discover that threading a needle can be as thrilling as charting your own course on the high seas. Let's set sail on this DIY Crafts voyage together!
The Roots of DIY French Marinière Style
A lesser-known fragment of history is that the Marinière shirt DIY finds its roots in the French maritime tradition. Legend has it that each stripe in the French nautical shirt represented one of Napoleon's naval victories. Thus the Nautical Striped Shirt not only makes a coastal fashion DIY statement, but also weaves a profound narrative into its fabric, adding depth of character and a sense of pride to your DIY wardrobe. With the Marinière style so deeply embedded in the French culture, it almost feels like each DIY sewing stitch you make brings you closer in harmony with French style clothing.
DIY Marinière Shirt: Steps to Homemade French Fashion Freedom
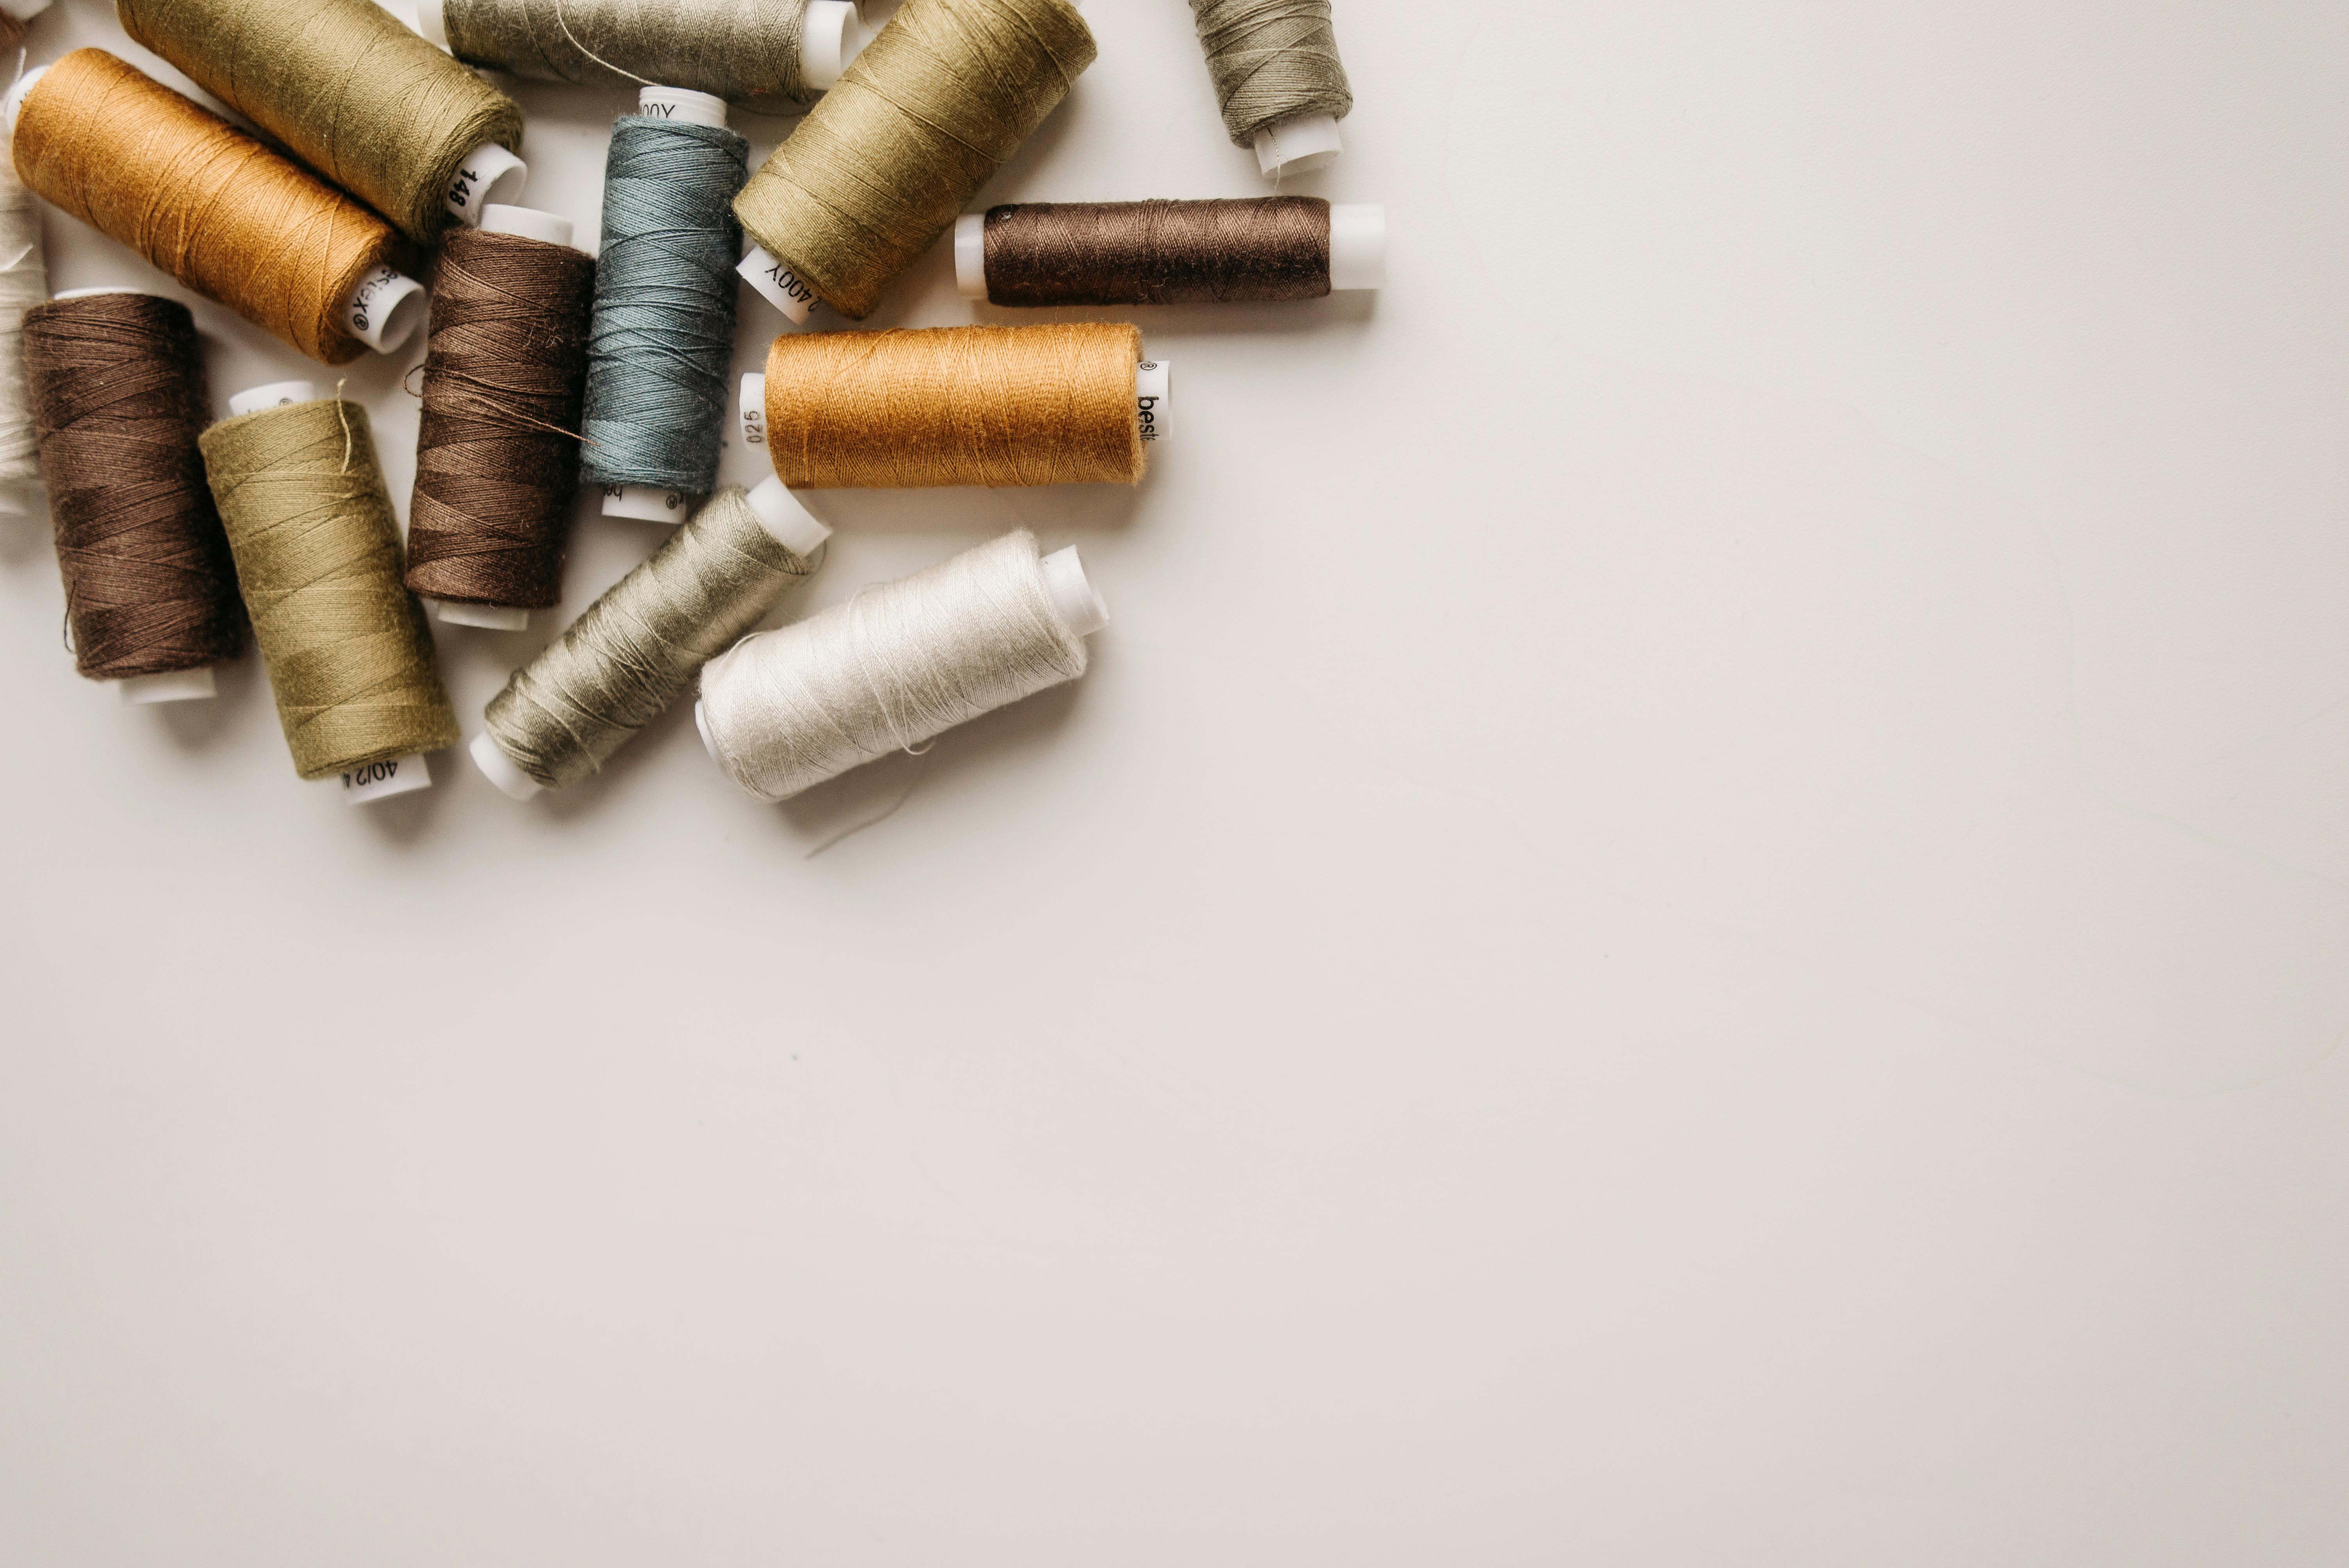
Before we set sail on your DIY fashion project, make sure you have the necessary gear. A classic French sailor shirt is typically made of heavy white cotton, embellished with distinctive blue stripes. However, for your Craft DIY shirt, feel free to chart your own course, using any fabric weight or color scheme that makes your fashion crafting heart sing.
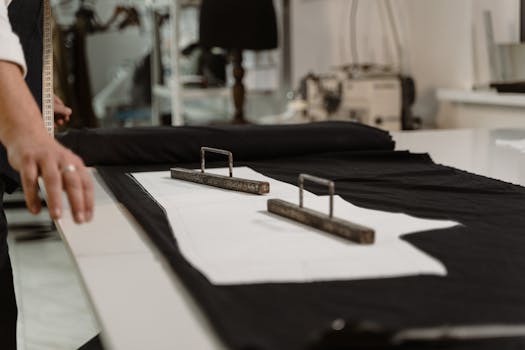
- Step 1: Acquaint yourself with a basic t-shirt pattern, or use a loose-fitting shirt from your DIY wardrobe as a template.
- Step 2: Place your pattern or shirt on the fabric and cut out your shirt pieces.
- Step 3: Start your DIY fashion journey by sewing the pieces together.
As you embrace this DIY French Marinière crafting project, remember it's about the relaxing rhythms of your sewing, capturing the spirit of the timeless Marinière style, and indeed, adding a personal expression of the seafarer fashion DIY to your handmade French shirt collection.
Embracing DIY Fashion: Sewing your Striped Shirt
With the pieces at the ready, it’s time to get nautical. Sew both shoulders of the shirt together before attaching the sides. When it comes to adding the recognisable stripes of the Marinière shirt DIY, you can either dye the fabric or use fabric paint. Using a rigorous measurement method will ensure consistent spacing of the stripes, closely aligning your DIY French Marinière with your seafarer fashion DIY vision.
- Step 4: Sew shoulders.
- Step 5: Sew sides.
- Step 6: Add stripes – paint or dye.
Final Touches to your DIY Nautical Design
The final stage of crafting your DIY French Marinière nautical striped shirt is an exciting endeavor. With your piece nearing completion, this is the time to add your unique je ne sais quoi to the DIY sewing project. Perhaps an extra stripe, maybe a monogram, or simply choosing to leave it classic, you're in command of your homemade French fashion voyage. Remember, it's not just a Breton shirt DIY; it's a chance to express your individuality and creativity through DIY crafts.
- Step 7: Customise your shirt.
- Step 8: Enjoy your new French seaman shirt.
Through the DIY French Marinière crafting journey, you not only create a spectacular piece of DIY fashion but also experience the joy of making a Marinière shirt imbued with personal meaning and French maritime history. And who knows? With your crafted Striped Shirt, you might just ignite your passion for further adventures into the world of nautical fashion crafting.

What a voyage we've sailed together!
Just like a true French Marinière, your unique nautical striped shirt is now ready to navigate the seas of fashion and style. Remember, this crafting journey was about more than just creating a stylish garment; it was about connecting with a rich historical tradition, utilizing a dash of creativity, experiencing the joy of DIY, and ultimately wearing a piece of art designed by you.
Flaunt your new Striped Shirt with pride
Knowing it's a symbol of your commitment, creativity, and your personal French fashion adventure. And as you wear your crafted masterpiece, remember - every stitch tells a story, every stripe sings a sea shanty, and the entire process was about crafting your own fashion journey.
You May Also Like These:
Eiffel Tower Paper Mache Craft
A fun and educational hands-on craft for you and your child. Through this project, kids not only learn about the iconic Parisian landmark, but also refine their motor skills and stimulate their creativity. Here is a step-by-step guide on how to create your own Eiffel Tower using simple materials like newspaper, glue and paint.
Ingredients
You will need the following:
- Newspaper: A few sheets to tear into strips.
- White Glue: This will bind the newspaper strips.
- Water: To mix with the glue and soften the newspaper.
- Paint: To colour your tower. (Typically silver or grey)
- Cardboard: Base to help your tower stand upright.
- Scissors: To cut the newspaper and cardboard.
Instructions
Follow these simple steps with your child to create your Eiffel Tower:
- Tear the newspapers: Begin by tearing the newspapers into strips. Strips of varying widths will add character to your tower.
- Prepare the paste: In a bowl, mix equal parts of white glue and water to make a paste.
- Dip and layer: Dip the newspaper strips into the glue mixture and start layering your paper mache onto your cardboard cutout of the Eiffel Tower.
- Let it dry: Once you have enough layers, let your masterpiece dry for a day or two.
- Paint: After it's completely dry, paint your tower in typical Eiffel Tower colors or let your child's imagination run wild with colors of their choice.
- Display: After the paint has dried, find a spot to display your homemade Eiffel Tower proud!
Crafts for Kids: Making a Simple Glue Mixture
Ingredients:
- 1 cup of Flour
- 1/3 cup of Sugar
- 1.5 cups of Water
- 1 teaspoon of Vinegar (optional)
Instructions:
- In a medium-sized bowl, mix together the flour and sugar
- Add one cup of water to the mixture and stir until smooth
- In a saucepan, bring the remaining 1/2 cup of water to a boil.
- Slowly pour the hot water into the flour mixture, stirring constantly until the mixture is smooth.
- Let the mixture cool. Add vinegar to prevent mould (if using)
- Once the mixture has cooled, it's ready to use!
- Store in a sealed container in the refrigerator between uses. Shake before use.
Crafts For Kids: Making a Simple Glue Mixture
Ingredients
- 1 cup Flour
- 1/3 cup Sugar
- 1.5 cups Water
- 1 tsp Vinegar (used as a preservative)
Instructions
- In a pot, mix together the flour and sugar.
- Add half of the water, stirring until the mixture is lumpy.
- Heat the mixture over medium heat, gradually adding in the rest of the water.
- Keep stirring the mixture until it’s no longer lumpy.
- Add the vinegar, then mix it in with your mixture.
- Keep the pot on the stove until your mixture starts to thicken.
- Once thickened, remove the pot from the stove and let your glue cool before using.
Happy Crafting!
Crafting a Miniature Eiffel Tower: a FranceCraft Guide
Materials Needed:
- Ice cream sticks (around 100 pieces)
- Glue gun
- Silver or gray paint
- Paintbrush
- Cardboard (for the base)
Instructions:
Step 1: Building the Base
First, start with the base of the Eiffel Tower. Arrange your ice cream sticks in a square pattern for the base and secure these with your glue gun. Make three more similar bases.
Step 2: Building the Tower Legs
Use more ice cream sticks to create the 'legs' of the Eiffel Tower. Attach these to the corners of one base. Then, position another base and attach it to the tops of the legs. Repeat this step for third base but higher up the legs. The fourth base will serve as the top part of the tower.
Step 3: Constructing the Tower's Body
For the body of the tower, glue more sticks vertically on each side. Slowly narrow the sticks towards the top to mimic the shape of the Eiffel Tower. Then, insert horizontal sticks irregularly to imitate the steel beams of the real tower.
Step 4: Painting the Tower
Paint your completed structure with silver or gray paint. Allow it to dry. Apply a second coat if necessary.
Step 5: Adding the Finishing Touches
Add detailed lines with a fine tip brush to mimic the look of steel framework on the tower. Let it dry completely.
Voila! You have created your own miniature Eiffel Tower! Enjoy this FranceCraft with a historical lesson about the real monument and make learning fun!
Mini French Flags
An easy and fun craft for your little one. Enhance their creativity while they learn about the world. Ideal for 2+ years old.
Materials Needed
- Popsicle Sticks
- Blue, White and Red Paint
- Paint Brushes
- Glue
Steps to create Mini French Flags
- Take three popsicle sticks. Line them up next to each other on a flat surface.
- Take a fourth popsicle stick and apply glue to it.
- Place the glued popsicle stick diagonally across the three sticks, pressing down to make sure it sticks.
- Let all the popsicle sticks dry thoroughly.
- Now, take the blue paint and paint the left third of the front side of the popsicle sticks arrangement.
- Next, use white paint for the middle third.
- Then, paint the last third with red paint.
- Let the paint dry thoroughly.
- Your mini French flag is now complete! Repeat these steps if you want to make more flags.
Remember to always supervise your little ones during crafting to ensure they are safe while having fun!


