


As an affiliate, I earn from qualifying purchases, but this doesn't affect the reviews or recommendations—your trust is important to me!
Exploring France: Crafting Perfection: A Guide to DIY Eiffel Tower Models
Today, We're Making:
- - DIY Eiffel Tower Model Building Kit
- - Bastille Day Miniature Kite Making: On August 31, 2025, it's perfect timing to create a DIY miniature Bastille Day kite which can be used as an educational tool to teach your child about French history. Use colored tissue paper, mini dowels, and string to construct the kite.
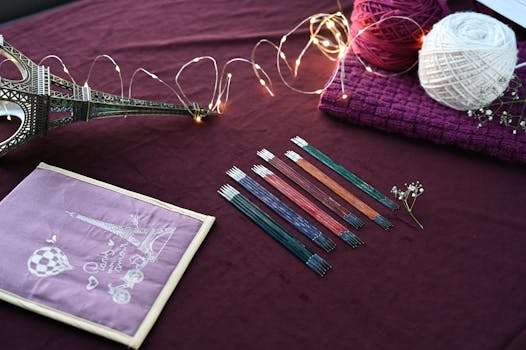
On a Charming Parisian Afternoon
The sight of the Eiffel Tower piercing the clear blue sky is nothing short of majestic. Craft enthusiasts will agree that recreating world landmarks like this quintessential French symbol can be a thrilling project.
Imagine Capturing The Grandeur
How about a DIY Eiffel Tower model building kit? Isn't it fascinating to mirror the beauty of this Parisian model in the comfort of your own home?
A Detailed DIY Guide
In this guide, we transport your imagination to the streets of Paris, providing you with a reliable guide to crafting perfection. Our DIY Eiffel Tower guide will help transform your home crafts into miniature French landmarks with easy craft projects, adding a touch of global artistry to your living space.
Let's Create Your Homemade Eiffel Tower
Ready to explore how you can create your homemade Eiffel Tower in a few simple steps? Let's start crafting!
Beginner's Joys: Understanding the Basics of Building an Eiffel Tower Model
Diving into the vast world of DIY Eiffel Tower models, you will uncover a sense of pride and satisfaction that comes with the completion of these intricate DIY projects. Remember, your DIY crafts are more than just hobby crafts; they are fragments of your creative identity. Start with analyzing real images of the Eiffel Tower – capture its essence, understand the complexity of its architecture and embrace the challenge. Couple your observation with a robust DIY Eiffel Tower guide, and you've just embarked on a beautiful journey of crafting perfection.
Steps to Emulate the Majestic Grandeur
First things first; select your preferred DIY Eiffel Tower model building kit. Remember, this single decision can be the difference between a crafted masterpiece and a mediocre model. Ensure your kit is comprehensive, well-explained, and features high-quality components. These elements, when combined, promise a seamless crafting experience, crucial for a homemade Eiffel Tower.
Once your kit is ready, it's time for some action. Follow these steps to capture the magnificence of this beloved Parisian model:
- Lay out all the materials in front of you – this gives you a clear overview of what the project entails.
- Begin by piecing together the base of your Eiffel Tower models. The foundation is vital in architecture DIY projects, so take your time with it.
- Gradually build up the layers, following your guide to accurately mimic the real structure.
- Precision is key in these home crafts, so ensure you're remaining accurate and true to the scale of the actual monument.
- Paint your masterpiece. This is your opportunity to inject your artistic creativity into the project. Neutral shades of grey and silver keep it authentic, but don't shy away from adding a personal touch.
The Real Art of DIY Projects: Patience & Precision
Making Eiffel Tower models is a patient endeavor. You will likely encounter minor setbacks, but it’s essential to remember – precision takes time. Treat these occasions as integral elements of your journey towards building your own Eiffel Tower. Each DIY project not only provides an enchanting Paris-themed craft to adorn your home, but it is also a tool for personal growth, reinforcing the traits of patience, precision, and perseverance.

The Grand Scope of DIY Crafts: Creating the Eiffel Tower
In the grand scope of DIY crafts, creating an Eiffel Tower model embodies more than the allure of French aesthetics; it's a testament of patience, precision, and creativity. Reflect on your journey from a novice maker to being an architect of your own mini world landmark.

As you proudly display your miniature masterpiece, let it serve as a constant reminder of the Parisian afternoon you painstakingly crafted, radiating the allure of France right from your living room. After all, it’s not just the Eiffel Tower model that you've crafted, but a remarkable piece of your creative identity, a testament to your dedication, skill and global artistry.
Enjoy the Unique Blend of Travel, Art, and DIY
Enjoy this unique blend of travel, art, and DIY - because the real joy is in the crafting! Thank you for entrusting us to guide you on this engaging voyage of crafting perfection. Until next time, keep your creativity alive, let it travel, let it soar - much like the majestic Eiffel Tower itself.
You May Also Like These:
Bastille Day Miniature Kite Making
Celebrate Bastille Day in a fun and crafty way. This simple and easy craft allows you to make a miniature salute to the day in the form of a kite. It is perfect for kids and can be used as decoration or just to play around with on this festive day.
Ingredients
- Tissue paper - Assorted colors
- Tape
- Dowels - 2 lengths per kite
- String or yarn
- Ruler
- Pencil
- Craft glue
- Scissors
Instructions
- Take the dowels and cross them to form an X. Secure together in the middle with tape.
- Take a piece of string and tie it to all ends of the dowels to create a diamond shape.
- Cut your tissue paper into a diamond shape that is slightly larger than the diamond string frame on the dowels.
- Apply glue around the string on the dowels and attach the tissue paper cut. Make sure it’s secure and let it dry.
- After it drys, cut a longer piece of string and attach it to the center of the dowels where they intersect. This string will be used to fly the kite.
- Finally, cut a few extra pieces of tissue paper to form the tail of the kite. Attach these to the bottom dowel.
And voilà! You have made a mini kite to celebrate Bastille Day. You could decorate further if you wish, but the colorful tissue paper should do a great job of making your kite look vibrant and festive. Bonne fête!
DYI Miniature Bastille Day Kite
Ingredients:- Colored Tissue Paper (preferably in Red, White, and Blue to represent the French flag)
- Bamboo skewers
- String
- Glue
- Scissors
Instructions:
Step 1:
Take two bamboo skewers and cross them in the middle to form an 'X' shape. Tie them together using a string to form the frame of your kite.
Step 2:
Take the colored tissue paper and cut out a diamond shape that is bigger than the frame of your kite. Leave about 2 cm extra on each side for folding.
Step 3:
Place the frame on top of the cut out tissue paper. Fold the extra paper over the frame and glue it in place. Remember to represent the French flag, you should use blue, white, and red sections in this order from left to right.
Step 4:
Tie a long piece of string to the frame where the bamboo skewers cross in the center. This will serve as the flying line of your kite.
Step 5:
Use the remaining colored tissue papers to make ribbons. Attach these to the bottom of the kite by tying them to the frame with the string. Again, remember to use colors representing France: blue, white, and red.
Step 6:
Let the kite dry completely before flying it. Enjoy your DIY Miniature Bastille Day Kite. While you and your child fly this kite, use this opportunity to teach them about the French Bastille Day - the symbol of the end of the monarchy and the beginning of the modern republic
DIY Miniature Bastille Day Kite:
Ingredients:- Colored Tissue Paper (Blue, White, Red)
- Balsa Wood Strips (for the frame)
- String
- Glue
- Scissors
Instructions:
- Construct the Frame: Start by constructing a cross using the balsa wood strips. One should be longer (vertical piece) and another shorter (horizontal). Make sure they intersect in the middle. You can use some string to tie them together securely at the intersection.
- Attach the String: Once your kite frame is secure, attach string around the edges to create a boundary line. This will serve as the frame for your tissue paper.
- Cut the Tissue Paper: Draw and cut a kite shape from each of the blue, white, and red tissue papers based on the size of your bamboo frame.
- Glue the Tissue Paper: Start with blue at the top, then white in the middle, and red at the bottom to recreate the French flag. Glue the tissue paper to the string frame. Allow your kite to dry fully.
- Attach the Kite String: Attach a long piece of string to the intersection of the balsa wood. This will be what you use to fly your kite.
- Fly Your Kite: Find a nice open space and enjoy flying your DIY Bastille Day Kite!
Crafts using Mini Dowels: Step-by-Step Instructions for Parents
Ingredients:
- Mini Dowels (As needed, depending on the craft)
- Glue (Preferably use craft glue, which is child-safe)
- Paints (Optional, if you wish to color your crafts)
- Brushes (For applying paint)
- String or Yarn (Useful for binding dowels together)
Instructions:
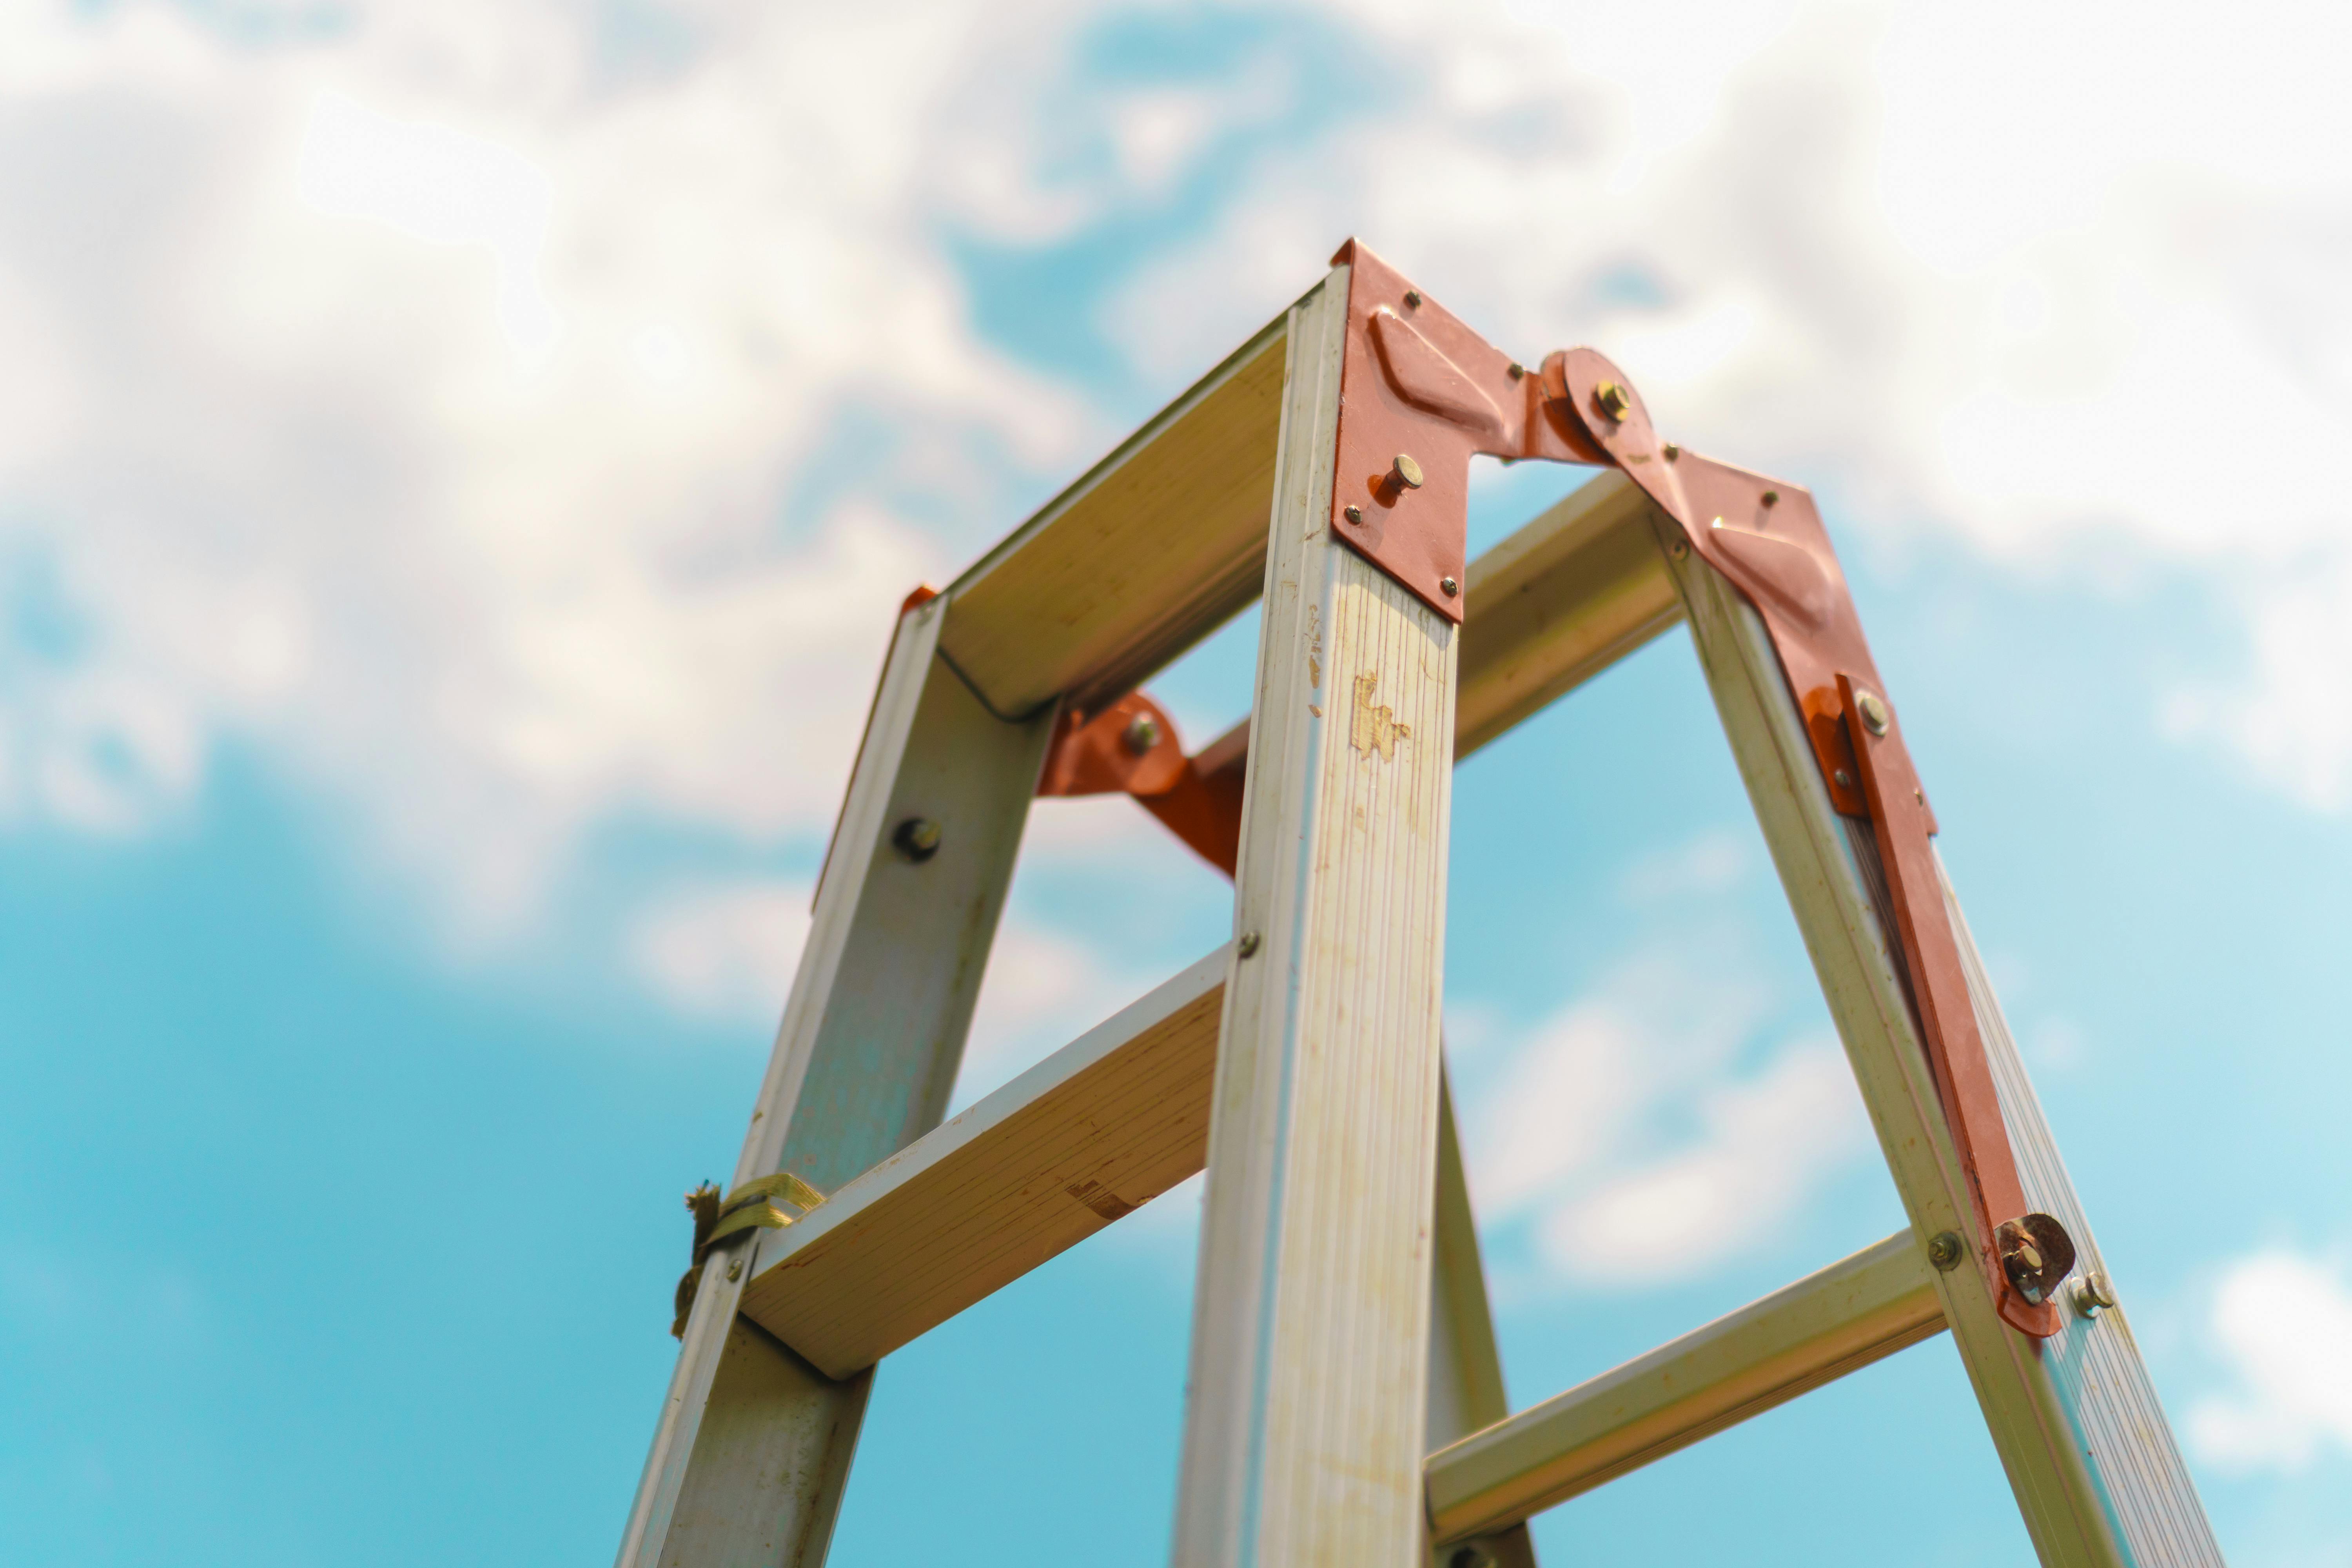
- Choose Your Design: Decide on the craft you want to make with your mini dowels. This could be a miniature ladder, a small house, or even a tiny boat!
- Arrange Your Dowels: Arrange your mini dowels according to the design you have chosen. For example, if you are making a ladder, line up pairs of dowels parallel to each other for the sides of the ladder, and smaller pieces perpendicularly for the steps.
- Gluing the Dowels: Once you have your arrangement sorted, start applying glue at the points where the dowels meet and press them together firmly. Allow the glue to dry completely before continuing to the next step.
- Painting Your Craft: If you have decided to color your craft, now is the time! Use your brushes and paint to add color and life to your crafts. Let kids unleash their creativity here! Make sure to allow the paint to dry before proceeding.
- Adding Details: Using your string or yarn, you can add further details to your crafts. For example, if you've made a mini boat, you might add a sail using a dowel and a piece of fabric, securing them together with your yarn.
- Finishing Touches: Once you've assembled, painted, and detailed your craft, let everything dry completely. Now it's ready for play or display!
Enjoy the creative process and have fun making memories with your mini dowel crafts!
Parent's Guide: Crafts for Kids – Making a Kite
Ingredients
- A plastic bag or lightweight fabric
- Two thin wooden dowels (one shorter than the other)
- String
- Scissors
- Tapes
- A ruler
- Markers or paints for decoration (optional)
Instructions
Step 1: Lay the plastic bag or lightweight fabric flat on a surface and draw a diamond shape. The longer dowel should form the vertical line and the shorter one the horizontal line of the diamond.
Step 2: Cut out the diamond shape.
Step 3: Lay the longer dowel along the vertical line of the diamond and attach it using tape. Repeat the process with the shorter dowel along the horizontal line.
Step 4: Tie the end of the string at the top of the longer dowel and then run the string along the edges of the dowels, forming a diamond shape.
Step 5: Attach the kite to the end of a long piece of string for flying.
Step 6: Decorate your kite as you wish with markers or paints.
Step 7: Your kite is ready to fly! Be sure to fly your kite in a safe, open space away from power lines and trees.


