


As an affiliate, I earn from qualifying purchases, but this doesn't affect the reviews or recommendations—your trust is important to me!
Fun DIY Crafts: Origami, Magnetic Slime, Cooking, Nature Games


Today, We're Making:
- - DIY Origami Bookmarks
- - Magnetic Slime experiment
- - Homemade Spaghetti and Meatball Cups recipe
- - Scavenger Hunt: Nature Edition game
- - St. Patrick's Day Shamrock Craft: Utilizing construction paper, scissors, and glue, kids can create festive shamrocks to decorate the house for St. Patrick's Day.
- - Rainbow Skittles Experiment: With just a bag of Skittles and some warm water
Unleashing the Inner Artisan in You
Unleashing the inner artisan in you and your budding Picassos can be an enormously fun-filled and fulfilling experience. If you're looking for creative craft ideas that can bring science, paper folding art, and even kitchen crafts alive, then you've navigated to the right corner of the internet.
Our blog: Fun DIY Crafts
Our blog on fun DIY crafts will include captivating projects like DIY Origami Bookmarks and an exciting Magnetic Slime experiment - a perfect blend of artsy fun and scientific exploration. Plus, we'll take this creativity to the kitchen where we'll unravel a homemade Spaghetti and Meatball Cups recipe that's undoubtedly a mouth-watering, hands-on adventure.
Scavenger Hunt: Nature Edition
And for those sunny days when you crave a dash of outdoors, we have Scavenger Hunt: Nature Edition game, that combines outdoor crafts and nature-based games for refreshingly green fun.
Ready to embark on this Creativity Cruise? Let the journey begin!
```HTML
DIY Crafts and Experiments
Sailing into Paper Seas: DIY Origami Bookmarks
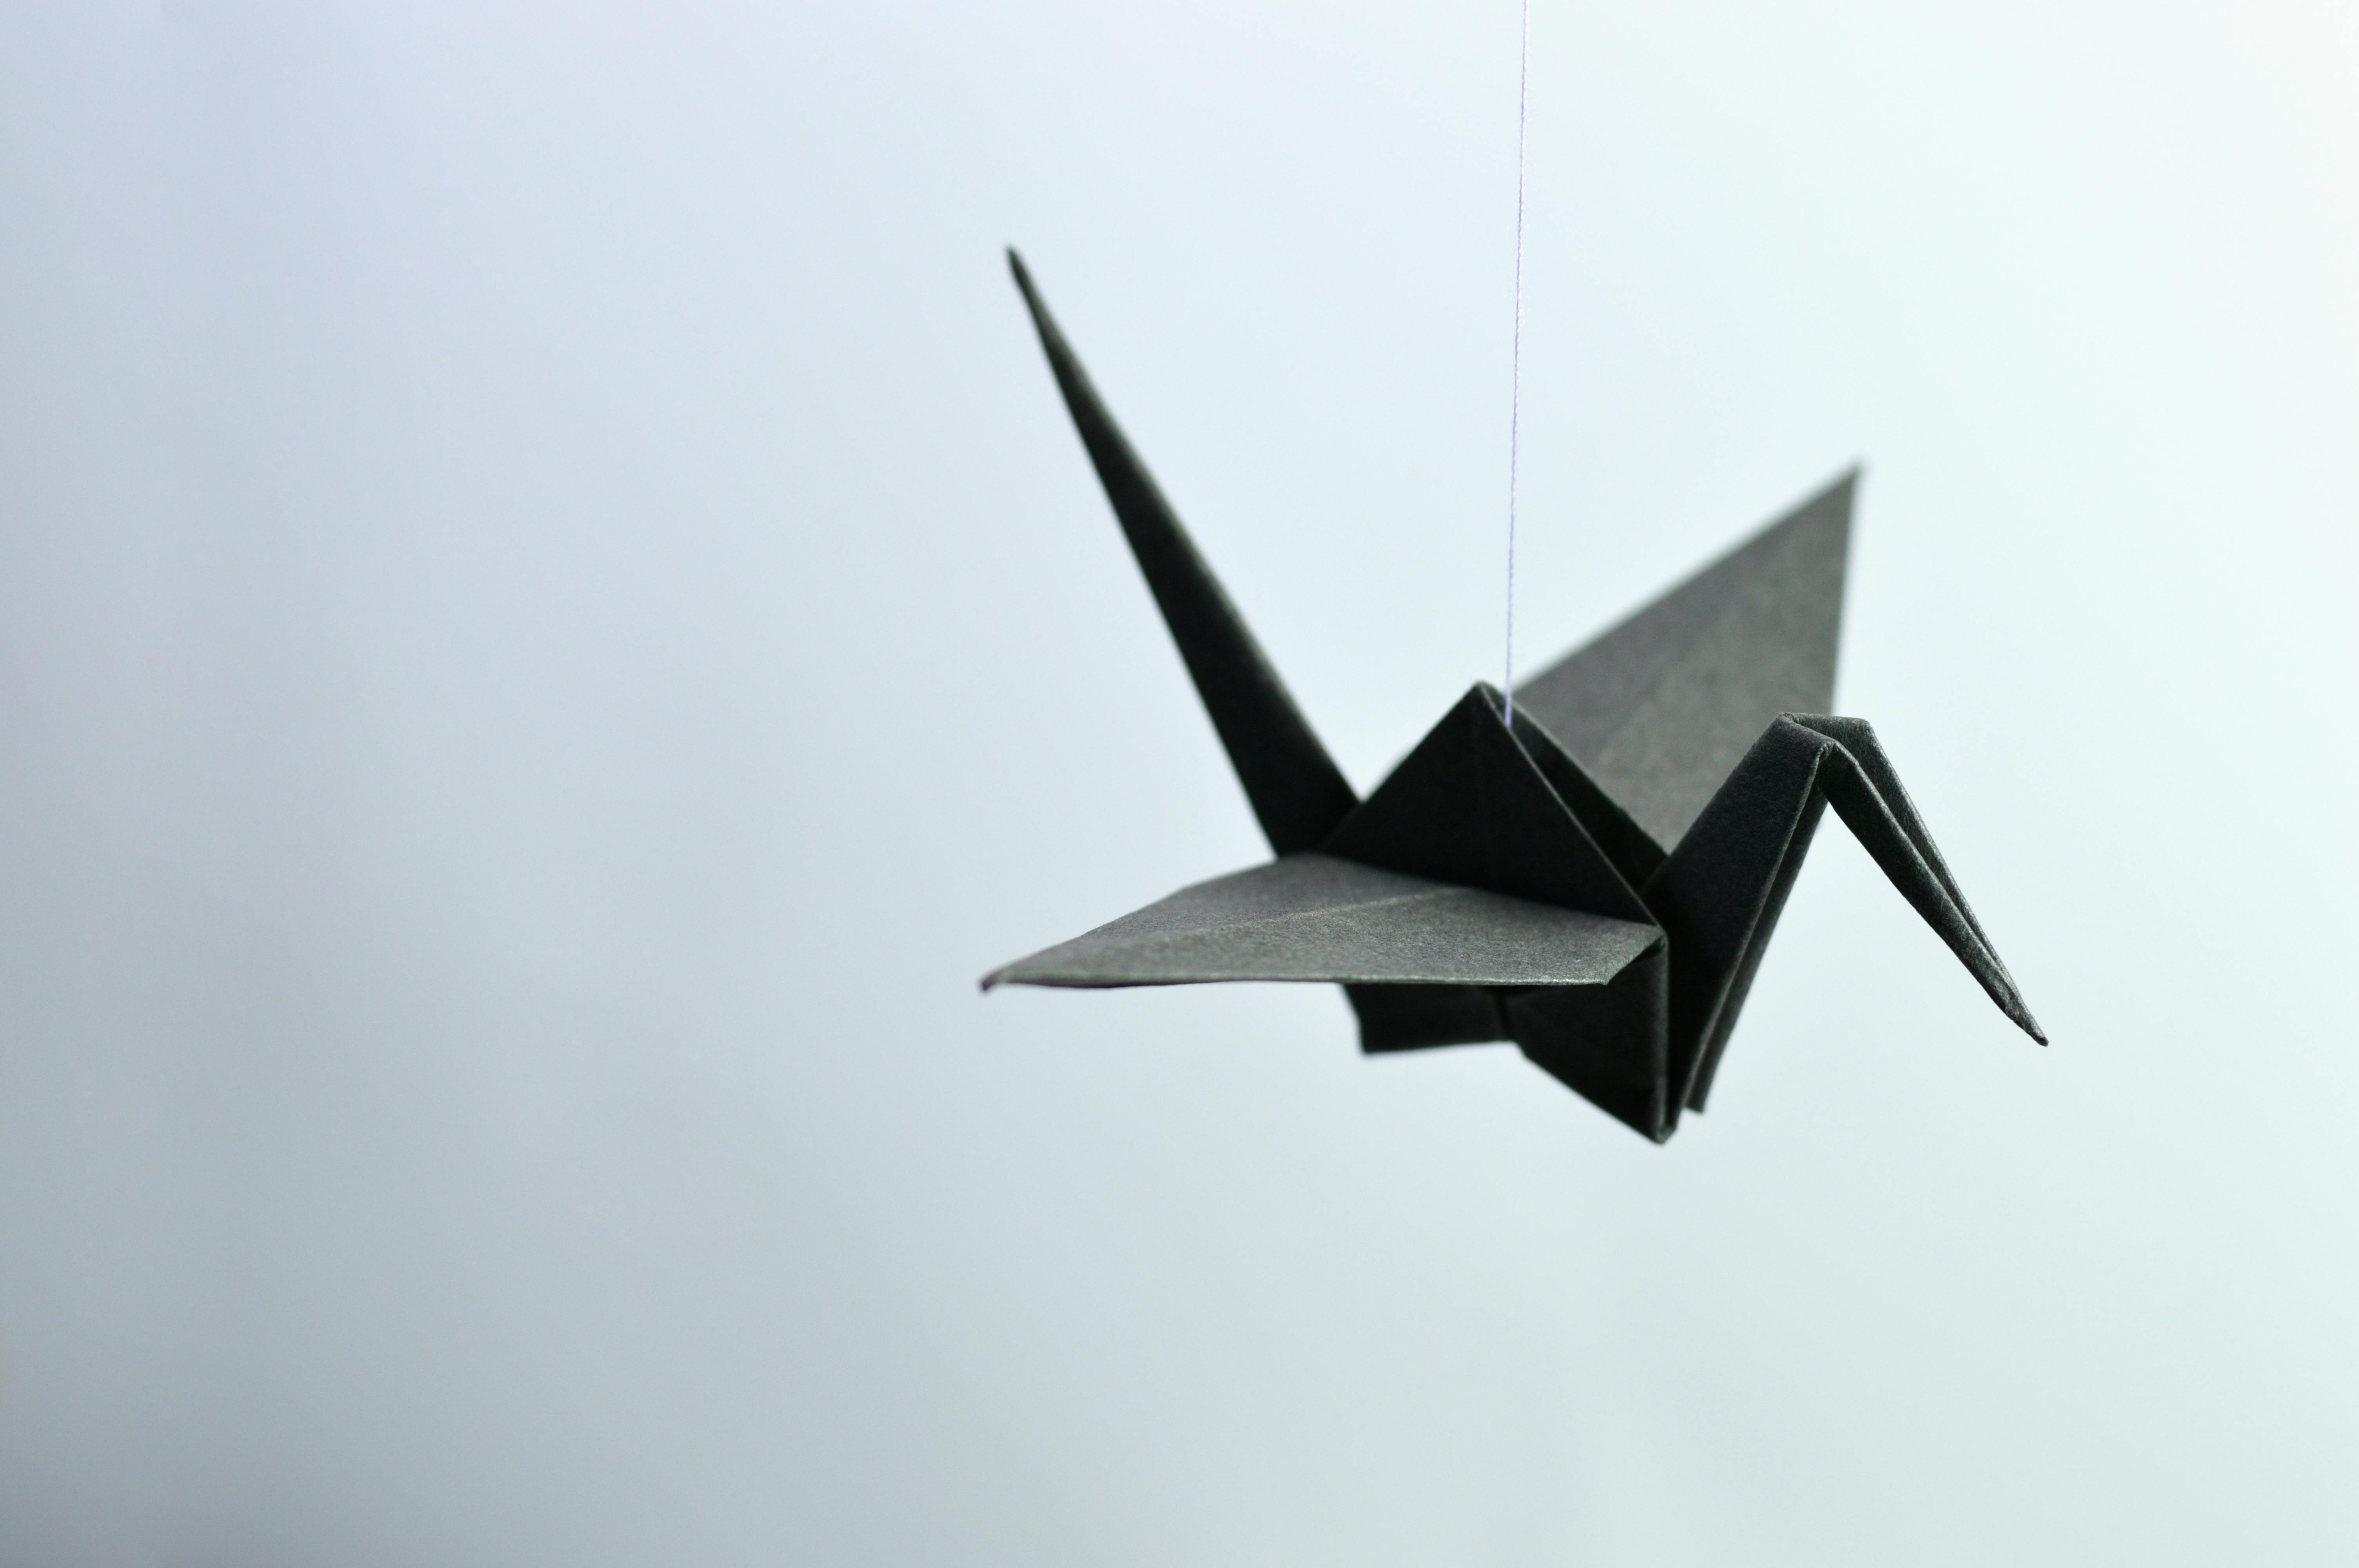
Delve into the ancient Japanese paper folding art, origami. This time, we bring a fun twist to it with plush DIY Origami Bookmarks. This easy DIY craft can bring out the artisan not only in adults but also in your younger ones. It's a fantastic way to fuse creativity with practicality in the form of a cute bookmark. These Origami Crafts are splendidly versatile as they cater to all levels of paper folding art enthusiasts. This is an indoor craft that's fun, and at the same time, encourages reading among kids. Just follow our simple origami instructions in the DIY craft guides section to create your own little animals, geometric shapes or perhaps some amusing characters!
Sticky and Intriguing: The Magnetic Slime Experiment
Next stop on our Creativity Cruise is for the budding scientists out there. Ready for a hands-on exploration of a funky science craft? The Magnetic Slime Experiment is your ticket to a whole new world of magnetic wonders. The enticing intersection of arts and science, slime making has become one of the most addictive fun crafts worldwide. Be ready to get a little messy as we take you step by step on how to make magnetic slime at home. This is DIY magnetic slime made fun and safe for the tots. And remember, a little mess is just part of the excitement!
Culinary Creations: Homemade Spaghetti and Meatball Cups Recipe
From homemade crafts to a kitchen craft that's as delicious as it's fun. Uncover your hidden culinary skills with our Homemade Spaghetti and Meatball Cups recipe. It's an edible craft, so forget the worry of eating a little 'extra' glue. This isn't just the usual cooking at home, it's an ideal family craft to involve little hands who'd love to toss that spaghetti or roll those meatballs. These Cooking Crafts are a perfect way to adopt creative craft ideas, while teaching your young ones some necessary kitchen skills. We promise, this cooking adventure will leave your taste buds wanting more.
Green Explorers: Scavenger Hunt - Nature Edition Game
Calling out nature lovers for an exhilarating Scavenger Hunt: Nature Edition game. With our unique approach to outdoor crafts and nature games, we aim to bring nature-based fun right at your doorstep. Armed with a few simple tools and our DIY craft guide, your kids can enjoy handmade games that encourage them to experience, explore, and learn from their green surroundings. These crafts for kids are eco-friendly, fostering an appreciation for nature while providing hours of intriguing discovery. So, pull up your socks, step outdoors and let the hunt begin!
```
End of Our Creativity Cruise
And so we arrive at the end of our Creativity Cruise, where we've folded, mixed, cooked, and explored our way into the world of DIY crafts. Unearthing the hidden artisan and amateur scientist in us all while also engaging our little ones, we've proven that creativity knows no bounds.
The Journey So Far
Whether it's through the delicateness of the origami bookmarks, the hands-on intrigue of the magnetic slime experiment, the mouth-watering joy of our spaghetti and meatball cups recipe, or the explorative thrill of our nature scavenger hunt, we've learned that we can craft fun and fulfilling experiences anywhere, anytime - one craft at a time.
What's Next?
So, grab a pair of scissors, mix up some glue, put on your chef hat, or slip into those gumboots, and let's continue creating, exploring, and most importantly, enjoying the beautiful world of DIY crafts.
Remember
Remember, this may be the end of the blog post, but it's just the beginning of your crafting journey. Happy crafting, everyone!

You May Also Like These:
St. Patrick's Day Shamrock Craft
Supplies Needed:
- Green Construction Paper
- Scissors
- Pencil
- Glue
Instructions:
- Prepare materials: Gather all your supplies on your craft table.
- Draw Shamrocks: Using a pencil, draw three-leaf shamrocks on the green construction paper. Draw as many as you want to make.
- Cut out shamrocks: Carefully use the scissors to cut out your shamrock drawings.
- Arrange shamrocks: Arrange the shamrocks into a design or pattern that you like. You can make a garland, a card, or simply decorate your house with them!
- Stick shamrocks: Use the glue to stick the shamrocks onto your chosen surface.
- Let it dry: Wait for the glue to completely dry before hanging or using your craft.
DIY Paper Marbling Craft
Ingredients:- Shaving Cream
- Food Coloring
- White Cardstock
- Scraping Tool (like a plastic ruler)
- Spray a layer of shaving cream onto a flat surface.
- Drop different colors of food coloring onto the shaving cream.
- Use a skewer to swirl the colors around until you have a design you like.
- Press the cardstock onto the colored shaving cream, making sure to press down all areas.
- Peel off and scrape away the excess shaving cream to reveal your marbled design.
- Let it dry before use.
Spaghetti Tower Stem Project
Ingredients:- 1 lb of Spaghetti strands
- 1 bag of Mini Marshmallows
- Hand out an equal amount of spaghetti and marshmallows to each child.
- Explain that the challenge is to build the tallest, most stable tower.
- Allow them to design the structure of the tower in whichever way they find most stable.
- The tower that stands the longest wins.
Funny Face Sandwich
Ingredients:- 2 pieces of Bread
- Cheese slices
- Slices of Ham/Turkey
- Vegetables (bell peppers, cucumbers)
- Fruits (banana, strawberry)
- Place two pieces of bread side by side on a plate.
- Add meat and cheese to taste.
- Using vegetables, create eyes, nose, and mouth on top of the sandwich to create a 'funny face'.
- For an extra fun touch, use a slice of fruit to make a tongue sticking out.
Indoor Scavenger Hunt Game
Ingredients:- List of household objects
- Timer
- Prepare a list of household objects that can be found in various rooms.
- Set a timer. Each participant has that amount of time to find all the objects on the list.
- The first one to collect all the objects in the shortest amount of time wins.
Easy Homemade Playdough
Ingredients:- 2 cups of flour
- 2 tablespoons of vegetable oil
- 1/2 cup of salt
- 2 tablespoons of cream of tartar
- 1.5 cups of boiling water
- Food coloring (optional)
- Essential oils for scent (optional)
- In a large bowl, combine the flour, salt, and cream of tartar.
- Add the vegetable oil and stir until combined.
- Boil the water and add to the dry ingredients.
- Stir quickly until the mixture comes together.
- If you're using food coloring or essential oils, divide the dough into separate bowls and add a few drops of each. Knead until evenly colored.
- Once cool, knead until smooth.
- Store in an airtight container.
Simple STEM Catapult
Materials:- 10 popsicle sticks
- Rubber bands
- Plastic spoon
- Small, lightweight objects for catapulting (mini marshmallows, pom poms, etc)
- Stack nine popsicle sticks and secure both ends with rubber bands.
- Slide the remaining popsicle stick through the stacks at one end.
- Attach the spoon to the top of the single popsicle stick using a rubber band.
- Your catapult is ready for launch! Place a lightweight object in the spoon, push down on the spoon's handle, then release to see how far your object flies.
Fruit Salad Flag
Ingredients:- Blueberries
- Sliced Strawberries
- Sliced Bananas
- Pour a square of blueberries into the top left corner of a rectangular plate or tray.
- Alternate rows of sliced strawberries and bananas to create the flag's stripes.
- Enjoy your patriotic and healthy snack!
Indoor Scavenger Hunt
Materials:- Scavenger Hunt Printable or DIY list
- Pencil
- Print out the Scavenger Hunt list or create your own.
- Explain to the children that they need to find the items on the list around the house and check them off as they find them.
- The first person or team to find all the items on the list wins.
St. Patrick's Day Shamrock Craft
Get into the Irish spirit and bring some luck to your home with this festive Shamrock craft. Kids of all ages will enjoy creating these adorable decorations, perfect for any St. Patrick's Day celebration.
Materials Needed:
- Green cardstock or construction paper
- Scissors
- Pencil
- Glue or tape
- Ribbon, string, or yarn (optional)
Instructions:
- Fold your green paper in half: To start creating your shamrock, take a piece of green cardstock or construction paper and fold it in half.
- Draw half a shamrock: On the folded side of your paper, use your pencil to draw half of a shamrock. The folded edge will become the center of your shamrock, therefore your drawing should be one side of the shamrock shape.
- Cut out your shamrock: Using your scissors, cut out along the lines of half your shamrock drawing. When you open your fold, you should have a symmetrical shamrock.
- Decorate if desired: If you wish, you can add additional decorations to your shamrock. You might color in the shamrock, add glitter, or glue on sequins for a bit of sparkle.
- Hang your shamrocks: If you want to hang your shamrocks, simply use a hole punch to make a hole in the top. String some ribbon, thread, or yarn through the hole. Now your shamrock is ready for display!
Rainbow Skittles Experiment
Ingredients:- A bag of Skittles
- Warm water
Instructions:
Arrange your Skittles in a circular pattern along the edge of a white plate. You can use any pattern you like - the more colorful, the better!
Warm up a cup of water. The water doesn't need to be boiling, just warm enough to slowly dissolve the Skittles when poured onto the plate.
Slowly pour the warm water onto the plate, being careful to not disturb the Skittles. The water level should be just enough to touch the Skittles, creating a shallow pool.
Now, sit back and watch the magic happen! The colors from the Skittles will begin to dissolve and create a beautiful rainbow effect in the water. This is a fun and easy way to introduce your kids to concepts of color mixing and dissolution. Plus, it's just really pretty to watch!


