


As an affiliate, I earn from qualifying purchases, but this doesn't affect the reviews or recommendations—your trust is important to me!
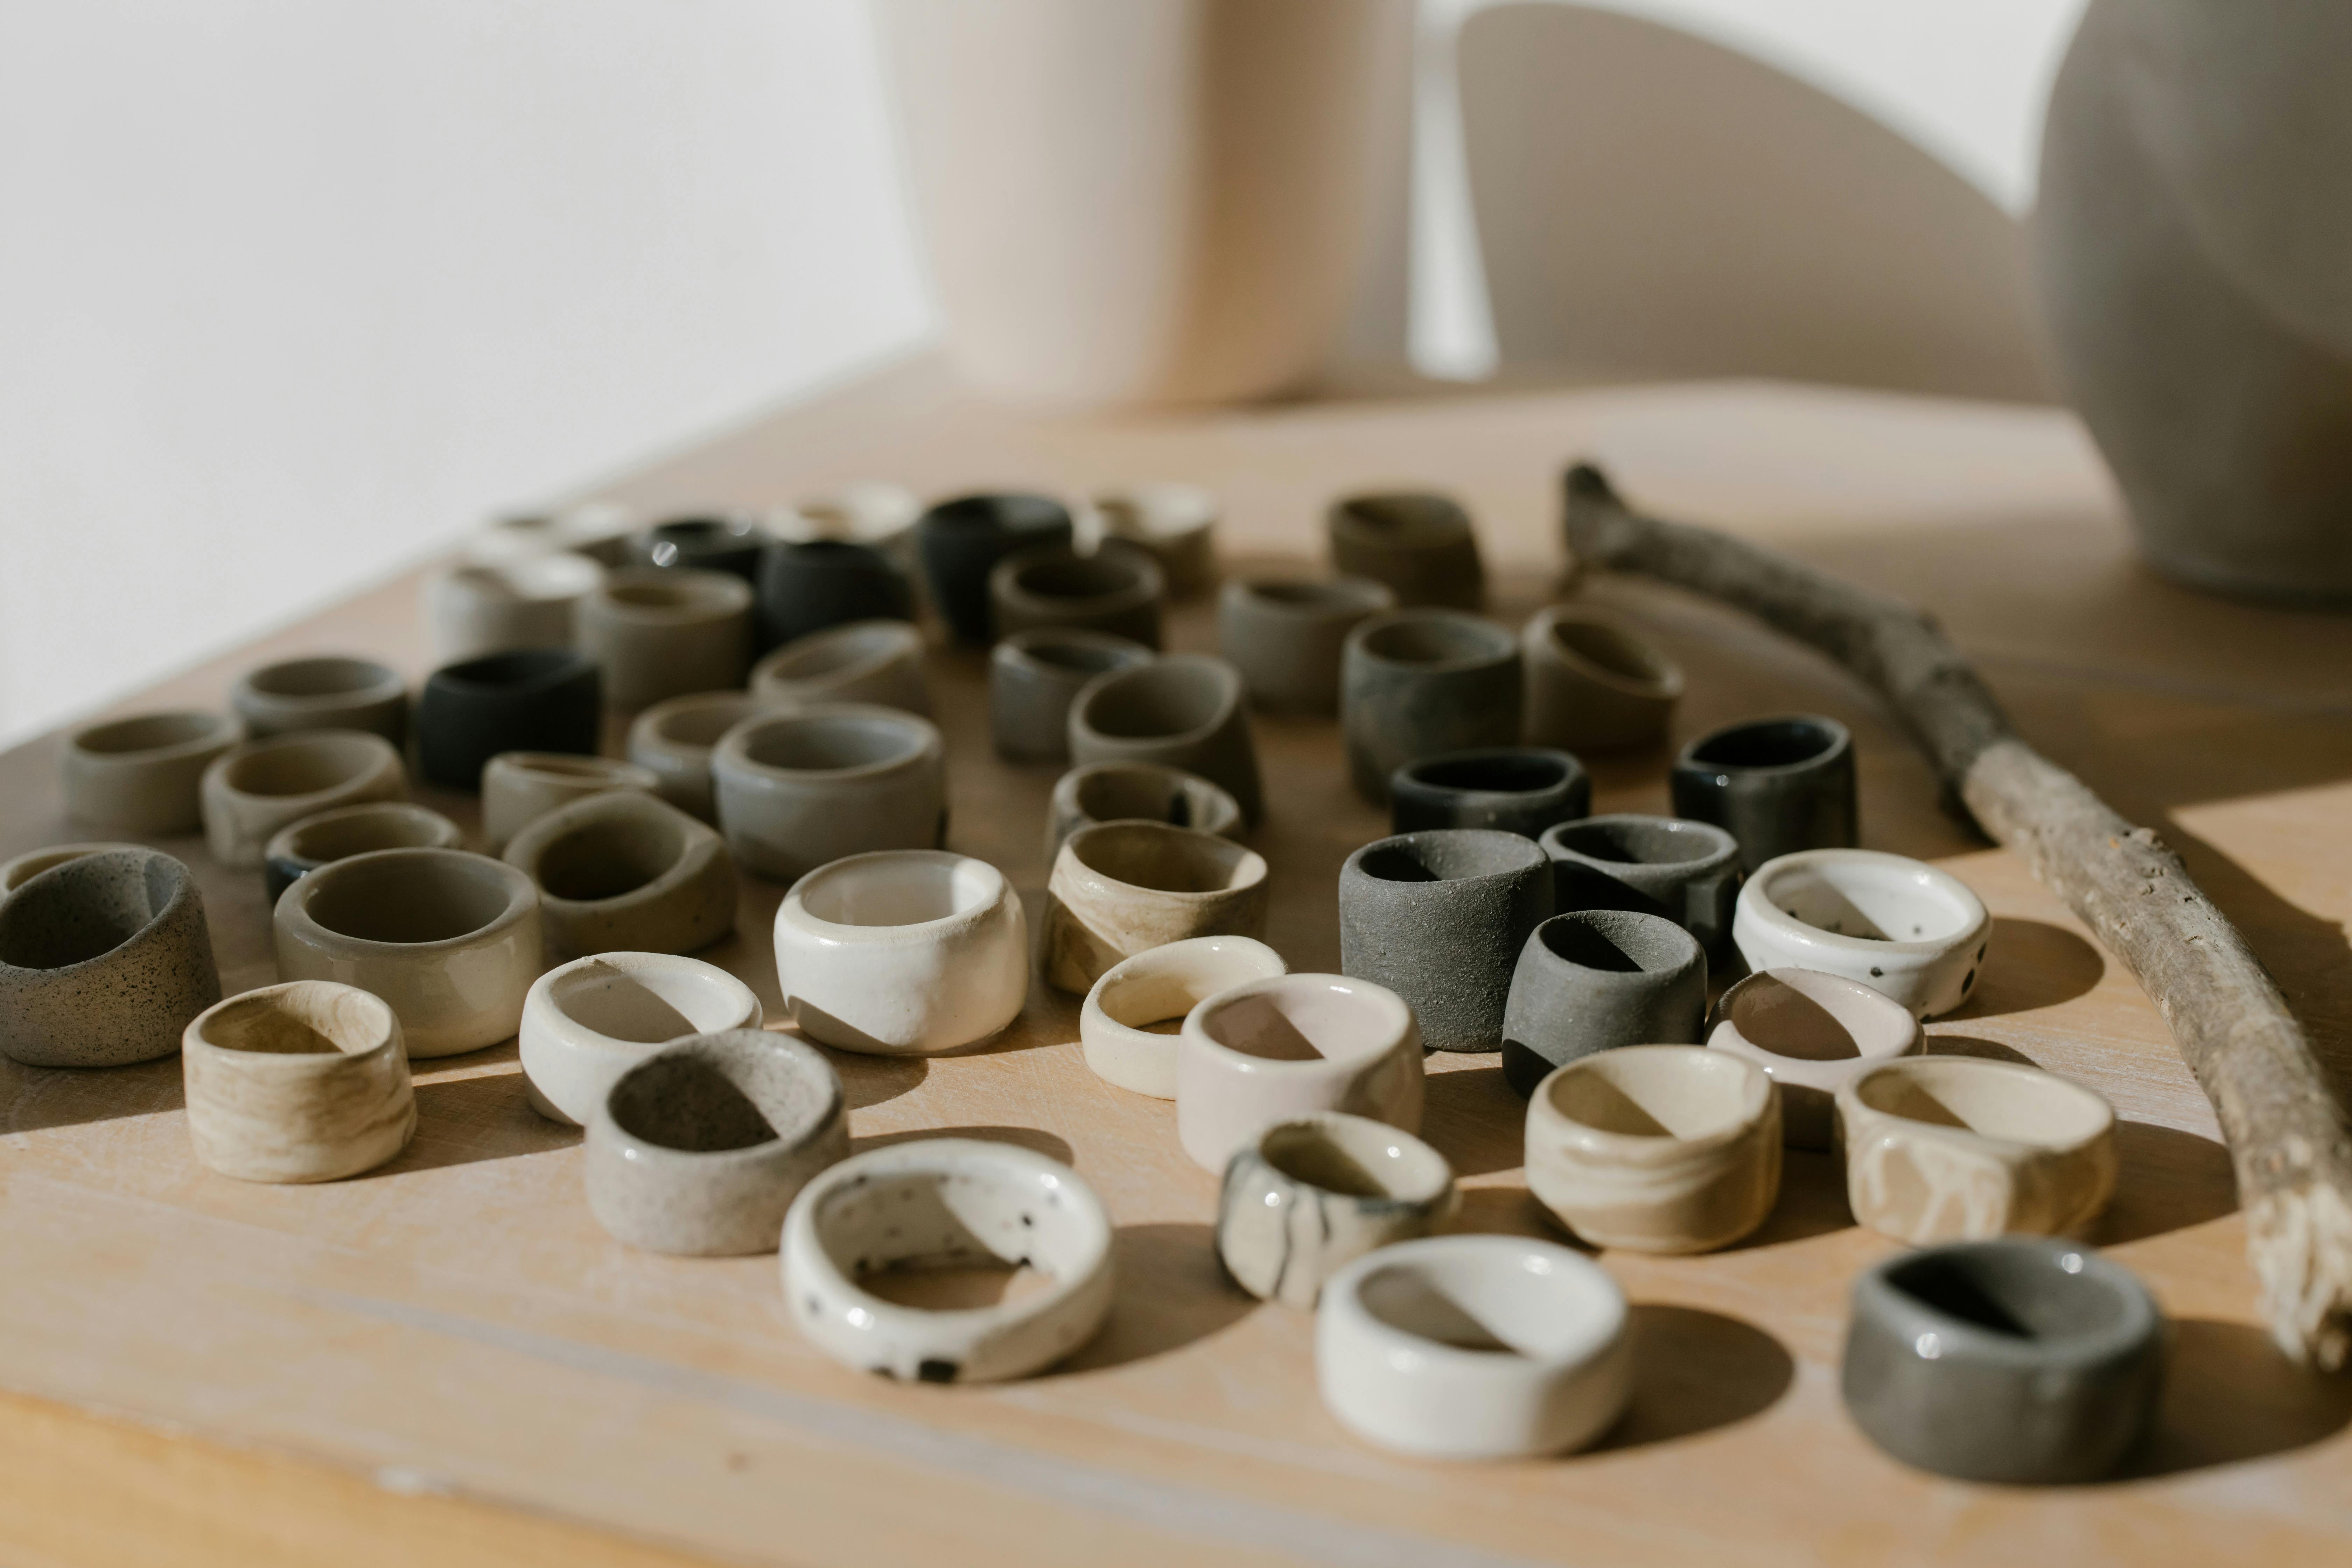
Simple Steps to Creating Your Own Beautiful Clay Jewelry


Today, We're Making:
Activities List
- - DIY Clay Jewelry Making
- - Shadow Puppet Theater: As June is typically a sunny month,parents can engage their kids in constructing a 'Shadow Puppet Theater'. Using cardboards or cereal boxes,they can create a small theater,and with some craft sticks and black cardstock,children can play around creating their own shadow puppets.
- - DIY Clay Charms: Utilize the clay from jewelry making to construct cute clay charms. These can take on any design like animals.
Are you fascinated by the trend of DIY Clay Jewelry Making?
Has the allure of creating clay jewelry all on your own, captivated you? You aren't alone! With homemade jewelry making waves in the fashion world, many people are getting drawn to the artistic charm of clay crafting.
The raw, earthy appeal of clay beads, the chic elegance of clay earrings, and the versatility of clay pendants are just the tip of the iceberg when it comes to clay jewelry techniques.
Whether you're a novice or a seasoned artist, we've tailored this tutorial just for you!
We've laid out a step-by-step clay jewelry making tutorial to help you make your own unique, personalized clay jewelry pieces straight from the comfort of your home. Dive in, and get ready to sculpt your style!
DIY Clay Jewelry Making
Step 1: Choose your Polymer Clay
The first step in your DIY Clay Jewelry Making journey is choosing the right material. Not just any mud from your backyard will do; you'll need a substance that's both pliable and long-lasting. Here's where Polymer Clay swoops in to save the day! This oven-bake modelling material is perfect for creating clay jewelry, owing to its versatility and ease of use. You can purchase Polymer Clay from most craft stores or online. It's available in a dazzling array of colors, giving you the creative freedom to design Clay Earrings, Clay Pendants or even Clay Necklaces that scream 'you'.
Step 2: Designing and Sculpting your Piece
With your Polymer Clay by your side, you're ready to start sculpting Clay Jewelry. But before you go all out, make sure you have an idea, or better yet, a sketch of your design. Are you thinking of creating clay jewelry that's simple and chic, or are you leaning towards a statement piece that turns heads? Remember, this is DIY Clay Jewelry Making! It's all about crafting a piece that reflects your aesthetic and personal style. For beginners in clay crafting, starting with something minimal, like clay beads, can be a great way to get a hang of the sculpting process.
Step 3: Go Hands-on, Start Molding
Now, roll up your sleeves and prepare to dive into the heart of Handmade Clay Jewelry making. Be it beads for a Clay Bracelet or a personalized clay pendant, this is where Clay Molding comes into play. Working the clay in your hands until it’s soft and shapely, mold it into your desired shape. And voila! Your raw piece is ready. The beauty of this process is you can keep molding and tweaking until you get your desired design just right!
Step 4: Baking your Clay Jewelry
Turn up the heat! Once you're happy with your clay jewelry design, it's time to bake it. Baking Clay Jewelry solidifies and preserves your creation, ensuring it remains a long-lasting testament to your crafting endeavours. Be sure to carefully follow the baking instructions specific to the brand of polymer clay you are using. These can generally be found on the packaging. An essential reminder: remember to let your pieces cool down completely before moving on to the finishing touches.
Step 5: Bring Your Work to Life
Let's turn the dial up on your handmade clay jewelry! Simply molding and baking your clay isn't enough. It’s time to add the final touches that will bring your clay jewelry to life. Don't be shy; let your creativity take over. Add paints, varnish, glitter or anything that you feel matches your aesthetic to your cooled polymer clay creations. After adding your desired embellishments, just attach your clay creation to the necessary jewelry making supplies like earring hooks or necklace chains. And voila! Your DIY Clay Jewelry piece is ready to turn heads.

Discover the Joy of Clay Jewelry Making
So there you have it!
No more standing on sidelines admiring others' clay jewelry work. Armed with these steps, you're now ready to dive into the fascinating world of DIY clay jewelry making. Embrace the raw, earthy appeal of clay, sculpt it with your inspiration, bake your masterpiece and bring it to life with gorgeous embellishments.
Just picture yourself showing off your beautiful handmade clay earrings or pendant at your next social gathering. Remember, there's no right or wrong in art; it's all about expressing your personal style and creativity. So, get started and revel in the joy of transforming polymer clay into pieces that are uniquely, incredibly you.
Clay crafting isn't just about fashion, it's a deeply satisfying journey of creation and self-expression. So, roll up your sleeves, and let's make some clay magic happen!
You May Also Like These:
Shadow Puppet Theater Craft
Let your child's creativity soar this summer with a fun, engaging project! Here's how you can create a captivating shadow puppet theatre.
Materials Needed
- A large cardboard box (the base of the theatre)
- Sheets of white paper or white fabric (the theatre 'screen')
- Black construction paper (for making the puppets)
- Skewer sticks or straws (to control the puppets)
- Tape or glue (to adhere the screen and puppets)
- Scissors (for cutting)
- Marker pens (for decorating your theatre and puppets)
- A desk lamp or flashlight (to create the puppet shadows)
Instructions
- Prepare the Theater: Cut out a big square in the front of your cardboard box, leaving around a 2-3 inch border around the edges. This will become your puppet stage.
- Set up the Screen: Secure your white paper or fabric over the opening you've just cut, using tape or glue to keep it firmly in place.
- Create the Puppets: Draw and cut out your desired puppet shapes from the black construction paper. Be it characters, animals, or abstract shapes, the possibilities are endless. Remember to keep it simple as details won't show up in the silhouette.
- Construct Puppet Handles: Tape or glue each puppet to a skewer stick or straw. Ensure it's firmly attached as this will serve as your puppet's handle.
- Decorate the Theater: Use marker pens to design and color the outer edges of your puppet theatre. Make it as vibrant or as minimalistic as you prefer.
- Illuminate the Stage: Position your desk lamp or flashlight so that it shines directly onto the back of your screen. When the puppets are placed in front of the light, they will cast distinct shadows onto your screen. Play around with distances to create larger or smaller puppet shadows.
Note: Always supervise children while they're using scissors or other potentially dangerous crafting tools.
DIY Small Theater Project
Materials Needed:
- A large cardboard box
- Paints and paintbrushes
- Scissors or box cutter
- Theatrical cloth or old curtain
- Adhesive (glue or sticky tape)
- Permanent markers
- Colorful paper (optional)
Step-by-step Instructions:
Step 1: Prepare Your Workspace
Ensure you have a clean, clear space large enough to work within comfortably. Assemble all the necessary materials in one location.
Step 2: Prepare Your Box
Cut a large rectangular hole on one side of the box for the theater stage. Leave a margin around the edges for stability. You can also cut out small doors on the sides if you like.
Step 3: Paint the Box
Paint the box in your chosen colors. You could use one color or create a pattern. Let it dry.
Step 4: Install the Curtain
Cut your theatrical cloth or old curtain and fix it above the stage opening. You can either glue it or use sticky tape.
Step 5: Final Touches
Use permanent markers to add decorative touches to the outside of your theater. You can also create the characters and props on the colorful paper and pasted them on the theater box.
And now you're ready to put on a show!
Creating a Small Theater
Ingredients
- 1 medium-sized cardboard box
- Scissors
- Acrylic Paint (Various colors)
- Paint Brushes
- Glue Gun
- Assorted Craft Papers
- Sticker, sequins, ribbons or any other decorative items
Instructions
Step One: Prepare Your Box
Take your medium-sized cardboard box and cut one of the larger sides off. This will serve as the 'front' of your theater.
Step Two: Paint Your Box
Begin painting the box in your desired colors. You might want to paint the inside of the box a dark color, like black, to create depth.
Step Three: Create Scenery
Get creative with craft papers and other decorative items. Cut out different shapes to create scenes. They can be glued into the box.
Step Four: Add the Finishing Touches
This is where you can get really creative! Add any extra decorations to the box like ribbons, sequins, stickers. Your small theater is done!
Craft Sticks with Black Cardstock
Materials Needed:
- Craft sticks (20-30 per project)
- Black cardstock
- Glue
- Scissors
- Optional: Paint and Paintbrushes
Instructions:
- Gather Materials: Make sure you have all necessary materials in front of you before starting.
- Preparation of Cardstock: Cut the black cardstock into a square or any other shape you desire.
- Arrange Craft Sticks: Lay out the craft sticks onto the cardstock, creating the pattern or picture you want.
- Glue Sticks: After you're happy with your design, start gluing each craft stick onto the cardstock. Let the glue dry completely before doing anything else with the project.
- Optional- Paint the Sticks: If you want to add a pop of color, feel free to paint the sticks. Wait for the paint to dry completely before you move on.
- Display Your Masterpiece: Find a great spot to showcase your work. Use a tack or some tape to hang it up.
DIY Shadow Puppets
Materials needed:- Black construction paper
- Scissors
- Pencil
- White chalk
- Clear tape
- Wooden dowels or popsicle sticks
- First, use your pencil to sketch out your desired puppet shapes onto the black construction paper. Characters, animals, and other simple shapes work best.
- Next, carefully cut out the shapes with your scissors.
- Using your white chalk, add features to your puppets such as eyes, mouths, or patterns. It's fine to keep it simple. The outline of the puppet will create the main effect in the shadows.
- After you've completed your designs, attach each shape to a wooden dowel or popsicle stick using clear tape. Make sure it's attached securely to handle active play.
- Now your puppets are ready! Simply hold them between a light source and a blank wall to put on your puppet show.
DIY Clay Charms
Materials needed:- Jewelry clay
- Rolling pin
- Shape cutters
- Paint (optional)
- Clay gloss (optional)
- Start by kneading your jewelry clay until it's soft and pliable. If necessary, mix colors to achieve your desired charm color.
- Next, roll out your clay with your rolling pin until it's about a quarter of an inch thick.
- Using your shape cutters, cut out your charm shapes. You can create any design, from animals to letters and more.
- If desired, add details to your charms with the paint. Allow the paint to dry fully before moving on.
- After your charms are dry, if you'd like, add a layer of clay gloss to give them a shiny finish. Again, let them dry fully before handling.


