


As an affiliate, I earn from qualifying purchases, but this doesn't affect the reviews or recommendations—your trust is important to me!
1. DIY Guide: Build a Bird Feeder from Recycled Materials 2. Experimenting with STEM: Create Your Own Lava Lamp 3. Delicious Eats: Banana Chocolate Chip Pancakes Recipe 4. Fun Games: Craft an Outdoor Treasure Hunt Adventure

Today, We're Making:
- Craft: DIY Bird Feeder using Recycled Materials
- STEM Experiment: Homemade Lava Lamp
- Food Recipe: Banana Chocolate Chip Pancakes
- Game: DIY Outdoor Treasure Hunt
- Craft: DIY Miniature Fairy Garden using Household Items
- STEM Project: Building a Rainbow Jar using Kitchen Ingredients
- Food Recipe: Fun-Shaped Fruit Salad with Yogurt Dip
- Game: Homemade Board Game with Recyclable Materials
- Craft: Personalized Tie Dye T-Shirts
A Symphony of Chirping Birds: DIY Bird Feeder
Have you ever felt a thrill from the symphony of chirping birds greeting the morning sun? If you've ever wanted to invite more of these feathered friends to your garden, a DIY bird feeder created from recycled materials is a sustainable DIY project. Not only will it keep our feathered friends fed, but it will also transform your backyard into a charming bird sanctuary. Let me guide you on a simple, rewarding mission to create a nature-loving statement piece; a homemade bird feeder built solely from items you might have otherwise discarded.
Light up your World: DIY Lava Lamp
As a kid, did you ever dream of having a fantastical lava lamp adding that special character to your room? It's time to make that dream a reality! Our STEM experiments are designed to bring a twinkle of magic into your home, providing you with learning opportunities while working on fun projects. Today, let me take you on an exciting journey to create your own lava lamp, a simple, colorful, and mesmerizing STEM project that illuminates the world of science in the most vibrant way possible!
The Ultimate Brunch: Banana Chocolate Chip Pancakes
Picture yourself on a lazy Sunday morning. The house is filled with the comforting scent of homemade pancakes, the mere thought of which is enough to lure everyone out of their cozy beds. But we're not talking about just any pancakes, we're talking about banana chocolate chip pancakes - the ultimate brunch recipe that turns ordinary breakfasts into delightful treats. Follow this easy, luxurious pancake recipe and let a stack of these fluffy, chocolate-studded discs melt in your mouth.
Craft Memories with a DIY Outdoor Treasure Hunt
Fond memories are often carved out on sunny afternoons filled with thrilling games and hearty laughter. Have you ever wondered how to make these get-togethers even more exciting? Here's an idea – a DIY outdoor treasure hunt adventure! It's a family activity designed to light up faces with joy while testing your grit, wit, and team spirit. Whether for a birthday party, family weekend, or a simple midsummer's day, crafting your own treasure hunt is a surefire way to create shared memories that last a lifetime.
DIY Projects, Experiments and Recipes for Fun at Home
Craft: DIY Bird Feeder using Recycled Materials
Starting your DIY bird feeder project is simple! First, you'll need an empty plastic bottle, two wooden spoons, a piece of string, and some birdseed. Now, wash out the bottle thoroughly and allow it to dry. Later, create small holes for the spoons to go through – your bird feeder's makeshift perches. The spoons should also act as a chute for the birdseed. Fill the bottle with birdseed, thread the string through the cap, tie it securely, and voila! You've just completed your homemade bird feeder using recycled materials.
Create multiple bird feeders and hang them around your garden. Not only will this recycling DIY project attract more birds, but it will also add a touch of rustic charm to your space. Plus, you'll feel a surge of joy every time you hear the happy chirping of birds visiting your DIY bird feeder.
STEM Experiment: Homemade Lava Lamp
This delightful journey begins with a trip to your kitchen. You'll need a clear, empty jar, vegetable oil, food coloring, an effervescent tablet (like Alka-Seltzer), and water. Fill the majority of the jar with oil, add water up to an inch from the rim, squeeze in some drops of food coloring, and then drop the effervescent tablet in, sit back and watch the magic happen. As if by alchemy, your DIY Lava Lamp comes to life with fizzing, popping bubbles of color bobbing and weaving their way through the oil.
It's far more than just a fun STEM experiment; it's a captivating visual representation of the wonders of science. Creating your homemade lava lamp isn't just engaging, it also sparks curiosity and, most importantly, it's an easy STEM activity that can be accomplished within the comforts of home.
Food Recipe: Banana Chocolate Chip Pancakes
This toothsome homemade pancakes recipe is surprisingly easy. Only three ripe bananas, two cups all-purpose flour, one and a half cups milk, half a cup of chocolate chips, two large eggs, three tablespoons of sugar, one teaspoon of baking powder, half a teaspoon of baking soda, and a pinch of salt are required. Mash the bananas, whisk in eggs, and then the sugar. In a separate bowl, mix the dry ingredients. Slowly, combine the two mixtures, stirring in the milk gradually until the batter is smooth. Lastly, fold in the chocolate chips.
Then, heat a nonstick pan, scoop out the batter into pancake shapes, and cook until they are golden brown. The result is a batch of fluffy, mouth-watering banana chocolate chip pancakes that easily melt in your mouth. With this delicious eats recipe, you turn a regular breakfast into a special one!
Game: DIY Outdoor Treasure Hunt
Your DIY Outdoor Treasure Hunt can be as elaborate or straightforward as you like. First, decide on a theme. Pirates, superheroes, dinosaurs – you're only limited by your imagination! Next, plan your treasure hunt route, whether it's around your backyard, park, or even through the rooms of your home. Now, create a series of clues and puzzles that lead from one point to the next, taking care to balance the difficulty based on the age group and number of participants.
Once you've marked your locations on a map, it's time to hide the clues in the correct order and set a treasure chest at the end. This fun game allows everyone, from the youngest adventurer to the oldest treasure seeker, to exhibit their playful spirit while competing in outdoor activities. Your DIY treasure hunt adventure promises a joyous day of hilarity, team spirit, and the shared achievement of finally discovering 'the treasure'.
Unlock Your Creativity with DIY Projects
Wrapping up, whether you're on a mission to create an eco-friendly bird sanctuary, eager to venture into the mesmeric world of STEM, hunting down the ultimate Sunday breakfast treat or crafting a memorable day of thrill with a treasure hunt adventure, these DIY guide blogs aim to add a dash of creativity and cheer into your activities.
It's astonishing how a few basic ingredients, household objects, or recycled trash can be transformed into projects that not only provide you with quality time but also leave you with a distinct sense of accomplishment.
So, the next time you're craving an inspring DIY project, remember - whether outdoor or indoor, edible or educational- the possibilities are endless when you add a touch of creativity and effort.
You May Also Like These:
DIY Miniature Fairy Garden using Household Items
Ingredients:
- Container (broken pot, glass jar, bowl, etc.)
- Soil or sand
- Small plants or moss
- Small stones or pebbles
- Miniature figures (fairy, gnome, animals, etc.)
- Household items (old keys, buttons, bottle caps, etc.) for decorations
Instructions:
- Start by selecting a suitable container. You can use anything from a broken pot to a clear glass jar. Make sure it is clean and dry before you start.
- Place a layer of small stones or pebbles at the bottom of your container. This will help with water drainage.
- Fill your container with soil or sand, leaving enough space for your plants.
- Now it's time to add the plants or moss. Try to create a small landscape. For example, you can put larger plants in the back and smaller ones in the front. You can also create small paths with soil or sand.
- Next, add your miniature figures. Let your imagination run wild. Create a small world inhabited by fairies, gnomes, or animals.
- Finally, use your household items to decorate your fairy garden. Old keys can become a mysterious treasure, buttons can turn into stepping stones, and bottle caps can serve as tiny tables or chairs.
- Remember, there is no right or wrong way to create a fairy garden. The most important thing is to have fun and let your creativity flow.
<h1>Fun-Shaped Fruit Salad with Yogurt Dip</h1> <h2>Ingredients:</h2> <ul> <li><b>For the fruit salad</b></li> <ul> <li>Various fruits of your choice (Examples: strawberries, melons, pineapples, grapes, etc.)</li> <li>Fun-shaped cookie cutters</li> </ul> <li><b>For the yogurt dip</b></li> <ul> <li>1 cup plain or flavored yogurt</li> <li>1 tablespoon honey or to taste</li> <li>A pinch of cinnamon (optional)</li> </ul> </ul> <h2>Instructions:</h2> <ol> <li>Choose a variety of colorful fruits that your family enjoys. Wash and prepare the fruits as needed.</li> <li>Use the fun-shaped cookie cutters to create different shapes out of larger fruits like watermelon, cantaloupe, or pineapple. For smaller fruits such as strawberries or kiwis, you can slice them into fun shapes.</li> <li>Arrange all your shaped fruits aesthetically in a large salad bowl.</li> <li>To make the yogurt dip, combine the yogurt, honey, and cinnamon in a small bowl. Taste and adjust the sweetness or add more cinnamon if desired.</li> <li>Serve the fun-shaped fruit salad with the yogurt dip on the side and enjoy!</li> </ol>
Fun-Shaped Fruit Salad with Yogurt Dip
Ingredients
- Fruit Salad:To create the fruit salad you will need a selection of your child’s favorite fruits. Some suggestions could include:
- Strawberries
- Grapes
- Blueberries
- Watermelon
- Apples
- Yogurt Dip: To create the yogurt dip, these are the ingredients you will need:
- 1 cup of vanilla yogurt
- 1 tablespoon of honey
- 1/2 teaspoon of vanilla extract
- Tools: You will also need some cookie cutters in fun shapes to create the fruit salad shapes.
Instructions
- Prepare the Fruit: Wash and dry all the fruit.
- Cut the Fruit: Cut the larger fruit, like watermelon and apples, into slices about 1/2 inch thick. This will allow you to use your cookie cutters to cut them into fun shapes. Leave smaller fruit, like grapes and blueberries, whole.
- Create Fun Shapes: Using the cookie cutters, cut out shapes from the sliced fruit. Children can help with this step if the cutters are not sharp.
- Make the Dip: In a small bowl, mix together the vanilla yogurt, honey, and vanilla extract. Stir until everything is well combined.
- Serve: Place the fun-shaped fruit on a plate with the bowl of yogurt dip in the center. Now, your Fun-Shaped Fruit Salad with Yogurt Dip is ready to enjoy!
Sure, here are the printable instructions formatted in HTML: ```html
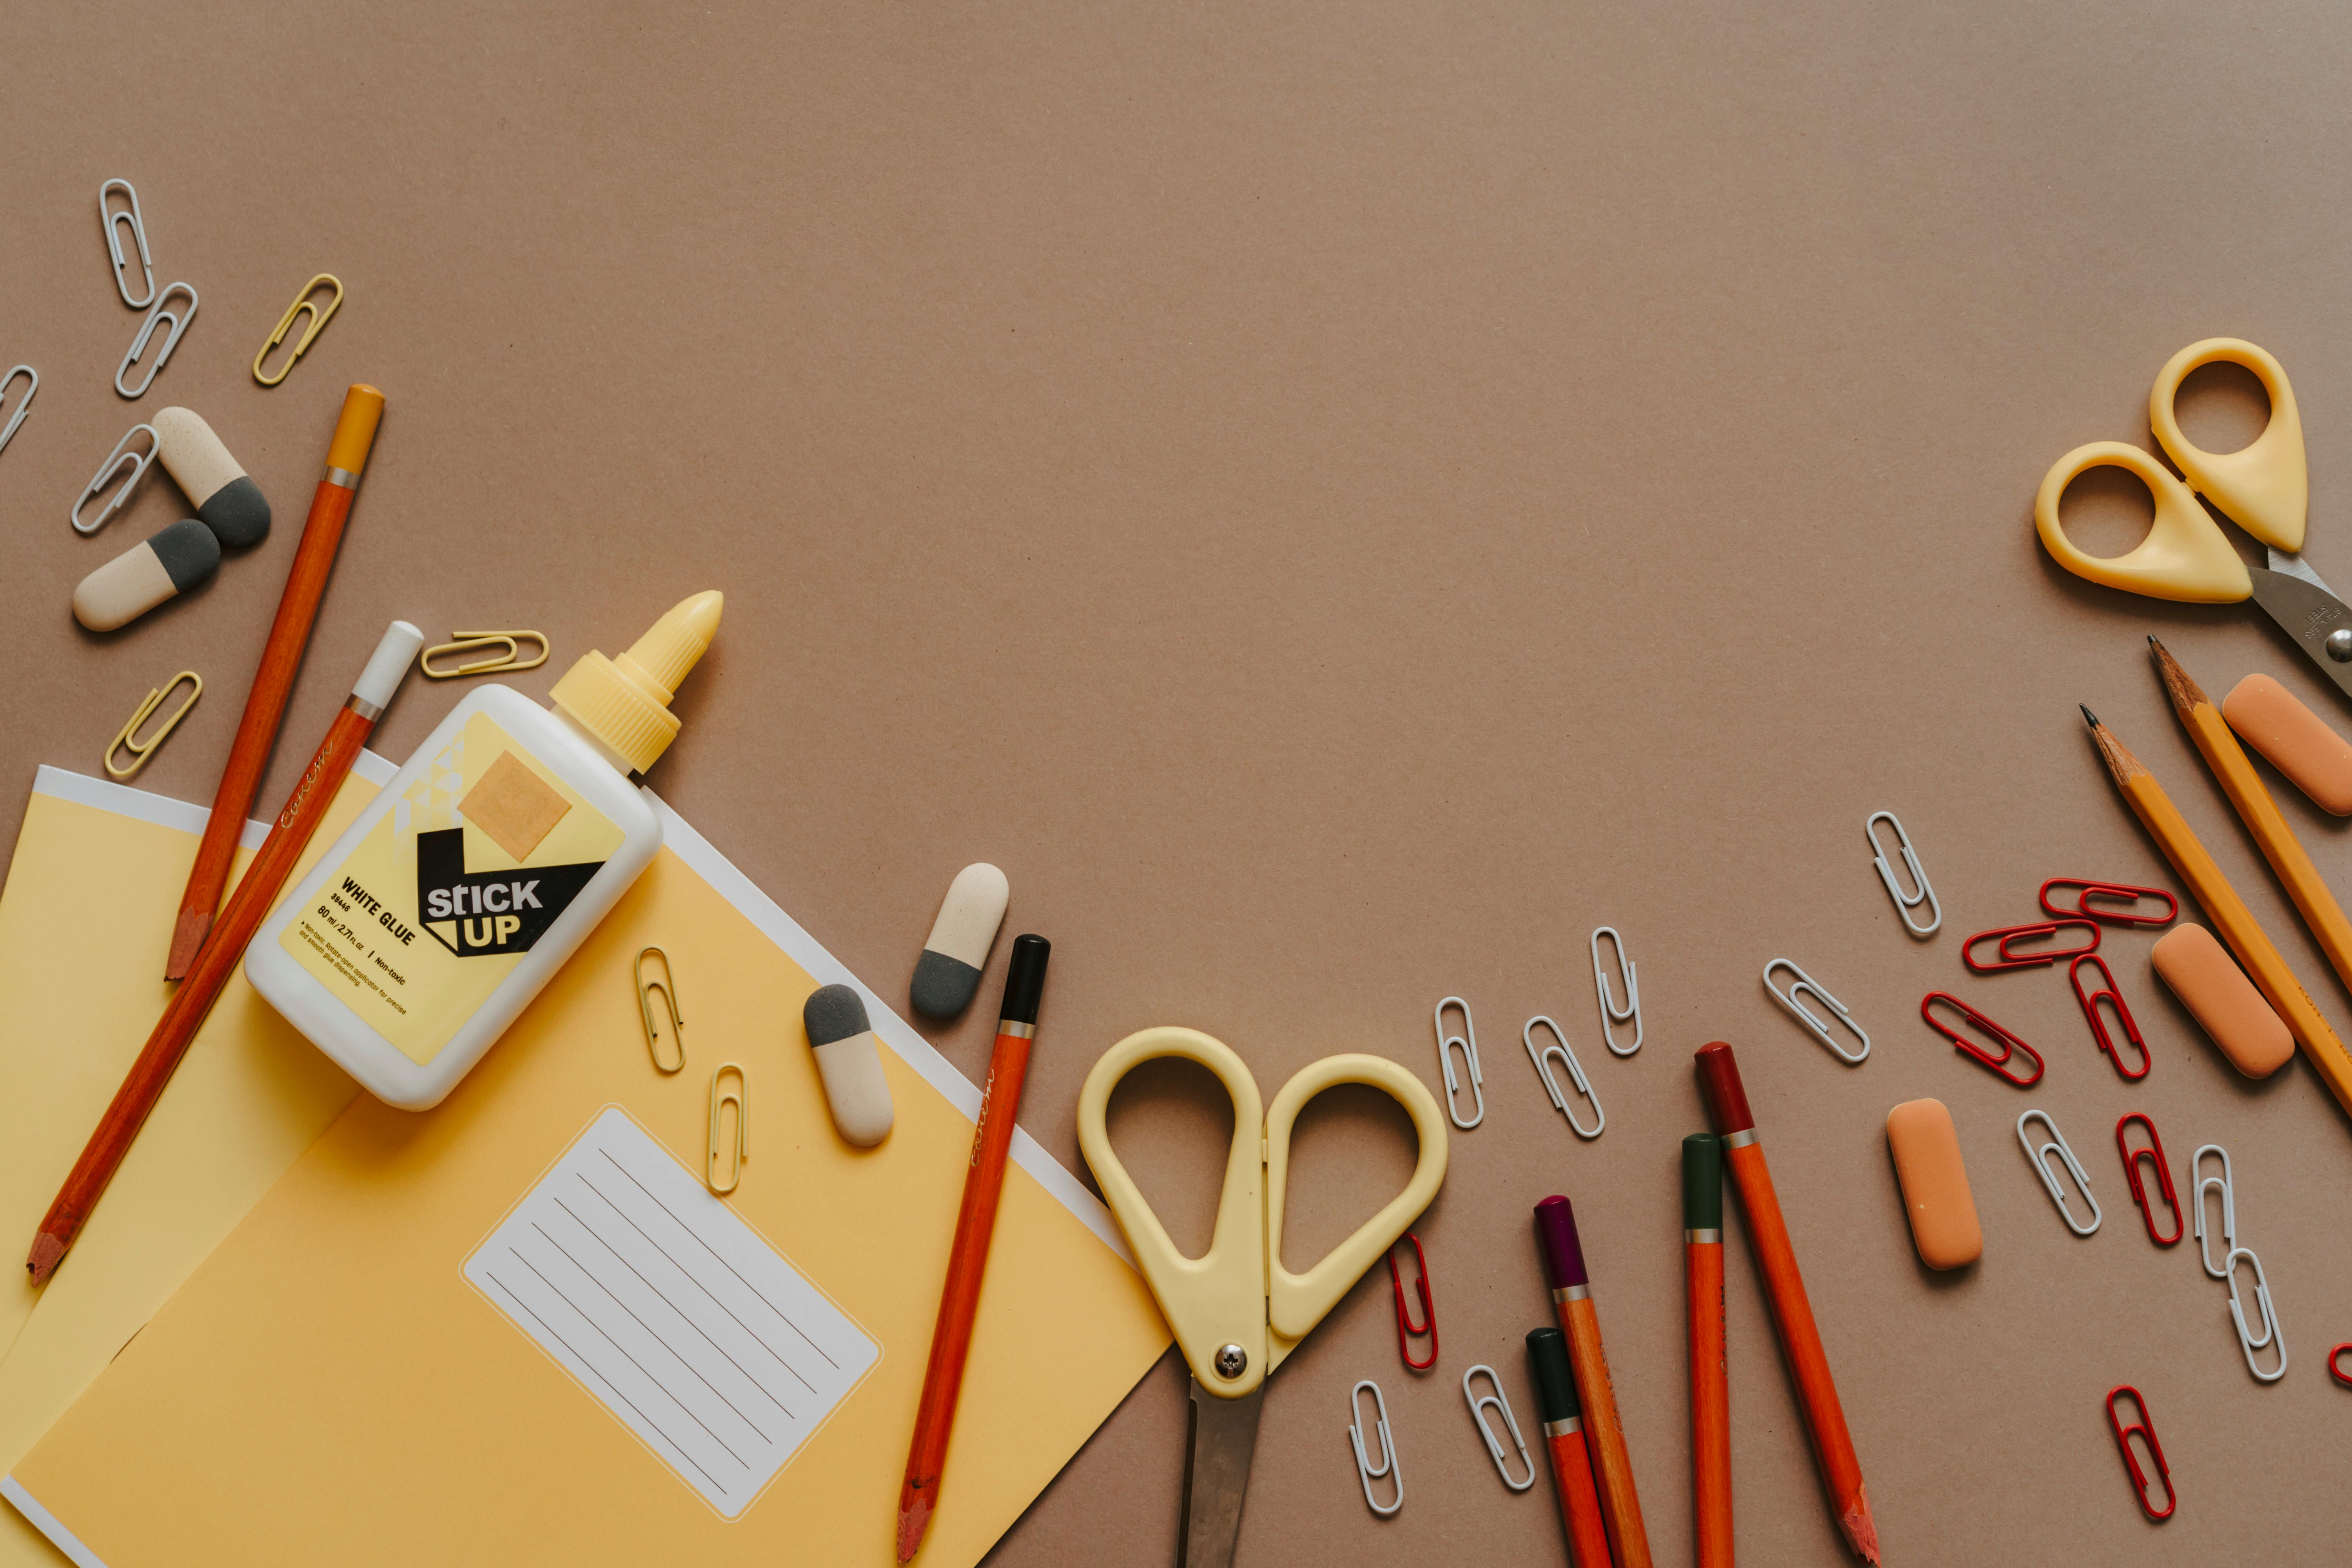
Homemade Board Game with Recyclable Materials
Making a homemade board game out of recyclable materials is a fun and educational project for your kids. It encourages creativity, teaches them about the importance of recycling, and results in a game that can be enjoyed by everyone.
Materials:
- Cardboard (like a pizza box, cereal box, etc.)
- Colored papers
- Glue
- Marker pens
- Scissors
- Recyclable items (like bottle caps, straw, etc. for game pieces)
Instructions:
- Prepare the Materials: Gather all the materials you will need. Take the cardboard and markers. The size of the cardboard will be the size of your game board.
- Design the Game Board: Draw your board game track. You can create a traditional square track, a circular one, or even something more abstract. Use colored papers for different spaces and paths.
- Draw the Spaces: Draw spaces on the track where players will move their pieces. You can have special spaces that make a player go forward or backward, lose a turn, etc.
- Decorate the Board: Cut shapes out of the colored papers and glue them onto the board. You can also write fun instructions or challenges on some of the spaces to make the game more interesting.
- Create the Game Pieces: Use your recyclable items to create the game pieces. For example, you can use bottle caps, buttons, or anything else that can be easily moved along the board.
- Test the Game: Once your game board and pieces are ready, test the game to make sure it's functional and fun. If needed, adjust the rules or layout of the board.
Enjoy your new homemade board game made from recyclable materials!
``` Remember to save it with '.html' extension to be able to open it in a web browser.Personalized Tie Dye T-Shirts
Ingredients
- White Cotton T-Shirts
- Tie Dye Kits
- Rubber Bands
- Plastic Wrap
- Plastic Squeeze Bottles
- Plastic Gloves
Instructions
- Get your T-Shirts ready: Start by washing your white cotton t-shirts. Ensure all shirts are completely dry before moving on to the next step.
- Prepare your Dye: Follow the instructions provided on your tie-dye kit to prepare your dye. Usually, this involves adding water to the dye powder and shaking thoroughly.
- Choose your Tie Dye Design: Decide on the pattern for your t-shirt. This may include the spiral, bull's eye, stripes, or any other design. Once you decide your design, fold your t-shirt accordingly.
- Apply the Rubber Bands: Use the rubber bands to secure your shirt in place. The sections created by the rubber bands will form the pattern for your tie-dye design.
- Apply the Dye: Wearing your gloves, take your squeeze bottles and start applying dye on your t-shirt. Be sure to saturate the shirt thoroughly with your chosen colors.
- Wrap it up: Once you're happy with your design, wrap your t-shirt tightly in plastic wrap. This will keep the dye in place and prevent colors from over-merging.
- Wait: Allow your t-shirt to sit for 6-8 hours or overnight. The longer it sits, the more vibrant the colors will be.
- Unwrap and Rinse: Unwrap your t-shirt and rinse it out under cold water until the water runs clear. This will remove any excess dye.
- Wash and Dry: Finally, wash your shirt on a cold cycle in your washing machine and dry as per usual. Now, you're ready to rock your personalized tie-dye t-shirt!