


As an affiliate, I earn from qualifying purchases, but this doesn't affect the reviews or recommendations—your trust is important to me!
1. Step-by-Step Guide to Craft a Paper Mache Planet Model 2. STEM Experiment: Building an Electromagnet at Home 3. Delightful Recipe: Mixed Berries Overnight Oats 4. Exciting Hunt Game: Embarking on a Geocaching Adventure


Today, We're Making:
- - Craft: Paper Mache Planet Model
- - STEM Experiment: Homemade Electromagnet
- - Food Recipe: Overnight Oats with Mixed Berries
- - Game: Geocaching Adventure Hunt
- - Craft: Solar System Bracelet
- - STEM Project: Water Cycle in a Bag
- - Food Recipe: DIY Mini Pizzas
- - Game Idea: Homemade Treasure Hunt
- - Craft: Create Your Own Board Game
1. Crafting a Paper Mache Planet Model
Picture this: your child comes home bubbling with excitement about their latest science project — creating a paper mache planet model. You're eager to help but not quite sure where to begin. No need to worry, our craft guide is here, providing a comprehensive, easy-to-follow DIY guide on how to craft a paper mache planet model. Immersed in astronomy craft, this educational activity is both fun and nurturing of your child's interest in the universe.
2. DIY Electromagnet Experiment
Ever wondered about the breathtaking science that powers our machines and gadgets? Well, Lightning may not be at your fingertips, but with this DIY STEM experiment, you can create a homemade electromagnet right at your dining table. This educational activity will not only bring the magnetic science to life but will also shed light on the fascinating world of physics.
3. Overnight Oats with Mixed Berries Recipe
Brushing over some plump, juicy mixed berries, you think of ways to turn this delightful fruit medley into a nutritious breakfast. Enter 'Overnight Oats with Mixed Berries', our recipe that's set to revolutionize your morning routine. It's not just a quick meal prep; it's a symphony of flavors and nutrients, creating a vegan breakfast option that's also gluten-free.
4. The Ultimate Geocaching Adventure Hunt Guide
Imagine yourself swept up in an adventure game where the world is your playground. You're on a real-life exciting hunt, equipped only with a GPS and your wits. Welcome to the world of Geocaching! Introducing our Geocaching Adventure Hunt guide - a step-by-step walkthrough to one of the most thrilling outdoor activities perfect for family fun or going solo.
A Guide to Fun, DIY Activities
1. How to Create a Paper Mache Planet Model
Firstly, we’ll begin our Paper Mache Planet Model. For this, you'll need simple craft materials like a balloon, strips of newspaper, flour, water, and paint. Start the process by inflating the balloon and fasten it securely to use it as the base for our planet. Following this, make your paper mache glue by mixing flour and water. Then, dip the newspaper strips into this glue, putting them onto the the balloon. Apply several layers until it reaches an adequate thickness and then leave it to dry.
After your model has dried, start painting your homemade planet based on the real planet you've chosen to represent. A helpful tip you might want to consider is using a headband to stabilize the balloon while you paint. This easy DIY guide will make this educational activity enjoyable and entertaining. It provides an interactive way for you to learn about science, igniting an interest in astronomy craft.
2. An Introductory Stem Experiment: Building a Homemade Electromagnet
For our initial STEM experiment, we'll be constructing a homemade electromagnet. You'll need a nail, copper wire, a battery, and some paperclips for this project. To begin, wrap the copper wire round the nail, but ensure that there's an unwrapped portion of wire left at both ends. These ends should then connect the battery, and then, presto! You've created a genuine magnetic science marvel right at home.
Each time you establish a connection with the battery, your nail transforms into a magnet capable of lifting paperclips off a surface! This interactive educational activity is assured to create a fun-filled learning physics experience.
3. Recipe for Overnight Oats with Mixed Berries
So, how can you make the delicious Overnight Oats with Mixed Berries? The process is incredibly easy. Start by mixing half a cup of oats with half a cup of dairy-free milk in a jar. Add a bit of vanilla extract and a touch of your prefered sweetener. Stir the mixture thoroughly and leave it refrigerated overnight. The next morning, decorate your healthy breakfast with various mixed berries and enjoy your meal.
This nutritious recipe is something you can get creative with by substituting your favourite fruits or seeds, making it a stellar vegan breakfast option. You could add chia seeds one day, and walnuts the next. The quick meal prep is perfect for busy mornings and ensures that you'll always have a tasty, gluten-free, ready-to-eat meal.
4. Starting Your Geocaching Adventure Hunt
Are you prepared to begin your Geocaching Adventure Hunt? Here are the core basics you need to grasp before embarking on your outdoor activity. Firstly, it is a necessity to download a trustworthy Geocaching app on your smartphone. This application will guide you to your very first cache. But what is a cache? It's a concealed container that you aim to disclose using GPS coordinates.
The range of container sizes extends from tiny ones that only contain a logbook for signing your name, to large containers that hold trinkets for exchange. This nature adventure requires strategy and exploration, and is the perfect family fun activity. Regardless of whether you are an outdoor enthusiast, a treasure hunter, or a discoverer at heart, always remember the golden rule of geocaching: 'take something, leave something.'

Welcome to Our Blog Post!
Crafting a Paper Mache Planet Model
Crafting a paper mache planet model can indeed be a delightful and fun learning experience. You've walked with us through each easy step, and as you stand looking at your child's smiling face and their beautiful, handmade planet, soak in the joy of learning brought to life. Remember this moment, the shared laughter, the excitement, and the learning. You've just cultivated a love for astronomy and hands-on scientific projects. We can't wait to hear about your experience, so please feel free to share it with us!
Creating Your Very Own Electromagnet
With the magic of creating your very own electromagnet at home, you've taken a magnificent leap into the world of science. From materials to execution, you've not only learned how magnets work but also enjoyed the thrill of building something from scratch. Congratulations! By performing this STEM experiment, you've made science stimulating and enjoyable. We hope you're as electrified by this magnetic experience as we were sharing it with you!
Preparing Your Overnight Oats with Mixed Berries
Now that you've prepared your overnight oats with mixed berries, we hope you look forward to mornings as much as we do. As you savor each spoonful, we believe you'll appreciate the interplay of flavors and the nutritional impact this vegan and gluten-free breakfast option adds to your day. Ensure to mix it up with different fruits and seeds to keep the experience fresh. Remember everyone - breakfast is not just the first meal of the day, it’s the first step to healthy living!
Geocaching: An Adventure Awaits You
We hope you're ready, adventurers! As you lace up your hiking boots and check your GPS coordinates, a world of treasures awaits you. Geocaching is not just a game - it's an exploration, an adventure, and an opportunity to learn more about the world around us. It's a fun outdoor family activity that combines the thrill of the hunt with the beauty of nature. We're excited for you to start your geocaching journey and can't wait to hear about your finds. Happy hunting!
You May Also Like These:
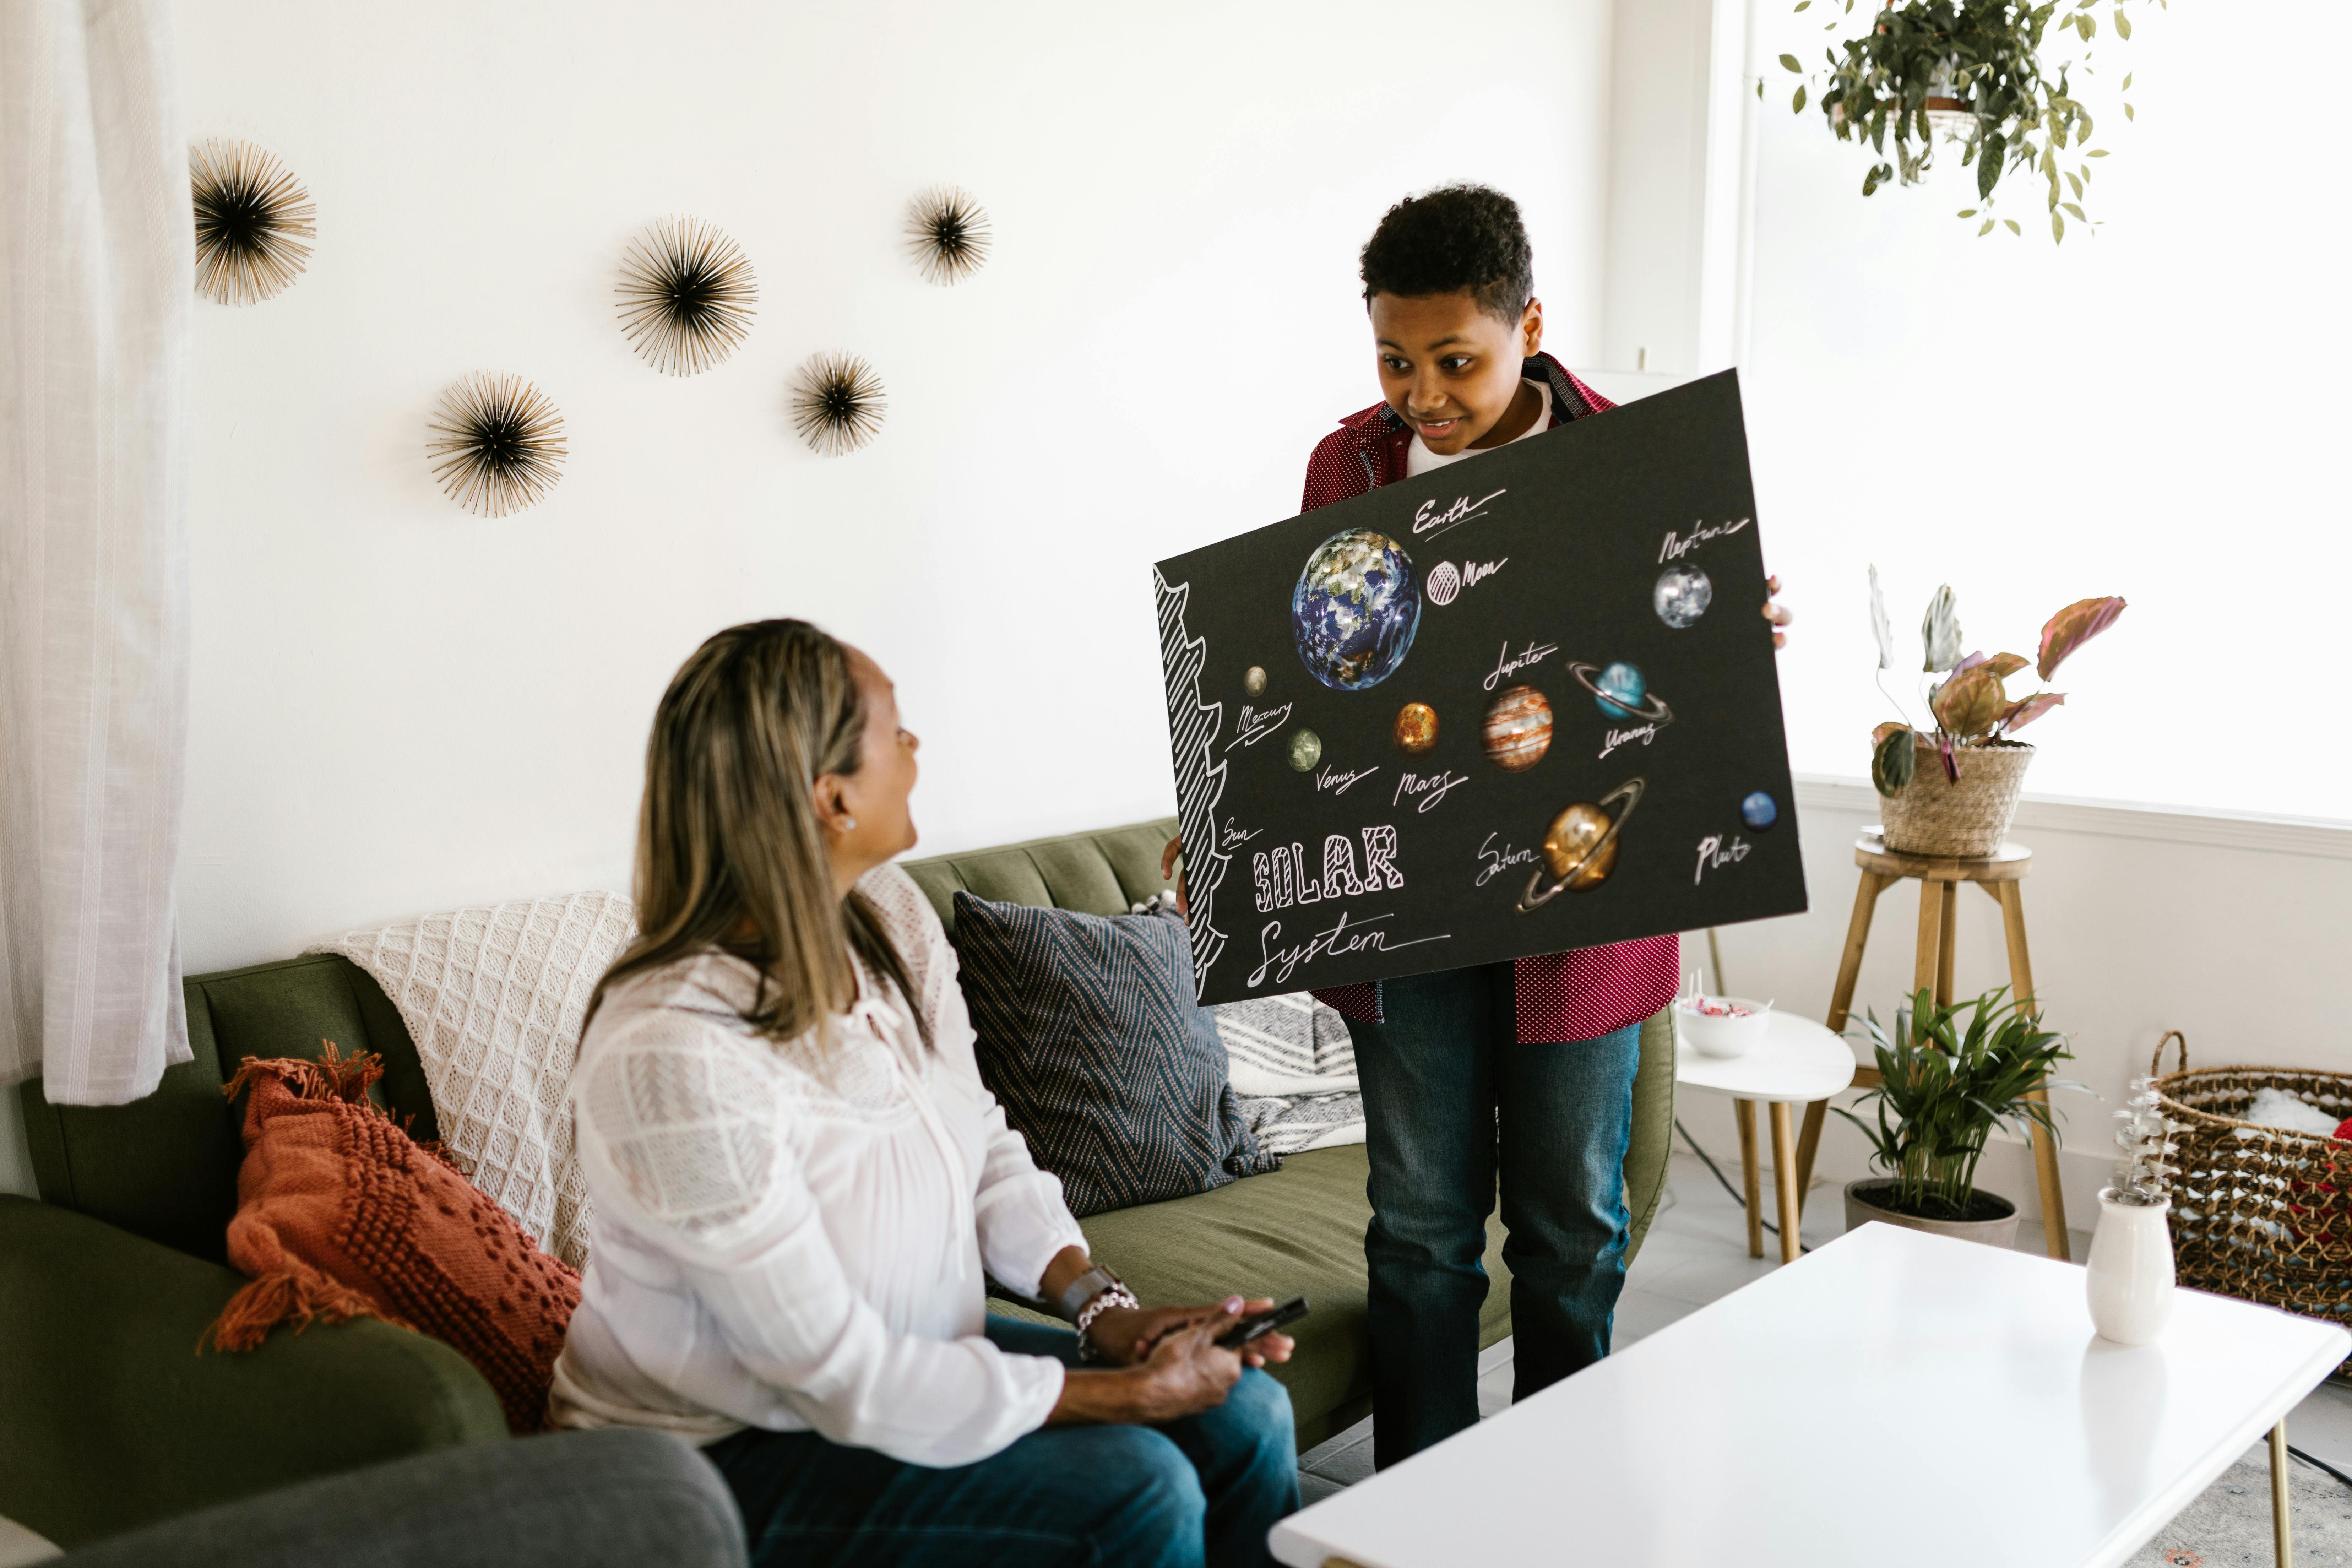
Solar System Bracelet
Materials Needed:
- Beads: Nine, in various sizes and colors representing the planets
- String: Black or dark blue in color, roughly 12' long
- Spacer Beads: Small, black or silver in color
- Scissors
Instructions:
Please follow the step-by-step instructions below to complete your Solar System Bracelet:
- Cut the String: Cut your string to approximately 12' in length. This should fit comfortably around most wrist sizes with room to tie.
- Arrange Your Beads: Line your beads up in the order of the planets in our solar system. Start with a smaller, more colorful bead for Mercury, followed by a slightly larger and pastel one for Venus, etc.
- String the Beads: Start stringing the beads onto your cord, remembering to separate each planet bead with one or two spacer beads. Spacer beads represent the vast, empty space between the planets.
- Tie It Off: Once you've strung all of your beads, tie off the ends of your string with a secure knot. Be sure to leave enough room for the bracelet to slip comfortably over your hand.
- Show Off Your Creation: Declare your love for astronomy and fashion by rocking your shiny new Solar System Bracelet. It's a fantastic conversation starter!
Each time your wear your Solar System Bracelet, may it inspire you to explore, dream and discover beyond our Earth!
DIY Mini Pizzas Recipe
Ingredients:
- Ready-made pizza dough or puff pastry
- Pizza sauce
- Grated mozzarella cheese
- Your favorite pizza toppings (pepperoni, bell peppers, mushrooms, etc.)
- Extra virgin olive oil
- Optional: fresh basil leaves
Instructions:
- Preheat your oven according to the instructions on the pizza dough package.
- Roll out the pizza dough and use a round cutter to make mini pizza bases.
- Spread a spoonful of pizza sauce onto each mini pizza base, leaving a small border around the edge.
- Sprinkle a generous amount of mozzarella cheese over the sauce.
- Add your chosen toppings to the pizzas.
- Drizzle a bit of extra virgin olive oil over the top.
- Bake the pizzas in the oven until the cheese is melted and the crust is golden brown.
- Once out of the oven, let it cool for a couple of minutes, then top with fresh basil leaves if desired, and enjoy your DIY Mini Pizzas!
DIY Mini Pizzas: A Fun Food Project for Kids
Ingredients:- Pizza Dough
- Pizza Sauce
- Shredded Mozzarella Cheese
- Your favourite pizza toppings (Pepperoni, Bell Peppers, Mushrooms, Olives, etc.)
Instructions:
Step 1: Preheat the OvenPreheat your oven to 475 degrees F (245 degrees C).
Step 2: Prepare the Pizza DoughRoll out the pizza dough on a floured surface. Use a round cookie cutter to cut out mini pizza bases.
Step 3: Top the PizzasSpread a spoonful of pizza sauce on each mini pizza base. Sprinkle shredded mozzarella cheese and add your favourite toppings.
Step 4: Bake the PizzasArrange the mini pizzas on a baking tray. Bake the pizzas in the preheated oven for 10-12 minutes or until the cheese is melted and golden.
Step 5: Enjoy Your DIY Mini PizzasLet the mini pizzas cool a little before serving. Enjoy your homemade mini pizzas!
Homemade Treasure Hunt: Game Instructions
Materials Needed:- Pen and Paper
- Small treats or toys (for treasure)
- Containers or bags to hide the treasures
Step by Step Instructions:
Step 1: Choose Your TreasureDecide on what you want the treasure to be. This can be anything from candy, small toys, or homemade coupons for fun activities.
Step 2: Choose Your Treasure SpotsChoose different locations around your house or yard to hide the treasures. Make a note of these locations for your reference.
Step 3: Create CluesWrite down clues that lead to the different treasure spots. Be creative! The clues can be riddles, puzzles, or simple directions.
Step 4: Hide The TreasurePlace your treasures in their hiding spots. Make sure they are hidden well!
Step 5: Begin The GameNow, it's time to start the game! Give the first clue to your child and let the treasure hunt begin!
Additional Tips:
- Adjust the difficulty of the clues based on the age of your child.
- You can also have a themed treasure hunt, like pirates or explorers.
- If multiple children are playing, you can make it a race to see who finds the treasures first. Remember to hide the same number of treasures for each child.
```HTML
Create Your Own Board Game
Making your own board game is a fun and creative project that can be a great way to spend time with the whole family. Not only will you enjoy playing your game, but you'll also learn useful skills relating to design, problem-solving, and the basics of game mechanics.
Materials<\h2>
- Poster board
- Ruler
- Markers
- Scissors
- Glue
- Construction paper
- Game tokens
- Dice or a spinner
Instructions<\h2>
Step 1: Design Your Game Board
Using a ruler and markers, draw the track players will move along on the poster board. It can be traditional square like Monopoly or something totally unique to your game.
Step 2: Create Game Tokens
Game tokens can be made using construction paper or any other lightweight materials you have on hand. Be creative. Make sure they can easily be moved around the game board.
Step 3: Define the Rules
Now decide the rules of your game. How does a player win? What happens if they land on a special space? Write these rules clearly on a separate piece of paper.
Step 4: Play Your Game
Now that your game is complete, it's time to play! Gather your friends or family members and have fun with your very own board game.
Note: Always supervise children when using scissors or other sharp objects for this project.
```