


As an affiliate, I earn from qualifying purchases, but this doesn't affect the reviews or recommendations—your trust is important to me!
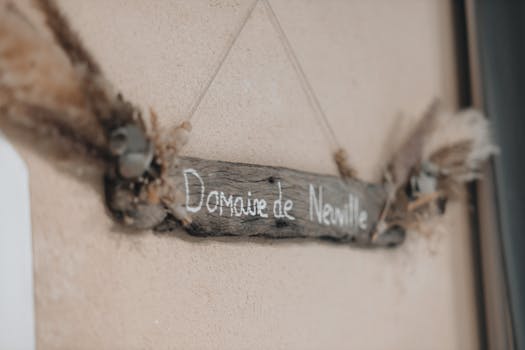
Creating Beautiful DIY Wind Chimes from Recycled Materials

Today, We're Making:
- - DIY Wind Chime Using Recycled Materials
- - 'Space-Time Capsule' - Create a DIY time capsule inspired by the future year of 2025. Kids can fill it with their own letters or illustrations about what they imagine life would be in 2025, including their hopes, dreams, and predictions. Materials would range from a spare box or jar, decorative materials
Ever wondered how to transform seemingly discarded items into creative, eco-friendly crafts?
If so, then join me in the ever-thrilling journey of DIY projects.
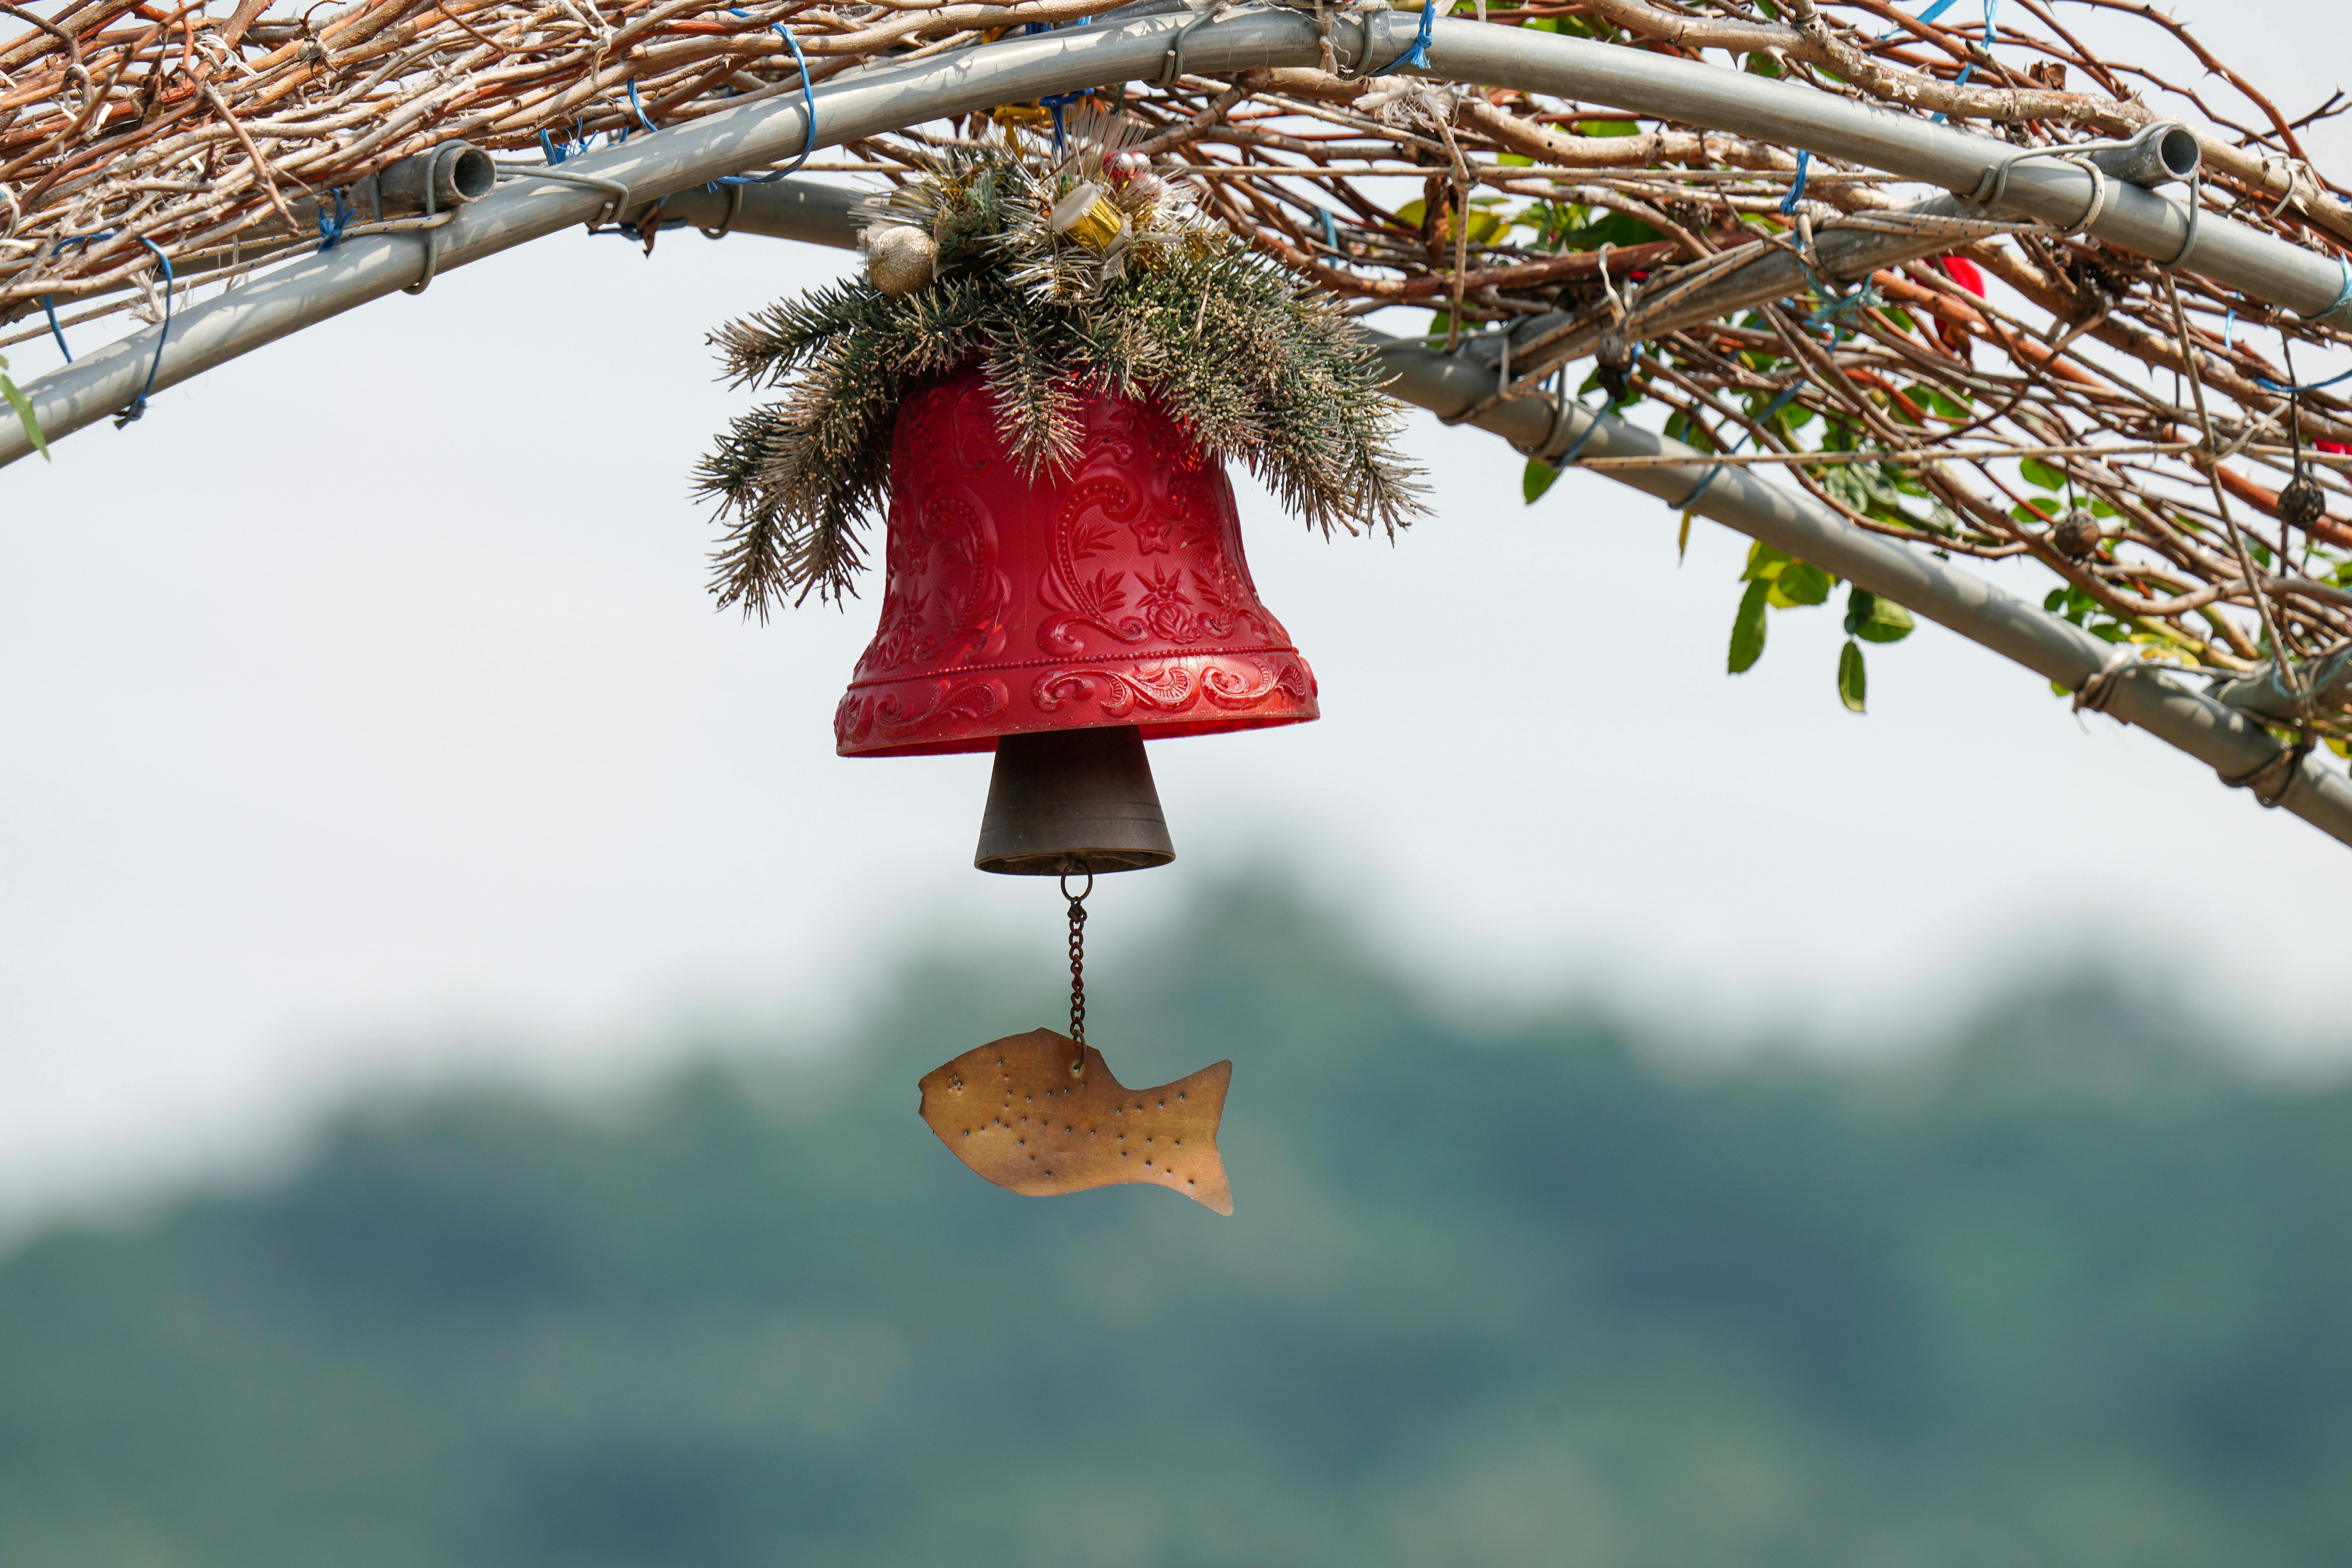
One man's trash is indeed another's treasure; with a bit of enthusiasm and a sprinkling of creativity, you can create beautiful DIY Wind Chimes using Recycled Materials.
Not only will you be contributing to sustainable living, but you'll also be creating unique outdoor decor that neighbors will envy.
This step-by-step DIY guide will help you repurpose what many would classify as 'waste' into charming wind chimes, adding a delightful symphony to your garden decor.
From Recycling Projects to Upcycling, let's make the world greener, one wind chime at a time.
Crafting Your DIY Wind Chimes - The Steps
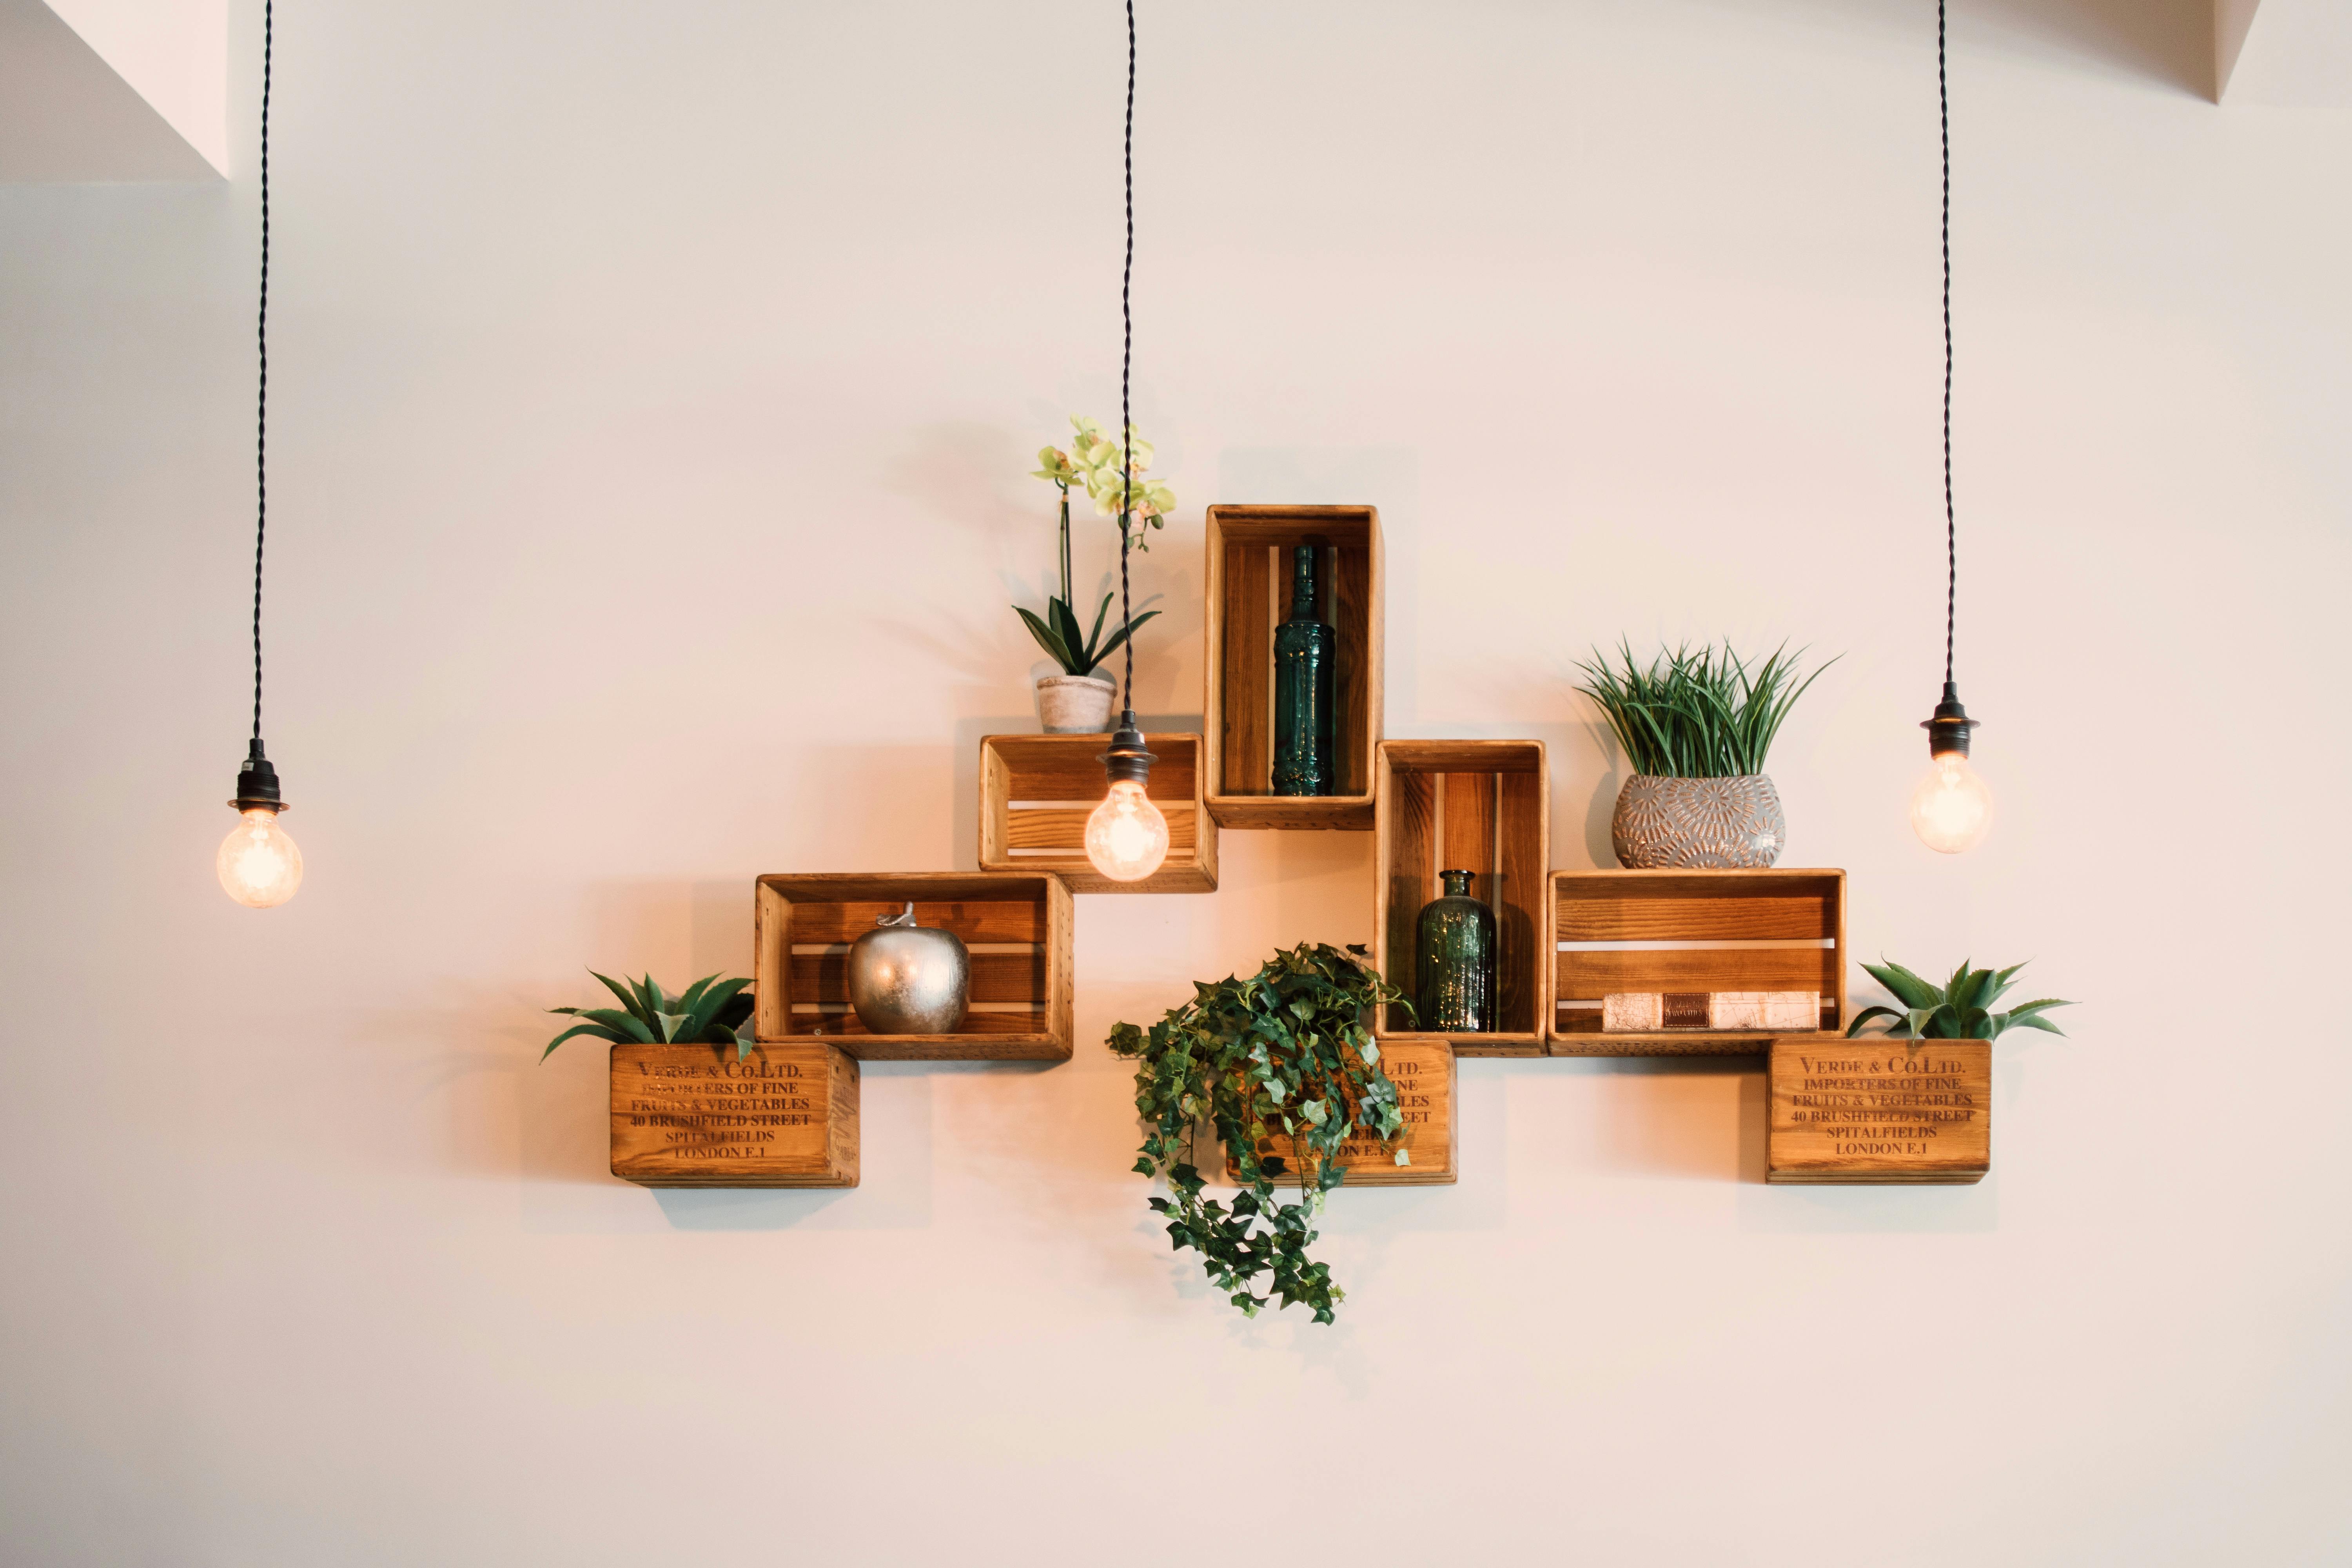
Before embarking on any DIY projects, especially one as exciting and rewarding as creating beautiful DIY wind chimes from recycled materials, it's crucial to gather everything you'll need. Now, what's wonderful about this DIY wind chime project is the liberty to use various materials that can make unique sounds, injecting your personal touch. Look around at home, salvage things from your recycle bin — old cutleries, tin cans, wood scraps, bottle caps, or even seashells from your last beach vacation. There's a vast realm of recycled materials available for builds like these; it only takes a keen eye and an open mind.
Collecting Materials for Your Wind Chime Design.
Next, it's time to put your creative hat on! Designing your DIY Wind Chime is a personal journey, a reflection of your tastes and creativity. Its beauty lies in its uniqueness — your bespoke DIY home decor that's aesthetically pleasing and eco-friendly. Consider the shape, size, and color scheme you prefer. Take time to visualize how your wind chimes will look in your outdoor decor — will they blend in with the garden decor, or will they stand out as a striking feature?
Assembling Your Handmade Wind Chimes
Now on to the most thrilling part of the journey — assembling your homemade wind chimes! Here, the DIY Art project's magic truly unfolds. Start by poking or drilling holes (use a punch tool or a power drill) onto your chosen materials. Then link them together with strings, wires, or chains. Remember to space them well enough for free movement, ensuring an enchanting melody each time the wind passes.
The Symphony of Upcycled Materials
An aspect that's often overlooked during wind chime making is the sound they produce. As we create wind chimes from recycled materials, we're not just repurposing old stuff; we're creating DIY sound decor. Different materials make different sounds - metal pieces produce a stronger, more resonant tone, while seashells or wooden pieces offer a softer, more subtle sound. Testing out your wind chime's sounds before finalizing any arrangement can add an unforeseeable magic to their final effect, turning them into an absolute symphony of repurposed materials.
Making a Difference with Your Easy DIY Project
There's a profound sense of fulfillment in crafting at home, especially when we reuse materials that would otherwise turn to waste. This DIY garden project isn't just about adding a chic piece to your outdoor decor; it's about conscious living, promoting sustainable crafts, and making a difference — one DIY wind chime at a time.
And there we have it - a DIY project that fuses creativity, sustainability, and music.
Creating your DIY wind chimes from recycled materials isn't just a fun way to spend an afternoon, it's a chance to turn the ordinary into something extraordinary. By using items you already have, your wind chime will tell a story, a testament to resourcefulness and creative spirit.
And each time the wind dances through it, ringing out in joyous symphony, you'll be reminded of your small contribution to a greener planet.
So go ahead, create your melodic masterpiece from the rhythm of nature and discarded treasures. Who knew a simple DIY project could be so enriching? Craft on, eco-warrior!
You May Also Like These:
DIY Space-Time Capsule
Experience a blast from the future with our DIY Space-Time Capsule, inspired by the year 2025. Encourage your child's imagination by letting them fill this capsule with letters and illustrations of what they envision the future to be like. Fun and futuristic, an absolute hit amongst kids!
Ingredients:
- 1 Medium Sized Sealable Container: (e.g. mason jars, old coffee cans, or plastic lunch boxes)
- Acrylic Paints or Sharpies: For decorating the outside of the capsule
- Pieces of Paper: For writing or drawing the future
- Pencils, Pens, or Crayons: For creating their masterpieces
- Small Memorabilia: Kids can include small toys that represent 2021
- Sealing Wax and Seal (optional): To give a legitimate time capsule feeling
Instructions:
- Decorating the Container: With the acrylic paints or Sharpies, encourage your child to decorate the outside of the container. They can get creative with illustrations, shapes and symbols relating to space and future.
- Create Future Pieces: On pieces of paper, let the children sketch or write about what they imagine life would be like in 2025. They can make predictions, draw futuristic cars, robots, clothing, houses, and much more.
- Adding Memorabilia: After the drawings/letters are done, add them into the container, along with a small toy or two that reflects the present year.
- Seal the Capsule: Once all future imagined items are added, seal the container. If you have wax and seal, make it more authentic by covering the lid and stamping with the seal.
- Hide the Capsule: Finally, find a safe spot in your house or backyard, and let the kids hide the capsule for their future selves to find.
Remember, the more imaginative the better. This is a wonderful opportunity for your kids to express their creativity and learn about the concept of time. Enjoy this space-time journey!
<!DOCTYPE html> <html> <head> <style> body { text-align: left; } </style> </head> <body> <h2>Crafts for Dreams: Fairy Jar</h2> <h3><strong>Ingredients Needed:</strong></h3> <ul> <li>Mason Jar</li> <li>Glow in the Dark Paint</li> <li>Paint Brushes</li> <li>Glitter</li> <li>Vellum Sheets</li> <li>Battery-Operated Tea Lights</li> </ul> <h3><strong>Instructions:</strong></h3> <ol> <li>Start by cleaning the interior of your Mason Jar.</li> <li>Use your paintbrush to add spots of glow in the dark paint to the interior of the jar, mimicking the look of fireflies or stars.</li> <li>Allow paint to dry completely.</li> <li>While paint dries, cut a strip of vellum paper to fit inside the jar. Cover with a dusting of glitter.</li> <li>Once paint is dry, roll your vellum paper and insert it into the jar, glitter side facing out.</li> <li>Drop in your battery-operated tea light, screw on the lid, and enjoy your magical fairy jar!</li> </ol> </body> </html>
Crafts for Dreams: A Step-By-Step Guide
Ingredients:
- Colorful construction papers
- Scissors
- Safety glue
- Glitter pens
- Magic markers
- Craft feathers
- Craft gems or jewels
- Ribbon or string
- Hot glue gun (for parental use only)
Instructions:
Step 1: Create the Base of Your Craft
Using the safety scissors, cut your desired shape out of the construction paper. This will serve as the base of your craft.
Step 2: Decorate Your Craft
Using the glitter pens, magic markers or other materials, create your unique design on your craft base. Make sure to allow it to dry properly.
Step 3: Continue to Decorate
Add craft feathers, jewels, or other decorations to your craft using the safety glue. Allow your craft to dry for several hours. Remember, patiences is a part of creative process!
Step 4: Attach Ribbon or String
After your craft is dry, use a parent-supervised hot glue gun to attach a piece of ribbon or string. Once the glue is dry, the craft will be ready to be hung up.
Step 5: Display Your Craft
Hang your completed craft in your favorite place. Congratulations, you have successfully created your dream craft!
Crafts for Kids: Creating a Decorative Jar
Materials needed:
- A spare Jar
- Acrylic Paint
- Paintbrush
- Glitter Glue
- Colorful Ribbons
Instructions:
- Prepare the Jar: Ensure the jar is clean and dry. Peel off any labels or stickers on the jar.
- Paint the Jar: Use a paintbrush to cover the outer surface of the jar with acrylic paint. Allow it to dry completely.
- Apply Glitter Glue: Once the paint is dry, apply glitter glue in patterns or randomly for a sparkly effect.
- Attach Ribbons: Finally, wrap colorful ribbons around the neck of the jar and secure it with a knot or a bow for an added touch.
Prediction:
This craft project will encourage your kids to unleash their creativity. Upon completion, they will also have a beautiful and unique jar that can be used as a pen holder, candle holder, or decorative piece.
Crafts for Decorative Materials: A Parent's Guide
This guide will provide clear, step-by-step instructions on how to complete a craft for decorative materials. Get ready for some creative fun with your kids!
Ingredients
- Construction Paper
- Glue Stick
- Child-safe Scissors
- Colorful Markers
- Ribbon
- Glitter (Optional)
Instructions
- Preparation: Gather all your materials.
- Step 1: Allow your child to pick out their favorite colors of construction paper.
- Step 2: Help your child cut out various shapes from the construction paper using the child-safe scissors.
- Step 3: Now, provide the markers to your child to decorate each cut-out shape with designs or patterns of their choosing.
- Step 4: If you and your child choose, you may now apply glue to the shapes and sprinkle some glitter on top.
- Step 5: Finally, help your child glue a piece of ribbon to the back of each shape to create a hanging sign or decoration.
- Step 6: Allow all pieces to dry completely before using them as decorations.
Enjoy Your Crafts!
Now that you've completed your craft project, it's time to enjoy your beautiful new decorations. Don't forget to clean all your materials and store them properly for future craft sessions. Keep on crafting and keep on having fun!


