


As an affiliate, I earn from qualifying purchases, but this doesn't affect the reviews or recommendations—your trust is important to me!
Exploring DIY Crafts, Experiments, Cooking and Outdoor Games for Kids

Today, We're Making:
- - DIY Polymer Clay Jewelry Making
- - Edible Marshmallow Slime Experiment
- - Vegetable Lasagna Cooking Lesson
- - Outdoor Scavenger Hunt Game
- - DIY 2025 Time Capsule Craft
- - Build Your Own 2025 Themed LEGO Structure STEM Project
- - Galaxy-Inspired Cupcake Decorating Lesson
- - 'Guess the Year' Charades Game
- - DIY Recycled Calendar Paper Beads Bracelet Project
We've all seen the joy light up in a child's eyes
When they've crafted something uniquely theirs - a moment of heart-fluttering anticipation as they unveil their DIY Polymer Clay Jewelry, or the moment of ecstatic victory when a roving Outdoor Scavenger Hunt Game finally yields that elusive prize.
Indeed, fostering Kids DIY Projects
Not only sparks creativity, but also builds self-esteem, and nurtures a sense of accomplishment. Whether it's whipping up a simple Vegetable Lasagna through a Cooking Lesson, or the am-I-really-allowed-to-do-this thrill of an Edible Marshmallow Slime Experiment, DIY Crafts for Kids and Hands-on Experiments provide an interactive and fun-filled method of learning.
So, buckle up as we embark on an exciting journey
Exploring a world bursting with color, creativity, and discovery - all from the comfort of your living room or backyard!
DIY Polymer Clay Jewelry Making - Unleashing Creativity One Bead at a Time
Unlocking the creativity within our little ones can be as simple as providing the right medium. Enter DIY Polymer Clay Jewelry Making! This hands-on experiment fits the bill perfectly, nurturing both Kids Creativity and the capacity for imaginative thought. Imagine your child’s smile as they mold the vibrant polymer clay into various shapes, creating beads that reflect their personality. It involves strategy and patience, but the reward is a masterpiece that your child can show off with pride. More importantly, they are walking away with invaluable lessons in patience, focus, planning, and execution, all hidden within the folds of this creative DIY for Kids.
Sticky Science with the Edible Marshmallow Slime Experiment
For the science enthusiasts, the Edible Marshmallow Slime Experiment serves as the perfect entry point into the world of Science Experiments for Kids. Not only does this outdoor experiment add an element of Adventure into the otherwise mundane routine, but it's also a delectable treat that adds a fun twist to learning. No more hours spent wrestling with complicated theories! This hands-on experiment makes learning a playful game: from the exact proportions of ingredients to optimal temperature for melting - conducting the experiment is a joyous journey through the scientific process. It might get a little sticky, but hey, that’s all part of the sweet, scientific fun!
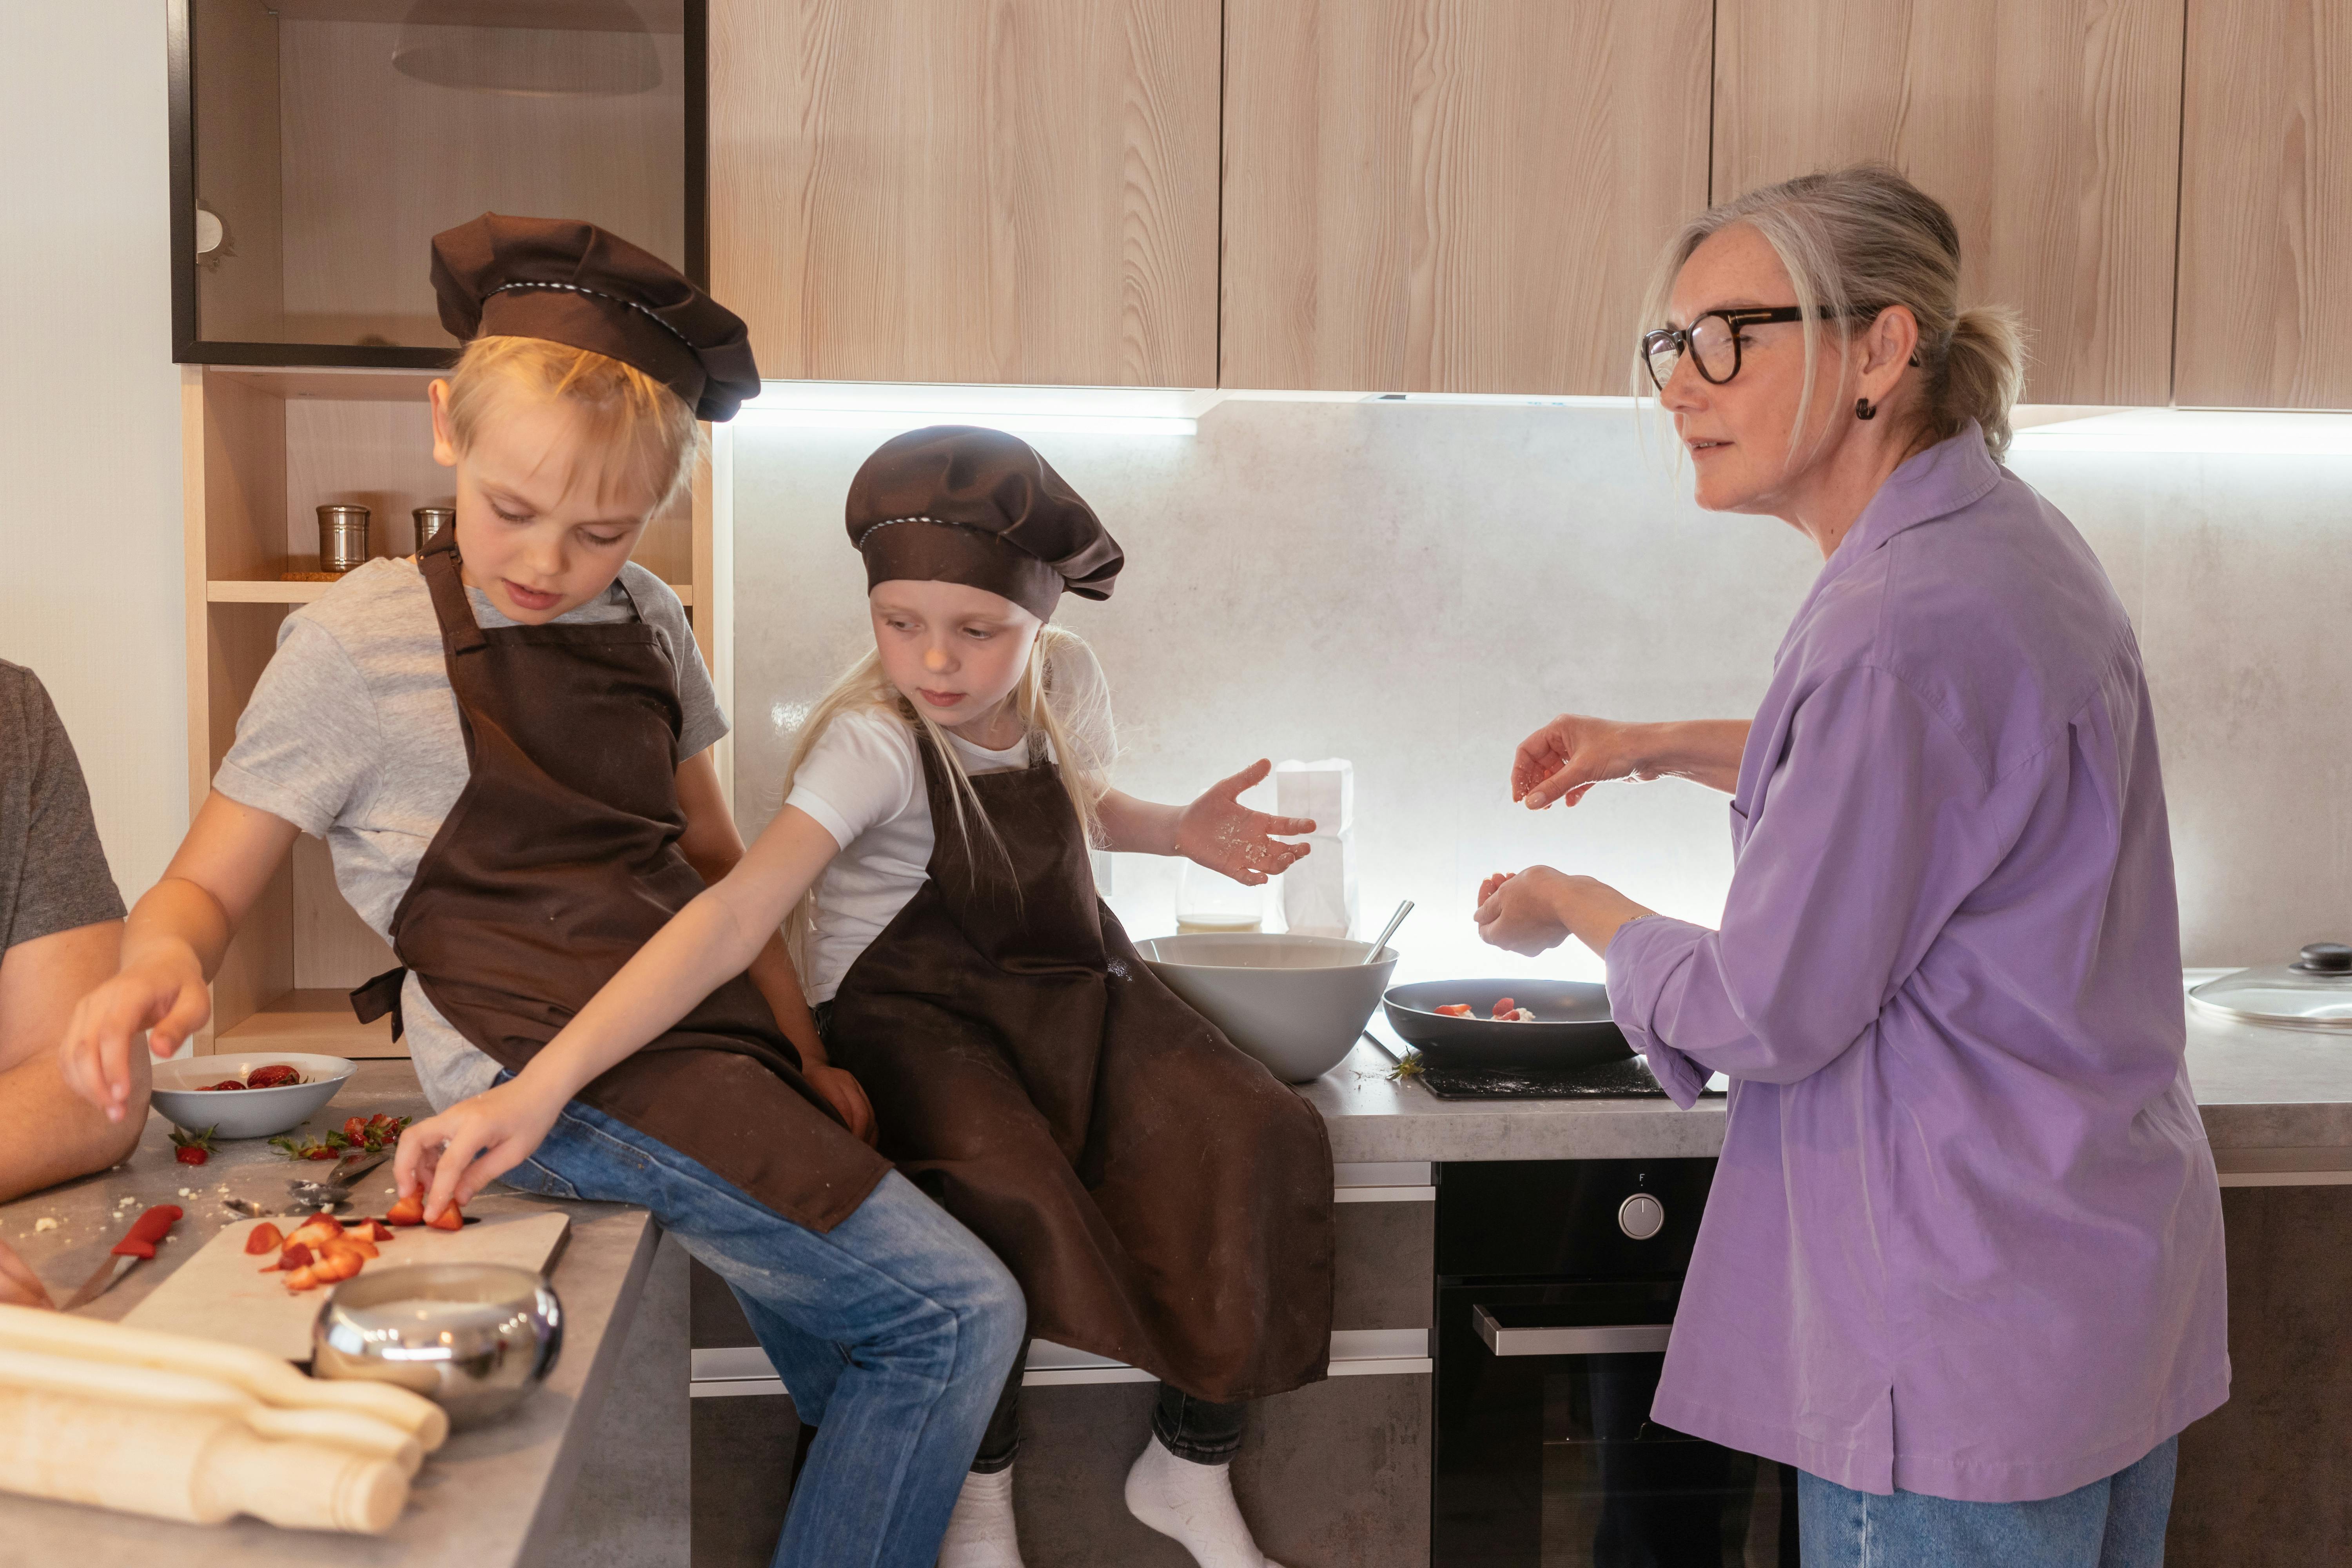
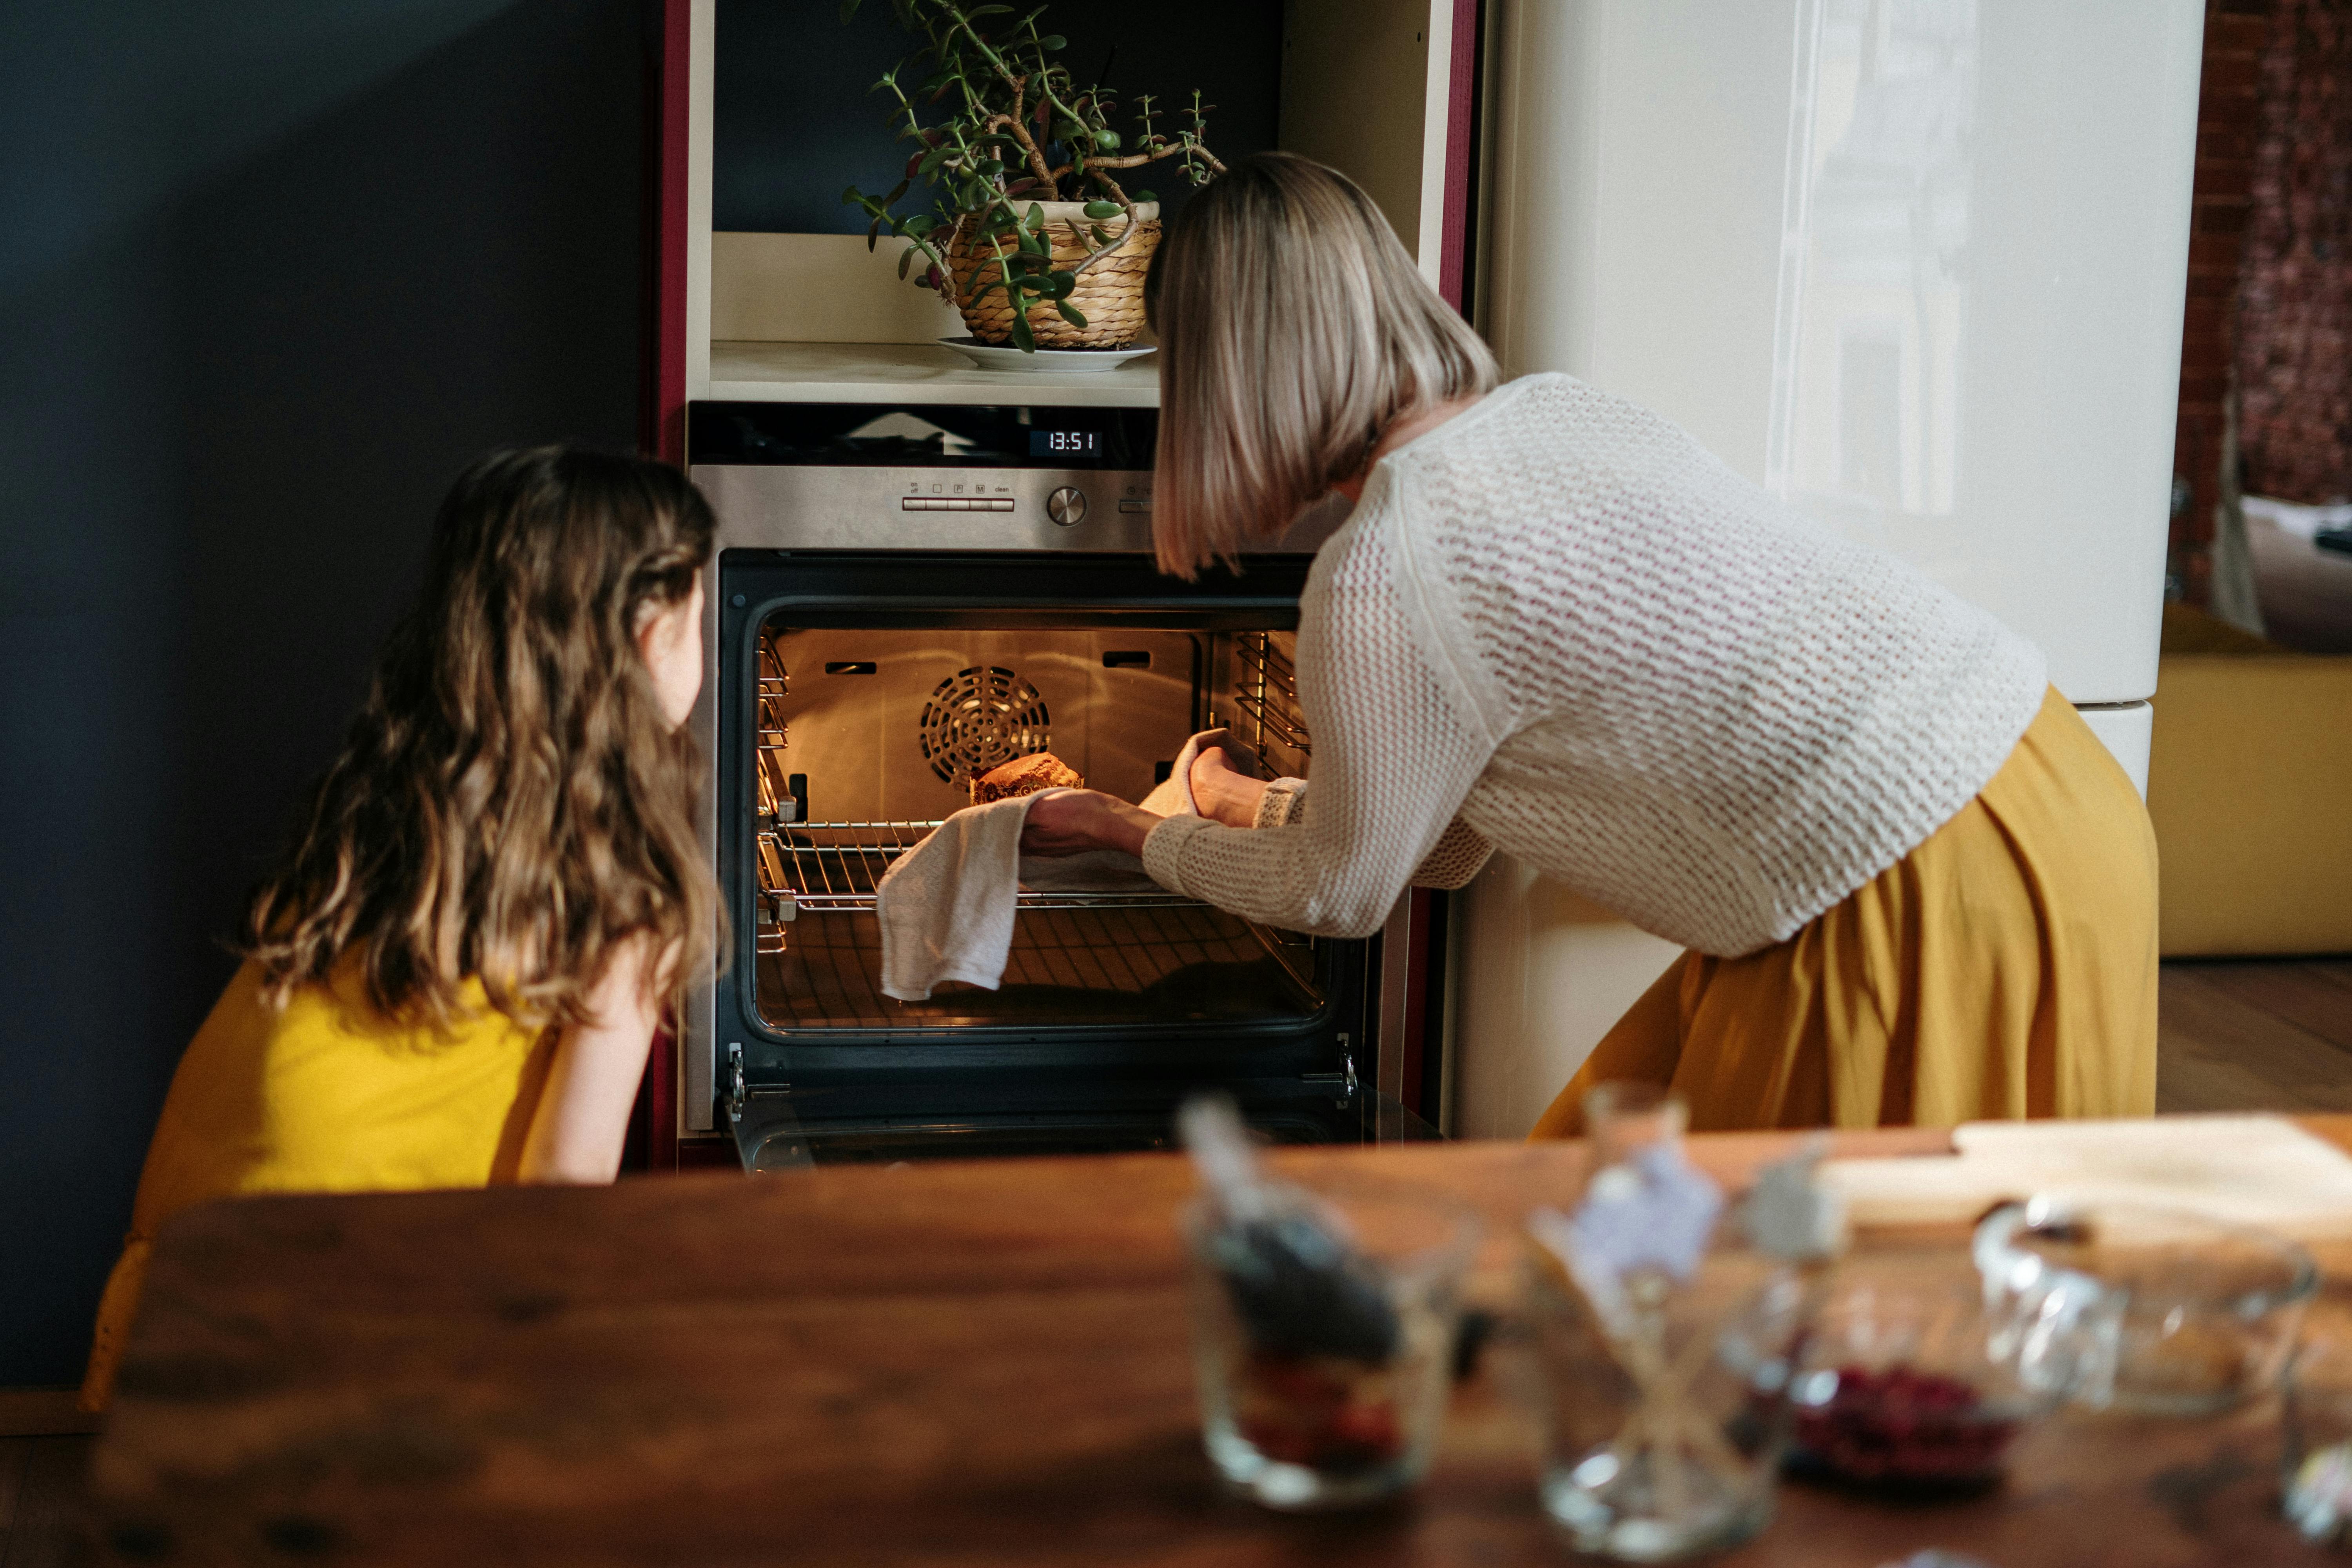
Homemade Happiness with a Vegetable Lasagna Cooking Lesson
Who said learning couldn't be delicious? With a Vegetable Lasagna Cooking Lesson, we present an Easy Kids Cooking session that’s as wholesome as it is incredibly tasty. Jumping onto the Children's Cooking Recipes bandwagon can be both empowering and nourishing. While the kids knead, chop, stir, and sauté, they're not just cooking up a delightful lasagna, but also learning about nutrition, measurements, and the importance of a balanced diet. Watch them beam with pride as they present their culinary masterpiece, not to mention the added benefit of culminating Kitchen Fun for Kids into a full-fledged family feast!
Seeking Thrills with an Outdoor Scavenger Hunt Game
Tired of ruling over an indoor kingdom? Don your hats and sneakers and step outside for the nail-biting, adrenaline-pumping frenzy of an Outdoor Scavenger Hunt Game. Perfect for boosting your child's problem-solving skills, this treasure hunt is a Fun Outdoor Game that encourages lateral thinking, observation, and persistence—all while stealthily teaching them about ecology and the natural world as they tramp over trails and under shady trees. Perfect for a sunny weekend, this game brings out their competitive spirit while fostering Teamwork. Remember, it’s not just about the final treasure, it’s the journey that counts!
In a Nutshell...
Adding sprinklings of fun and creativity in your child's everyday routine with DIY Crafts for kids, hands-on experiments, easy cooking lessons, and fun outdoor games can make learning a joyful adventure.
The Benefits
It fosters not only creative thinking but also fosters skills like patience, perseverance, and teamwork. The priceless glow of accomplishment on your child's face as they successfully create a clay necklace, prepare a yummy vegetable lasagna, complete a sticky science experiment or unearth the treasure in a scavenger hunt, is the best reward any parent can ask for.
Let's Navigate this Journey Together
So, let's unleash their imagination, celebrate their victories, and navigate this vibrant journey of learning, exploration, and fun together. After all, isn't that what childhood memories are made of?
You May Also Like These:
DIY 2025 Time Capsule Craft
Ingredients
For the Time Capsule:
- A metal or plastic box with secure lock
- Permanent markers
- Acrylic paint
For the Crafts:
- Colored construction paper
- Glue sticks
- Scissors
- Stickers
- Family photographs
For the STEM Projects:
- Simple motor kit
- Astronomy charts
- Books about STEM
For the Food:
- Favorite Recipes
- Photos of favorite meals
- Non-perishable food items
For the Games:
- Board Game Instructions
- Playing Cards
- Riddles or Puzzle Books
Instructions
1. Crafts Preparation
Have your children create drawings or crafts using construction paper, stickers and glue stick. Take family photographs and print them out. Include these in your time capsule.
2. STEM Project
Include a simple motor kit that your future self or children can enjoy building. Add fascinating astronomy charts or books about current advancements in the STEM field.
3. Food Memories
Add favorite recipes that the family enjoys at the current time. Include photos of some of the delicious meals prepared throughout the year. You might consider including non-perishable food items.
4. Games
Add instructions for favorite board games, an unopened pack of playing cards, or books containing riddles or puzzles that your family enjoy.
5. Assembling the Time Capsule
Place all the items in the box. Decorate your time capsule using acrylic paint or permanent markers. Write 'DO NOT OPEN UNTIL 2025' on the box.
Galaxy-Inspired Cupcake Decorating Lesson
Ingredients
- Pre-made cupcakes: These will act as the base for your galaxy design. Vanilla or chocolate cupcakes work well for this.
- Royal icing: This will act as the canvas for your galaxy design. You will need both black and white icing.
- Edible glitter: This will give your cupcakes the sparkling star effect. You will need both silver and gold glitter.
- Food coloring: You will need a selection of colors to create the galaxy effect. Blue, purple, and red work well for this.
Instructions
- Prepare your cupcakes: Make sure your pre-made cupcakes are fully cooled before beginning to decorate them.
- Prepare your icing: Mix your royal icing in order to get a smooth and spreadable consistency. Use food coloring to dye one batch black and leave the other batch white.
- Apply the icing: Using a frosting knife, spread the black icing onto the cupcakes. Then, dot the white icing onto the black icing to create the look of stars in the night sky.
- Create the galaxy effect: To create the galaxy effect, choose a few spots on the cupcake and dab a small amount of blue, purple, and red food coloring. Using a toothpick, swirl the colors to create a galaxy design.
- Finish with glitter: Finally, sprinkle the edible glitter fragments onto the cupcakes to give the appearance of twinkling stars. Silver glitter will give a cool, distant star effect, while gold glitter will give the appearance of closer, warmer stars.
Galaxy-Inspired Cupcake Decorating Lesson
Materials Needed
- Box of chocolate cupcake mix
- Cupcake liners
- Icing sugar
- Food coloring: Blue, Purple, & Black
- Edible glitter or stars
- Icing tools: Piping bags, Nozzles
Instructions
-
Prepare the cupcakes:
- Follow the instructions on the box of your chocolate cupcake mix to create your cupcakes.
- Set aside and allow to cool completely before you begin decorating.
-
Make the icing:
- Follow the instructions on your icing sugar to create your white icing base.
- Split your icing into three bowls to color.
- Add food coloring to create one bowl of blue, one bowl of purple, and one bowl of black icing.
- Mix until colors are fully blended.
-
Icing the cupcakes:
- Lay out a piece of cling film on a clean, flat surface.
- Spread stripes of each icing color side by side on the clingfilm about 4 inches wide and 6 inches long.
- Carefully roll your cling film with the icing into a tube shape and twist the ends.
- Cut one end of the cling film and insert the icing into a piping bag fitted with a star nozzle.
- Pipe the icing onto the cupcakes, beginning from the outer edge and moving inward.
- Repeat for all cupcakes.
-
Add the finishing touches:
- Sprinkle edible glitter or stars on the icing for a sparkly, galaxy effect.
- Let cupcakes rest to allow the icing to set effectively.
Enjoy your galaxy-inspired cupcakes and happy baking!
'Guess the Year' Charades Game Instructions
Step 1: Gather the Family
Ensure all family members are present and ready to have some fun with this interactive game.
Step 2: Prepare Game Pieces
Gather and prepare small pieces of paper.
On the paper, write down memorable events or popular trends from different years.
Remember to write the year of the event or trend on the back of each piece of paper.
Fold the pieces of paper and place them in a bowl or hat.
Step 3: Explain The Rules
Each player picks a piece of paper and acts out the event or trend without speaking.
The other players guess the year of the event or trend being acted out.
The player who gets the year right gets a point.
The player with the most points at the end of the game wins!
Step 4: Start The Fun
Choose a player to start the game.
Then, keep rotating turns until every player has had a go or all the papers have been used.
Enjoy the exciting adventure down memory lane with your loved ones!
DIY Recycled Calendar Paper Beads Bracelet Project
Ingredients:- Old Calendars
- Scissors
- Glue
- Skewers or toothpicks
- Clear Nail Polish or Mod Podge (optional)
- String or elastic cord
- Cut the Calendar: Start by cutting your old calendars into long triangular strips. The base of the triangle will determine the width of the beads.
- Roll the Beads: Starting with the wide end, start rolling the triangle around the skewer or toothpick. Make sure your roll is tight to have sturdy beads.
- Glue the Beads: When you come to the end of the triangle, secure the tip with glue.
- Dry the Beads: Leave the beads on the skewer or toothpick and let them dry.
- Seal the Beads (Optional): If you plan on wearing the bracelet often, use Clear Nail Polish or Mod Podge to seal the beads for extra durability.
- String the Beads: Once your beads are dry, string them onto your cord. Make sure your cord is long enough to fit around your wrist.
- Tie the Bracelet: Once you've added your desired number of beads, tie the ends of the cord together securely. Your DIY recycled calendar paper beads bracelet is now ready to wear or gift!


