


As an affiliate, I earn from qualifying purchases, but this doesn't affect the reviews or recommendations—your trust is important to me!
Exploring France: Beginners Guide to DIY French Beret Designing and Decorating

Today, We're Making:
- - DIY French Beret Designing and Decorating
- - DIY Eiffel Tower Sculpture: Teach the kids about France's most famous monument by crafting a mini Eiffel Tower using popsicle sticks and paints. It is an easy build with only a few materials and gives them a chance to be creative.
- - French Flag Collage: Gather white, blue, and red crepe paper, construction paper, or other craft supplies to make a collage resembling the French flag. This is a simple activity.
Bonjour fashion aficionados!
Welcome to our Beginners Guide on DIY French Beret Designing and Decorating - the art of adding a personal touch to this quintessential symbol of French fashion.
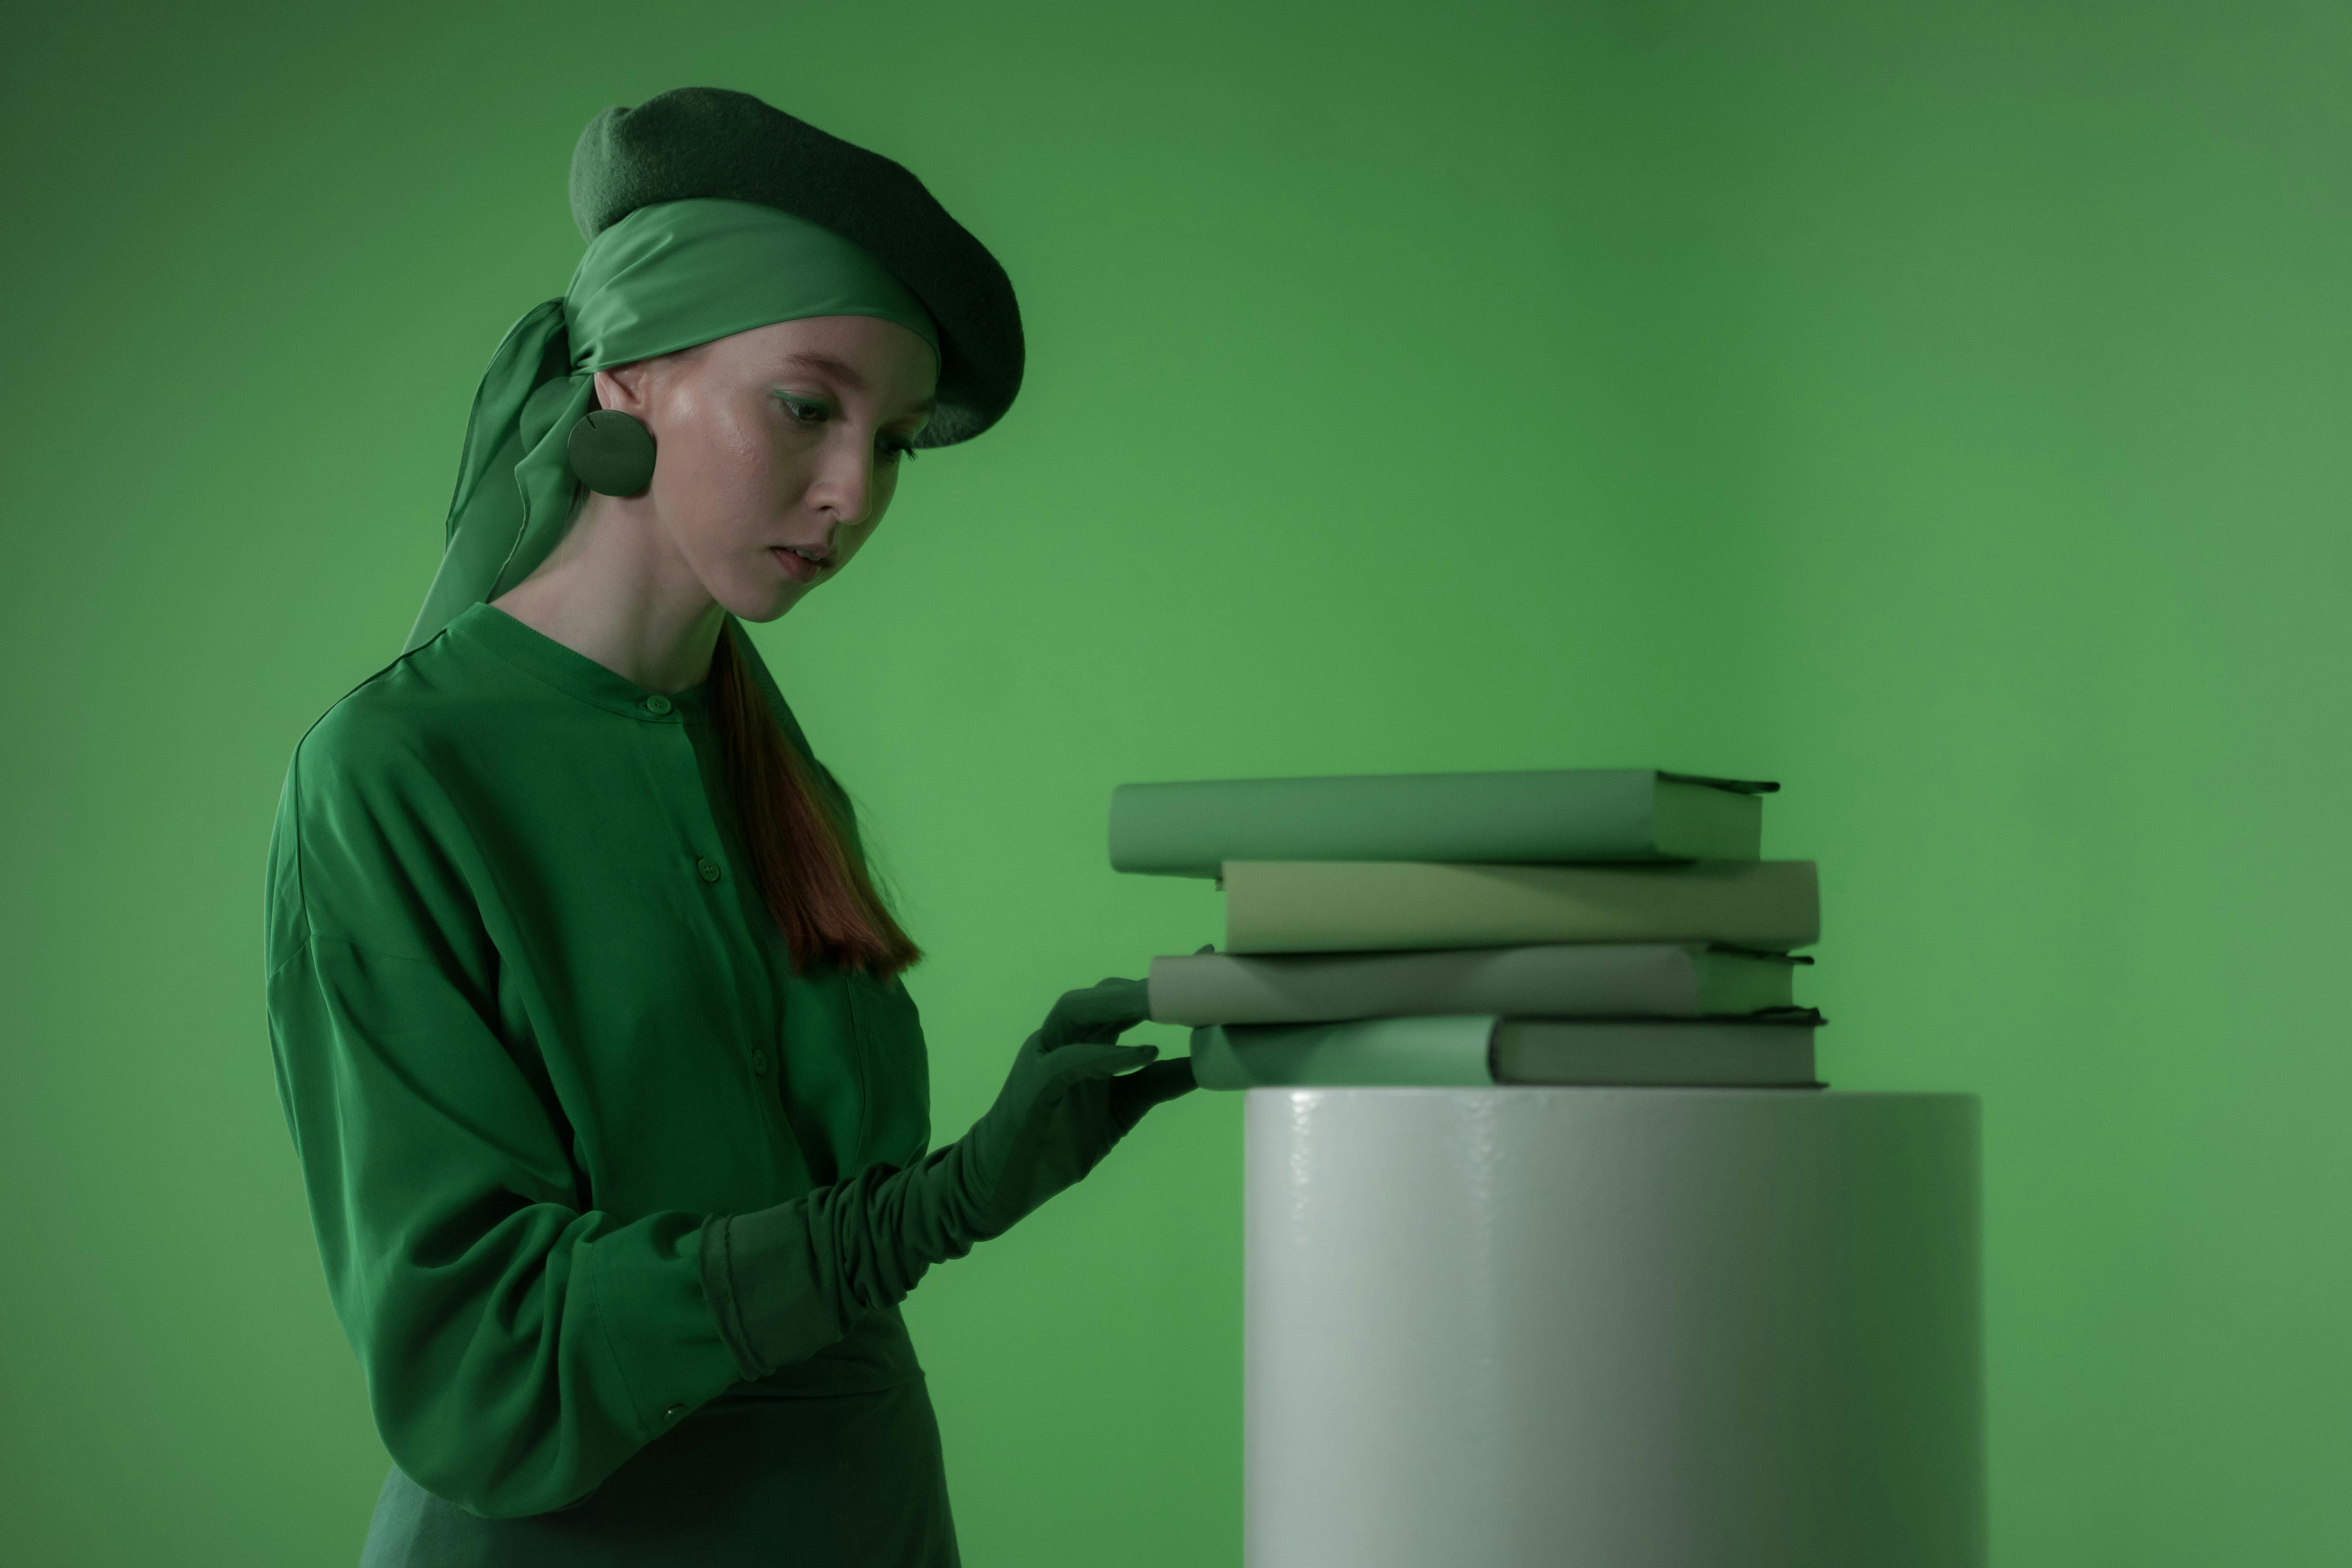
The Iconic Beret
Did you know, the beret has been an iconic fashion staple since the 19th century? Its versatility and timeless style have consistently made headlines on global fashion ramps!
The Charm of DIY
Yet, amidst the mass-produced, store-bought versions, the charm of a handmade, DIY French Beret holds a unique allure. Whether you're a do-it-yourself enthusiast, fashion-forward individual, or a curious beginner, there's a special kind of joy and satisfaction in crafting your own cozy beret design.
Welcome to the World of Beret Crafting
Diving into the world of Beret Crafting doesn’t have to be daunting - Au contraire! It's an exciting journey into personal expression and creativity. So, let's embark on this chic and crafty beret adventure together. Trust me; it's easier than pronouncing 'Champs-Élysées'!
Choosing Your Material - The First Step in DIY French Beret Designing and Decorating
Selecting the right material forms a crucial part of your Beret Designing process. The choice of fabric plays a significant role in determining the comfort, durability and overall aesthetics of the final product. Traditionally, wool has been widely used for French Berets due to its warmth, stretchability and elegant finish. If you prefer a more contemporary vibe, consider materials like cotton or linen, known for their breathability and versatility. Whether you're a DIY Hat Design enthusiast or diving into Home-made Berets for the first time, remember, the quality of your chosen material will greatly impact the final output. So, invest some time and thought in this important first step!
Deciding the Beret Styles and Colour Patterns
Once you've picked your preferred fabric, it's time to decide on the beret's design. With the extensive range of Beret Styles to choose from, you can truly let your creativity fly! Go classic with a single-colored beret like the ones you see on Parisian streets, or make it pop with a vibrant pattern. Feeling extra ambitious? Why not try your hand at Beret Colouring Ideas like tie-dye or batik for a unique twist? The sky's the limit when it comes to DIY French Beret Designing and Decorating!
Crafting Your Beret: A Step-by-Step Guide to Beret Making
Now that you have your material and design in mind, let's move on to the most exciting part - Beret Crafting! Don't be put off by the seemingly intricate process. With our Easy Beret Design guide, you'll be a pro in no time. Start by measuring the size of your head to ensure your beret fits like a glove. Next, cut a round piece from the fabric corresponding to your size. Subsequently, sew the edges together, leaving some room for the insert. Finally, insert a thin plastic circle to help maintain the beret's shape, and voila! You've just crafted your very own personalized beret.
The Fun of Decorating Berets
Alright, fashionistas, you've successfully navigated DIY Hat Projects and French Hat Making and now have a handmade beret – your blank canvas! The next (and arguably the most exciting) part of our DIY French Beret Designing and Decorating journey is, well, the decorating! From stitching on cute patches to attaching ribbons, or even hand painting – there's a plethora of Hat Decoration ideas awaiting you. Experiment to find what speaks to you, be it minimalism or maximalism, monochrome or rainbow bright.
Each DIY French Beret you create is a testament to your individual style and creativity, echoing the fashion-forward spirit of France. Wear it proudly at your next get-together or gift them to friends and family - either way, delighted surprise and compliments are bound to follow! Remember, the only limit in the magical world of DIY French Beret Designing and Decorating is your imagination. So, go ahead, let your creativity flow, and have fun!
And there you have it, my darlings!
You, my fashionable, craft-loving friends, are now equipped with the know-how to make your own chic, personalized berets that would make even a Parisian proud. No longer confined to generic versions, you've unlocked your gate to a world of creativity and fashion. See, it wasn't so tough, was it?
Just like 'Champs-Élysées', once you've got the hang of it, it's a breeze, and dare I say, lots of fun.
So, don your own DIY French Beret, step out in style and let the world marvel at your sparkling individuality. Allez, get crafting! Remember, each stitch, each bead, each decoration you add is a reflection of your essence, your style, your unique je ne sais quoi.
Here's to bold choices, vibrant colors, and timeless, handcrafted beauty.
Au Revoir!

You May Also Like These:
DIY Eiffel Tower Sculpture
Materials- Popsicle sticks
- Glue
- Paint and paintbrushes
- Start by laying out four popsicle sticks in a square and glue them together at the corners.
- Add a second layer of popsicle sticks to the corners of your square, forming a 3D cube.
- Continue to add additional layers, reducing the size of the square with each subsequent layer until you have reached your desired height.
- Once the glue has dried, paint your Eiffel Tower in the color of your choice.
- Leave your Eiffel Tower to dry completely before handling.
French Flag Collage
Materials- White, blue, and red paper
- Scissors
- Glue
- Start by cutting your white paper into the shape of a rectangle. This will form the base of your flag.
- Cut the blue and red paper into equal-sized vertical strips.
- Glue the blue strips onto the left third of your white paper.
- Leave the middle of your white paper empty, this will form the white section of your flag.
- Glue the red strips onto the right third of your white paper.
- Let your flag entirely dry before handling.
Crafts for Kids: Red Crepe Paper Flowers
Materials Needed:
- Red Crepe Paper
- Green Pipe Cleaner
- Glue
- Scissors
Instructions:
- Cut the Red Crepe Paper: Cut out a rectangular piece of the red crepe paper. The size will determine the size of your flower. A good starting size is about 10cm by 20cm.
- Fold the Crepe Paper: Fold the paper accordion-style (back and forth folding), maintaining even widths throughout.
- Shape the Petals: Using your scissors, curve the top edge of your folded paper to create a petal-like shape.
- Secure the Base: Take your green pipe cleaner and twist it around the center of your folded, cut paper. This step forms the petals of your flower and attaches it to the stem.
- Form the Flower: Gently separate and spread the layers of crepe paper apart, shaping them into a flower as you go. Make sure to be careful to prevent tearing the paper.
- Finishing Touch: For a final touch, you can curl the very top of the pipe cleaner to form a little circle, imitating the bud of a flower.
Crafts With Red Crepe Paper
Ingredients:
- One roll of red crepe paper
- A pair of scissors
- Glue
- Craft wire
Instructions:
- Prepare Your Materials: Lay out your red crepe paper, scissors, glue, and craft wire. clean and clear your workspace to make sure you have enough room to work.
- Cut the Crepe Paper: Cut the red crepe paper into a rectangle. The size will depend on how large you want your craft to be. A good standard size is 6x9 inches.
- Fold the Paper: Once you have your rectangle, fold the long side in half, then in half again, until you have a narrow band.
- Cut a Petal Shape: Cut out a petal shape on the folded side of the band, making sure to keep the base intact.
- Unfold: Unfold the crepe paper to reveal a line of red petals.
- Glue: Apply a thin line of glue along the base of the petals and carefully stick it onto the craft wire.
- Shape: Shape as needed and allow to dry. You have now completed your red crepe paper craft!
Crafts for Construction Paper
Ingredients:
- Construction Paper - Assorted colors
- Scissors
- Glue
- Markers
- Ruler
- Pencil
Instructions:
- The Garden: Draw and cut out different shapes to represent flowers, trees, and grass from the construction paper. Mount these onto a larger piece of construction paper to create a beautiful garden scene.
- Origami Animals: Use guides found online to follow step–by–step instructions on how to fold paper animals. You’re only limited by how tricky you want the origami to be.
- Life-Like Birds: Draw, color, and cut out different shapes to create a bird. Use triangle shapes for the beak, large circles for the eyes, and tear shapes for the feathers.
- Picture Frames: Cut a huge rectangle out of a piece of construction paper. Cut out a smaller rectangle in the middle of the large one to create a frame. Decorate the frame with assorted construction paper in the shapes of flowers, hearts, or stars.
- Paper Chains: Cut equal strips of the construction paper. Loop one strip and glue the ends together. Loop another strip through the first one and glue the ends. Repeat this process until your chain is the desired length.
DIY French Flag Collage
Ingredients
- Blue craft paper
- White craft paper
- Red craft paper
- Scissors
- Glue stick
- Ruler
Instructions
- Cut the Craft Paper: Begin by cutting equal sized rectangles from each of the blue, white, and red craft papers. The sizes can vary based on preference, but for sake of uniformity, a standard size would be 9 inch long and 6 inch wide rectangles.
- Arrange the Rectangles: Next, arrange the rectangles side by side, in the order - blue, white, and red. This creates the basic structure of the French Flag.
- Glue Them Together: Apply glue to the edges where the colors meet and press firmly to join them. Allow some time for the glue to dry.
- Trim Excess (if any): If needed, trim the edges of your flag for a neat look.
- Flag Ready: Your French flag collage is now ready. You can use it as a bookmark, a decorative piece, or train your children about world flags with this crafty educational tool.


