


As an affiliate, I earn from qualifying purchases, but this doesn't affect the reviews or recommendations—your trust is important to me!
Exploring France: Crafting Your Own Eiffel Tower Model Building Kit at Home

```html
 ```
```
Eiffel Tower - DIY Model Building Kit
DIY: Craft Your Own Eiffel Tower Model
Simple Red Bead Craft for Kids
Red Beads Craft Project
Today, We're Making:
- - DIY Eiffel Tower Model Building Kit
- - French Flag Wind Chime: This activity could involve making a wind chime using blue, white, and red beads, string, and small bells. All materials can be attached to a circular ring to represent the French flag. It will not only ring beautifully in the wind but will also serve to show the French Flag colors.
- - DIY Croissant Plushie: With some soft beige material.
Experience the Charm of Building Your Own Iconic Landmark
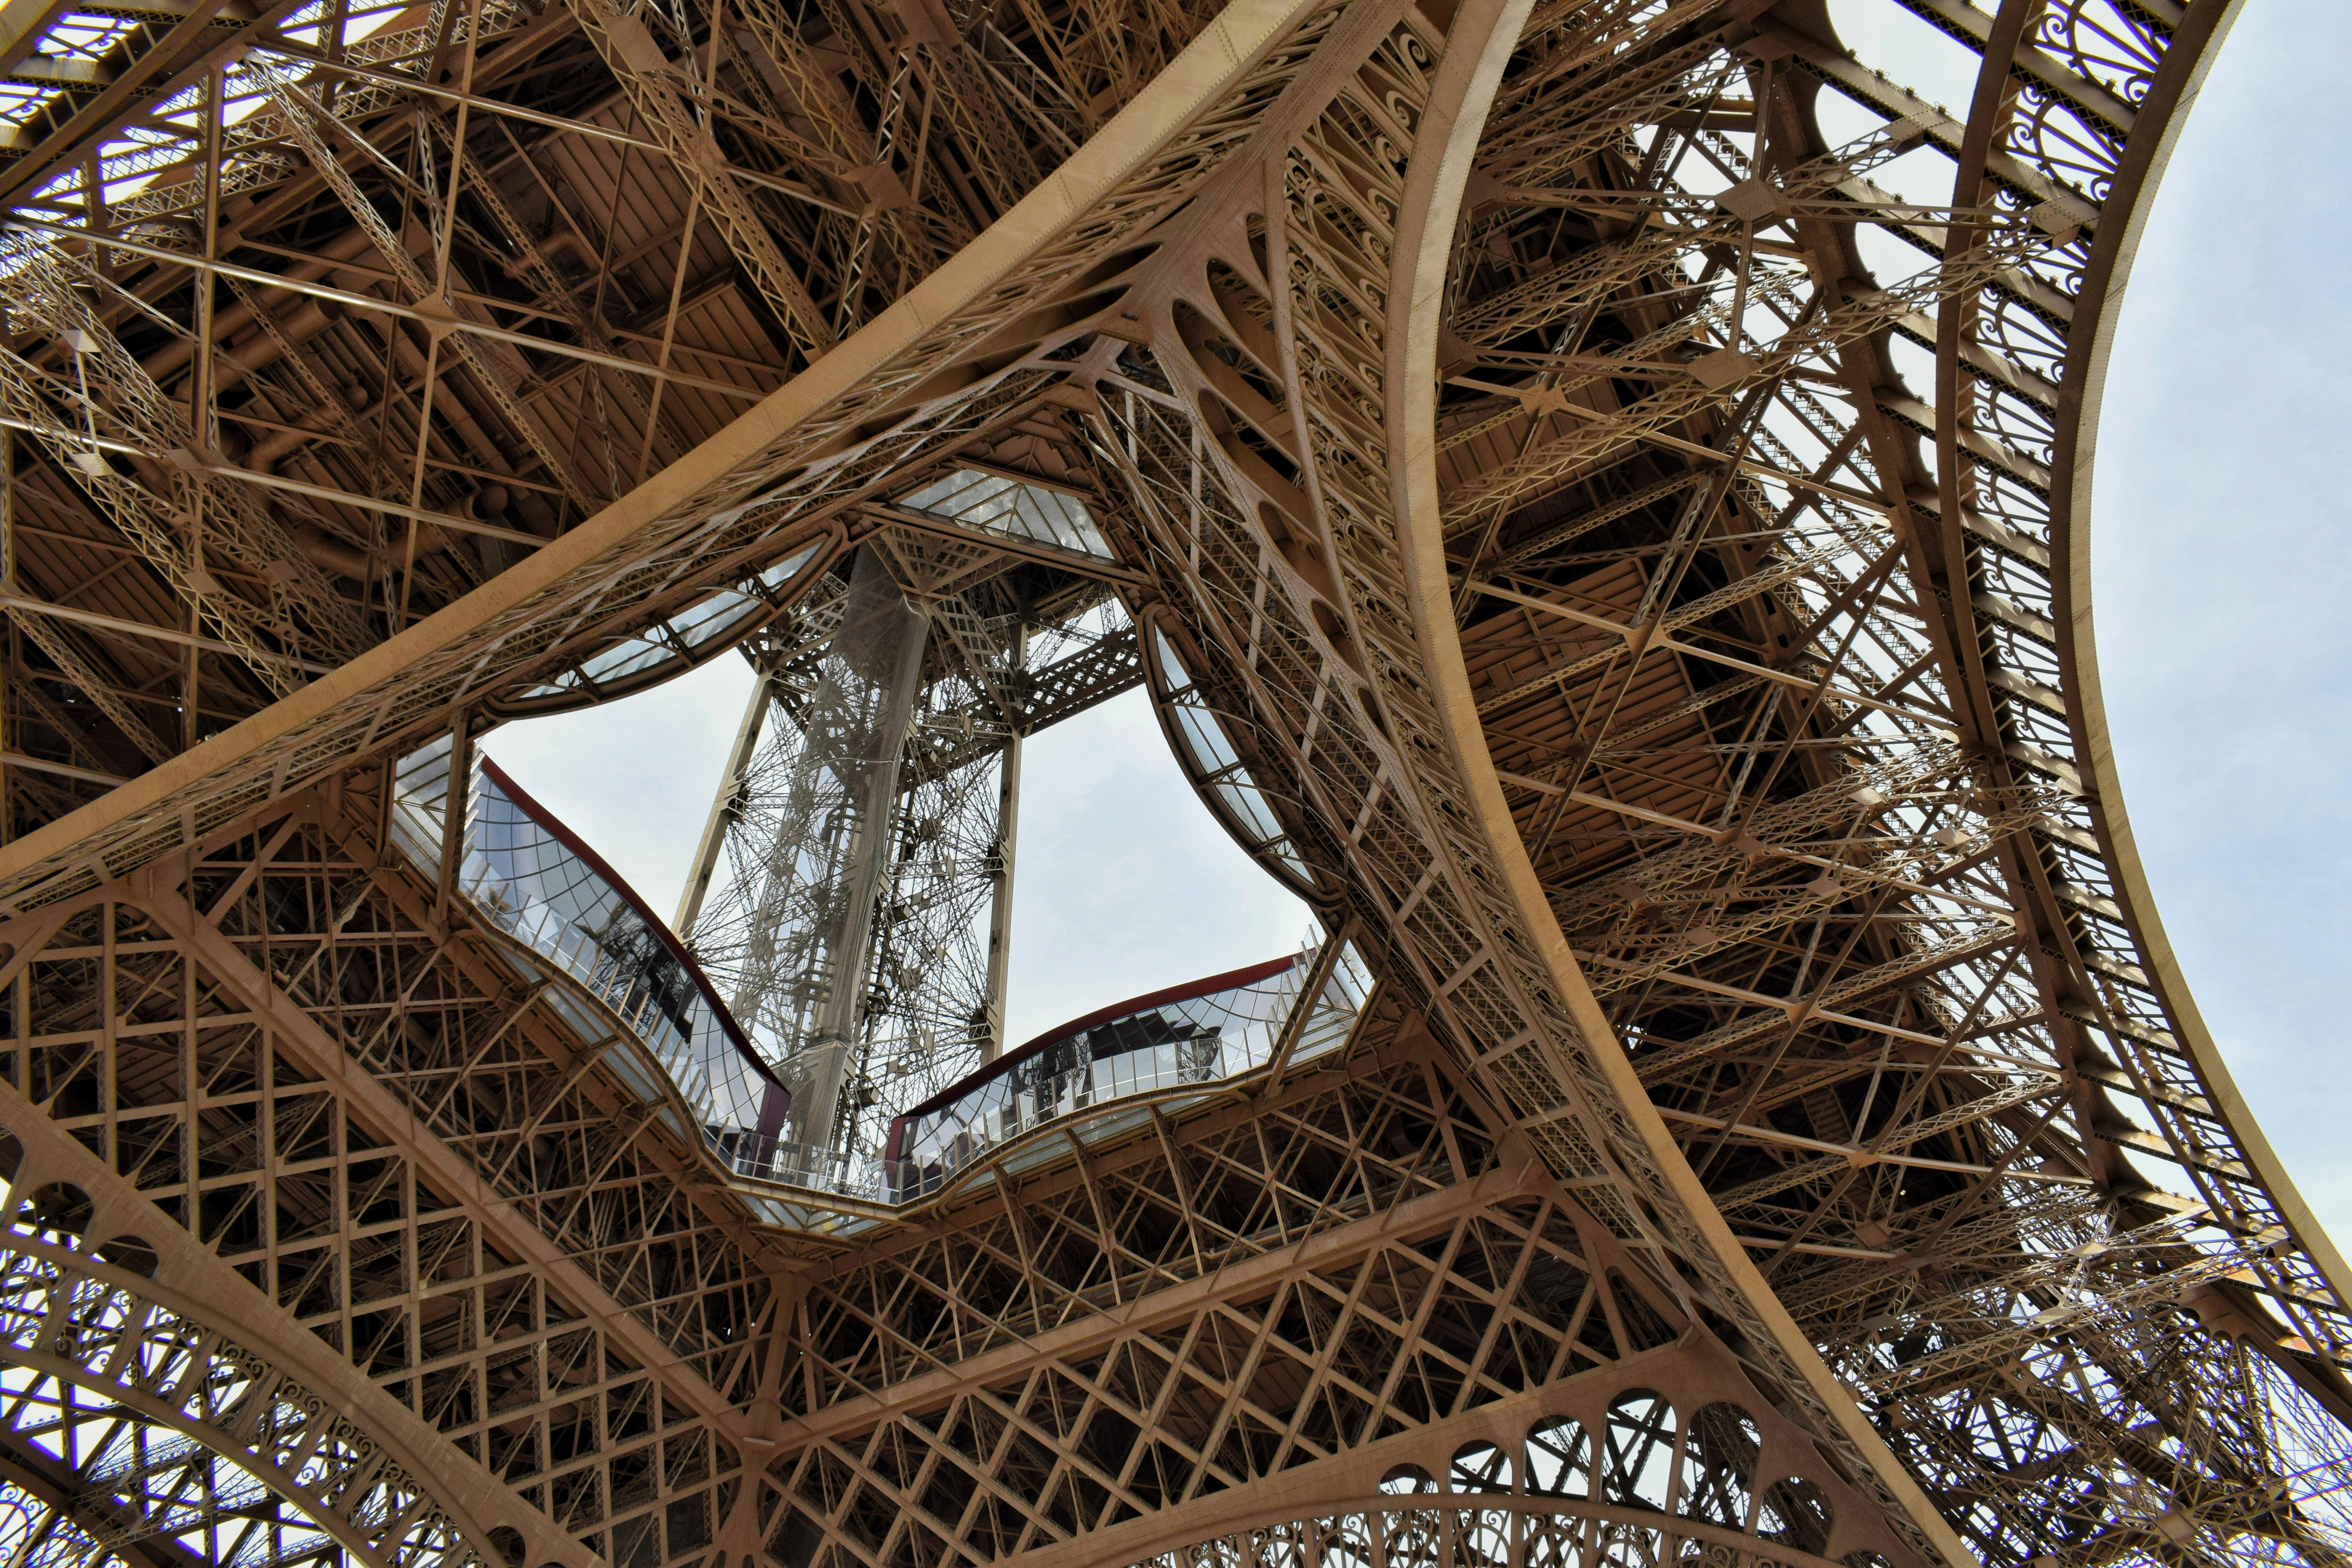
There's a unique charm in crafting something yourself that is inspired by iconic landmarks. An example of this is model building kits that bring the majesty of the Eiffel Tower right into your living room.
A DIY Eiffel Tower Model Building Kit
For anyone looking to create their own miniature version of this iconic French marvel, a DIY Eiffel Tower Model Building Kit might be just the ticket. Not only does it offer an engaging and creative crafting experience, but it also results in a Paris themed craft piece that serves both as a beautiful home decor DIY element and a tangible keepsake of the City of Lights.
Ready to Embark on a Unique Journey?
Are you ready to embark on this unique journey blending art, history, and a pinch of Parisian flair? With this kit, you can bring a piece of Paris into your home and enjoy the creative process of DIY crafting.
Understanding Your Materials
Building a DIY Eiffel Tower requires some materials on hand. Many of us have these lying around from previous DIY crafts or home craft projects. The essential resources for your DIY Eiffel Tower Model Building Kit include thick cardboard or balsa wood, a craft knife, a ruler, glue, and paint. Your chosen material will serve as the skeletal structure for your Eiffel Tower Model. Some may opt for other materials such as clay or plastic, depending on your model-making experience. Remember, the aim is to re-create the French landmark crafts' intricate design while having fun with homemade model kits.
From Paper to Paris: Creating Your Tower
Once you have your materials at hand, the model making guide essentially begins with creating a blueprint for your DIY Eiffel Tower. Find an image online that offers a 360-degree view of the French marvel. You then draw a scale model of each dimension to guide your cuts and assembly. Laying the groundwork is crucial in tower model making. After you've finished your blueprint, you can start cutting and assembling your miniature Eiffel Tower.
Crafting the Eiffel Tower Sections
The Eiffel Tower can be divided into three sections to simplify your DIY project ideas. Begin your creative crafting with the lower section, which consists of four legs that merge into a singular tower. After assembling this, you can proceed to the second and third sections, each section smaller than the piece below it. Remember to be patient. Precision is key in building kit at home projects, and rushing through the assembly can lead to a less-than-perfect result.
Embellishing Your Miniature Masterpiece
Once the construction of your Eiffel Tower model is complete, it's time for more custom model building. This stage gives you the opportunity to dress up your tower with paint, glitter, tiny lights or whatever other crafty model building supplies you want. These additional details are your chance to really make the tower your own and enhance the Paris themed crafts aesthetic.
Paris at Your Fingertips
Your handmade Eiffel Tower is more than just a home decor DIY project. It's a tangible reminder of the City of Lights, an iconic buildings model that takes you on a Parisian journey every time you glance at it. As you master each step in your building kit at home and add your creative flair, you get closer to having a piece of Paris in your hands. It's an Eiffel Tower keepsake that doubles as a centerpiece, a conversation starter, and a testament to your craft abilities.
Easy Craft Projects - Choose Your Path
If the DIY Eiffel Tower Model Building Kit seems daunting, don't be discouraged! You can always start with simpler French landmark crafts, like the Arch de Triumph or The Palace of Versailles, before stepping up to complex projects like the Eiffel Tower Crafting. Other easy craft projects may be less challenging but are equally satisfying. Each DIY project is a journey, so feel free to choose your own path with your DIY kits.
And so, we circle back to the beginning...
Back to that moment when the thought of crafting your own Eiffel Tower model seemed daunting. Now, armed with step-by-step guidance, creativity, and perhaps a dash of Parisian inspiration, that impossible dream starts to feel very much within reach.
Taking on the DIY Project
Taking on a DIY project might be challenging, but it's through challenges that we grow, hence taking on this project could be an exciting new chapter in your crafting journey.
Building a Connection with the Parisian Symbol
You are not just building a miniature Eiffel Tower; you are creating a personal connection with this famous Parisian symbol, an emotional tether that links your home to the City of Lights.
Every Cut, Every Splatter of Paint...
Every cut, every splatter of paint, every careful assembly is a drop of your creativity, transforming a pile of materials into a tangible memory of Paris.
Why Not Give It a Try?
So, why not give it a try? Who knows, your living room could be the next stop for the Eiffel Tower!
You May Also Like These:
French Flag Wind Chime Craft Project
Materials Needed:
- Pipe cleaners in blue, white, and red
- Bells (medium to small size)
- Blue, white and red beads
- Scissors
- String or yarn
Instructions:
Step 1: Preparing the String
Measure and cut your string or yarn to the desired length for your wind chime. Make sure it is long enough to hold all three flag colors and hang freely.
Step 2: Fixing the Bells
Begin by threading a bell onto the end of each pipe cleaner and twisting the end to secure the bell.
Step 3: Adding Beads to the Pipe Cleaners
Thread beads onto the pipe cleaners in the order of the French flag (blue, white, red). Repeat the pattern until you reach near the top of the pipe cleaner.
Step 4: Attaching Pipe Cleaners to the String
Loop the end of the pipe cleaner around the string or yarn and twist to secure it. Make sure to leave enough space between each pipe cleaner to allow them to hang freely.
Step 5: Final Touches
Hang your wind chime in a breezy spot and enjoy the gentle ringing and the vibrant colors of the French flag!
Simple Red Bead Craft for Kids
Ingredients:
- Red beads
- Elastic String
- Scissors
Instructions:
Step 1: Gather Your Materials
Collect all your needed ingredients so they are easily accessible. Ensure you have enough red beads for your craft and your elastic string is of suitable length.
Step 2: String the Beads
Begin to string the red beads onto the elastic string. You may choose to create a pattern or simply string them randomly.
Step 3: Tie a Knot
Once you have threaded enough beads to your satisfaction and the length suits your need, tie a strong knot at the end of the string to secure the beads.
Step 4: Cut Off Extra String
Using scissors, carefully cut off any extra string, leaving a small amount past the knot for security.
Step 5: Enjoy Your Red Bead Craft!
There you have it, your very own handmade red bead craft. Enjoy!
Red Beads Craft Project
Ingredients:
- Red Beads: A pack of small red beads (quantity may vary depending on the project).
- String: You will need a strong string that can hold all the beads together.
- Scissors: To cut the string after stringing the beads.
- Fabric Glue: Optional, to secure the ends after tying the string.
Instructions:
- Gather Materials: Assemble all the ingredients mentioned above.
- Cut String: Based on the length of the craft you desire, cut the string with 6 extra inches to spare for tying ends.
- Thread Beads: Start threading the red beads onto the string.
- Tie Ends: Once you've threaded all the beads, tie the ends together to create a loop. It’s a good idea to double-knot for added security.
- Glue Knot: Optional, apply fabric glue to the knotted ends to further secure them.
- Allow to Dry: If you used glue in the previous step, let the string dry completely before use.
Remember to supervise young children during this project, particularly when using scissors and fabric glue.
String Crafts for Parents
Materials You Will Need:
- Colored String/Yarn
- Scissors
- Tape
- Glue
- Cardboard
- Ruler
Instructions:
1. Prepare the Materials
You will start by gathering all your materials in your workspace. Make sure to have different colors of string if you want a colorful design.
2. Cut Out Your Base
Using the scissors, cut out a rectangle or square shape from your cardboard. This will serve as the base of your craft. Its size depends on how large you want your craft to be.
3. Layout Your String
Decide on a pattern or design for your string. This can be anything from a geometric pattern to a more complex picture. Start laying out your string on the cardboard according to your design. Use tape to temporarily hold the string in place.
4. Secure Your String
Once you're satisfied with your layout, carefully use the glue to secure the string in place. Let the glue dry completely before moving on to the next step.
5. Finishing Touches
Once the glue has dried, remove the tape. You can now add any final touches to your craft. For example, you could add additional string, beads, stickers, etc.
DIY Crafts: French Flag Ring Bells and Croissant Plushie
French Flag Ring Bells
Materials Needed:
- Blue, white and red ribbon
- Small bells
- Circular metal ring
- Hot glue gun (with glue sticks)
Steps:
- Start by cutting equal lengths of the blue, white, and red ribbons. The length would be dependent on how long you want the ribbons to hang from the ring.
- Next, hot glue the blue ribbon to one portion of the ring, following by the white, and then the red ribbon beside the previous one. You should now have a ring with the blue, white, and red ribbons attached.
- Attach the small bells to the ends of the ribbons using the hot glue gun. Be sure to let it dry completely before hanging.
- Once dry, you can hang your French Flag Ring Bells where it can catch the wind and create a lovely ringing sound.
DIY Croissant Plushie
Materials Needed:
- Soft beige material (e.g., felt or fleece)
- Scissors
- Needle and beige thread
- Stuffing material (such as Poly-Fil)
- Croissant template (optional)
Steps:
- Cut two croissant shapes out of the beige material by following the provided template or drawing your own.
- Sew around the edges of the two shapes, leaving a small gap for stuffing. Be sure to sew on the inside so the sewing line does not appear on the external part of the plushie.
- Through the gap, stuff the plushie with your chosen material. Make sure it is soft but firm, like a real croissant!
- Once you are happy with the stuffing, sew the remaining gap shut. Again, do this on the inside to maintain the plushie's appearance.
- Finally, you can add details such as lines to make it look more like a croissant.
