


As an affiliate, I earn from qualifying purchases, but this doesn't affect the reviews or recommendations—your trust is important to me!
Exploring France: Crafting Your Own Miniature Eiffel Tower Model at Home


Today, We're Making:
- - DIY Miniature French Eiffel Tower Model Building
- - 'La Petite Papeterie': A DIY French Stationery Set making activity where kids can create their own unique collection of cards, envelopes, letterhead, and bookmarks using old newspapers, old books.
Who, Among Us, Hasn't been Captivated by the Iconic Splendour of the Eiffel Tower?
A symbol of romance and architectural innovation, this French landmark entices millions of visitors each year. And now, with a bit of tenacity and creativity, you can bring a piece of Paris into your own home.
Welcome to our Comprehensive Guide on Creating an Enchanting Miniature Eiffel Tower Model, a Perfect DIY Parisian Decor
Whether you're a seasoned craft enthusiast looking for your next DIY Model Building project, or a novice seeking a simple and engaging Home Craft, crafting your own DIY Miniature French Eiffel Tower Model building is a joyful journey worth undertaking.
So, are you ready to build your own Eiffel Tower?
Getting Started in Model Building
The exhilarating journey of crafting your own DIY Miniature French Eiffel Tower Model Building begins with understanding the essential requirements. For your convenience, I’ve listed down the essentials that you need:
- A blueprint of the Eiffel tower (You can easily find a detailed Eiffel Tower Blueprint online to print and use)
- Some lightweight crafting wires and cutter
- A good-quality adhesive
- Miniature LED lights (if you're feeling adventurous, to light up your miniature night-time Parisian view!)
- A solid base to mount your tower
This is a Home Project that requires patience, love for detailed artwork, and passion for French Landmark Crafts. I know that it sounds challenging initially, especially if this is your first venture into DIY Model Building but trust me, the outcome is absolutely worth it!
Understand the Eiffel Tower Construction
Before starting to build your own Eiffel Tower, it'll be helpful to read up on the actual Eiffel Tower Construction. Why? Well, understanding its basic structure and design elements will aid significantly in your DIY Eiffel Tower Project. Familiarise yourself with the distinct sections of this iconic design: the base, arches, various platforms, and of course, the peak. Each part is fascinating, offering insight into the brilliant design that has withstood the test of time and continues to mesmerize millions today.
Creation of the Miniature Eiffel Tower
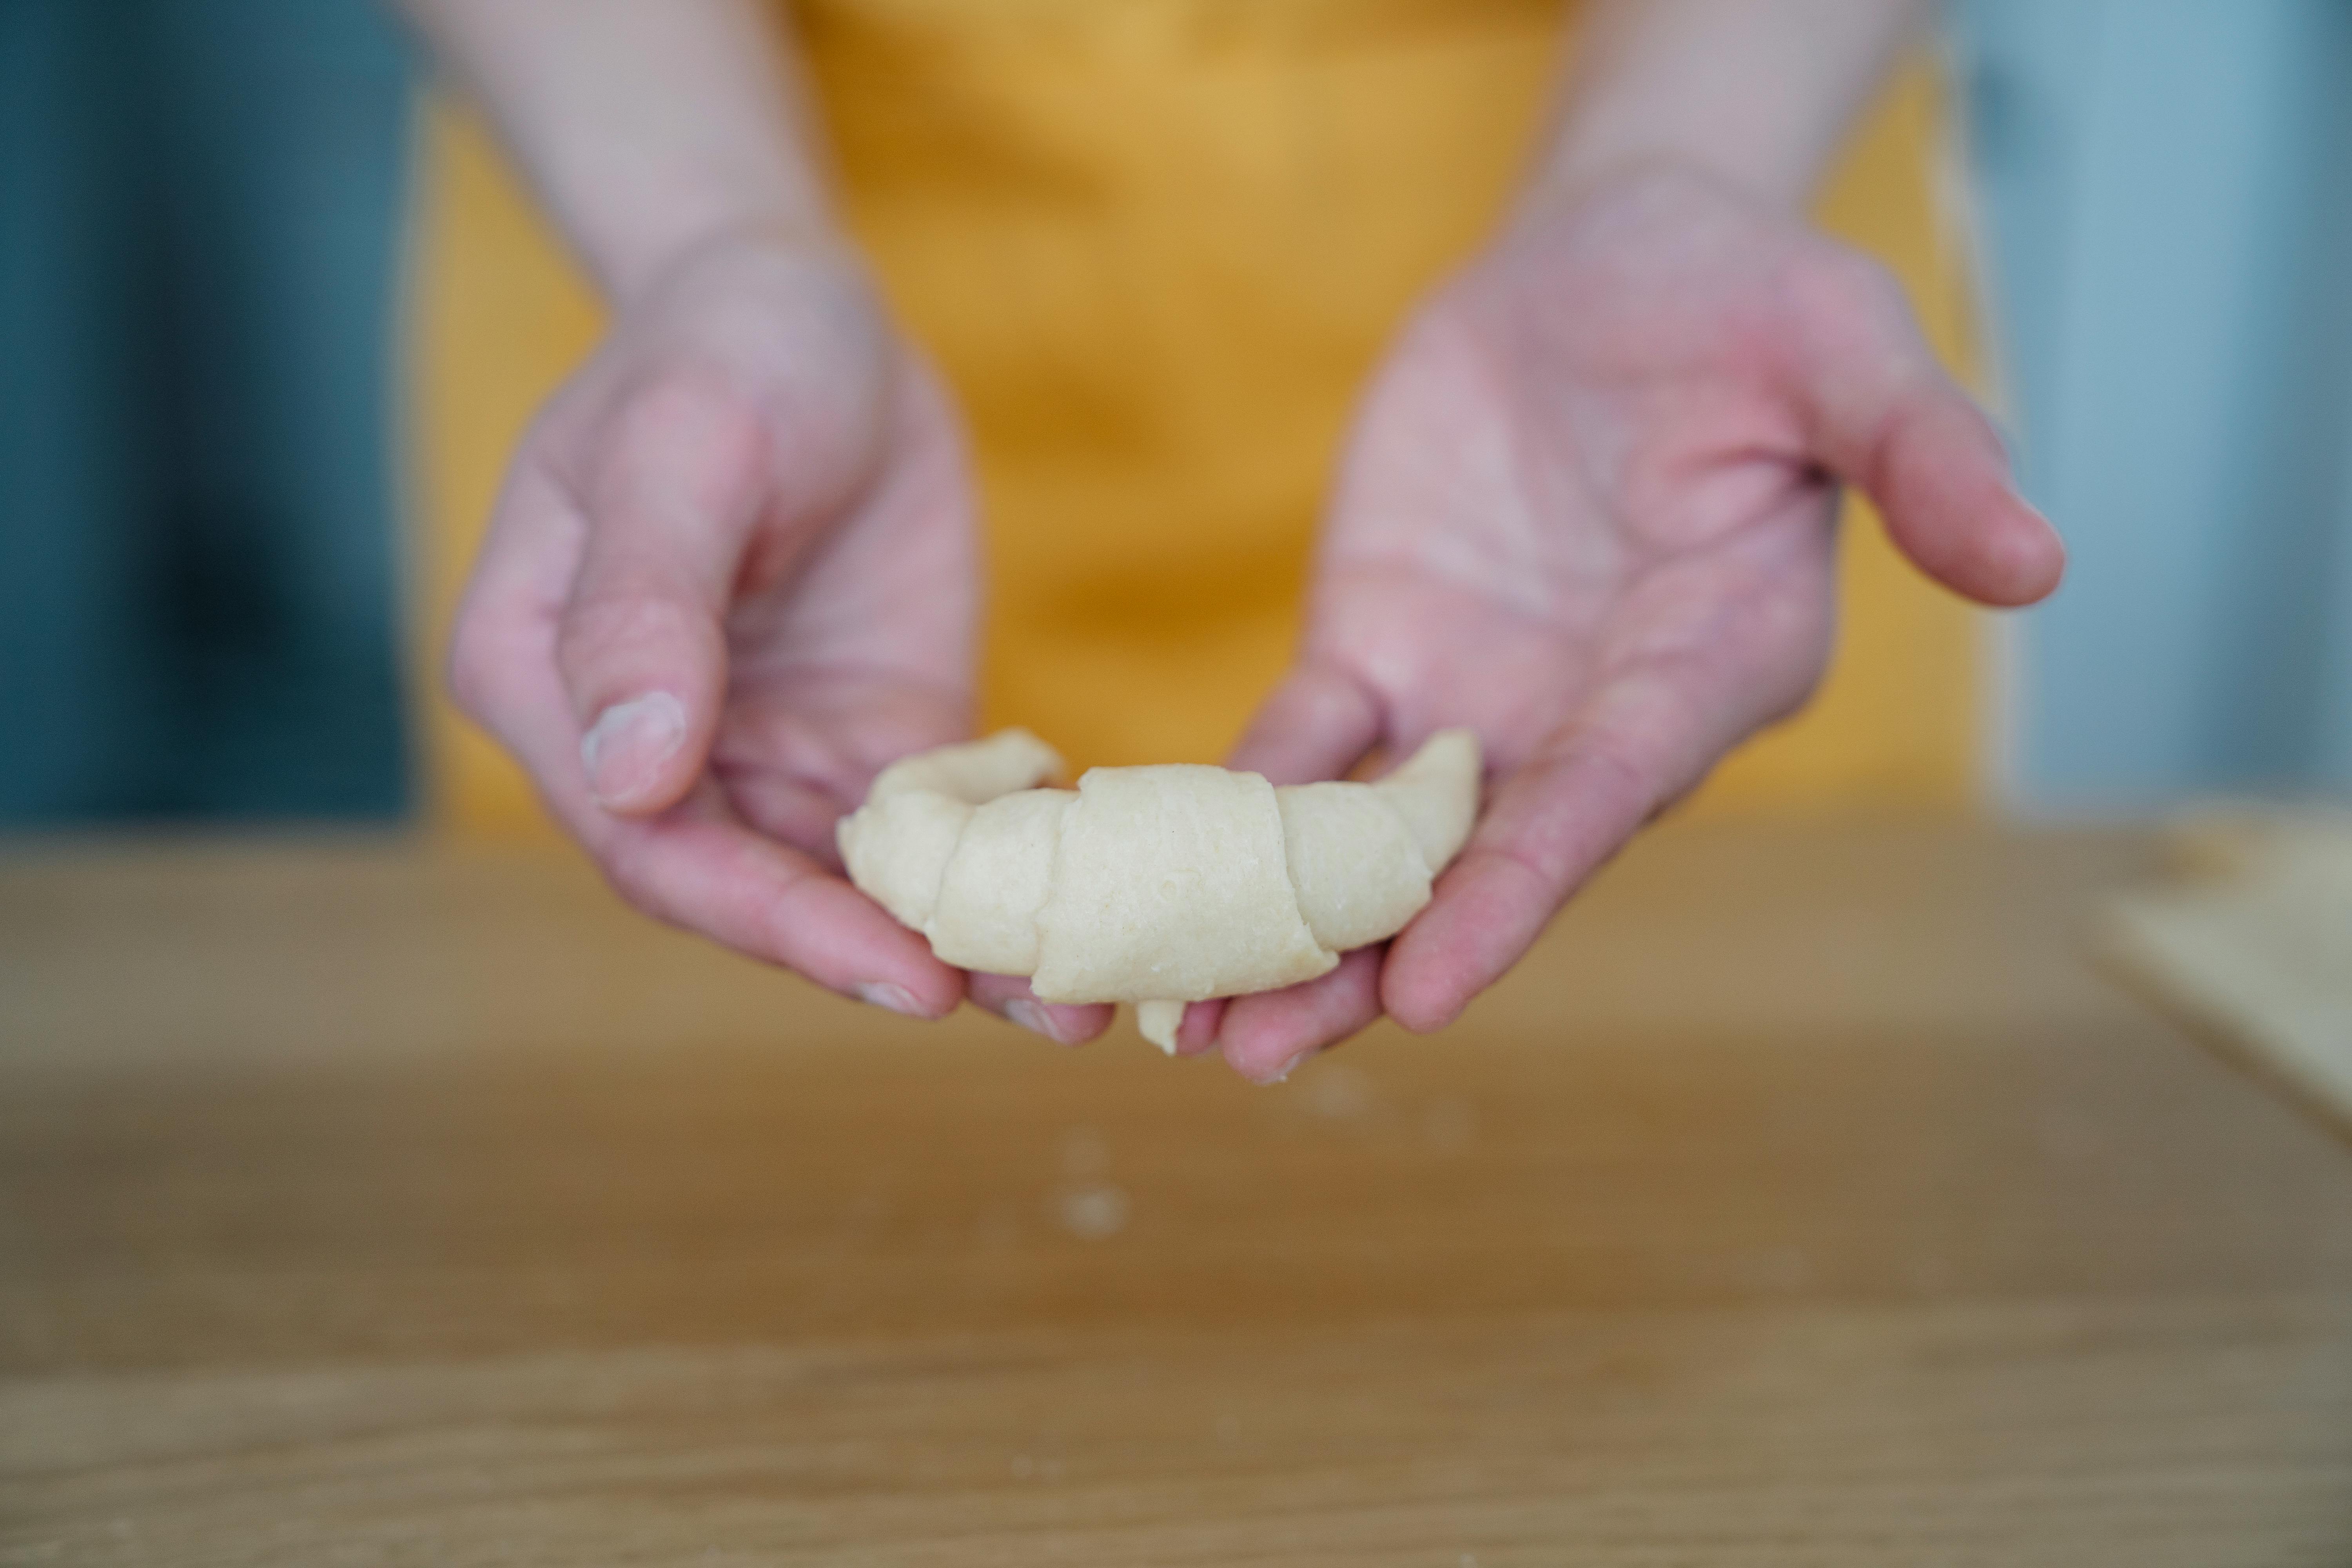
Start with the base of your Miniature Eiffel Tower. Carefully cut the crafting wires as per the blueprint and bend them to shape. Patience is your best friend during this process. Slowly build up the tower, adhering to the design in the blueprint. This is a fantastic Home Craft that you can enjoy with your family or indulge in as a personal hobby. The creation process is steady and thoughtful, much like the original construction of the magnificent French Landmark.
As you move from the base towards the peak, crafting smaller intricate parts might get challenging, but keep going! Remember, as you work your way up, the sense of accomplishment also rises with each completed level.
Building your own Homemade Eiffel Tower is an exercise of affection and patience, a journey that echoes the sentiment behind the Parisian landmark – Love. As you complete each section, don't forget to enjoy the process. After all, each crafted wire, each adhered piece contributes to the grandeur of your final masterpiece.
Lighting Up Your Miniature Eiffel Tower
Now, remember those LED lights I mentioned at the beginning? It's finally time to bring them into play. Carefully integrate them into your Eiffel tower model, and voila! You've just added another layer of magic to your DIY Parisian Decor. Lighting up your model will not only make it aesthetically pleasing but also adds a charming authenticity to your DIY Crafts project. Now, isn't this an enchanting twist to traditional Paris Crafts?
Building your own Miniature Landmarks provides an engaging and fulfilling crafting experience. Be it your first time with French Crafts or you're a seasoned enthusiast, try your hand at building a DIY Eiffel Tower. I promise it'll be a rewarding addition to your Crafting at Home journey.

As this grand creative endeavor draws to a close
Remember that crafting your own Miniature Eiffel Tower is more than just about creating DIY decor for your home.
It's a meticulous labor of love
A journey that binds you with the very spirit of this iconic Parisian landmark. Each wire you bend, each LED light you fix, draws an intimate parallel to the brilliance and allure of the actual Eiffel Tower.
So go ahead, innovate, create and indulge in the joy of crafting something truly unique and personal.
May your Miniature Eiffel Tower stand tall in your home, a testament to your creativity and your own little love letter to Paris.
Begin this journey today, and bring home the magic of this French masterpiece.
You May Also Like These:
La Petite Papeterie: A DIY French Stationery Set
Ingredients:- Cardstock Paper
- Watercolor Paints
- Brushes
- Pot of water
- Paper Towels
- Envelopes
- Stickers (optional)
- Decorative Punches (optional)
- Glitter Glue (optional)
- Ensure you have a clean and spacious work area. Lay out all your supplies.
- Cut the cardstock paper into the desired size for your cards.
- Dip your brush into the water and then select the first color from your watercolor palette. Paint on the cardstock, creating the design you'd like.
- Allow your cards to dry thoroughly before moving on to the next step.
- Add your own personal flair to the cards using stickers, decorative punches, or glitter glue. Allow to dry completely before proceeding.
- Once the cards have dried fully, insert them in matching envelopes.
- Now, you have your own unique set of hand-made French stationery for any occasion!
Make sure to supervise your children during the crafting process, especially when they use scissors or handle other potentially dangerous tools.
Create a unique and personalized letterhead
Below you will find all the necessary details you need in order to craft an eye-catching piece of letterhead that you can be proud of!
Ingredients:
- High-quality paper (8.5x11 at the size of your preference)
- Inkjet or laser printer
- A computer with graphic editing software installed
- Your personal or business logo (optional)
- A digital copy of your signature (optional)
Steps:
1. Choose Your Design
Open your graphic editing software and create a new page. Set the page size to align with the size of your paper.
2. Create Your Header and Footer
Add your personal or business logo to the top of the page (header). This represents you or your company. If desired, add your physical address or website to the footer (bottom) of the page.
3. Add Other Details
Consider adding other information such as your phone number or an inspirational quote. Ensure everything is aligned neatly.
4. Add Personal Flair
You can add a digital copy of your signature for a more personal touch or any other design elements that reflect your personality or brand.
5. Print a Test Page
Before printing multiple pages, first print a single page to ensure everything looks as desired.
6. Final Print
Once satisfied, go ahead and print multiple copies of your personalized letterhead.
Remember, your letterhead is a reflection of you and your business. Happy crafting!
DIY Letterhead Crafts
Ingredients:
- A4 Plain paper
- Kid-friendly colored pens
- Glue
- Glitter(optional)
- Scissors
- Stickers (optional)
Instructions:
- Gather your materials: Collect A4 paper, colored pens, glue, glitter, scissors, and stickers (if desired).
- Choose a theme: Choose any theme as per your child's interest. It could be cartoons, flowers, cars or just colorful patterns.
- Sketch: With a light hand, sketch out a rough outline of your theme at the top of the A4 paper.
- Color the design: Using the colored pens, fill in your design. Let your little artist be creative here!
- Add details: If desired, you can use the scissors to cut out shapes from other pieces of paper, and glue them to the letterhead. You may also apply a thin layer of glue and sprinkle some glitter over parts of the design for additional sparkle.
- Let it dry: Once everything is glued and painted, let it dry for at least a couple of hours.
- Finished product: Once dried, the letterhead is ready to be used for any letters your child wishes to write!
DIY Newspaper Bookmarks
Materials
- Old newspapers
- Scissors
- Glue stick
- Laminating sheets or clear contact paper
- Hole puncher
- Ribbon, yarn or string
- Optional: Watercolor paints, markers, or colored pencils
Instructions
Step 1: Select and Cut Newspaper
Select pages from your old newspapers with interesting images, patterns or text. Using the scissors, cut out a rectangle approximately 2 x 6 inches.
Step 2: Enhance the Design (Optional)
If you want to add more color or design to your bookmark, use watercolor paints, markers, or colored pencils to create patterns or drawings on your newspaper strip.
Step 3: Seal the Bookmark
Apply a thin layer of glue to the back of your bookmark. Stick it to the laminating sheet or on clear contact paper. Cut around the bookmark leaving a slight border to make sure it is well-sealed. This will make your bookmark sturdy and water-resistant.
Step 4: Add a Tassel
Punch a hole at the top of your bookmark. Cut a length of ribbon, yarn, or string and thread it through. Tie a knot to secure the tassel to your bookmark.
And voila! You now have a beautiful newspaper bookmark. This is not only a creative and sustainable way to reuse old newspapers, but it also makes for a perfect personalized gift!
Remember
Always supervise children when using scissors or any other sharp objects. And remember, the goal is to have fun and get creative!
Crafts With Old Books: A Step by Step Guide for Parents
Ingredients:
- Old books
- Scissors
- Glue
- String
- Construction paper
- Rubber stamps (optional)
- Ink pads (optional)
Instructions:
- Select an old book. Choose a book that you no longer need or want. Remember it's the pages you need, so larger books will provide more material.
- Prepare your workspace. Clear a space at your table and gather your materials.
- Create crafts. Here are few ideas:
- Book Page Flowers: Cut out petal shapes from the book pages, layer them, and secure with glue or string in the center. Fluff the petals to create a 3D effect.
- Bookmark: Cut a rectangle out of the book pages, decorate with rubber stamps or other embellishments, and laminate if desired.
- Story Collage: Tear out pages from the book and glue them onto construction paper for a unique collage. Add paint, stickers, or other decorations as desired.
- Clean up. Once you have finished crafting, make sure to clean up the area and dispose of any unwanted materials.
- Display your crafts. Find a spot in your house to show off your new decorations or use the bookmarks in your current reads.


