As an affiliate, I earn from qualifying purchases, but this doesn't affect the reviews or recommendations—your trust is important to me!
DIY Tie-Dye Beach Cover-Ups and Towels for Summer Pool Parties
DIY Tie-Dye Beach Cover-Ups and Towels for Summer Pool Parties
The average teen spends over seven hours daily staring at screens, but there's something magical that happens when you hand them fabric dye and a plain white cover-up.
Last summer, my friend Sarah's daughter Maya—typically glued to her phone—spent an entire afternoon creating tie-dye beach cover-ups with three friends. They didn't touch their devices once. Instead, they laughed, experimented with patterns, and created something uniquely theirs.
The best part? Those girls wore their custom cover-ups to every pool party that season, each one sparking conversations and inspiring other kids to try the craft themselves.
This tie dye beach cover ups tutorial isn't just about making something pretty for summer. It's about giving your kids a creative outlet that delivers instant gratification, builds confidence, and creates memories that last far beyond the season.
DIY Beach Cover Up Tie Dye Project
The Problem with Generic Beach Wear
Walk into any department store and you'll find racks of identical cover-ups and beach towels. Your tween or teen picks one, maybe wears it a few times, and then it sits forgotten in a drawer. There's no connection to it, no story behind it, no pride of ownership.
Meanwhile, kids crave self-expression. They want to stand out and showcase their personality, especially during those summer months when they're hanging out with friends at the pool or beach. Store-bought items simply don't offer that individual flair.
That's where this DIY beach cover up tie dye project comes in. When your child creates their own tie-dye swimsuit cover up, they're not just following a tutorial—they're making decisions about colors, patterns, and style. They're problem-solving when the fabric doesn't fold quite right. They're learning patience while waiting for dye to set. And they're developing a skill they can use again and again.
Getting Started: Materials and Preparation
Tie Dye Pool Cover Ups Guide
Before you dive into your tie dye pool cover ups project, you'll need to gather some supplies. The good news? Most of what you need is affordable and reusable for future projects.
Essential Materials:
Plain white cover-ups (cotton works best—think button-up shirts, kaftans, or simple dress styles)
White cotton beach towels
Fiber-reactive dye kit (Tulip and Rit are reliable brands)
Rubber bands in various sizes
Plastic squeeze bottles
Rubber gloves
Plastic table covering or garbage bags
Wire rack or clothesline for drying
Plastic zip-lock bags
Start by pre-washing everything. This simple tie dye coverup technique works best on clean fabric without sizing or fabric softener residue. Your teen can handle this step independently, making it part of their project ownership.
Set up your workspace outdoors if possible. Garages, driveways, or patios work perfectly for this easy tie dye cover up process. If you must work indoors, cover every surface with plastic. Trust me on this—even the most careful kids will have a dye splatter or two.
Mix your dyes according to package directions. This is a great opportunity for your tween to practice following instructions and measuring accurately. Most kits recommend letting mixed dye sit for a few minutes before using, so build that into your timeline.
Pro tip for parents: Have each child wear old clothes and closed-toe shoes. Dye stains are permanent, which is the point, but not when it's on their favorite outfit or newly painted toenails.
Mastering Tie-Dye Techniques
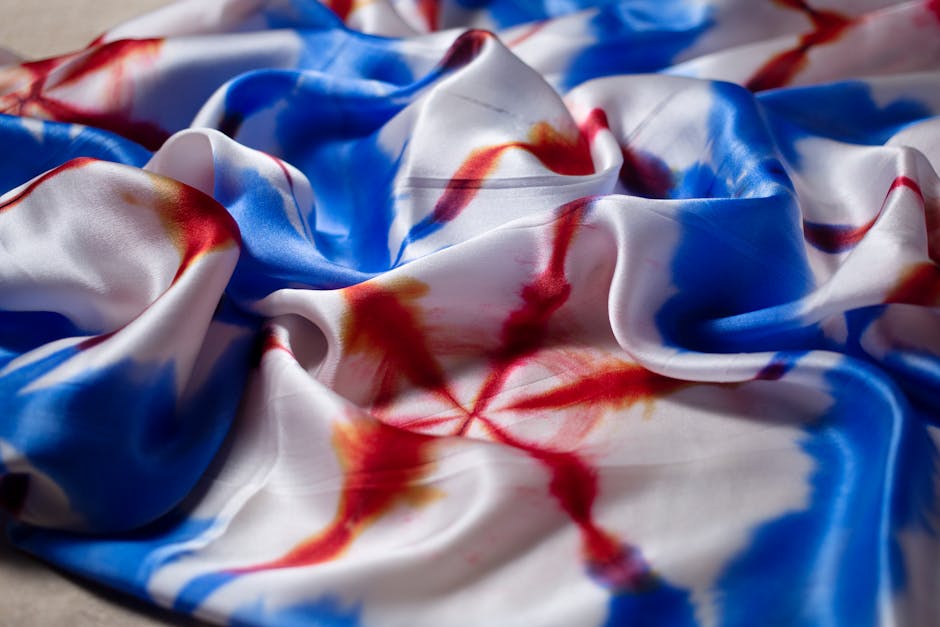
This is where the real fun begins. There are countless patterns your teen can create, and this tie dye beach towel tutorial section covers the most popular and foolproof options.
The Classic Spiral:
This is the go-to pattern for good reason—it's forgiving and always looks impressive. Lay the cover-up or towel flat. Pinch the center point and twist clockwise until the entire piece forms a flat spiral. Secure with three or four rubber bands creating a pizza-slice pattern. Apply different colors to each section, and you've got an instant classic.
The Bullseye:
Perfect for your homemade tie dye coverup if your child wants something bold. Pinch any point on the fabric and pull up, creating a cone shape. Wrap rubber bands around the cone at different intervals. Apply colors between the bands, alternating or blending as desired. This tie dye sarong tutorial technique works especially well for longer, rectangular pieces.
The Scrunch:
This is the most forgiving method—ideal for younger tweens or first-timers. Simply scrunch the fabric randomly and secure it loosely with rubber bands. Apply colors randomly for an organic, watercolor effect. There's really no wrong way to do this one.
The Stripe:
For your summer tie dye beach wear with a more sophisticated look, try accordion folds. Fold the fabric back and forth like a paper fan, then secure with rubber bands at intervals. This tie dye kaftan tutorial approach creates clean lines perfect for teens who prefer structured patterns over chaotic designs.
Application Tips:
Encourage your teen to really saturate the fabric with dye. Weak, pastel results usually come from being too conservative with color. Flip the item over and apply dye to the back side too—this ensures color penetrates completely through.
After dyeing, place each piece in a separate plastic bag and let it sit for 6-8 hours. Overnight works perfectly. This waiting period allows the dye to bond with the fabric. Some kids find this part challenging, but it's actually a valuable lesson in delayed gratification.
Finishing and Care
The reveal is the most exciting part of any DIY pool party cover ups project. After the waiting period, it's time to rinse and see the final results.
The Rinse Process:
This tie dye swimwear cover tutorial isn't complete without proper rinsing. Have your teen take their wrapped, dyed items outside (still wrapped in rubber bands). Rinse with cold water from a hose until the water runs mostly clear. This takes longer than you'd think—usually 5-10 minutes per item.
Next comes the unwrapping. This beach cover up dye project moment is pure magic. Remove rubber bands carefully and unfold the fabric to reveal the pattern. Even after multiple tie-dye sessions, this reveal never gets old.
Rinse again without rubber bands until water runs completely clear. Then—and this is important—wash the item separately in the washing machine with cold water and mild detergent. This tie dye beach dress tutorial step removes any remaining unfixed dye.
Long-term Care:
For the first few washes, your teen should wash their creation separately. After that, wash with similar colors in cold water. The vibrant colors should last all summer and beyond with proper care.
Hang to dry when possible. Direct sunlight will eventually fade tie-dye (as it does all fabrics), but air-drying helps colors stay bright longer than machine drying.
Quick Wins: Start Here
If this feels overwhelming, start small with these beginner-friendly steps:
Begin with one beach towel per child rather than tackling multiple cover-ups. Towels are flat, easier to handle, and the results are immediately usable.
Use a kit with pre-mixed dyes for your first project. You can graduate to mixing custom colors later, but kits eliminate variables that might lead to frustration.
Choose 2-3 colors maximum for the first attempt. More colors can create muddy brown areas where they overlap. Stick with colors that blend well—like blue and purple, or pink and orange.
Try the scrunch method first—it's nearly impossible to mess up and builds confidence for more complex patterns.
Host a group session with 2-4 kids. They'll inspire each other, share techniques, and the social aspect makes it more appealing than a solo craft project.
Creating Summer Memories
This tie dye beach cover ups tutorial offers so much more than just a craft project. You're giving your tween or teen a chance to create something with their own hands, express their personal style, and develop skills that build confidence.
The cover-ups and towels they make will become their favorites—the ones they reach for first all summer long. Every time they wear them, they'll remember the afternoon spent creating instead of scrolling. They might even inspire friends to try their own DIY projects.
Let's Keep the Conversation Going
What's your biggest concern about starting this project with your teen or tween? Are you worried about the mess, unsure about which materials to buy, or wondering how to adapt this for different skill levels?
I'd love to help you tailor this tutorial to fit your family's specific situation. Reach out to WizardHQ@AngelinaAllsop.com with your questions, and let's figure out how to make this summer craft session work perfectly for you and your kids. Sometimes all it takes is one successful creative project to spark a whole summer of screen-free fun.
 Ir directamente al contenido