


As an affiliate, I earn from qualifying purchases, but this doesn't affect the reviews or recommendations—your trust is important to me!
Unleashing Creativity with DIY Scented Candles Craft Tutorial

Today, We're Making:
- - DIY Scented Candles Craft
- - Earth Day Recycled Art Project: As April 22 is Earth Day,children can create beautiful art pieces using recycled materials like old newspapers, magazines, cans, or plastic bottles. This could be anything from a collage to a sculpture.
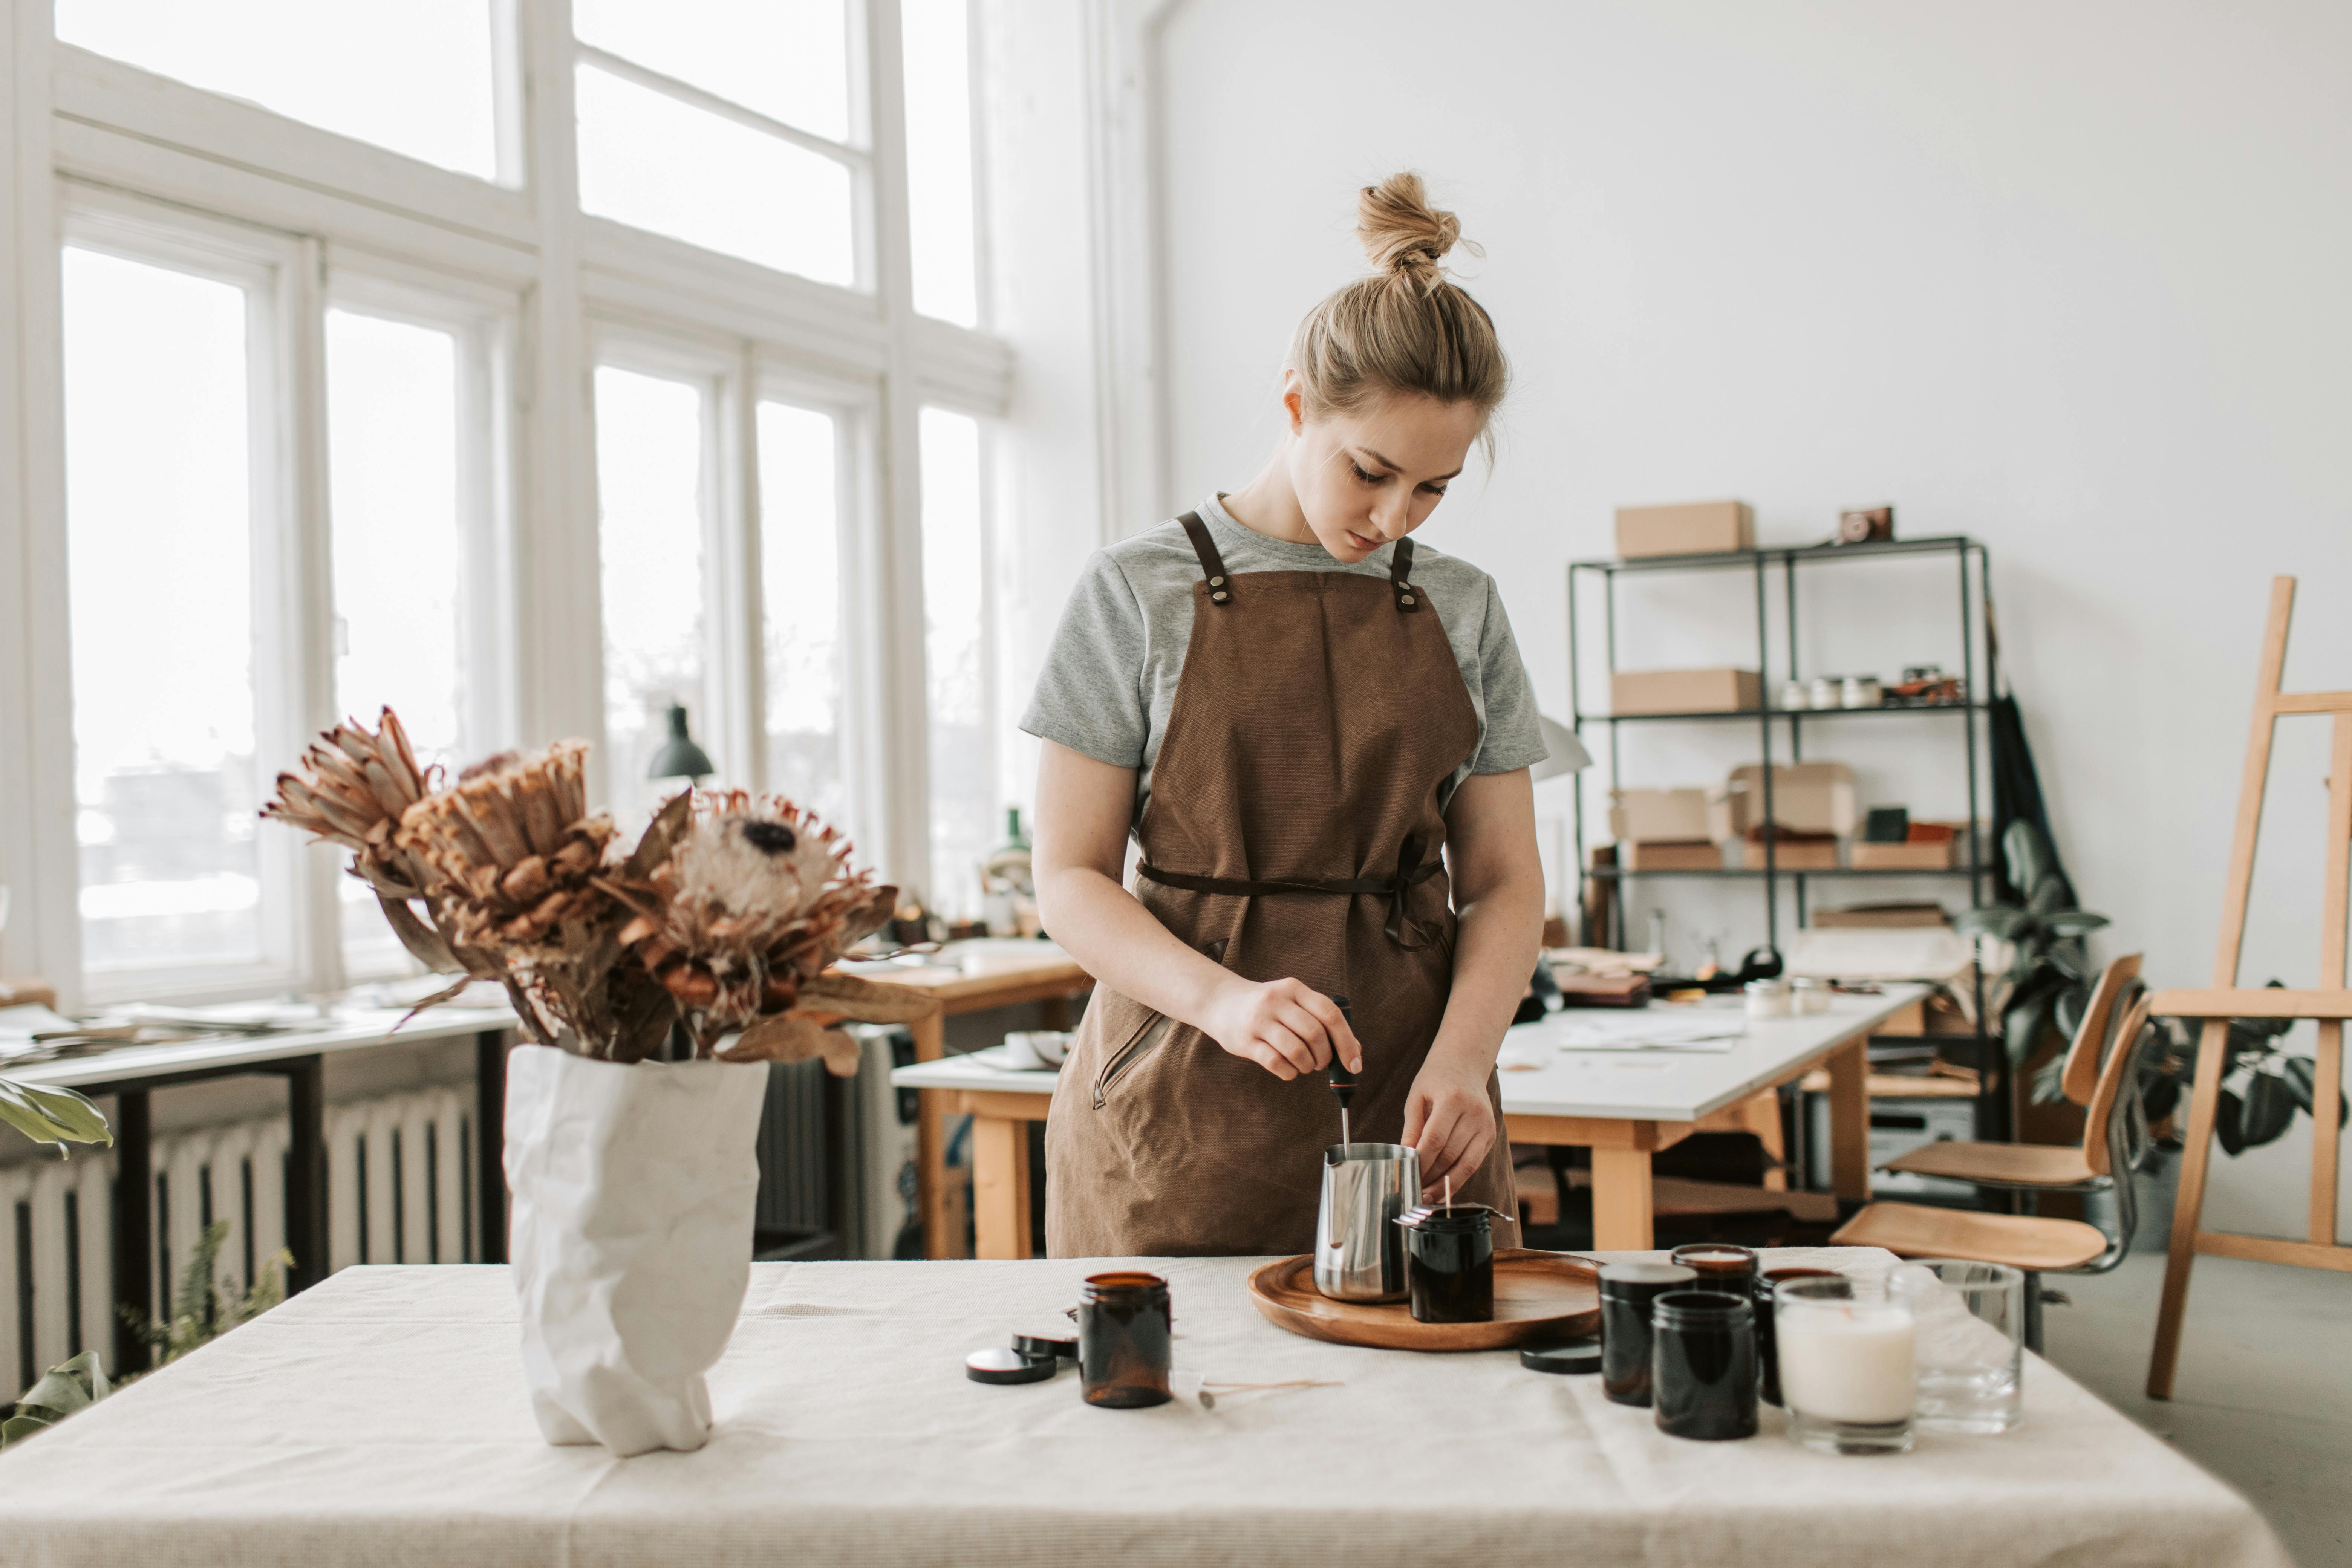
Imagine Being Able to Indulge Your Creative Spirit
While crafting an exquisite ambience in your very own home - it's possible with our DIY Scented Candles Craft Tutorial. Creating your own DIY crafts, like homemade candles, goes beyond saving money; it’s about unleashing creativity, personalizing your surroundings, and exploring new aromatic pleasures.
A Unique Homemade Gift or a Personal Touch in Your Home Decor
Whether you're looking for a unique homemade gift for a loved one or adding a personalized touch to your home decor, this easy-to-follow candle making tutorial is your guide to create beautifully scented wax wonders.
Bask in the Fragrance that Transforms Your Space
With every flicker of a candle that you’ve crafted, feel a warm sense of accomplishment and delight in the fragrance that transforms the space around you.
Let's Embark on an Artistic Journey
So let's embark on this artistic journey and be prepared to ignite your creativity!
Dive Deeper into the Creative Process of DIY Scented Candles
Journey with us as we delve deeper into the splendid world of DIY scented candles. This craft tutorial will articulate each step of the candle making process, transforming you from a novice into an avid candle-maker. Crafting at home has never been more exciting!
Begin by choosing your preferred scents. Eco-friendly crafts enthusiasts can opt for essential oils to create aromatherapy candles. Lavender for relaxation, citrus for revitalization, or a blend of sandalwood and rose for an unforgettable unique aroma!
Beyond just filling your home with delightful fragrances, these homemade candles can serve as a reflection of your personality, a piece of you in every corner of your home. This creative hobby allows you to design your own custom scented wax, considering color, shape, size, and fragrance to match your mood, style, or decor.
Transcribe Your Story through Personalized Candles
There's something incredibly gratifying about creating something with your own hands. It's a feeling akin to birthing your ideas into existence, materializing your creativity into the physical world. And what better canvas to depict your imagination than DIY crafts?
Our DIY candle making tutorial has got you covered, even if you are starting from scratch. Indulge creativity with our step-by-step candle making instructions that make the entire process an easy DIY project and a fun creative endeavor. Each homemade candle you craft narrates a tale - a tale of patience, love, and creativity unleashed.
Thinking about a memorable DIY home decor piece or looking for homemade gifts ideas? Scented DIY candles are the answer! The personalized touch and thoughtfulness encapsulated in these handmade candles will speak volumes more than any store-bought item ever could.
Finding Pleasure in Crafting Ideas and Candle Making
The beauty of making your own candles lies in the process as much as it lies in the finished product. This therapeutic DIY scented candles craft isn't just about producing beautiful pieces of decor; it's about finding joy and peace in the process of crafting ideas and candle making.
Each aroma, each color, and each flicker of your artistic crafts is a tribute to your uniqueness, a testament to your creativity. It's a journey of discovery, of self-expression, and of embracing your artistic liberty. So, set aside those scented wax wonders you've been purchasing, rampage through your crafting supplies, and get ready to embark on the delightful journey that is the DIY Scented Candles Craft Tutorial!
Stepping into the Dazzling Realm of DIY Scented Candles
Stepping into the dazzling realm of DIY scented candles means more than crafting beautiful decor for your home or thoughtful handmade gifts for loved ones. It signifies the wisdom of your creative intuition and expresses your unique individuality. It's about encouraging the thrill of creation, the joy of experimentation and engaging with your senses in an entirely new way.
Our DIY Scented Candles Craft Tutorial
Our DIY Scented Candles Craft Tutorial is merely your starting point but remember, it is your creativity that will ignite the true beauty of this journey. So, ready those crafting supplies and zealously embrace the aromatic stories waiting to be told and experienced. Begin curating your fragrant masterpiece today, a testament to your creativity, love, and personality. Your scented candle journey is about to unfold, are you ready to craft your own fragrance story?
You May Also Like These:
Earth Day Recycled Art Project Instructions
Celebrate Earth Day with your kids by participating in this meaningful and fun recycled art project!
Ingredients
- Old newspapers or magazines
- Empty egg cartons
- Empty plastic or glass bottles
- Old buttons or beads
- Acrylic Paint
- Scissors
- Glue
Instructions
- Gather all your materials: Set out all the listed ingredients on a big table to keep them within reach.
- Prepare your workspace: Cover your table with some old newspapers to avoid any spills or mess.
- Decide on the type of art: Depending on your child's age and skill level, decide on the type of recycled art you can create (e.g. a collage, a sculpture, etc.).
- Creating your art: Be creative! Use your old newspapers and magazines to create a beautiful collage, use egg cartons to create a sculpture, or paint your old bottles and decorate them with buttons or beads.
- Let it dry: Once you are happy with your creation, set it aside and let it dry overnight.
- Share: Once it's dry, place it somewhere for everyone to appreciate. Share your creation on social media to inspire other families to take part in celebrating Earth Day the eco-friendly way.
Daisy Canvas Painting for Kids:
Ingredients:
- Canvas board (Size of your choice)
- Acrylic paints (White, Yellow, Green, and Blue)
- Flat and round paint brushes
- Palette or mixing tray
- Cup of water
- Paper towels
Instructions:
- Prepare the canvas: Start with a plain, clean canvas. Set it up on a flat surface.
- Paint the background: Dip the flat brush in blue paint and fill the entire canvas with blue. This will be your sky.
- Create the grass: Clean the brush and dip it in green paint. Create grass at the bottom of your canvas with upward strokes.
- Paint the daisy: Once your grass is dry, use white paint and the round brush to draw a daisy. Start from the center and move outwards, creating the petals. Clean the brush.
- Add the center: In the center of your daisy, add a yellow circle.
- Let it dry: Allow your painting to completely dry before displaying.
Note:
Always supervise children while they're painting to ensure they're using supplies safely.How to Make a Popsicle Stick Picture Frame
Ingredients:
- 10 Popsicle Sticks
- Glue
- Paint & Paint Brushes (optional)
- Decorative embellishments (optional)
Instructions:
- Align four Popsicle sticks side by side.
- Apply glue at each end of the row, then carefully place a Popsicle stick across each end to create a square. Let it dry.
- Repeat the process to create a second square frame.
- Once both squares are dry, glue one square on top of the other for a layered effect. Let it dry.
- (Optional) Paint your frame in your desired color. Let it dry.
- (Optional) Decorate your frame with your chosen embellishments. Let it dry.
- Your Popsicle Stick Picture Frame is now ready to display your favorite photo.
Crafts for Cans: A Fun Activity for Parents & Kids
Ingredients:
- Empty Aluminum Cans
- Paint of Various Colors
- Paint Brushes
- Glitter
- PVA Glue (optional)
- Newspaper (to protect surfaces)
Instructions:
- Preparation: Cover your workspace with newspapers to protect surfaces.
- Clean the Cans: Rinse and dry the cans. Make sure there are no sharp edges.
- Painting: Apply a basic coat of paint on the cans. Let them dry before proceeding.
- Decorating: Use different colors of paint or markers to create patterns or paint pictures on the cans.
- Glitter: If you choose, apply a thin layer of PVA glue to the cans and then sprinkle glitter over them.
- Drying: Allow all your beautifully decorated cans to dry completely.
Have fun with this activity that enhances creativity while recycling!
Drawing DIY Plastic Bottle Bird Feeder
Materials:
- 1 large plastic bottle
- Scissors
- Acrylic paint - various colours
- Paintbrush
- Twine or strong cord
- Bird seed
Steps:
- Prepare Your Bottle: Clean your plastic bottle thoroughly and remove any labels stuck on it.
- Draw Your Opening: Draw a round opening on your bottle that is large enough for birds to get in and out.
- Cut the Hole: Cut out the drawn lines with scissors. Be very careful, as the edges of the cut plastic can be sharp.
- Paint Your Bird Feeder: Give your bird feeder a coat of acrylic paint in your chosen color. Allow the paint completely dry.
- Thread the Twine: Make two holes across each other on the top of the bottle, thread and tie the twine or strong cord through them.
- Fill it Up: Carefully put bird seed into your feeder through the opening you cut out.
- Hang Your Bird Feeder: Finally, hang your bird feeder outside where you can watch the birds enjoy their treat!
DIY Plastic Bottle Vase
Materials:
- 1 liter plastic bottle
- Scissors
- Heat source (candle or lighter)
- Acrylic paint
- Paintbrush
Steps:
- Cut Your Bottle: Cut the bottle about half way up, keep the lower half.
- Melt Edges: Very carefully, use a heat source to slightly melt the cut edge. This makes it smooth and less sharp. Adult supervision is essential for this step.
- Paint Your Vase: Decorate your vase by painting it with acrylic paints. Let it dry completely before using it!
- Place Flowers: Finally, add some water and place your lovely flowers into your new DIY vase.


