


As an affiliate, I earn from qualifying purchases, but this doesn't affect the reviews or recommendations—your trust is important to me!
Creating a DIY Beaded Wind Chime Craft at Home

Today, We're Making:
- - DIY Beaded Wind Chime Craft
- - DIY Watercolor Calendar Art
- - Homemade Recycled Paper Greeting Cards
- - Craft Stick Photo Frames
- - DIY Beaded Suncatchers
- - Science-themed Button Making
Isn't there something magically soothing about the gentle melody of wind chimes?
Especially, the ones you've crafted with your own hands. Welcome to our DIY beaded wind chime craft guide, a simple, serene, and deeply satisfying dive into the creative world of home crafts.
Whether you're an expert at DIY projects or new to the world of home-hewn decor, this tutorial promises you success. Not only will this wind chime serve as a whimsical addition to your indoor decoration ideas or outdoor decor crafts, but this bead project also resurrects the beauty of upcycling - transforming humble, often discarded materials into an enchanting symphony of sound and color.
Step into our virtual Art and Craft studio today
As we explore the DIY wind chime project that is certain to charm your senses and elevate your space.
Demystifying Your DIY Beaded Wind Chime Craft Material List
First things first, let's tackle the list of materials needed for our DIY wind chime project. Now, don't let this compilation intimidate you; you'll find most items in your local craft store or perhaps, tucked away in the corners of your garage or craft drawers at home, waiting to be kindled back into life. For our wind chime-making endeavor, you'll need the following:
- A sturdy branch, preferably one with natural curves and grooves for that perfect rustic charm.
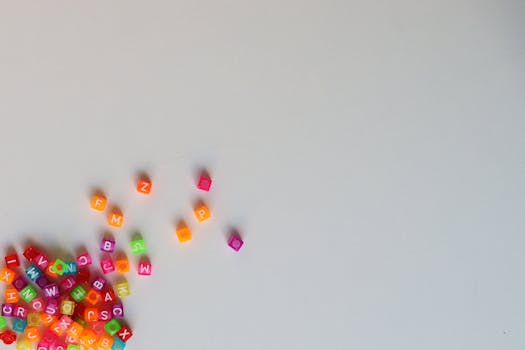
- An assortment of beads. Here’s where your bead crafts come to life. Consider a variety of colors, textures, and sizes to give your chime an eclectic, personalized feel. Shells, ceramic, glass, wooden, or even metal beads can do wonders. Remember, diversity is the key to a captivating wind chime design.
- Good-quality fishing line or nylon string.
- A drill with an appropriate bit size for the beads.
- Optional embellishments – small metal bells or chimes, for that sweet, harmonious sound.
Setting the Tone – How to Make Your Wind Chimes
Once you’ve gathered your materials, it's time to jump into the fun part- creating wind chimes. Let’s break this beading project down into easy DIY crafts steps.
The Perfect Branch:
Start by selecting your branch. This will serve as the main support for your beaded wind chime. Finding the right size and shape can be part of the adventure! Once chosen, strip any remaining bark gently, to give your project a neat, clean look.
Bead Art Extravaganza:
Next is the heart of your DIY beaded wind chime craft: stringing your beads. You can pattern your strings by color, size, or completely at random, based on your own aesthetic. Tip: mixing and matching your beads often results in a unique, striking homemade decoration.
Stringing it All Together:
Now, attach your bead strings to your branch. Depending on the length and size of your branch, you might want to adjust the length of the strings. Trial and tweak until you’re satisfied with how it looks and sounds.
Personal Finishing Touches:
Finally, attach your optional bells or chimes at the end of each string for that signature wind chime melody.
The key takeaway here is customization: this isn’t just another homogeneous DIY tutorial but a hands-on, personalized wind chime craft project. The trick to nailing this DIY home decor item is to let your creative instincts take the reins. Remember, there's no right or wrong in the colorful world of DIY crafts. The beauty lies within the sphere of imagination, exploration, and originality. Embrace it!
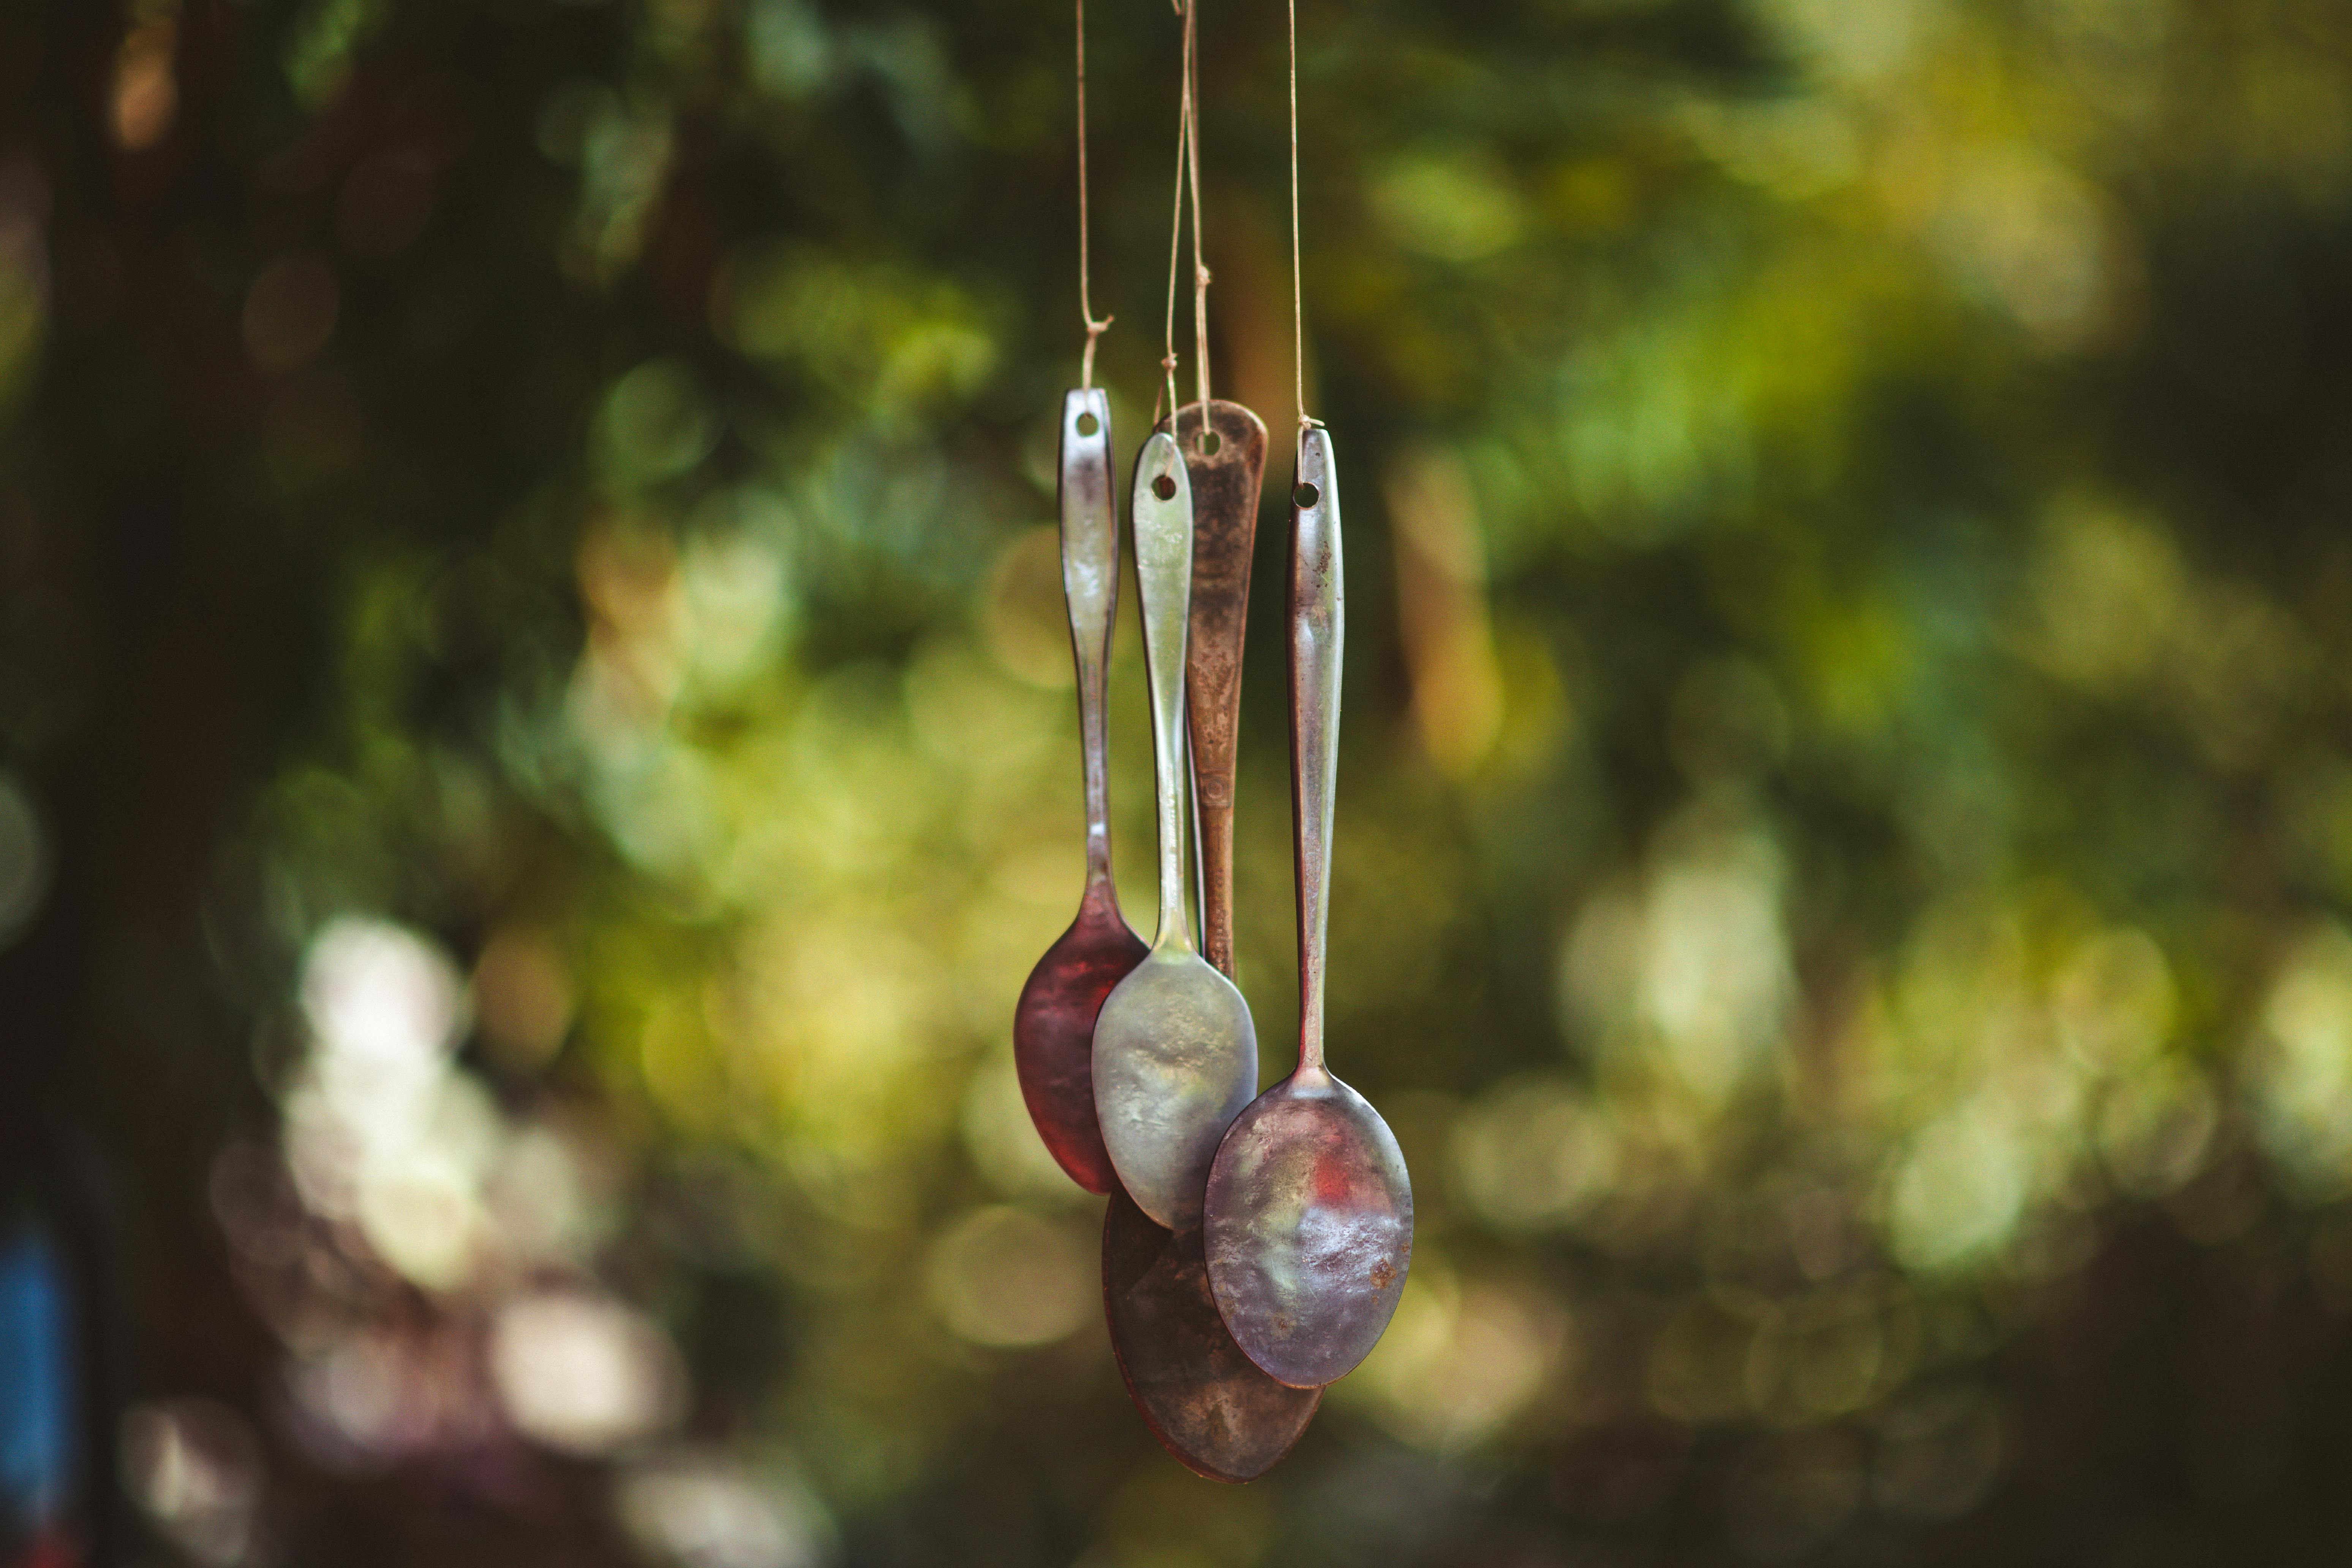
With Each Gentle Brush of The Breeze: The Beauty of DIY Beaded Wind Chimes
With each gentle brush of the breeze, these handmade wind chimes will sing out a soft, melodic reminder of the joy and creativity that cushioned their inception.
An Enchanting Window to the World of DIY
It's an enchanting window to the world of DIY, pooling your resources to breathe life, sound, and color into overlooked nooks of your space.
Framed Against a Bright Patio or Indoors
Whether your DIY beaded wind chime ends up framed against a bright patio or lending a charming whimsy to an indoor corner, you've just crafted an item that simply cannot be replicated in stores.
A Unique Reflection of You
You've woven fragments of yourself into this creation; a sprinkle of your creativity, a hint of your memories, and a dash of your personality. So go ahead, let it dangle and dance, reflecting not just sunlight, but also your mind's unique palette!
The Beauty and Reward of DIY
This is the beauty and reward of DIY - your hands, your design, your echo on the wind. Happy crafting!
You May Also Like These:
DIY Watercolor Calendar Art: Crafting Instructions for Parents
Ingredients:
- Watercolor Paint: Choose a set with a broad spectrum of colors.
- Watercolor Paper: Opt for heavy duty to withstand the water and paint.
- Paintbrushes: Get a variety of sizes for different effects.
- Cup of Water: For rinsing brushes between color uses.
- Tissue Paper: For wiping brushes or blotting excess water.
- Pencil and Eraser: For preliminary sketching if desired.
- Calendar Template: Printable from online sources, or create your own.
- Glue: To attach your completed watercolor artwork to the calendar template.
Instructions:
- Setup Work Area: Cover your crafting area with old newspaper or a drop cloth to prevent paint spills.
- Sketch out Design: Lightly sketch out your design on the watercolor paper with a pencil. It could be a scene, pattern, or abstract design, as per your child's preference.
- Start Painting: Introduce your child to watercolors by showing them how to dip the brush in the paint and then in the water before applying to paper. Let them explore and create their design.
- Let it Dry: Once they finish painting, let the artwork dry completely.
- Prepare the Calendar: While the painting is drying, you can start preparing the calendar. If using a printable template, print it out, or create your own grid with dates.
- Attach the Artwork: Once the artwork is completely dry, cut it to size as needed and attach it to the top of your calendar with glue.
- Let it Dry: Allow the glue to dry completely before hanging or using the calendar.
Craft Stick Photo Frames
This fun and straightforward DIY project is perfect for families who want to create something personalized and cherished. Follow these step-by-step instructions to create your own Craft Stick Photo Frames.
Ingredients
- At least 8 craft sticks per frame
- Glue
- Photo print
- Scissors
- Paper
- Decorations (paint, glitter, stickers)
Instructions
- Prepare your workspace: Make sure your work area is clear and flat. Lay down some newspaper if you're worried about making a mess.
- Position the sticks: Lay out four craft sticks in a square shape on your workspace to form the base of the frame.
- Glue the base: Apply glue at each point where the craft sticks overlap. Allow time for the glue to dry before progressing to the next step.
- Arrange the photo: Once the base is dry, position your photo on the back of the craft stick square. The photo should cover the frame entirely from behind.
- Secure the photo: Use a pencil to mark the corners of the photo, then cut it out and glue it to the back of the craft stick square.
- Add a backing: Cut a piece of paper to fit the back of the photo, covering the photo entirely. This will give the frame a clean and finished look.
- Decorate: Now comes the most fun part! Decorate your frame with paint, glitter, stickers, or whatever else you like. Be creative and express your style.
Craft Stick Photo Frames
Ingredients:
- Craft sticks (8 sticks per frame)
- Glue
- Decorative items (such as color pencils, paint, sequins, beads, or stickers)
- Photos
- Clear plastic (from recyclable containers)
- Scissors
Instructions:
-
Assembling the frame:
- Evenly lay out 4 of your craft sticks to form the outline of your photo frame. Make sure each corner is right angles.
- Glue each corner of the frame. Do not use too much glue, as this can make the frame slippery and unstable.
- Take the remaining 4 craft sticks and glue them over each of the corners of your square to secure the shape. Allow the frame to dry completely.
-
Decorating the frame:
- Once the frame is dry, use your colors pencils, paint or decorative items to decorate it in whatever way you like. Allow any paint or glue to dry before continuing.
-
Adding the photo:
- Cut your chosen photo down to the size of the frame, making sure that it will fit inside the square you have created with the craft sticks.
- Cut a piece of clear plastic to the same size as your photo. This will act as a protector for the photo.
- Glue the photo and plastic clear protector on the back of the frame. Allow the glue to dry fully before handling again.
-
Displaying the frame:
- Now it's time to display your craft stick photo frame! You can add a magnet to the back to stick it on a fridge or a piece of string to hang it up.
DIY Beaded Suncatchers: a Craft Guide for Parents
Creating your own beaded suncatchers is a fun and rewarding craft activity that you can enjoy with your children. Follow these simple steps, and you will have a beautiful homemade decoration in no time!
Materials You'll Need:
- Beads: Choose glass or plastic beads in various colors. You can use translucent, opaque, or shiny beads. Keep in mind the sunlight will pass through these, creating a lovely spectrum of colors.
- Clear Elastic Cord: This is for threading the beads. Ensure it's sturdy and transparent.
- A Ring: This could be a metal or plastic ring of any size, depending on how big you want your suncatcher to be.
- Scissors: For cutting the cord.
- Suction Cup Hook: To hang your finished suncatcher in the window.
Step-by-Step Instructions:
- Prepare the Materials: Gather all your materials in one place. Make sure you have a flat and spacious working surface. Ensure the beads are in accessible containers and that the scissors and cord are at hand.
- String the Beads: Cut a length of the elastic cord, then begin stringing beads onto the cord. You can create patterns, or just string them randomly. Ensure you leave enough space at the ends of the cord to tie off later.
- Attach to the Ring: Once you’ve strung enough beads to your liking, loop one end of the cord around your ring. Tie a secure knot and trim any excess. Remember to leave a length of cord at the other end for hanging.
- Hang your Suncatcher: Using the remaining length of cord, tie your beaded strands to the suction cup hook. Cut off any excess cord. It’s now ready to hang in the window. Place it in a spot where it will catch the light and create beautiful reflections.
Enjoy watching the sunlight dance through your homemade beaded suncatchers!
Science-Themed Button Making: A Craft Guide for Parents
With this simple and fun combination of craft and science, your child can create their own unique buttons. This activity not only promotes creativity, but also aids in the understanding of various scientific concepts in a fun way. Follow the steps below to help your child create their own science-themed buttons.
Ingredients:
- Blank Buttons with Pin Backs
- Plastic Button Covers
- Button Press
- Template of Science Related Images or Symbols
- Marker Pens
- Scissors
- Glue (optional)
Instructions:
- Choose the Image: Let your child browse and select their favorite science images or symbols they want to put on their button. They could draw their own images or print them out.
- Cut the Image: Carefully cut out the image according to the size of the button.
- Attach the Image: Place the image face down onto the button base, make sure it’s positioned correctly.
- Add the Plastic Cover: Add the plastic button cover over the image. The plastic cover will both protect the image and give the button a finished look.
- Press the Button: Set the button base into the button press, carefully following the instructions provided with the press. The press will slide the pin back onto the button base, securing everything in place.
Note: If you don't have a button press, you can also use glue to attach the image to the button base. After the glue has dried, you can then attach the pin back. While not as secure as using a press, it will still create a usable button.