


As an affiliate, I earn from qualifying purchases, but this doesn't affect the reviews or recommendations—your trust is important to me!
Creating DIY Origami Art and Fun At-Home Science Experiments

Today, We're Making:
- - DIY Origami Wall Art
- - Saltwater Circuit Experiment
- - Homemade Pizza Bagels
- - Board Game Design Challenge
- - DIY Time Capsule Craft
- - Creating Rainbow Milk Paper
- - Make Your Own Solar System Hats
- - Easy Baked Nacho Cups
- - DIY Sudoku Puzzle Game
Fun At-Home DIY Origami Art and Science Experiments
You've just unfolded your last piece of laundry, dinner's slow-cooking in the crockpot, and the kids are getting restless. What better time than now to bring out the DIY Origami Art supplies and set up some Fun At-Home Science Experiments?
As parents, we're always hunting for stimulating, educational, and entertaining activities to keep our dynamic learners engaged. And there's something incredibly satisfying and great fun about transforming a simple piece of paper into an origami masterpiece, or witnessing the bright spark of understanding when a saltwater circuit experiment illuminates a tiny light bulb.
Join the Adventure of Learning
So, join us on this exciting journey as we dive into the wonderful world of origami for beginners and dip our toes into the fascinating world of simple science experiments. You'll be amazed at the creativity that ensues, and the best part? We'll be doing it all from the comfort of our own homes.
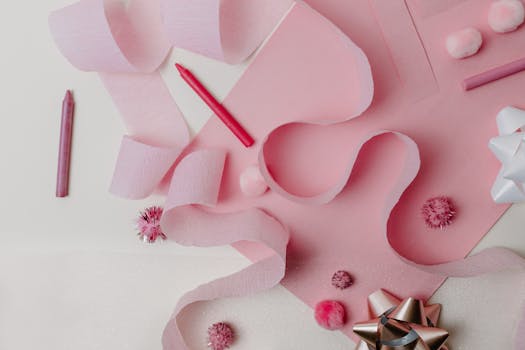
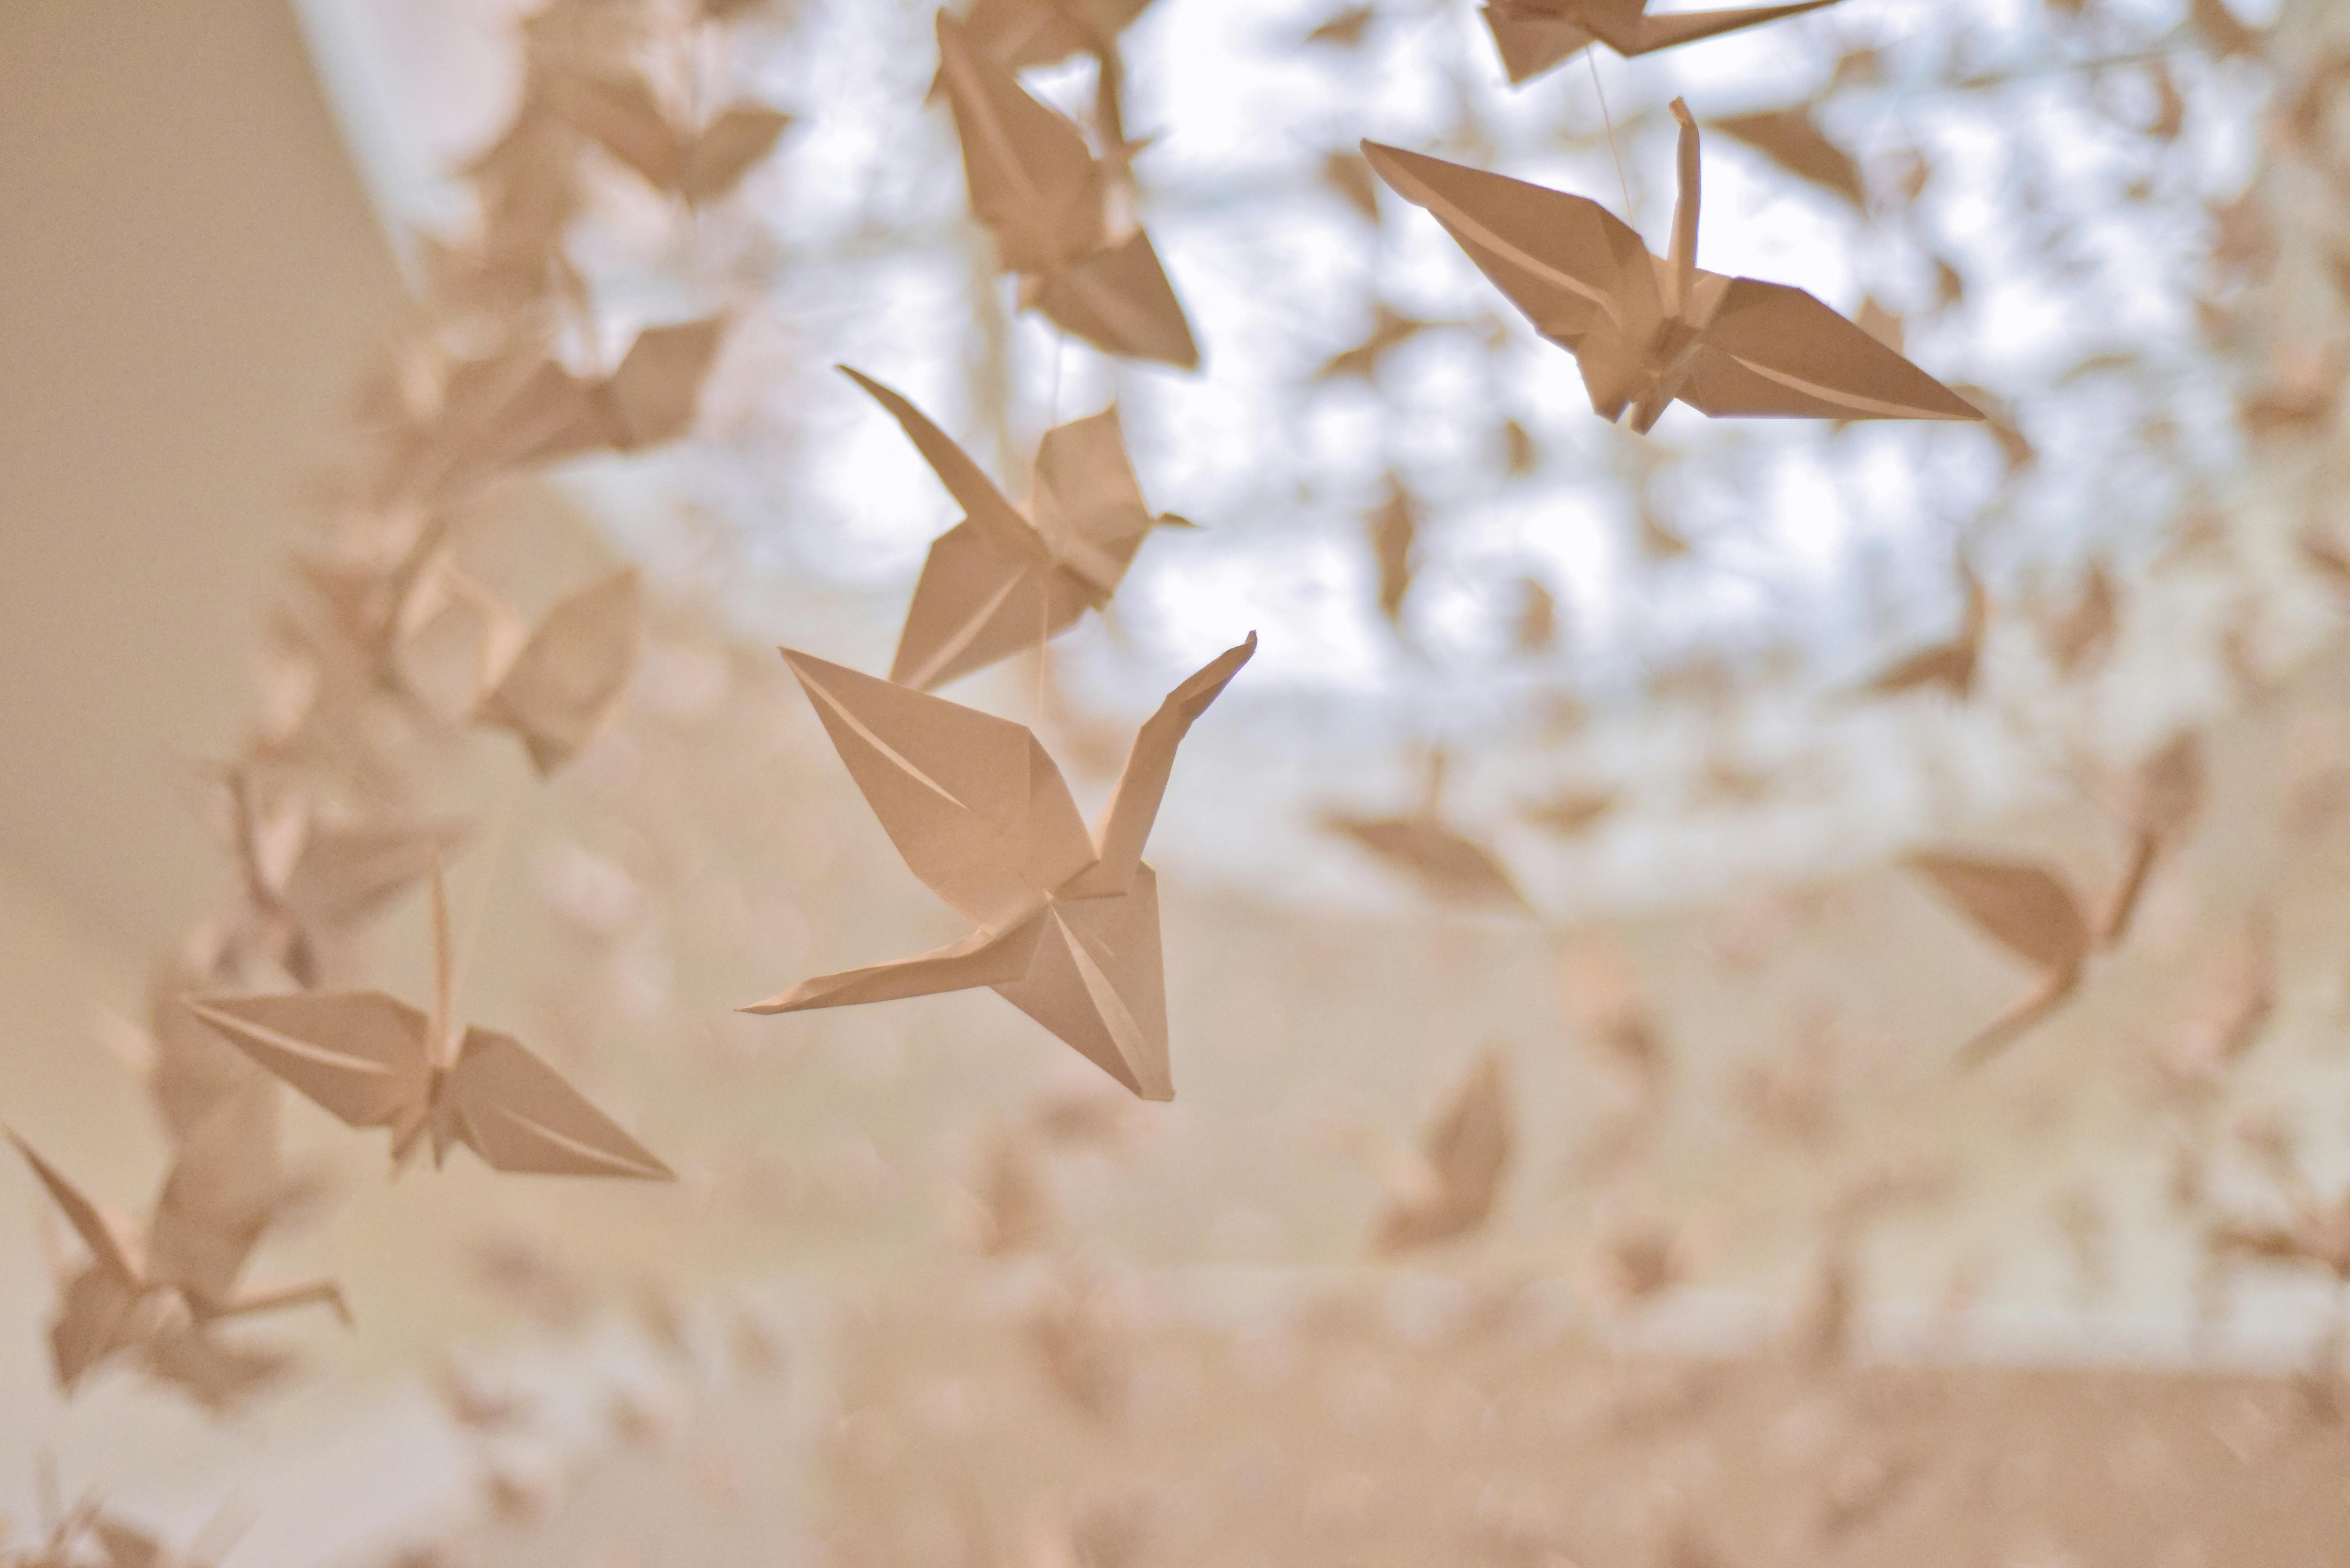
Engaging in DIY Origami Wall Art Activities
Origami takes us back to our childhood when we started folding paper into beautiful shapes and designs. Origami for beginners might seem daunting at the onset, but like I always say—every master was once a beginner. By diving deep into the enchanting world of DIY Origami Art, both you and your little one can create intricate masterpieces that are destined to adorn your walls, desks, and even hearts!
Imagine your children's faces light up as they craft a unique origami model and then watch it become a part of a larger, vibrant DIY Origami Wall Art. Making origami is a bonding experience too—both for kids and elders. The creativity through origami that you inspire to grow in your child’s mind today will help instil a love for DIY paper crafts that will last a lifetime.
Yet, this is just the half of it. We are not only creating pieces of art together but also nurturing our brains to think spatially. Here is an idea: Keep an 'Origami Challenge' for your little one; where you provide Easy Origami Instructions, and it's up to them to create their masterpiece after following the Origami Step-By-Step Guide. Win-win, right?
Partaking in Fun At-Home Science Experiments
After a successful attempt at creating a piece of Origami DIY Projects, it's time to stir up the scientist within us! Here are some fun yet enlightening Science Experiments for Kids that are sure to induce inquisitiveness and fascination. The allure of conducting Easy Science Experiments in the comfort of your home and seeing your tiny tot's face light up with the sparkling wonder of understanding is a pure joy like no other.
Looking for something realistic and exciting? Try creating a working model of a Saltwater Circuit Experiment. This hands-on learning activity not only brings out determination in your child but also elevates their understanding of science. Imagine the joy when their homemade science projects start operating successfully.
Up for a culinary twist to your science session? How about making homemade pizza bagels? It's a hit every time! The science behind making yeast work its magic makes even a simple cooking activity an enriching learning science at home experience.
Amazing Board Game Design Challenge
Once you're done with your DIY Origami Art and science explorations, why not dive into the amusing world of the Board Game Design Challenge? Yes, it’s time to create your game, lay down your rules, and have the grandest time playing it. Trust me, this is an indoor science experiment of another kind where your child is not just learning, but leading too. Plus, it's a brilliant way to teach them about strategy, decision-making, and of course, fair-play. So, let the games begin!
By incorporating and alternating between these thrilling and fee yet educational activities, you would be able to create a unique and diverse learning environment for your young ones right at home. So, are you ready to take up the DIY Art and Science challenge?
As we fold the final corner of our DIY Origami Art adventure
And unscrew the last test tube from our At-Home Science Experiments, remember that the joy of these endeavors is in the journey, not just the end result. The hours spent creating, exploring, and learning with your little ones are truly precious.
Experiences that create magical moments
Whether it's the joy of watching a simple piece of paper bloom into an origami swan or the look of awe on your child's face when a homemade experiment comes to life, these magical moments aren't just about teaching them a new craft or experiment; they are about bonding, inspiring curiosity, and instilling in them a lifelong love for learning.
And who knows? You might just spark a budding scientist or a new papercraft enthusiast in the process.
Let's get those hands busy!
So, let's get those hands busy, hearts full, and minds blown - all from the comfort of our homes.
You May Also Like These:
DIY Time Capsule Craft for Kids
Materials Needed:- Empty coffee can with a plastic lid
- Construction paper
- Stickers (optional)
- Glue/Sticky Tape
- Sharpie markers
- Scissors
- Small trinkets, photos, drawings, or letters
STEP 1: Prepare Your Can
Wash and dry your can to ensure it's clean and ready to hold your time capsule materials.
STEP 2: Decorate Your Can
Cut a piece of construction paper to fit around your can. Then use the sharpie markers and stickers to decorate it. Once you're done, attach the paper to your can with glue or tape.
STEP 3: Fill Your Time Capsule
Gather small items to include in your time capsule. This can be anything from photos to personal letters. Be sure to include some information about the current year, like a newspaper cutting or a written note about key events that happened.
STEP 4: Seal Your Time Capsule
Once all your items are carefully placed inside the can, attach the lid. Now, it's up to you when you'd like to open it. You can decide to dig it up in a few years' time, or when your child graduates school!
Please Remember:- Time capsules are a snapshot of a moment in time, so include things which are representative of now.
- Don't include anything that could decompose and damage other items.
- Make sure to consider where you store it - it should be somewhere safe from weather and water damage.
Make Your Own Solar System Hats
A fun and educational DIY project for kids
Material Required
- 8 different colored pieces of fabric
- Scissors
- Glue
- String or elastic cord
- Cardstock
- Markers
- Felt
- Googly eyes
Instructions
Step 1: Planning Your Solar System
Before you start, it's a good idea to have a plan for your solar system. You need 8 pieces of fabric, one for each planet. You can vary the colors and sizes to represent the different planets.
Step 2: Cut out the Planets
Use your scissors to cut out circles from your fabric. These will be your planets. Make sure to cut out a variety of sizes and colors to represent the different planets in our solar system.
Step 3: Glue the Planets onto the Hat
Now it's time to stick your planets onto your hat. You can use fabric glue for this step. Arrange your planets in the order they appear in the solar system, from the closest to the sun to the furthest away.
Step 4: Add Details with Felt and Googly Eyes
You can use felt and googly eyes to add details to your planets. You can even add rings to planets like Saturn or Jupiter.
Step 5: Attach the Elastic Cord
Cut a piece of elastic cord long enough to comfortably fit around your child's head. Attach the cord to the sides of the hat using staples or more fabric glue. Make sure the hat fits comfortably and securely.
Step 6: Enjoy Your Solar System Hat
Now that you've finished, it's time to wear your solar system hat with pride! This hat is a great way to teach kids about the solar system and have fun at the same time.
Make Your Own Solar System Hat
A simple and engaging STEM project that keeps kids engaged while learning. Here's how you do it:
Materials:
- Baseball Caps(one for each participant)
- Felt sheets in various colors
- Hot Glue Gun
- Scissors
- Thread and Needle (optional)
- Googly Eyes (optional)
Instructions:
- Create Planets: Cut out round shapes from the sheet of felt to represent the planets. Sizes can vary depending upon how you wish to scale your solar system.
- Create the Sun: Cut out a larger round shape from a yellow or orange felt sheet to represent the sun.
- Create Stars: For added detail, cut out star shapes from a white or silver felt sheet.
- Arrange Your Solar System: Once you have all your pieces, start arranging them onto the hat. Begin with the Sun and then align the planets as they appear in the solar system.
- Glue Your Pieces: Use a hot glue gun to attach the pieces of the Solar System onto the hat. Allow the glue to cool and dry before wearing.
And there you have it - your very own Solar System Hat! Remember that this is a fun and versatile project. Feel free to add or change steps to make it your own. Happy Crafting!
Easy Baked Nacho Cups
Ingredients:
- 1 package (12 count) mini soft tortilla shells
- 1 cup refried beans
- 1 cup shredded cheddar cheese
- 1 cup shredded Monterey Jack cheese
- 1 cup diced tomatoes
- 1/2 cup sliced olives
- 1/2 cup sliced green onions
- 1/2 cup jalapeno slices
- Sour cream and salsa for garnishing
Instructions:
- Preheat the oven to 375 degrees.
- Place each mini tortilla shell in a muffin tin cup.
- Spoon about 1 tablespoon of refried beans into each tortilla cup.
- Top the beans with a generous amount of shredded cheddar and Monterey Jack cheese.
- Bake the nacho cups in the preheated oven for about 10-15 minutes, or until cheese is melted and bubbly.
- Remove the nacho cups from the oven and immediately top with diced tomatoes, sliced olives, and sliced green onions.
- Top each nacho cup with jalapeno slices, if desired.
- Serve the nacho cups warm with sour cream and salsa on the side.
D.I.Y Sudoku Puzzle Game
Bring a classic brain-training game to life with this fun DIY Sudoku Puzzle game! Perfect for a family night in or for developing logic and reasoning skills in young minds. Let's get started!
Materials You'll Need:
- 9x9 Grid: This can be done on a large poster board or a magnet board.
- Markers: For drawing the grid and numbers. If you're using a magnet board, use a whiteboard marker.
- Magnets/Stickers: If you're using a magnet board, small magnets are perfect for the numbers. If not, stickers or cut out paper numbers are great.
- Glue: Required only if you're using cut paper numbers.
- Clear Tape: This will protect your numbers if you're using a poster board.
Steps to Create your DIY Sudoku Puzzle Game
- Draw the Grid: Begin by drawing a 9x9 grid on your board.
- Segment Each 3x3 Grid: Draw bold lines to segment every 3x3 grid within your 9x9 grid. This is to highlight the smaller grids called 'regions' in Sudoku.
- Prepare the Numbers: Write numbers 1-9 on your paper cut outs or magnets. Make sure to create at least nine sets to complete a Sudoku puzzle.
- Place the Numbers: If you're starting with a particular puzzle in mind, place the given numbers on the grid. Remember, each row, column and region should have numbers 1-9 with no repetition.
- Cover with Clear Tape: If you're using a poster board, cover it with clear tape to secure the numbers and make the board reusable for different puzzles.
- Play: You are now ready to play! Remove or move around the numbers to create new challenges.
Tips for the Game:
- Start with simpler games by filling more numbers on the grid.
- Sudoku is all about patience and logic. Don't rush, take your time.
- There are plenty of Sudoku puzzles available online to get you started.


