As an affiliate, I earn from qualifying purchases, but this doesn't affect the reviews or recommendations—your trust is important to me!
Creating Magic: DIY Fairy Garden, Baked Bread and VR Hunts

Today, We're Making:
- - DIY Fairy Garden Terrarium
- - Chemistry of Baking Bread
- - Homemade Fruit Leather Snacks
- - Virtual Reality Scavenger Hunt
- - Glow in the Dark Planetarium Project
- - DIY Ice Cream in a Bag
- - Creating a Time Capsule for 2025
- - Magnetic Field Sensory Bottle
- - Board Game Design Workshop
Imagine a world right in your backyard
Where enchanting fairies reside among a whispering bloom of flowers and a DIY Fairy Garden - a magical haven crafted by your creative hands.
Picture the delight in your kitchen
Now, picture the delight in the aromas of freshly baked bread, a scientific masterpiece unfolding right in your kitchen. And, if that's not enough...
Embarking on an amazing journey through Virtual Reality Hunts
How about embarking on an amazing journey through Virtual Reality (VR) Hunts, discovering treasures hidden in alternate universes from the comfort of your living room?
Welcome to our universe
Where everyday life intertwines with the extraordinary, and Creating Magic becomes second nature. Whether your interests lie in the realm of garden crafts, the chemistry of baking bread, or the thrills of interactive VR, our blog is your guide to a world of endless possibilities.
Join us in crafting, baking or exploring
So, join us in crafting miniature fairy gardens, kneading the dough for homemade bread, or exploring the enchanting realms of virtual reality games. Get ready, the magic starts now!
Sprinkling Magic: The DIY Fairy Garden Terrarium
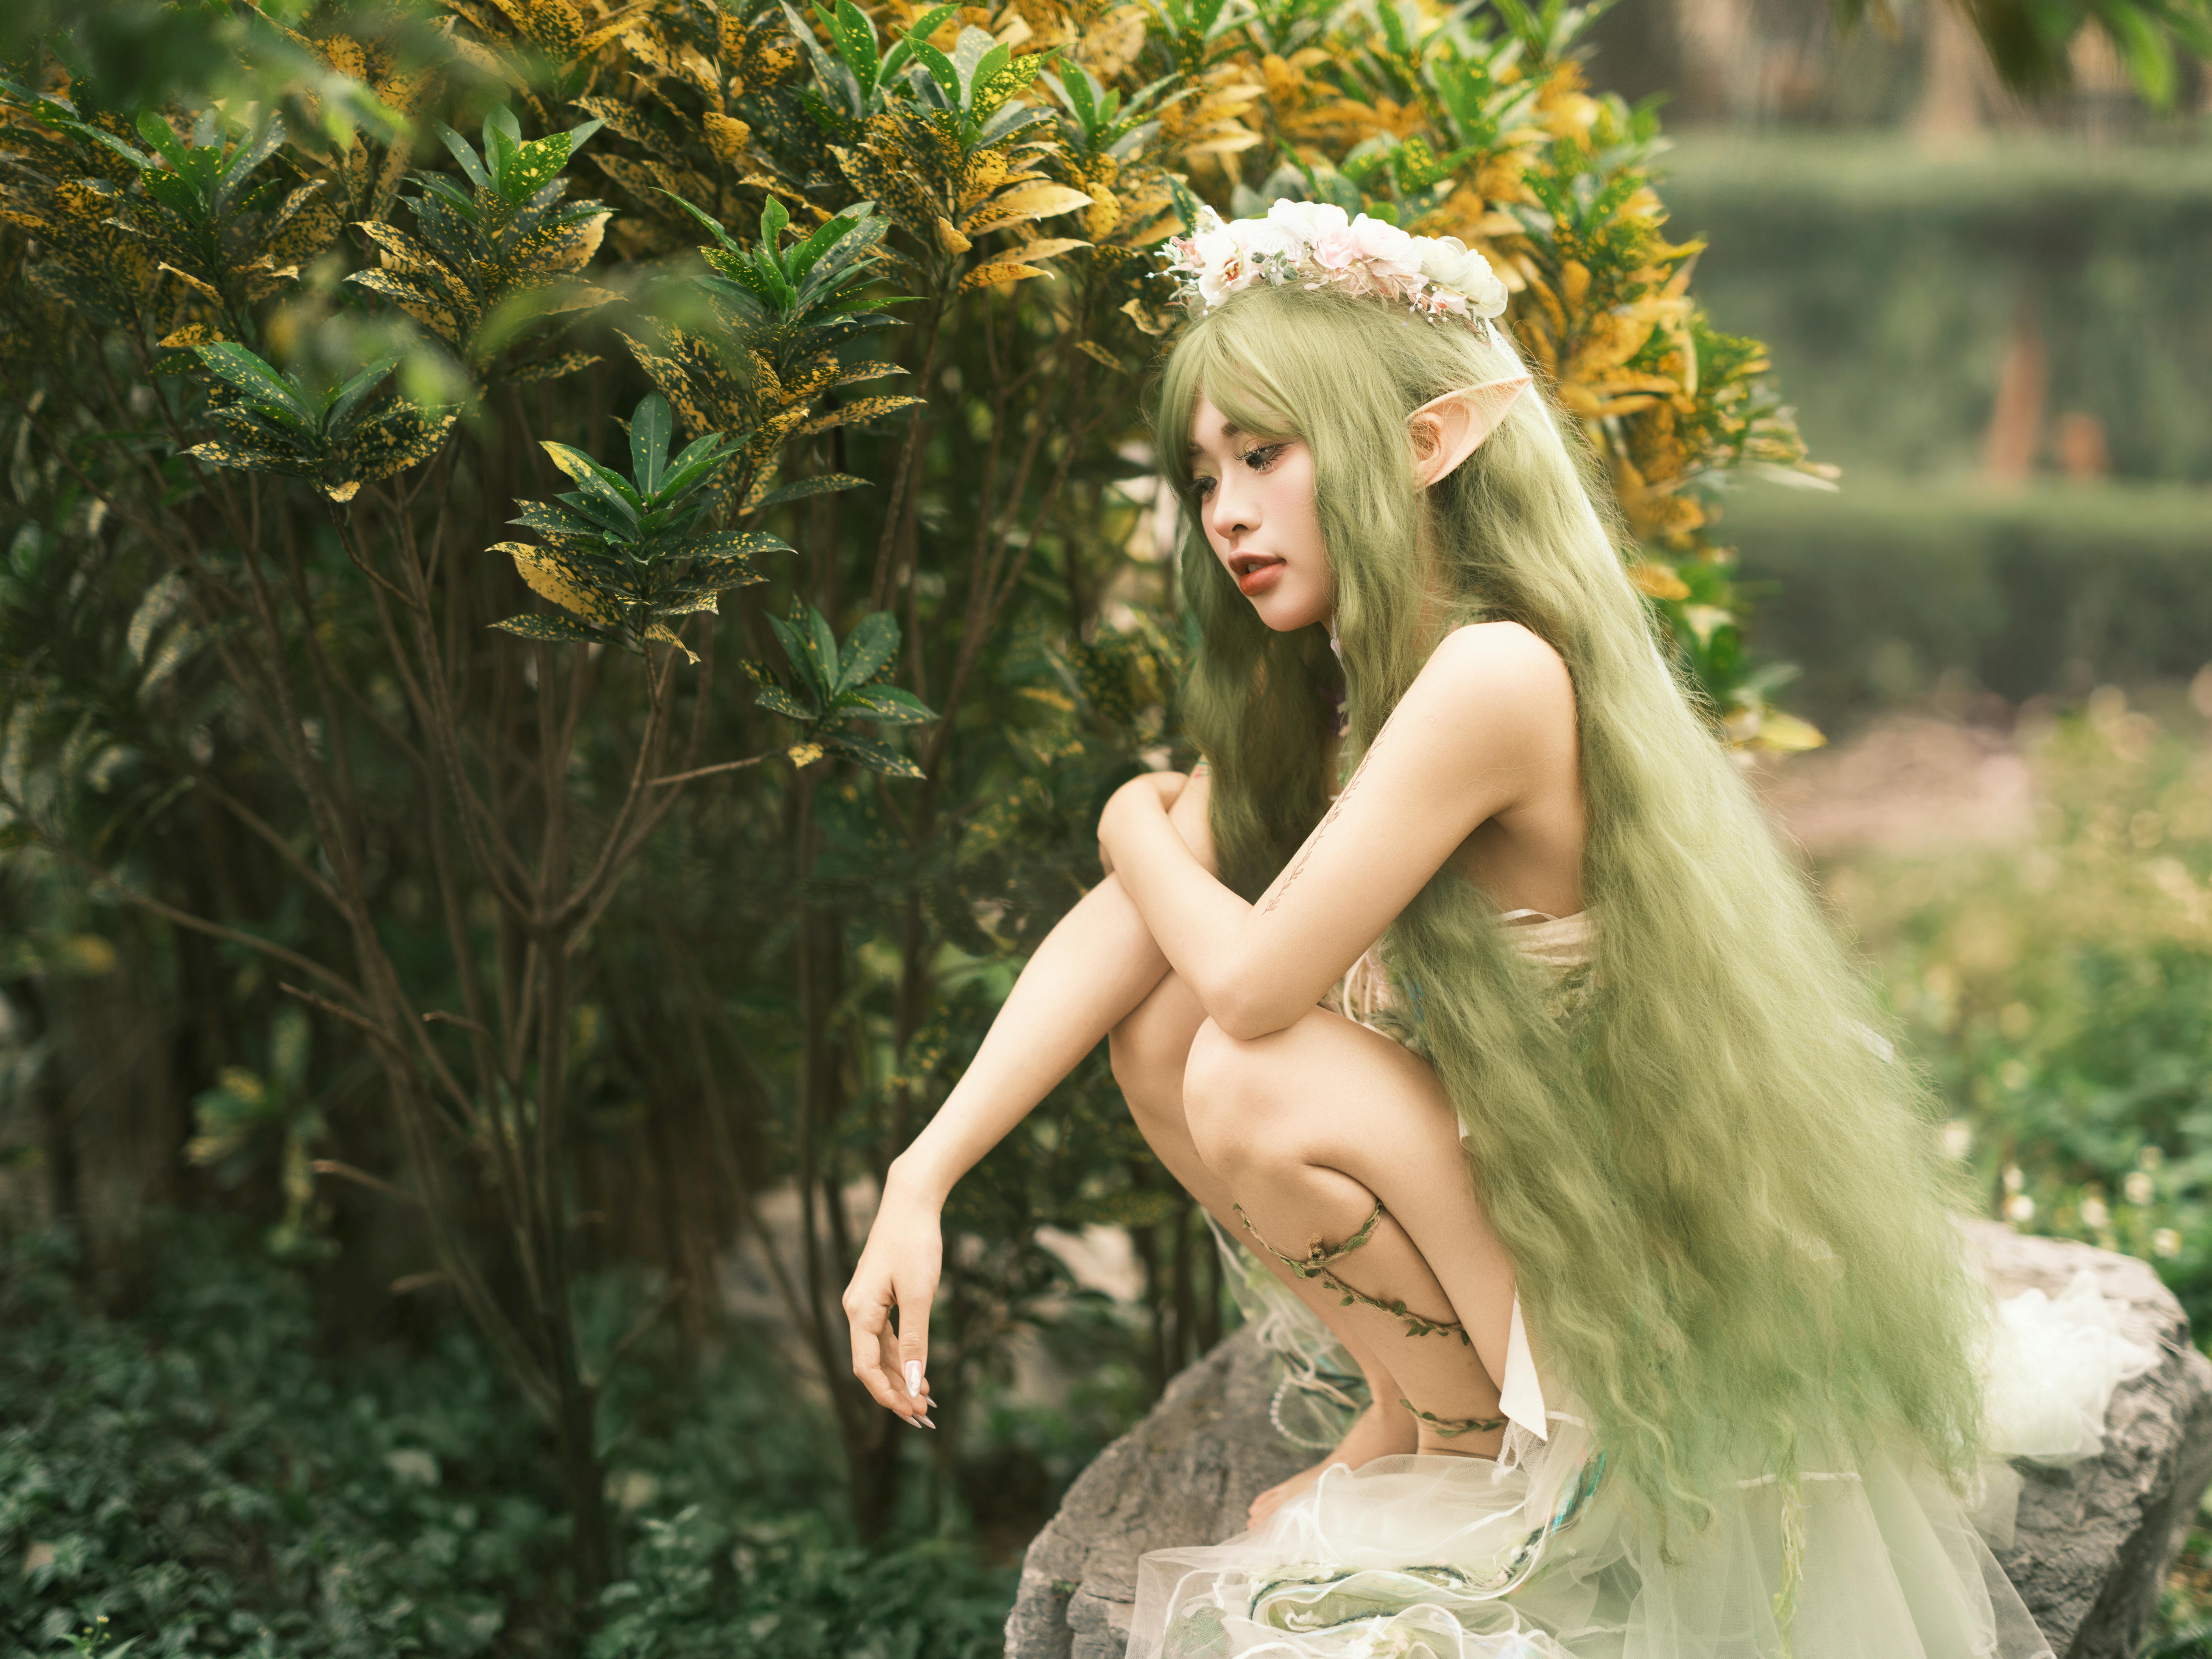
In the magical universe of garden crafts, one project stands enchanted above the rest - the DIY Fairy Garden. A miniature fairy garden that holds an entire world within its bounds, bustling with tiny, winged beings. The joy of this DIY garden project lies in the personal touches you can add to create your tiny, mystical universe - think fairy garden accessories that could be as mundane as pebbles or as whimsical as doll-sized fairy houses.
Just as enchanting are the endless fairy garden ideas to explore. Would you prefer to set your fairies amidst a lush green woodland setting, or would you rather create a sandy beach for them by a clear blue lake? You can create varying themes with simple Gardening DIY techniques, adding to the magic of your unique fairy world. It's not just about creating a fun garden accessory; it's about bringing alive a fairy tale right in your backyard.
Baking Magic: The Chemistry of the Perfect Bread
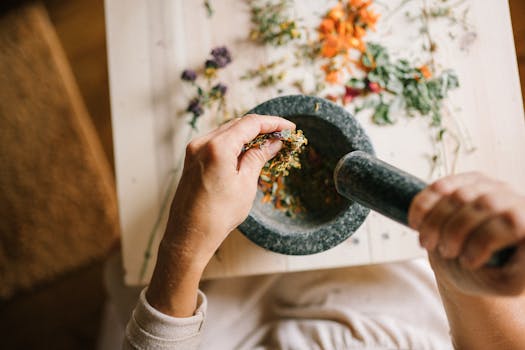
Stimulate your senses with the aroma of freshly baked bread wafting through your home. The art of bread baking, intriguing as it is delicious, is a marriage of science and soul. Whether you're an aspiring baker trying out an easy bread recipe or a seasoned home chef perfecting artisan bread, each loaf gives you a sneak peek into the fascinating chemistry of baking bread.
From the scientific perspective, baking bread is a delicate balance of gluten and yeast. When you knead the dough, gluten proteins stretch to form a network that traps the gases produced by yeast. The dough rises, creating light, fluffy, and delicious bread. However, from a more emotional perspective, baking bread is therapy, a ritual, a way of creating magic in your kitchen one loaf at a time.
Virtual Magic: VR Hunts for Treasure Right at Home
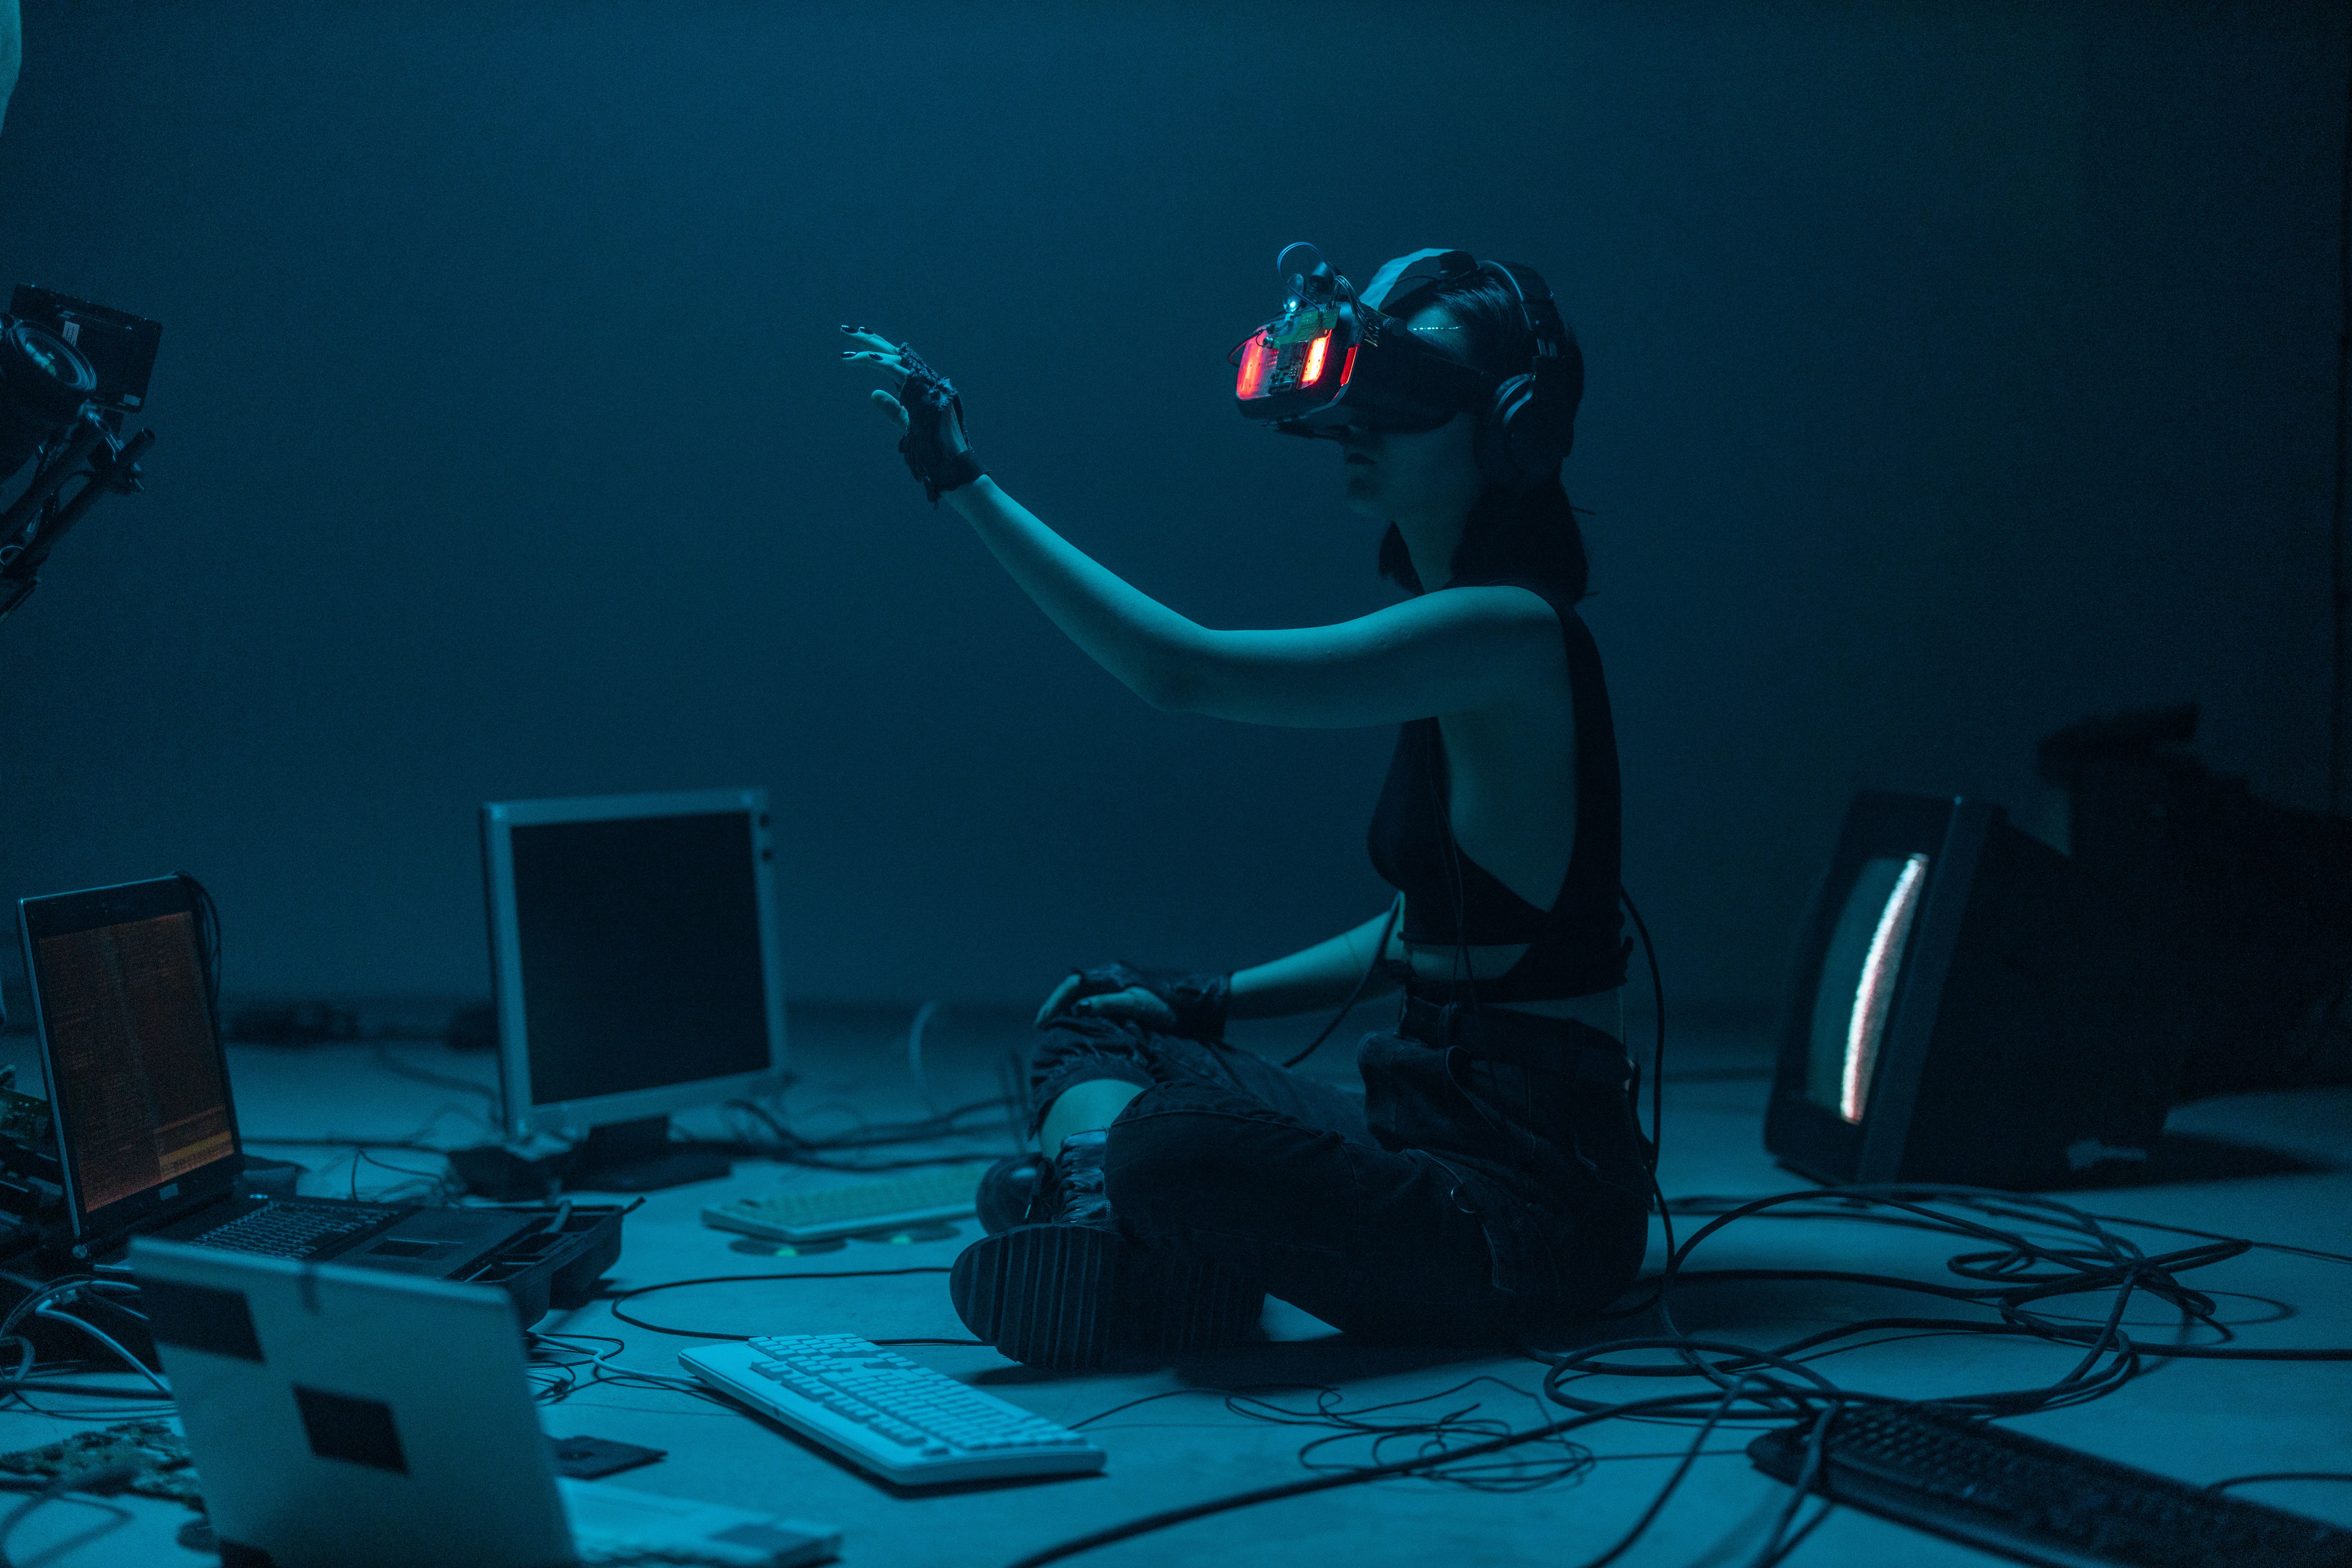
Virtual Reality transforms a casual gaming session into an otherworldly expedition—no need for expensive gear or excessive physical effort. Plug into Virtual Reality Experiences and find yourself scavenging for treasures in an ancient pyramid, or exploring an alien planet in VR treasure hunts. The beauty of VR gaming is that the choice is yours; the challenges, the environments, the treasures are all changeable.
Immerse yourself in a world that blends the natural environment with mysterious elements. You, the explorer, equipped with state-of-the-art VR equipment, will process a series of strategically positioned clues, riddles, and hints to uncover hidden treasures in a cutting-edge, interactive VR platform. VR Hunts are not only about the treasures you find but also about the thrill of the hunt. So, expect assorted challenges, varying difficulty levels, and a whole lot of VR fun. VR Adventures are more than just games; they are a way of exploring new worlds, facing unexpected challenges, and Creating Magic in our own living room.

As we Wrap up this Magical Journey
Remember that you hold the power to create enchanting worlds, both real and virtual. From crafting a miniature fairy garden with your distinctive personal touch, to the enticing aroma of freshly baked homemade bread, and the fantastical universe of VR hunts, you are the magician in your own life.
The magic you create within these ventures not only invigorates your environment but amplifies your joy, creativity, and curiosity. Embrace these ideas, sprinkle your own unique brand of enchantment, and immerse yourself in a universe that shimmers with everyday magic.
Now, close your eyes, take a deep breath, and get ready to let the magic unfold right at your fingertips. The journey begins with a single step – your step into Creating Magic.

You May Also Like These:
Glow in the Dark Planetarium Project
Ingredients:
- Glow in the dark paint (multiple colors if desired)
- Paintbrushes
- Poster board or cardboard
- Scissors
- Clear fishing line
- Transparent tape
- A star chart (for reference)
Instructions:
- Using your star chart for reference, sketch out the constellations on your poster board or cardboard. Remember, this does not have to be perfect, just get the general star patterns down.
- Go over your pencil marks with a thin layer of glow in the dark paint. Allow some time for the paint to completely dry.
- While the paint is drying, decide where you want your planetarium to hang. It could be over a bed, in a corner, or any area of your choice. The darker the room, the better your stars will glow.
- Once the paint is dry, use scissors to cut out around the constellations, leaving a small border of the board around each cluster of stars.
- Next, thread a piece of clear fishing line through the top of each cutout. If the board material is too thick to puncture with the line, use a hole punch or even a small dab of hot glue to secure the line to the cutout.
- Now, hang each constellation piece using transparent tape where you initially decided. Try to hang them at varying heights to give the impression of depth and vastness, like the real night sky.
- Turn off the lights, let your eyes adjust, and enjoy your indoor planetarium!
Crafts - How to Create a Time Capsule
Materials:- A sturdy, airtight container
- Paper and pens
- Photos or keepsakes
- A safe place to bury or hide your time capsule
- Choose the items you want to include in your time capsule.
- Write a note to your future self or future finders of the time capsule.
- Put your items inside your container and seal it tightly.
- Choose a safe place to bury or hide your time capsule, and remember where you placed it!
STEM Project - Time Capsule Coding Exercise
Materials:- Computer with internet access
- Basic understanding of coding
- Identify what information or message you'd like your code to convey in the future.
- Develop a basic code using a programming language such as Python or JavaScript.
- Inset your message into the code.
- Save and print your code to include into your time capsule.
Food - Time Capsule Recipe
Items Needed:- A favorite family recipe
- Pen and paper
- Choose a favorite family recipe that has sentimental value to you.
- Write the recipe on a card, including any special memories associated with this recipe.
- Add the recipe card to your time capsule.
Games - Time Capsule Prediction Game
Materials:- Paper and pens
- Each family member writes down their predictions for five years from now. This could include personal predictions, or general world events.
- Collect all the predictions and put them into the time capsule.
- When you open your time capsule, compare reality with the predictions you made!
Creating a 2025 Time Capsule
Here are step-by-step directions on what to include in a 2025 time capsule:Crafts
STEM Projects
Food
Note: It's not recommended to include actual food, but here are some ideas:Games
Assembling the Capsule
Magnetic Field Sensory Bottle
Materials Needed:
- Mason jar or plastic bottle
- Clear Elmer’s glue
- Distilled water
- Alka-Seltzer tablets
- Neon food coloring
- Fine Glitter
- Magnetic Coins
- Magnet Wand
Instructions:
Step 1: Preparing the bottle
Ensure the Mason jar or plastic bottle is clean and dry.
Step 2: Mixing the ingredients
Fill up half of the bottle with distilled water. Add the clear Elmer’s glue into the bottle until it reaches about three quarters full. Mix in your desired amount of fine glitter and several drops of neon food coloring.
Step 3: Adding the magnetic coins
Drop a small amount of magnetic coins into the bottle.
Step 4: Dissolution process
Break up one Alka-Seltzer tablet and drop the pieces into the bottle. Watch as it creates the illusion of a dancing magnetic field.
Step 5: Secure the lid
Secure the lid tightly onto the bottle.
Step 6: Explore magnetic fields
Move the magnet wand along the outside of the bottle, and watch as the magnetic coins follow the magnet. This will give you a visible representation of a magnetic field.
Voila! You now have your very own Magnetic Field Sensory Bottle. It's a perfect STEM project to help kids learn about magnetism in a fun, hands-on way!
Ingredients:
- Bristol Board
- Construction Paper
- Scissors
- Markers
- Glue
- Dice
- Game Pieces
Crafts: Creating the Game Board
1. Brainstorming:- Discuss with your child what kind of game board they would like to create.
- Once an idea has been agreed upon, sketch out the game board design on a piece of paper.
- Cut the Bristol board to your desired size for the game board.
- Using the drafted design, begin to recreate the game board on the Bristol board with markers.
- Create various game spaces and paths using construction paper, and glue down according to the design.
STEM Projects: Constructing the Game Pieces
1. Drafting:- Discuss with your child the kind of game pieces they would like to have. Sketch out designs.
- The pieces should vary in shape but all should be able to stand freely on the game board.
- Cut out the game pieces from the construction paper according to the agreed designs.
- You can make the pieces 3D by folding the edges and gluing them together.
Food: Snacks for Game Time
- Popcorn: Pop a bag of popcorn and serve in a large bowl.
- Fruit skewers: Cut up a variety of fruits and arrange them on skewers for a healthy snack.
- Cookies: Bake your child's favorite cookies together for a bit of sweet fun.
Games: Final Steps
1. Rules:- In addition to the path and game spaces, discuss and determine how the game is to be played.
- Write out the rules of the game and make sure all players understand them before starting.
- Once your child is happy with their game board and pieces, gather some family or friends and play the game!


