


As an affiliate, I earn from qualifying purchases, but this doesn't affect the reviews or recommendations—your trust is important to me!
Creating Your Own Universe with DIY Galaxy Jar Craft

Today, We're Making:
- - DIY Galaxy in a Jar Craft
- - DIY Planetary String Lights
- - DIY Astronaut Helmet using Recycled Materials
- - Space-Themed Scratch Art Paper
- - DIY Alien Sock Puppets
- - Homemade Rocket Ship from Cardboard Boxes
Have You Ever Wished You Could Hold The Universe in Your Hands?
Have you ever looked up at the cosmology, the scattering of stars splashed across the night sky, and wished you could hold that vast and dazzling universe within your hands? Are you ready to embark on a thrilling and creative DIY project that's not only perfect for both kids and adults, but will also transport your imagination to the furthest reaches of space?
Buckle Up And Prepare For Blast Off To Creativity!
This blog post will equip you with a simple, step-by-step guide to creating a captiviating DIY Galaxy in a Jar Craft. This project beautifully blurs the lines between science and art, and brings the stunning beauty of celestial bodies, far beyond our reach, right into the comfort and cozy confines of your home.
A Universe of Possibilities at Your Fingertips
This DIY Project is not just about making a galaxy in a jar, it's about taking the reins and creating your own universe. This enchanting craft will not only light up rooms, but will also light up the faces of those who behold it, with its allure of a homemade universe swirling inside a jar.
Let's Begin Your DIY Universe Project
At the heart of your DIY Galaxy in a Jar Craft is your jar of choice. For this enchanting cosmos craft, any glass jar works, although mason jars, with their rustic charm and sturdy build, are particularly popular among galaxy jar creators. The size of your jar will dictate the size of your homemade galaxy jar, so feel free to pick a container that accommodates your celestial ambitions. But remember, this homemade universe is not restricted to size or shape, your creativity sets the limit!
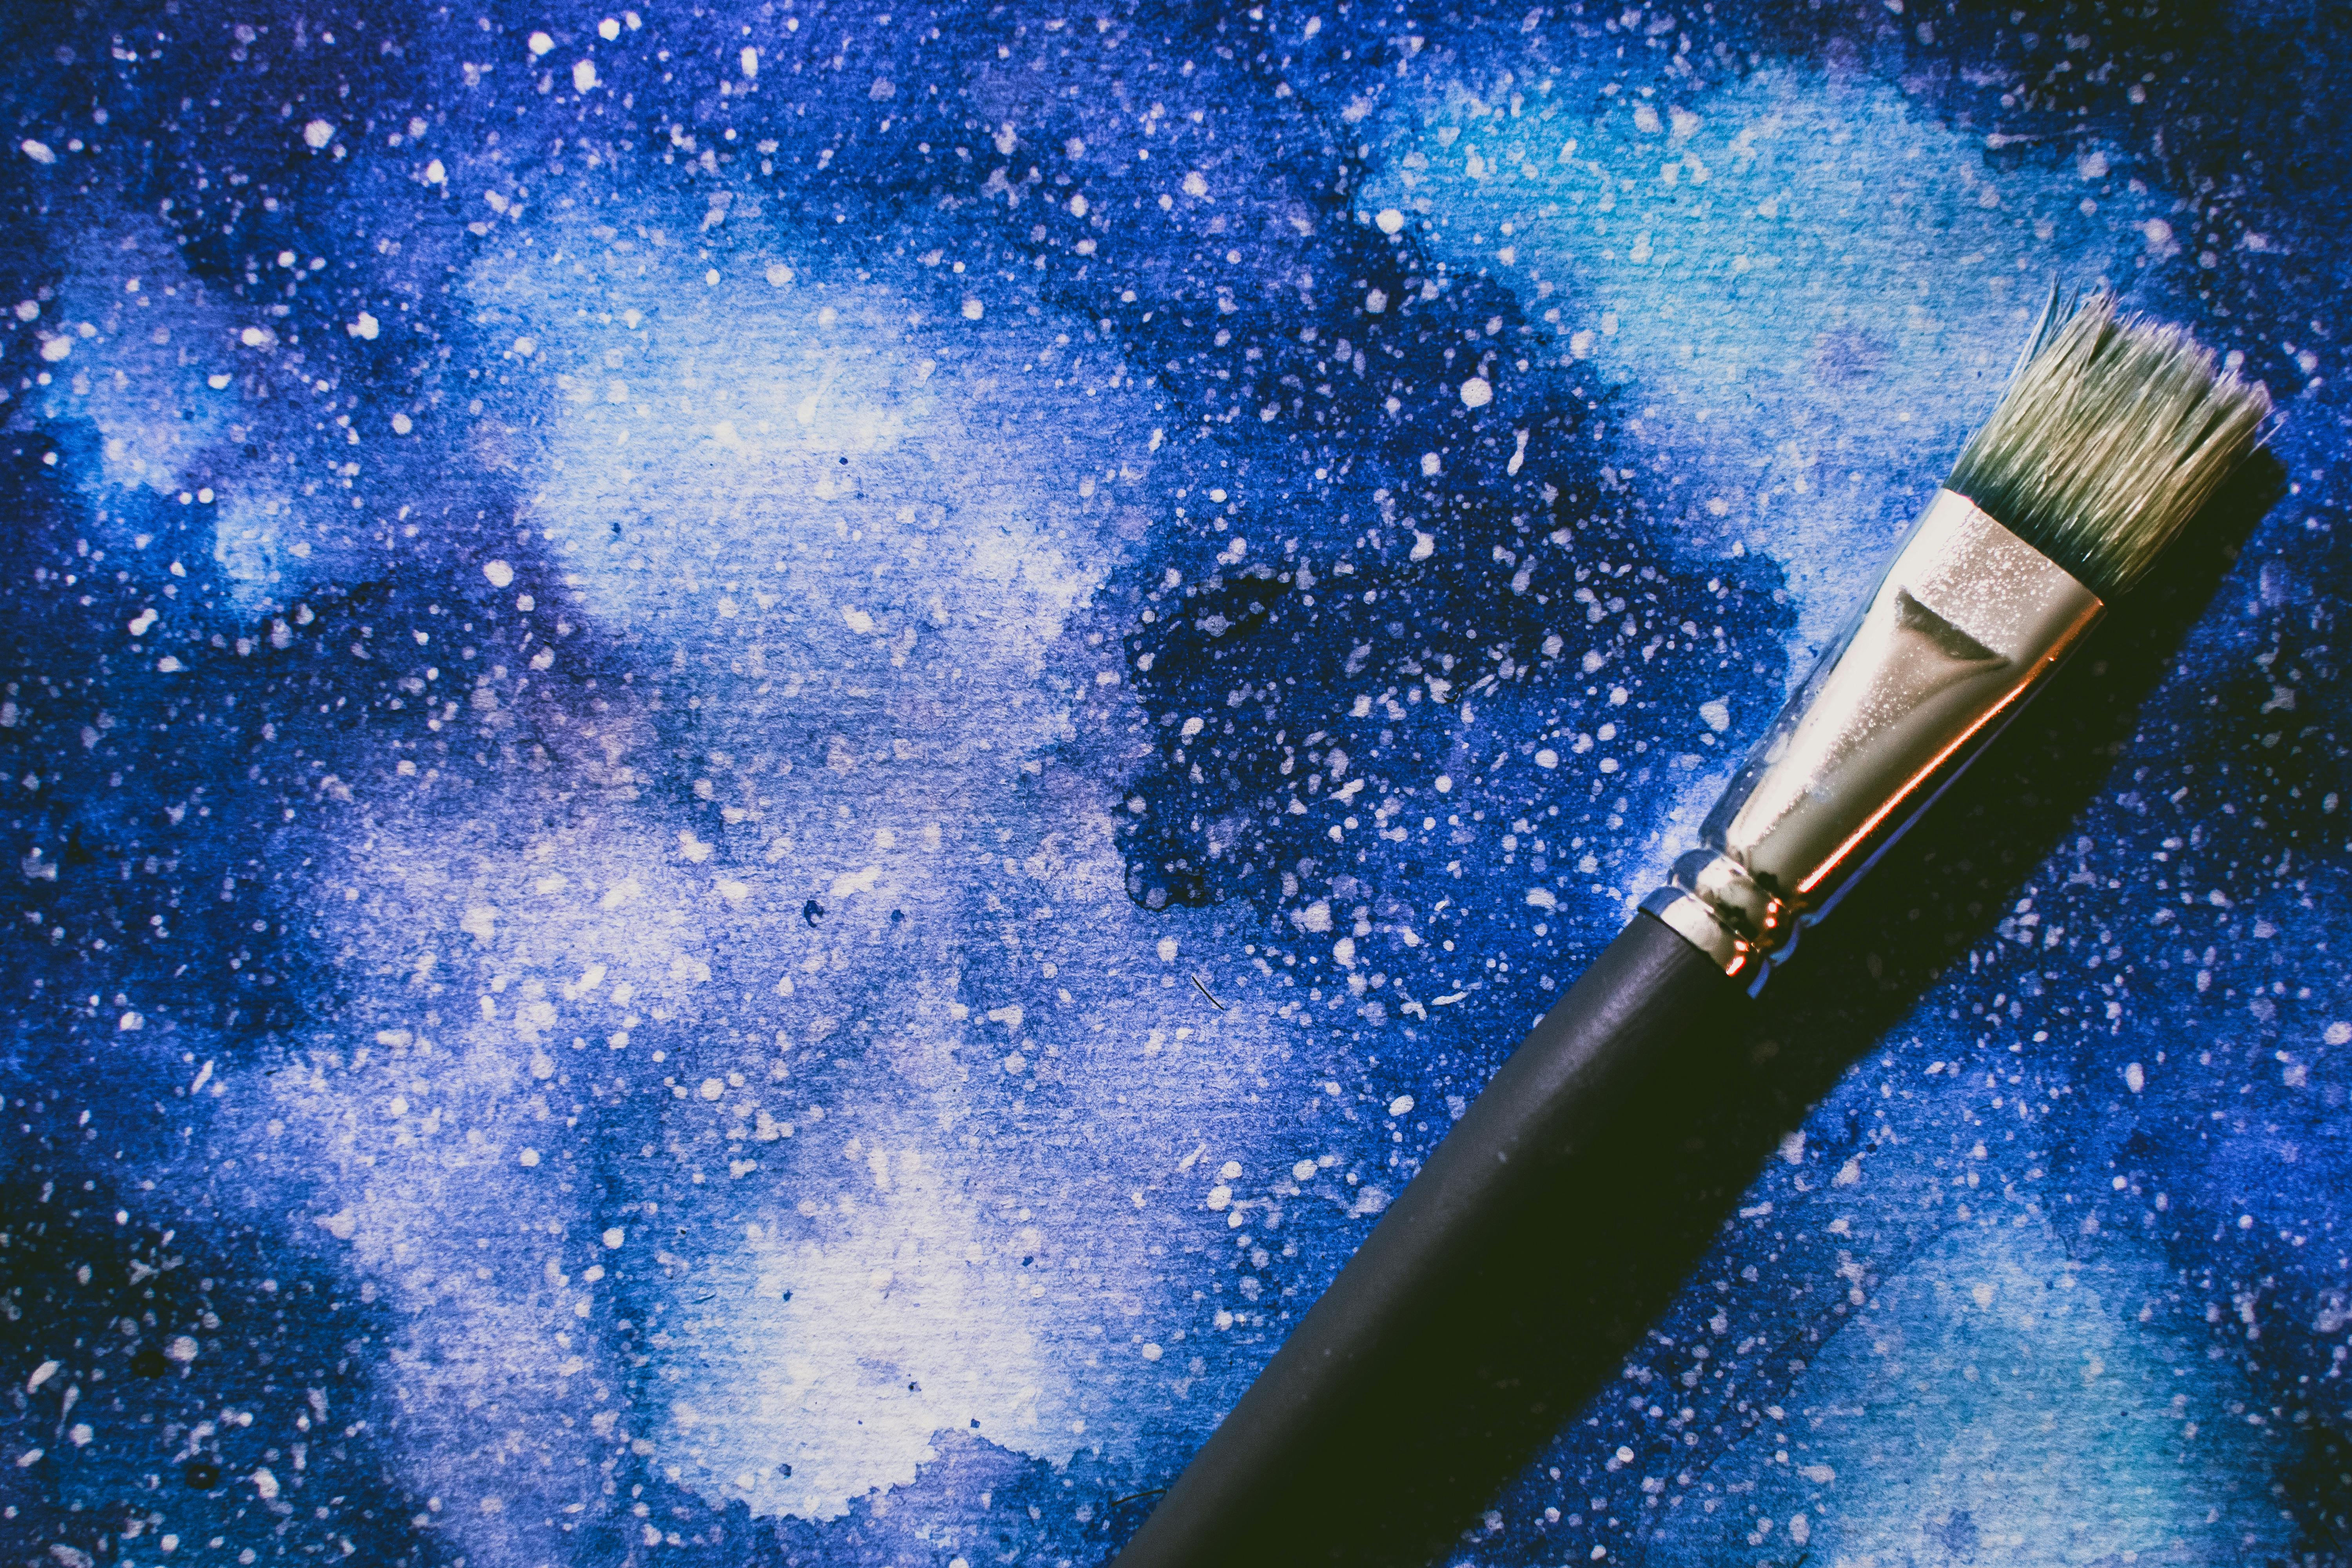
You're going to need paint for this universe craft as well. I recommend using acrylic paint in multiple shades. Typical colors include royal blue, purple, white, and black, though feel free to step outside the realm of the traditional galaxy color scheme. After all, in this DIY universe project, you are the intergalactic artist – it's time to let your creativity streak across the sky!
Crafting a Galaxy in the Shadows
Here's where this updated DIY galaxy jar truly shines - we're introducing glow in the dark crafts to our version! Imagine your very own glow-in-the-dark, spinning galaxy, straight out of the night sky, resting peacefully on your bedside table. Sounds mesmerizing, right? For this, all you need is some glow-in-the-dark paint. Apply patches of this paint randomly inside your jar before adding your galaxy colors to create a cosmic DIY craft that will light up the darkness of space - and your room at night!
You're also going to need some cotton balls. You might be wondering what role cotton plays in the creating of your own galaxy. Well, these fluffy, soft orbs play the critical role of 'star clouds', mimicking the look and texture of nebula in the jar, to lend depth and dimension to your cosmos crafts. When placed in between the layers of paint, they bring about an engaging three-dimensional aspect to your homemade universe. In other words, these little darlings are the secret to making a galaxy jar that looks like it has come straight from the cosmos!
Transcending to Cut-out Constellations
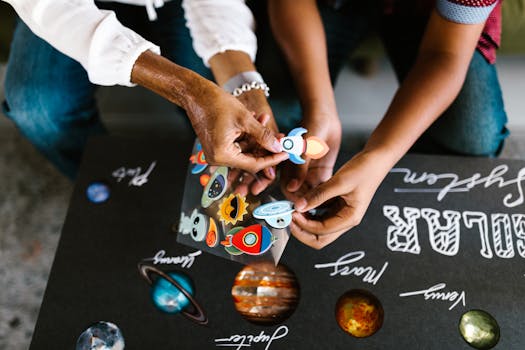
For an added touch of realism, feel free to include some cut-out stars or stick-on star decals. These small additions can transform your DIY Galaxy in a Jar Craft into a realistic dome of a starry night. By doing so, you won't just be creating a DIY universe, you'll be charting it out as well, pinpointing constellations that you love, maybe even inventing a few on your own!
Even though the ingredients for this craft are straightforward, the journey towards crafting a galaxy is an immersive experience much like sky gazing. Each step brings you a little closer to holding the cosmos within the confines of your jar. And, with each layer of color, cotton, and star decals you add, the reality of your own small homemade universe starts to take shape, one that echoes the beauty of celestial bodies and constellations found in the boundless night sky.
Embracing a New World of DIY Space Decor
The DIY galaxy in a jar craft that you create is more than just a fun project about space, it’s also a unique piece of DIY space decor that’s versatile in its uses. It could function as a nostalgic night lamp in your child’s room, a space-themed piece of decor for a party or even an educational tool to inspire young minds to pique their interest in astronomy crafts. It’s a collaboration of science, art, and imagination that anyone can dive into and possibly, find new galaxies within themselves. All you need are a few materials, a dash of creativity, and a readiness to create your own universe.
Your Own Universe in a Galaxy Jar
Our Galaxy Jar Tutorial is packed with easy-to-follow, step-by-step instructions for constructing nebula crafts that would captivate any star crafts enthusiast. Whether you're looking to spend creative time with your kids or you're a grown-up star gazer eager to dabble in constellations DIY projects, this DIY Universe project is versatile, inviting and truly out of this world! The joy and the wonder of holding the universe in a jar crafted by your own hands, is a special feeling that transcends age and time. It’s time to play with science, court the cosmos, and craft your own little galaxy that twinkles with the magic of a homemade universe. Create, have fun, and let's make some stars!
DIY Galaxy in a Jar: Completion and Reflection
As your journey through this DIY Galaxy in a Jar project concludes, don't forget that the cosmos you've crafted isn't just a stunning piece of décor. It's a symbol of your creativity and the universe within you, waiting to unleash its potential.
Each swirl of paint that mimics a celestial body, each twinkling cut-out star, tells a story of you crafting worlds within jars. In this wonderful interplay of art and science, you've not only held the cosmic galaxy within your hands, but also transcended creative boundaries to chart your own universe.
Your Own Slice of the Cosmos
So, take a step back, look at your glass jar pulsating with celestial magic, and know that you've truly created a small slice of the cosmos, from the comfort of your home! Remember, with each galaxy jar, you're not just creating craftsmanship; you're crafting memories, igniting curiosity, and fostering a love for the awe-inspiring world beyond our own.
The Creation Continues
Keep creating, keep exploring and most importantly, keep reaching for the stars!
You May Also Like These:
DIY Planetary String Lights
Materials Needed
- LED string lights - Choose battery-powered lights for safer use with children.
- Small Styrofoam balls - These are your planets. The number and size should correspond to how many planets you want and their relative sizes.
- Acrylic paints - Various colors to paint your planets.
- Paint brushes
- Craft glue
- Toothpicks - For holding the Styrofoam balls during painting and drying.
Step-by-step Instructions
- Prepare your Styrofoam balls. Choose different sizes to represent the various planets.
- Paint your planets. Insert a toothpick halfway into each ball, making it a handy handle for painting. Paint each ball with the colors of your choice and let them dry completely.
- Attach the planets to the string lights. After ensuring that the paint is completely dry, attach each ball to the string lights with craft glue. Make sure to place them in a spot where they wouldn't hinder the light's glow.
- Position the planetary lights. After the glue has dried, you can arrange your string lights wherever you choose, such as a child's bedroom or a family room. Turn them on and enjoy the planetary display.
Note: It's best to supervise children while they are handling the string lights and toothpicks, and during the painting process, to ensure safety and fun.
Crafts for Space-Themed Scratch Art Paper
Ingredients
What you will need:
- Oil pastels
- Black tempera paint
- Glitter
- White drawing paper (preferably a bit thick)
- A paintbrush
- A scratching tool (A dull pencil, a skewer, or a toothpick)
Instructions
Follow these simple steps to create your own space-themed scratch art:
Step 1:Using the oil pastels, fill the entire paper with vibrant colours. The brighter and more varied the colours are, better the final result will be.
Step 2:After you've filled your paper with pastels, mix black tempera paint with a bit of water and paint all over your colourful paper.
Step 3:Before the black paint dry, sprinkle some glitter over it. This will give the effect of stars once the artwork is scratched. Allow the paint to dry completely.
Step 4:Using a dull pencil, a skewer, or a toothpick, start scratching your design. You can sketch planets, stars, galaxies, rockets, or anything else you like.
That's it! You've made a space-themed scratch art paper. This artwork is a beautiful and fun way to let your kids explore outer space from the comfort of your home.
Materials Needed:
- - Black Cardstock Paper
- - Oil Pastels
- - Black Paint
- - Paint Brush
- - Dish Soap
- - Toothpicks or a Stylus for scratching
- - Space-Themed Stencils or Templates (Optional)
Instructions:
Step 1:
Start with a black cardstock paper. If you wish to use a stencil, place it on the paper first and outline the design using a pencil. This will be your guide for using the oil pastels later.
Step 2:
Color inside your drawing or the entire paper surface using your oil pastels. Make sure the color is thick and solid.
Step 3:
Mix your black paint with a bit of dish soap in a bowl. The dish soap will help the paint adhere to the oil pastels.
Step 4:
Brush the black paint evenly over the colored paper. Ensure the paint is not too thick, or it will crack when it dries.
Step 5:
Let the paper dry completely. This may take a few hours.
Step 6:
Once the paint is completely dried, use your toothpick or stylus tool to scratch off the paint and reveal the colors beneath. Follow your pencil sketch if you prepared one.
DIY Alien Sock Puppet Craft Instructions
Materials:- 1 green sock
- 2 large googly eyes
- Glue
- Felt in a variety of colours
- Scissors
Instructions:
Step 1: Create the Alien's HeadPut your hand in the sock with your fingers pointing towards the toe part. Take a rubber band and secure the part of the sock that is near your wrist to create a puppet mouth.
Step 2: Add the Eyes- Glue two large googly eyes on the top of the sock above where the mouth is.
- Hold the eyes down for a few seconds to make sure they adhere properly.
- Cut different shapes from the felt to represent the alien's teeth and other features such as ears or antennae.
- Glue these onto the sock appropriately, allowing time for the glue to dry.
Once all the features are dry and securely fastened, your DIY Alien Sock Puppet is complete! Play around with your puppet and let your imagination run wild.
Crafts: Homemade Rocket Ship from Cardboard Boxes
A fun and exciting do-it-yourself project for parents looking to create a playtime rocket ship with their kids. This simple guide will provide you with clear step-by-step instructions to make the task fun-filled and a breeze.
Materials Needed
- Large Cardboard Boxes - Preferably, two to three depending on the size of the ends of your rocket ship
- Scissors
- Glue - Craft glue or a hot glue gun can be used
- Duct Tape
- Paints and Markers - Different colors to decorate your rocket ship
- Aluminum Foil
Instructions
- Prepare the Cardboard Boxes: Depending on the planned size of your rocket ship, you might need to attach two or three boxes together. Cut the flaps off the top of the box, and then use the duct tape to secure them together.
- Create the Rocket Ship Design: Draw a rocket ship design on the front of your cardboard boxes. Your design can be as simple or as intricate as you would like.
- Cut Out Your Design: Using your scissors, carefully cut out your rocket ship design.
- Decorate the Rocket Ship: Use your paints and markers to decorate your rocket ship. Aluminum foil can be glued on certain parts for a more realistic look. Allow for paint to dry before moving to the next step.
- Play!: Your homemade rocket ship is now ready for fun-filled intergalactic adventures!

