


As an affiliate, I earn from qualifying purchases, but this doesn't affect the reviews or recommendations—your trust is important to me!
Creative DIY Projects and Experiments for Home and Kitchen

Today, We're Making:
- - DIY Origami Bookmarks
- - Homemade Microscope Slide Experiment
- - Spinach and Cheese Stuffed Pasta Shells Recipe
- - DIY Stepping Stone Mosaic
- - Virtual Reality Stargazing App Exploration
- - DIY Time Capsule Craft: Taking the current date as a focal point, kids can make a time capsule filled with items, thoughts, and wishes from today to be opened in the future. This craft promotes critical thinking about life today and predictions for the future
- - Solar System Model STEM project: Using simple materials like foam balls and paints.
Welcome to our domain of innovative DIY ideas!
Looking for a refreshing change in your home and kitchen? Embarking on creative DIY projects like crafting your own origami bookmarks or trying out homemade microscope slide experiments could be your exciting new venture. Rediscover the joy of hands-on creativity with such projects that not only elevate your home decor but also make for meaningful engagement in your free time.
Our Home and Kitchen Projects
From mouthwatering recipes like spinach and cheese stuffed pasta shells to crafting your own stepping stone mosaic, our home and kitchen projects offer a multitude of ideas for enhancing your living space.
Diving into the Impressive World of Tech
You could even dip your toes into the impressive world of tech with a virtual reality stargazing app exploration.
Join us in the world of DIY!
Buckle up, invigorate your senses with our creative kitchen ideas, DIY home projects and budget DIY projects and let your creative juices flow!
```html
DIY Origami Bookmarks
This playful DIY project is all about adding a touch of whimsy to your home decor. Personalize your reading nook or living room with these DIY origami bookmarks. This hands-on project is simple, fun, and inexpensive, perfect for those seeking creative outlets. For starters, the only materials needed are origami paper, scissors, and clear glue. There are many shapes to choose from – animals, flowers, and even your favorite comic characters! Once the origami folding begins, it’s easy to get lost in the immersive folds and creases. What a great opportunity to put on an audiobook as you craft, making it a creative and educational DIY home project. These bookmarks also make thoughtful and unique gifts for the bookworms in your life, fostering a sense of DIY joy shared with loved ones.
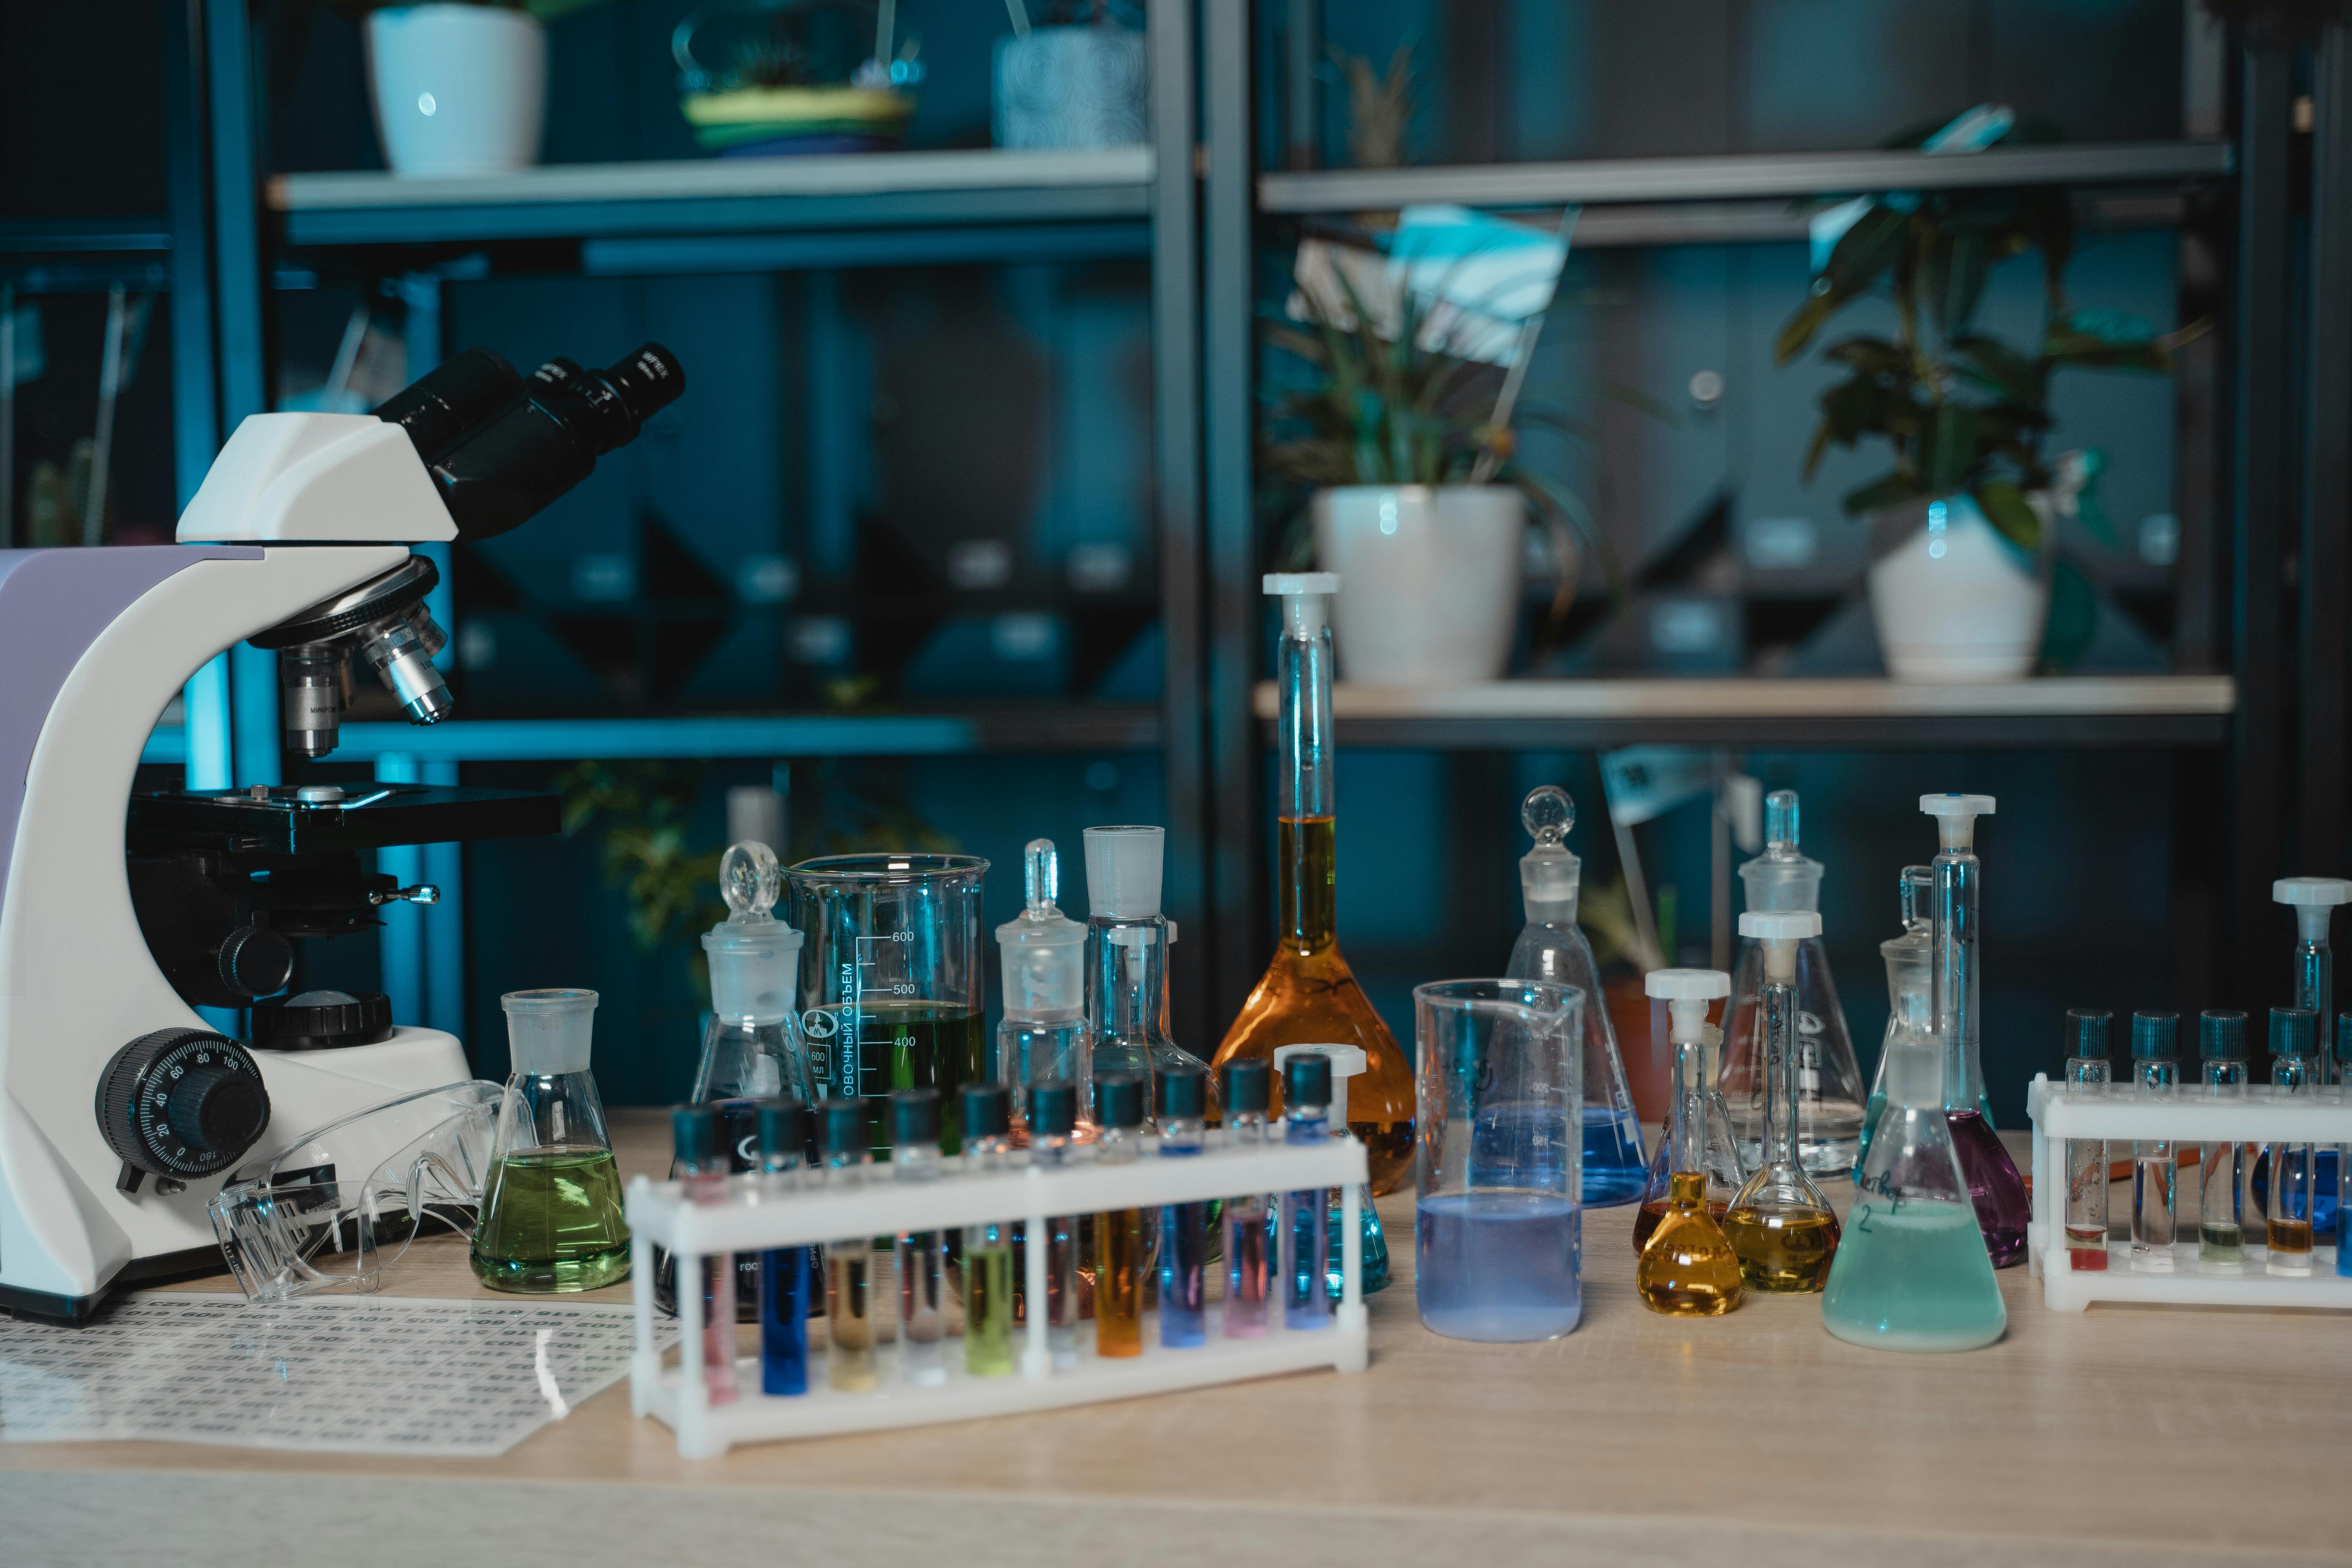
Homemade Microscope Slide Experiment
If you're fascinated by the microscopic world and are looking for kitchen experiments, this homemade microscope slide project is an unmatched pick. It’s a thrilling, educational, and surprisingly easy DIY experiment, sure to spark curiosity or perhaps even inspire scientific discovery. Whether an up-close view of something as commonplace as a leaf or an interactive study of microorganisms in the water, the possibilities are endless and intriguing. This project could also prompt engaging discussions around dinner, and before you know it, your kitchen has transformed into a mini science lab! A curiosity-driven exploration that seamlessly combines learning and DIY projects for home.
Spinach and Cheese Stuffed Pasta Shells Recipe
In the realm of Kitchen DIY, cooking experiments speak volume of creativity. This delicious recipe of spinach and cheese-stuffed pasta shells is a perfect example. You don’t have to be an expert chef to treat yourself and your family to this hearty dish. This recipe adds a creative twist to traditional pasta dinner and makes for a comforting and nourishing meal. The beautifully stuffed shells are a sight to behold, and the flavors of the spinach and cheese intermingling is an experience to enjoy. This DIY kitchen decor is edible and sensational!
DIY Stepping Stone Mosaic
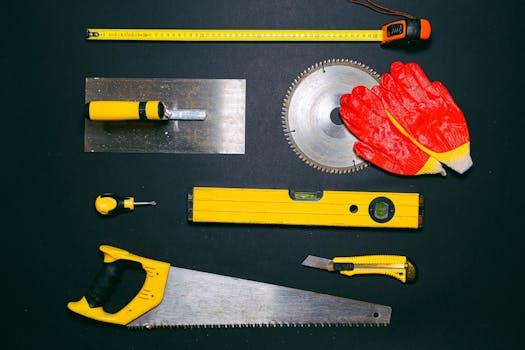
Next up in our home DIY series, we bring you a creative project that marries art with functionality – DIY stepping stone mosaic. With this craft, you're in control of designing home decor that's uniquely you! This project is a great way to reuse old, broken tiles, glass beads, or even sea shells. Creating patterns or images on each stone offers a splendid utilize of creativity, and once done, they are a perfect addition to your garden, back yard or walkway. They could make an attractive and personalized pathway, adding a pop of color and artistry to your outdoor spaces. Plus, you'll have fun putting them together.
Virtual Reality Stargazing App Exploration
Lastly, for the tech enthusiasts out there, try exploring the cosmos from the comfort of your home with a Virtual Reality Stargazing App. It seems fitting that our final pick in DIY Ideas celebrates the wonders of technology. This stargazing exploration is an experiment in space science, offering an immersive experience of constellations, planets, and galaxies, directly from your living room. Starry skies from your cozy couch, it's amazing what science and a bit of DIY spirit can accomplish!
```
Discovering the Joy of DIY Projects
So, there you have it - from crafting bookmarks to cooking scrumptious meals, from re-purposing old tiles into stepping stones to exploring the outer space from your couch! No matter your interest, there's a DIY project waiting to be discovered and mastered.
Why DIY?
Above all, remember it's your curiosity and desire to create something new that makes any DIY project an exciting adventure. So, unplug from the routine, get your hands dirty, and let your imagination take the lead.
Let's Start Creating
With every project, you'll uncover new joys, learn fascinating things, and bring in a dash of personal flair to your home and kitchen. Let's start creating, discovering, and growing together, one DIY project at a time!
You May Also Like These:
DIY Time Capsule Craft
With a focus on the current date, this DIY Time Capsule Craft Project is a perfect way for kids to remember this moment in time. It's an easy and fun activity that can be done in an afternoon. Here are the instructions.
Materials Needed:
- A sturdy box or container that can be sealed
- Various personal items (photographs, letters, drawings etc.)
- Newspapers or magazine cut-outs of current events
- Glue or tape
- Markers or pens
Instructions:
- Gather Your Supplies: Make sure you have all the necessary items listed in the 'Materials Needed' section. This will ensure the crafting process is easy and enjoyable.
- Choose Your Time Capsule Container: This could be anything from a shoe box to a tin container. Make sure it's sturdy and can be sealed.
- Select Personal Items: Choose personal items that best represent the present moment. This could be photographs, letters, drawings or even a toy. Remember, these items will be kept safe in your time capsule until you decide to open it in the future.
- Arrange Your Items: Organize your items in the container. You can make it more interesting by creating layers or sections of different items.
- Seal Your Time Capsule: Once you're satisfied with the contents of your time capsule, seal it up. Make sure it's secure so none of the items fall out over time.
- Decorate Your Time Capsule: Use your markers or pens to decorate the outside of the time capsule. Write the date you made the time capsule and when you plan to open it. Make sure it's something you're proud to display in your home.
Now your DIY Time Capsule Craft is complete! It will serve as a reminder of this special moment in time for years to come.
DIY Paper Plate Animals
Materials:- Paper Plates
- Scissors
- Glue
- Colored Papers
- Markers/Paint
- Cut the paper plate using the scissors to make the shape of your desired animal.
- Use the colored papers to create accessories like ears, spots, tails, etc. and glue them on the paper plate.
- Color the paper plate animal using markers or paint.
- Let it dry completely before handing it over to your kids.
STEM Project: DIY Catapult
Materials:- 7 craft sticks
- 4 rubber bands
- Spoon
- Pom poms or marshmallows
- Stack 5 craft sticks together and bind them at both ends with the rubber bands.
- Take the remaining 2 sticks and bind them at one end with a rubber band.
- Open the two sticks like a V and insert the stack of 5 sticks in between.
- Attach the spoon in front of the V-shaped sticks to make a launch pad. You'll use the rubber band to do this.
- Launch the Pom poms or marshmallows by pushing down on the spoon.
Fun and Easy Snack: Banana Sandwich
Ingredients:- 2 Slices of Bread
- 1 Banana
- Peanut Butter
- Honey (Optional)
- Spread peanut butter on one side of each slice of bread.
- Slice the banana and evenly place on one slice.
- Add a drizzle of honey (if desired) on top of the banana slices.
- Place the second slice on top, peanut butter side down.
- Cut the sandwich into desired pieces and serve.
Creating Simple Homemade Slime
Ingredients:
- 1/2 cup of clear or white PVA glue
- Kitchen scales
- Bowl for mixing
- 1/2 cup of water
- 1/2 teaspoon of bicarbonate of soda (baking soda)
- 1 tablespoon of saline solution (salt water)
- Gel food coloring (optional)
- Glitter (optional)
Instructions:
- Pour the PVA glue into a bowl.
- Add the water and stir until the glue and water are fully combined.
- Add the bicarbonate of soda (baking soda) to the mixture and stir.
- If you want colored slime, add a few drops of food coloring. For glitter slime, add some glitter. Stir until combined.
- Finally, stir in the saline solution. As soon as you add it, the mixture will start to come together to form a slimy texture.
- Reach in and knead with your hands until the slime is less sticky and has a stretchy slime consistency.
DIY Popsicle Stick Catapult STEM Project
Materials:
- 10 popsicle sticks
- Rubber bands
- Bottle cap
- Glue
- Small, lightweight objects
Instructions:
- Stack eight popsicle sticks together and secure both ends using rubber bands.
- Take the remaining two popsicle sticks and attach the bottle cap to one end of one stick using glue. Allow it to dry.
- Position the stack of sticks perpendicularly on the single stick (attached with the cap), about one-third from the end with the bottle cap. Secure with a rubber band.
- Now the catapult is ready. Place a small, lightweight object in the bottle cap, push down on the other end of the lever, and watch your object fly!
Time Capsule Creation: A STEM Craft Project
This interactive and imaginative STEM craft project encourages children to critically think about life today and make predictions for the future. They get to compile objects, wishes, and documents that symbolize the present time, store them safely, and open them in the future. It's a perfect blend of creating memories and promoting scientific thinking.
What You Will Need:
- A durable box or container: This will serve as your time capsule. It should be sturdy enough to withstand the test of time. Large tin containers, wooden boxes or even a strong shoebox will work.
- Precipitation covering: This could be waterproof materials like plastic or fabric to protect the inside of the box from moisture or water damage.
- Art supplies: Markers, paints, crayons, or anything else your child loves to use for decoration. They can personalize the outside of the time capsule.
- Pictures and souvenirs: These can be recent photographs, ticket stubs, toys, drawings- anything that symbolizes today.
- Paper and pen: To write down their wishes for the future and current observations about life.
Instructions:
- Decorating the Capsule: Allow your child to decorate the container in any way they want. They can paint it, cover it in stickers, or even create a collage of current favorite things. Encourage them to be creative.
- Paper Work: Guide your child to write down their current life observations, wishes, and predictions for the future. Encourage them to think critically and express honest thoughts.
- Collect Material: Help your child choose items that represent the present moment. It could be a recent family photo, their favorite toy, or even a newspaper clipping from today.
- Fill the Capsule: One by one, place every item inside the capsule. As you both do so, discuss the significance of each object.
- Seal the Capsule: Once the time capsule has been filled, seal it securely. You can use tape, glue, or anything else that prevents it from being accidentally opened.
- Find a Safe Storage Spot: Store the time capsule in a safe and dry place. Make sure it's a spot where the capsule will be undisturbed for a long period.
- Set a Date: Decide on a future date when the capsule will be opened. A great time could be a milestone birthday or high school graduation.
Your time capsule is ready! Enjoy this beautiful journey through time that you just created with your child.
Solar System Model STEM Project
Materials Needed:
- Foam balls: large, medium and small sizes.
- Paint: black, white, red, yellow, brown, blue, green, and orange.
- Paint brushes: variety of sizes for detail work.
- Fishing line or string for hanging.
- Wooden dowels or straws: for holding the planets while painting and drying.
- Space: a large, well-ventilated area for painting and drying.
Instructions:
- Sorting the Planets: Begin by sorting your foam balls by size to represent the planets of our solar system. You'll need nine in total (if you're including Pluto).
-
Painting the Planets: Now it's time for painting! Assign a color to each planet:
- Mercury: brown.
- Venus: yellow.
- Earth: blue and green.
- Mars: red.
- Jupiter: orange with white bands.
- Saturn: pale golden with brown rings.
- Uranus: light blue.
- Neptune: deep blue.
- Pluto (optional): light brown.
- Drying the Planets: Insert the dowel or straw into each planet to hold it while drying. Leave them until full drying.
- Constructing the Solar System: Once your planets are dry, string them up with your fishing line or string, arrange them in order from the sun, and hang your solar system model.
With these simple steps, you and your child can build a solar system model that's not only educational, but also makes a fun decoration!


