As an affiliate, I earn from qualifying purchases, but this doesn't affect the reviews or recommendations—your trust is important to me!
DIY Upcycled Jewelry Holders for Holiday Gift Accessories
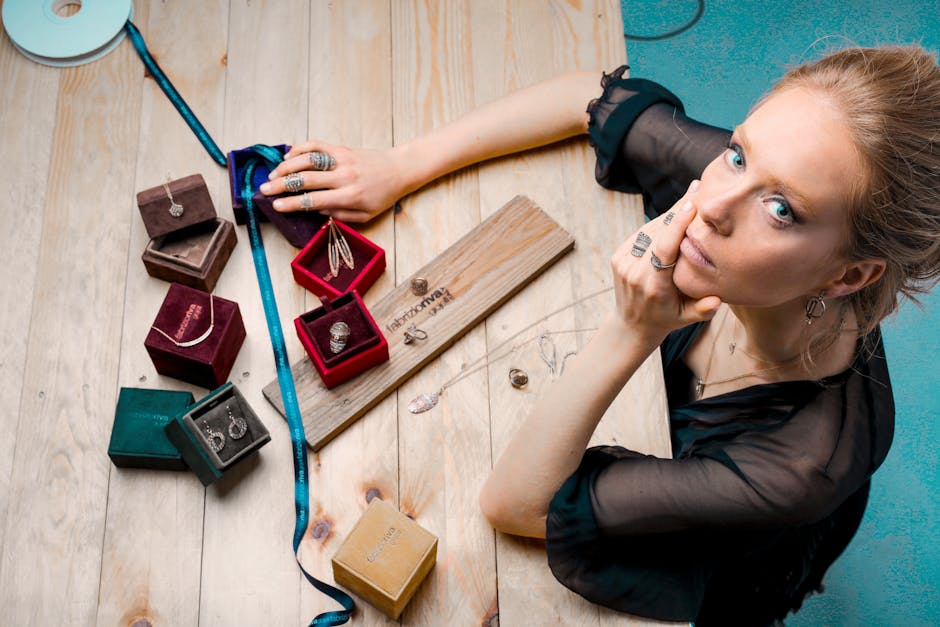
The holidays just wrapped up, and your tween's room looks like a jewelry store exploded. Necklaces tangle in drawers, earrings hide under beds, and those beautiful accessories from grandma are already losing their mates. Sound familiar?
Here's something that might surprise you: creating organized storage solutions together can actually pull your kids away from screens without the usual resistance. A recent study shows that hands-on crafting activities reduce screen time by an average of 40% when kids find a project genuinely useful for their own lives. When tweens and teens make something they'll actually use—like a custom jewelry holder for all those holiday gifts—they get invested in the process.
The best part? You probably have everything needed in your recycling bin, garage, or thrift store down the street.
The Purpose Behind the Project
Beyond the obvious benefit of screen-free time together, this upcycled jewelry holder DIY tutorial solves multiple problems at once. Your tween learns sustainable practices without a lecture about environmental responsibility. They develop spatial reasoning and problem-solving skills. And honestly, you reclaim some floor space while teaching organization skills that'll serve them well into adulthood.
Those holiday accessories deserve better than a tangled mess in a drawer. Whether your teen received delicate earrings from Aunt Marie or your tween got their first "grown-up" necklace collection, proper storage keeps gifts looking new and shows respect for the thoughtful givers.
Creating a repurposed jewelry organizer tutorial together opens conversations naturally. You'll talk about design preferences, color choices, and functionality—all while working side-by-side on something productive. No forced family bonding here, just genuine collaboration.
Three Simple Upcycled Jewelry Holder Projects
Picture Frame Earring Display
That old picture frame in your closet just became prime real estate for earring storage. This project works beautifully for tweens who collected earrings over the holidays and need a better system than the tiny box they came in.
Start with any picture frame you're no longer using. Remove the glass and backing, keeping just the frame itself. Head to a hardware store for a small piece of metal mesh or decorative screen—most stores cut it to size for under five dollars. Staple or hot-glue the mesh into the back of the frame where the picture used to sit.
Your tween can paint the frame in their favorite color or leave it vintage for a rustic accessory holder projects vibe. Hang it on the wall at eye level, and suddenly all those stud earrings and small hoops have a visible home. No more digging through jewelry boxes or losing one earring to the void.
The genius of this recycled jewelry storage idea is visibility. When your teen can see everything at once, they're more likely to actually wear those gifts instead of forgetting they exist. Plus, it doubles as room decor—a win for both organization and aesthetics.
Wine Cork Necklace Stand
If you saved corks from holiday celebrations (or know someone who did), this handmade earring holder tutorial transforms them into a charming display. This project teaches basic construction skills while creating a functional piece your teen will genuinely appreciate.
Wine Cork Jewelry Stand
Gather 20-30 wine corks and a small wooden base—an old cutting board, a picture frame backing, or even thick cardboard covered in fabric works perfectly. Hot glue the corks standing upright in rows on the base, packing them close together. The tighter they fit, the sturdier your creation becomes.
Once the glue dries completely, your teen can push necklaces and bracelets down between the corks. The natural friction holds jewelry in place without tangles. For added personality, let them paint the cork tops in ombre patterns or leave them natural for eco-friendly jewelry holder craft appeal.
This sustainable jewelry display DIY handles both delicate chains and chunky statement pieces. The varied heights you can create by using corks of different lengths adds visual interest. Plus, there's something satisfying about repurposing materials that would otherwise hit the trash.
Vintage Teacup Ring Holder
Thrift stores overflow with mismatched teacups and saucers that nobody wants anymore. These become perfect thrifted jewelry holder projects for rings, small earrings, and other tiny accessories that tend to vanish.
Visit a thrift store together and let your tween choose cups that match their room aesthetic. Vintage floral patterns work for some kids, while others gravitate toward bold modern designs. The searching process itself becomes an activity—a treasure hunt with purpose.
Arrange the cups and saucers on a dresser or shelf, with rings displayed in the cups and earring pairs on the saucers. For a more permanent solution, use strong adhesive to attach cups to saucers at interesting angles, creating a tiered zero waste accessory storage display.
This budget jewelry holder projects option costs just a few dollars but looks custom-made. Your teen learns that organization doesn't require expensive store-bought solutions. Sometimes the best answers come from creative thinking and a willingness to see potential in overlooked items.
Quick Wins: Start Here
Not ready to commit to a full project? These waste-free jewelry organization ideas take less than 30 minutes and require almost no supplies:
Ice cube tray earring storage: Designate one tray per jewelry type and slide it into a drawer. Each compartment holds a different pair, preventing tangles and making selection easy.
Branch necklace tree: Find an interesting branch in your yard, spray paint it if desired, and secure it in a small pot with rocks or clay. Instant creative jewelry holder ideas that cost nothing.
Cheese grater earring board: Old cheese graters with holes make surprisingly effective earring holders when hung on a wall or propped on a dresser.
Egg carton ring storage: Those cardboard egg cartons work perfectly for organizing rings and small stud earrings in drawers.
Toilet paper roll bracelet holders: Stack empty rolls in a drawer to keep bracelets from tangling, or cover them in decorative paper for display-worthy vintage jewelry organizer craft appeal.
Moving Forward Together
Creating holiday jewelry storage solutions doesn't require crafting expertise or expensive materials. You need curiosity, a willingness to experiment, and the ability to see trash as treasure. Your tween or teen might surprise you with their design ideas once they get started.
These projects teach resourcefulness that extends beyond jewelry organization. When kids learn to solve problems creatively with reclaimed materials jewelry display thinking, they develop skills for life. They start noticing potential everywhere, transforming problems into projects.
The memories you create while building these simple jewelry organization tutorial projects together matter more than perfection. Crooked glue lines and paint drips become part of the story. Your teen will remember the afternoon you spent transforming junk into something useful, not whether everything turned out Pinterest-perfect.
Let's Keep the Conversation Going
What jewelry organizing challenge does your family face after the holidays? Does your teen have specific accessories that need creative storage solutions?
Reach out to WizardHQ@AngelinaAllsop.com with ideas on how to tailor this blog to make it more relevant to you. Whether you're working with limited space, specific materials, or unique organizational needs, there's always a way to customize these beginner jewelry holder craft concepts for your situation. Let's figure it out together.