DIY Tie-Dye Spring Break T-Shirts and Beach Bags for Vacation
Screen time statistics continue to climb, with teens averaging over seven hours daily on devices and tweens not far behind. As spring break approaches, you might be wondering how to pull your kids away from their screens and create memories that don't involve scrolling through social media. Last year, I watched my neighbor's daughter convince three friends to put down their phones for an entire afternoon because she wanted help tie-dyeing beach bags for their upcoming family trip. The girls ended up spending five hours together, laughing, creating, and planning their vacation outfits. That's the magic of hands-on creative projects—they naturally draw kids in and keep them engaged.
The Problem with Pre-Packaged Spring Break
Your family vacation shouldn't start with a frantic Target run to buy generic beach gear everyone else will have. When your tween or teen creates their own custom accessories, they're investing in the trip before it even begins. They'll actually want to use items they've made themselves, and you'll spot your family's bags instantly on a crowded beach.
Plus, tie-dyeing isn't just busywork. This activity teaches color theory, planning, patience, and problem-solving. Your kids are learning while creating something genuinely useful for your vacation.
Getting Started: Essential Supplies for Your Tie Dye Beach Bags Tutorial
Before diving into this tie dye beach tote tutorial, let's talk about what you'll need. The beauty of this project is that supplies are affordable and reusable for future crafting sessions.
Start with plain canvas tote bags from craft stores or online retailers. Look for 100% cotton canvas bags—they absorb dye better than synthetic blends. You'll find them in various sizes, from small pouches perfect for sunscreen and phones to large totes that hold towels and snacks. Budget around three to eight dollars per bag.
For dye, fiber reactive dyes work best for vibrant, long-lasting colors. Brands like Tulip and Jacquard produce excellent kits specifically for tie-dyeing. A basic kit with six to eight colors costs fifteen to twenty-five dollars and provides enough dye for multiple projects. You'll also want white 100% cotton t-shirts in sizes that fit your teens and tweens.
Don't forget the supporting supplies: rubber bands in various sizes, plastic squeeze bottles if your dye kit doesn't include them, plastic gloves, plastic table covers or garbage bags, and paper towels. A plastic bin or bucket for soaking items is essential, and you'll need soda ash (often called dye fixer) to help colors set permanently. Most tie-dye kits include this, but you can purchase it separately if needed.
Set up your workspace outdoors if possible, or protect indoor surfaces thoroughly. Dye stains are permanent—that's the point—so treat your workspace accordingly. An outdoor picnic table, driveway, or garage works perfectly for this DIY beach bag dyeing project.
Three Techniques Your Kids Will Actually Want to Try
Now for the fun part of this homemade beach bag tutorial. These three tie-dye techniques range from simple to moderately complex, perfect for tweens and teens at different skill levels.
The Spiral Technique
This classic pattern looks impressive but remains beginner-friendly. Your tween or teen pinches the center of the shirt or bag and twists clockwise, creating a flat spiral. Once it resembles a cinnamon roll, they'll wrap rubber bands around it like they're cutting a pizza—four to six bands creating wedge sections.
Here's where creativity enters: each wedge can be a different color, or they can alternate two colors for a bold statement. Apply dye by squeezing it onto each section, making sure to flip the item over and dye the back side too. The tighter the spiral, the more white space remains in the final design. A looser twist creates more blended, psychedelic patterns.
Teens particularly love this technique because it's nearly impossible to mess up, yet each spiral turns out uniquely.
The Scrunch or Crumple Technique
Perfect for kids who don't want to follow rules, this technique embraces chaos. Simply scrunch the shirt or bag into a random ball, wrap several rubber bands around it to hold the shape, then apply colors randomly all over the bunched fabric.
This method works beautifully for beach bags because the random patterns look intentionally artistic. Your teen can use ocean-inspired colors—turquoise, navy, teal, and seafoam green—for a cohesive vacation aesthetic. Or they might choose sunset colors: coral, orange, hot pink, and yellow.
The scrunch technique also works faster than precise patterns, perfect for kids who want instant gratification. It's ideal for beginners tackling their first tie dye canvas bag tutorial.
The Stripe or Accordion Fold Technique
For teens who appreciate clean, modern designs, the stripe technique delivers. Fold the shirt or bag accordion-style, creating pleats about one to two inches wide. Secure the folded fabric with rubber bands spaced along the length.
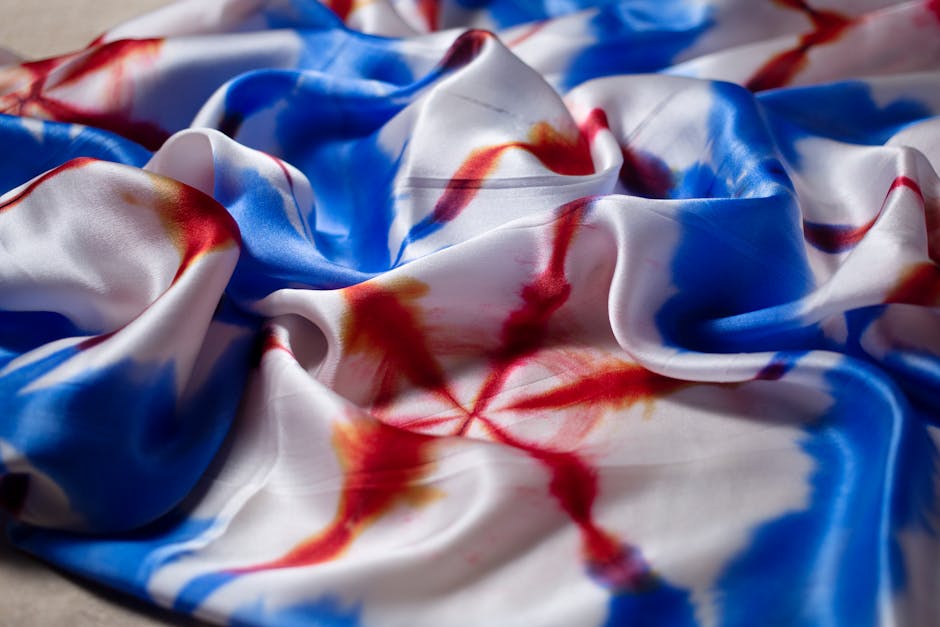
Apply dye colors in stripes along the folded sections. Using just two or three colors creates sophisticated, mature-looking designs that older teens prefer over rainbow explosions. Navy and white stripes look nautical and vacation-appropriate. Ombre effects—where colors gradually shift from light to dark—work beautifully with this folding method.
This technique teaches precision and planning. Your teen needs to visualize how the folds will translate into stripes when opened, developing spatial reasoning skills without realizing it.
The Waiting Game: Setting and Revealing Your Designs
After applying dye, the hardest part of any tie dye vacation bags project begins: waiting. Wrap each dyed item in plastic bags or plastic wrap to keep them damp. Dye needs six to eight hours to set properly—overnight works perfectly.
This waiting period actually serves a purpose beyond chemistry. It builds anticipation and teaches delayed gratification, something our instant-access culture doesn't often provide. Your kids will genuinely look forward to the reveal the next day.
When time's up, rinse each item under cold water while still bound with rubber bands. As the water runs clear, cut off the rubber bands and rinse again under warm water. Finally, wash items separately in the washing machine with mild detergent, then dry them.
The moment your teen or tween unfolds their creation and sees the final pattern for the first time? That's pure magic. Even if the design didn't turn out exactly as planned, they'll likely love it because they made it themselves.
-
Pre-wash all shirts and bags before dyeing to remove manufacturing residues that can block dye absorption—throw them in the washer without fabric softener the night before your project
-
Create a dye station assembly line where one kid folds and bands items while another applies colors, making the process social and efficient
-
Take photos of items before unfolding so your teens can recreate successful patterns later or share their techniques with friends
-
Make extra pieces as gifts since your kids' friends will definitely want custom bags once they see these handmade vacation tote tutorial results
-
Protect the dye by washing tie-dyed items separately for the first three washes to prevent color transfer to other laundry
Your Spring Break Starts Now
These DIY spring break crafts transform vacation prep from a chore into a memorable family activity. Your tweens and teens get screen-free creative time, practical items they'll proudly use, and bragging rights when friends ask where they got such cool stuff.
The best part? You're not just making beach bags and t-shirts. You're teaching your kids that they can create rather than consume, that patience produces better results, and that handmade items carry meaning store-bought products never will.
Your family's spring break aesthetic is waiting to be created, one colorful squeeze bottle at a time.
Let's Keep the Creativity Flowing
What other spring break DIY projects has your family tried? Are your kids more interested in bold rainbow designs or sophisticated two-color patterns?
If you'd like help tailoring these tie dye tote bag instructions to better fit your family's specific needs, vacation destination, or your teen's interests, reach out to WizardHQ@AngelinaAllsop.com. We'd love to hear about your creative adventures and help make these tutorials even more relevant for your unique situation.