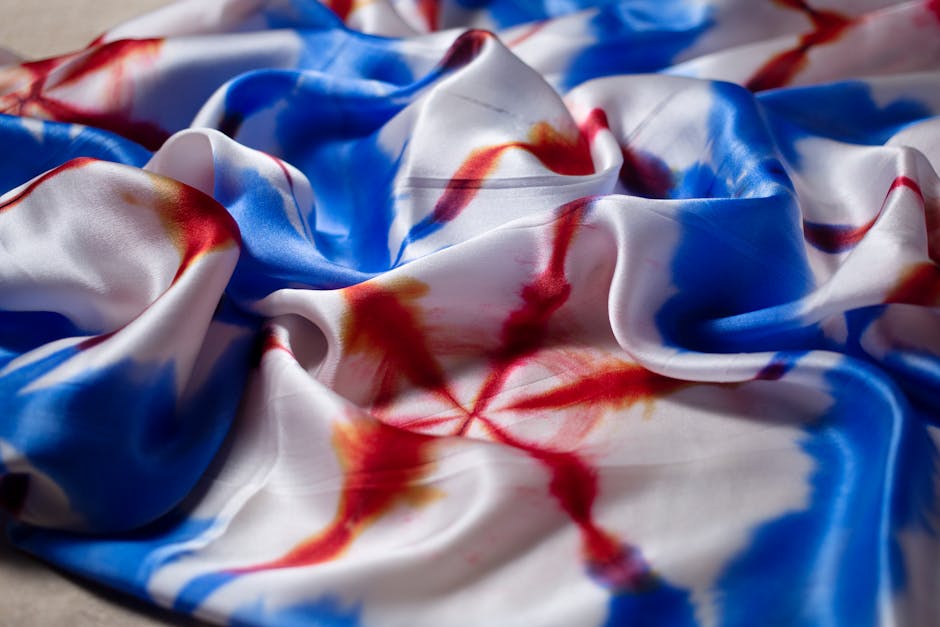
Summer camp registrations fill up fast, and before you know it, another school year will be in the rearview mirror. Your kids will come home with drawers stuffed full of camp shirts, team jerseys, and worn-out favorites they refuse to part with. According to recent surveys, the average teen accumulates 12-15 event t-shirts per year, and most parents admit to secretly donating them when their kids aren't looking. But what if those memory-packed shirts could become something your tween or teen actually wants to keep?
This tie dye memory pillowcase tutorial solves the clutter problem while giving your kids a screen-free creative project that preserves their favorite moments. Instead of another afternoon scrolling through social media, they'll be transforming their collection of shirts into personalized keepsakes that actually get used. The best part? This project works perfectly for kids who've never touched a sewing machine or mixed their first dye batch.
The Problem With Traditional Memory Keeping
The Problem With Traditional Memory Keeping
Most memory preservation projects end up shoved in boxes under beds or stuffed in closets. Scrapbooks gather dust. Photo albums get looked at once. Memory quilts sound amazing until you realize the time commitment and skill level required.
Your tween or teen needs something different. They want to create something functional that connects them to their favorite experiences without feeling like a "craft project" their younger siblings would do. They're at that awkward age where nostalgia matters, but so does coolness factor.
That's where this summer camp shirt tie dye and memory pillowcase project hits the sweet spot. It's hands-on, creative, personalized, and produces something they'll actually use when they crash on their bed scrolling through—wait, we're going screen-free here—reading their favorite book.
Creating Your Tie-Dye Summer Camp Masterpieces
Creating Tie-Dye Camp Shirts
Let's start with the fun part: creating new tie-dye camp shirts or refreshing old ones before they become pillow material. This gives your kids the creative outlet of designing something from scratch while learning techniques they'll use later in the memory pillowcase portion.
Gather your supplies: white or light-colored 100% cotton shirts, tie-dye kits (Tulip and Jacquard are reliable brands), rubber bands, plastic gloves, plastic tablecloth or garbage bags, and a sense of adventure. The dollar store is your friend here—you can find plain white tees for a few bucks each.
The Classic Spiral Technique
The classic spiral technique works great for beginners. Have your teen pinch the center of their shirt and twist clockwise until it forms a flat spiral disk. Secure it with 3-4 rubber bands creating 6-8 wedge sections. This is where creativity kicks in. They can use one color per wedge for a rainbow effect, or stick to 2-3 coordinating colors for a more sophisticated look.
The Scrunch Method
For tweens who love patterns, try the scrunch method. Simply scrunch the shirt randomly and secure with several rubber bands in different directions. This creates an abstract, unpredictable pattern that looks professional even when done by complete beginners.
The Stripe Technique
The stripe technique appeals to teens who prefer structure. Fold the shirt accordion-style from bottom to top, secure with rubber bands every few inches, and apply colors in the spaces between bands. The result? Clean horizontal stripes that look deliberately designed.
Pro Tip: Let It Set
Here's the part nobody tells you: let the dye sit longer than the instructions suggest. Most kits say 6-8 hours, but 24 hours produces significantly more vibrant results. Have your kids wrap their dyed shirts in plastic bags and leave them overnight before rinsing.
Transforming Memories Into Pillowcases
Creating Your End-of-Year Memory Pillow
Now comes the end of year memory craft portion. Those shirts from soccer season, band camp, mission trips, and school events are about to get a second life. This beginner tie dye pillow project requires minimal sewing skills—perfect for kids who've never threaded a needle.
Selecting Your Memory Shirts
Start by selecting 6-8 meaningful shirts. Your teen should choose ones that spark specific memories: the shirt from their first overnight camp, the jersey from their championship game, the tee from that school trip where everything went hilariously wrong. Each shirt tells a story.
Preparing the Fabric
Cut the front graphic portions from each shirt, leaving about an inch of fabric around the design. The backs can be saved for another project—or for stuffing if you're feeling extra resourceful. Arrange these fabric squares into a pleasing layout. This is where your tween or teen gets to curate their memories like a gallery exhibit.
The No-Sew Option
For the no-sew option, grab some fabric fusion tape or iron-on hem tape. Cut a plain pillowcase along one seam so it lays flat (old pillowcases work perfectly). Arrange the t-shirt squares on the pillowcase front, and use the fusion tape to attach each piece according to package directions. This DIY memory pillow tutorial variation works brilliantly for kids who get frustrated with sewing machines.
The Sewing Machine Approach
The sewing machine approach creates more durable results. Set up your machine with a straight stitch and medium tension. Teach your teen to sew each square onto the pillowcase base with a simple straight stitch around the perimeter. They don't need perfect seams—the slightly imperfect look adds character and proves they made it themselves.
Tie Dye Enhancement Technique
For added dimension, try the tie dye keepsake pillow enhancement: before attaching squares to the pillowcase, dye the base pillowcase itself using a subtle technique like ice dyeing. Lay ice cubes over the scrunched fabric, sprinkle powdered dye over the ice, and let it melt overnight. This creates a soft watercolor background that makes the t-shirt graphics pop.
Advanced Variations and Personalization Techniques
Once your kids master the basics of this camp shirt pillowcase DIY, they'll want to level up. The upcycled t-shirt pillow tutorial can expand into full pillows by sewing two decorated pillowcases together (inside out) on three sides, turning right-side out, stuffing with polyfill, and hand-stitching the opening closed.
Embroidery adds personality between the t-shirt squares. Your teen can use simple backstitch to add dates, names, or inside jokes that make the pillow uniquely theirs. Embroidery floss costs about a dollar per skein, and the skill translates to other projects later.
For tweens who collect patches and pins, incorporate these into the design. Sew patches in empty spaces, or create small pockets to hold special items like backstage passes, ticket stubs, or wristbands from concerts and events.
The tie dye craft for kids aspect extends beyond shirts and pillowcases. Use the same dye techniques on canvas bags, bandanas, or socks. One family I know dyes matching items each summer before camp—it becomes a tradition that marks the passage of time and gives everyone something to look forward to.
Consider making this a yearly school year memory project. At the end of each school year, dedicate an afternoon to creating that year's memory pillow. Over time, your teen builds a collection that chronicles their growth and experiences. Some kids display them on their beds; others save them for college dorm rooms where they become conversation starters.
Quick Wins: Start Here
New to this easy tie dye pillowcase project? Don't overthink it. Here's where to begin:
Raid the closet first – Pull every shirt with a meaningful graphic before buying anything. You probably have more than enough material already.
Start with one practice shirt – Buy a cheap white tee and let your kids experiment with dye techniques before touching their favorite camp shirt.
Pre-wash everything – New fabric has sizing that repels dye. Wash shirts and pillowcases in hot water with no fabric softener before starting.
Protect your workspace obsessively – Tie-dye stains are permanent. Cover tables, floors, and nearby surfaces with plastic. Your kitchen counters will thank you.
Document the process – Have your teen photograph their work-in-progress. Years later, these process photos become as valuable as the finished product.
Creating Memories While Making Memories
This DIY tie dye pillow step by step project does something special: it gets your kids off screens while helping them process and preserve meaningful experiences. They're using their hands, making decisions, solving problems when the dye doesn't behave exactly as planned, and creating something tangible.
The beauty of this school shirt memory pillow concept is that it grows with your child. A tween's first attempt might be messy and imperfect. By the time they're a teen, they're teaching younger siblings and experimenting with complex dye patterns and sewing techniques.
You're not just making pillowcases together. You're building a tradition, teaching practical skills, and showing your kids that memories don't have to live on phones or in cloud storage. Sometimes the best memories are the ones you can hug.
What Summer Camp Memories Will Your Kids Preserve?
What shirts are taking up space in your kids' drawers right now? Which memories deserve to become summer camp keepsake ideas they'll treasure for years?
If you'd like ideas on tailoring this tutorial to fit your family's specific situation—maybe you have multiple kids at different skill levels, or you're looking for group project ideas—reach out to WizardHQ@AngelinaAllsop.com. We'd love to help you create the perfect screen-free summer tradition.
 Skip to content