


As an affiliate, I earn from qualifying purchases, but this doesn't affect the reviews or recommendations—your trust is important to me!
Edible Finger Paint Recipe: Safe and Fun for Kids

Today, We're Making:
- Edible Finger Paint
- Fruit and Veggie Paints - Create fun finger paints using fruits and vegetables like beetroot,spinach,carrots,and blueberries. Boil them separately in a little water until the colors are extracted, mix the juice with edible starch to create the paint.
- Yogurt Rainbow Paints - Mix different food colors into plain yogurt to craft easy.
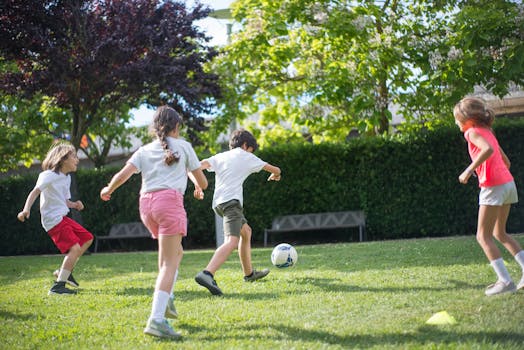
Imagine this: A Rainy Afternoon Solution
It's a rainy afternoon, your kids are bouncing off the walls, restless with energy and you're tired of repeating "don't put that in your mouth!" Well, I've got a solution that's both fun and calming for those pint-sized Picassos in your home.
Welcome to a World of Edible Paint
Welcome to a world where the edible finger paint recipe not only exists but thrives! A unique blend of child-friendly activities and creative playtime that promises to transform your living room into a hub of harmless fun.
Safe, Creative Play
Crafted from edible craft supplies, this safe finger paint allows the little ones to explore their creativity while ensuring complete safety if they decide on a taste test.
Easy Finger Paint Recipe
So, let's dive into this easy finger paint recipe and turn every surface within reach into a canvas. A fine beginning to our adventure in the world of DIY, non-toxic, homemade finger paint.
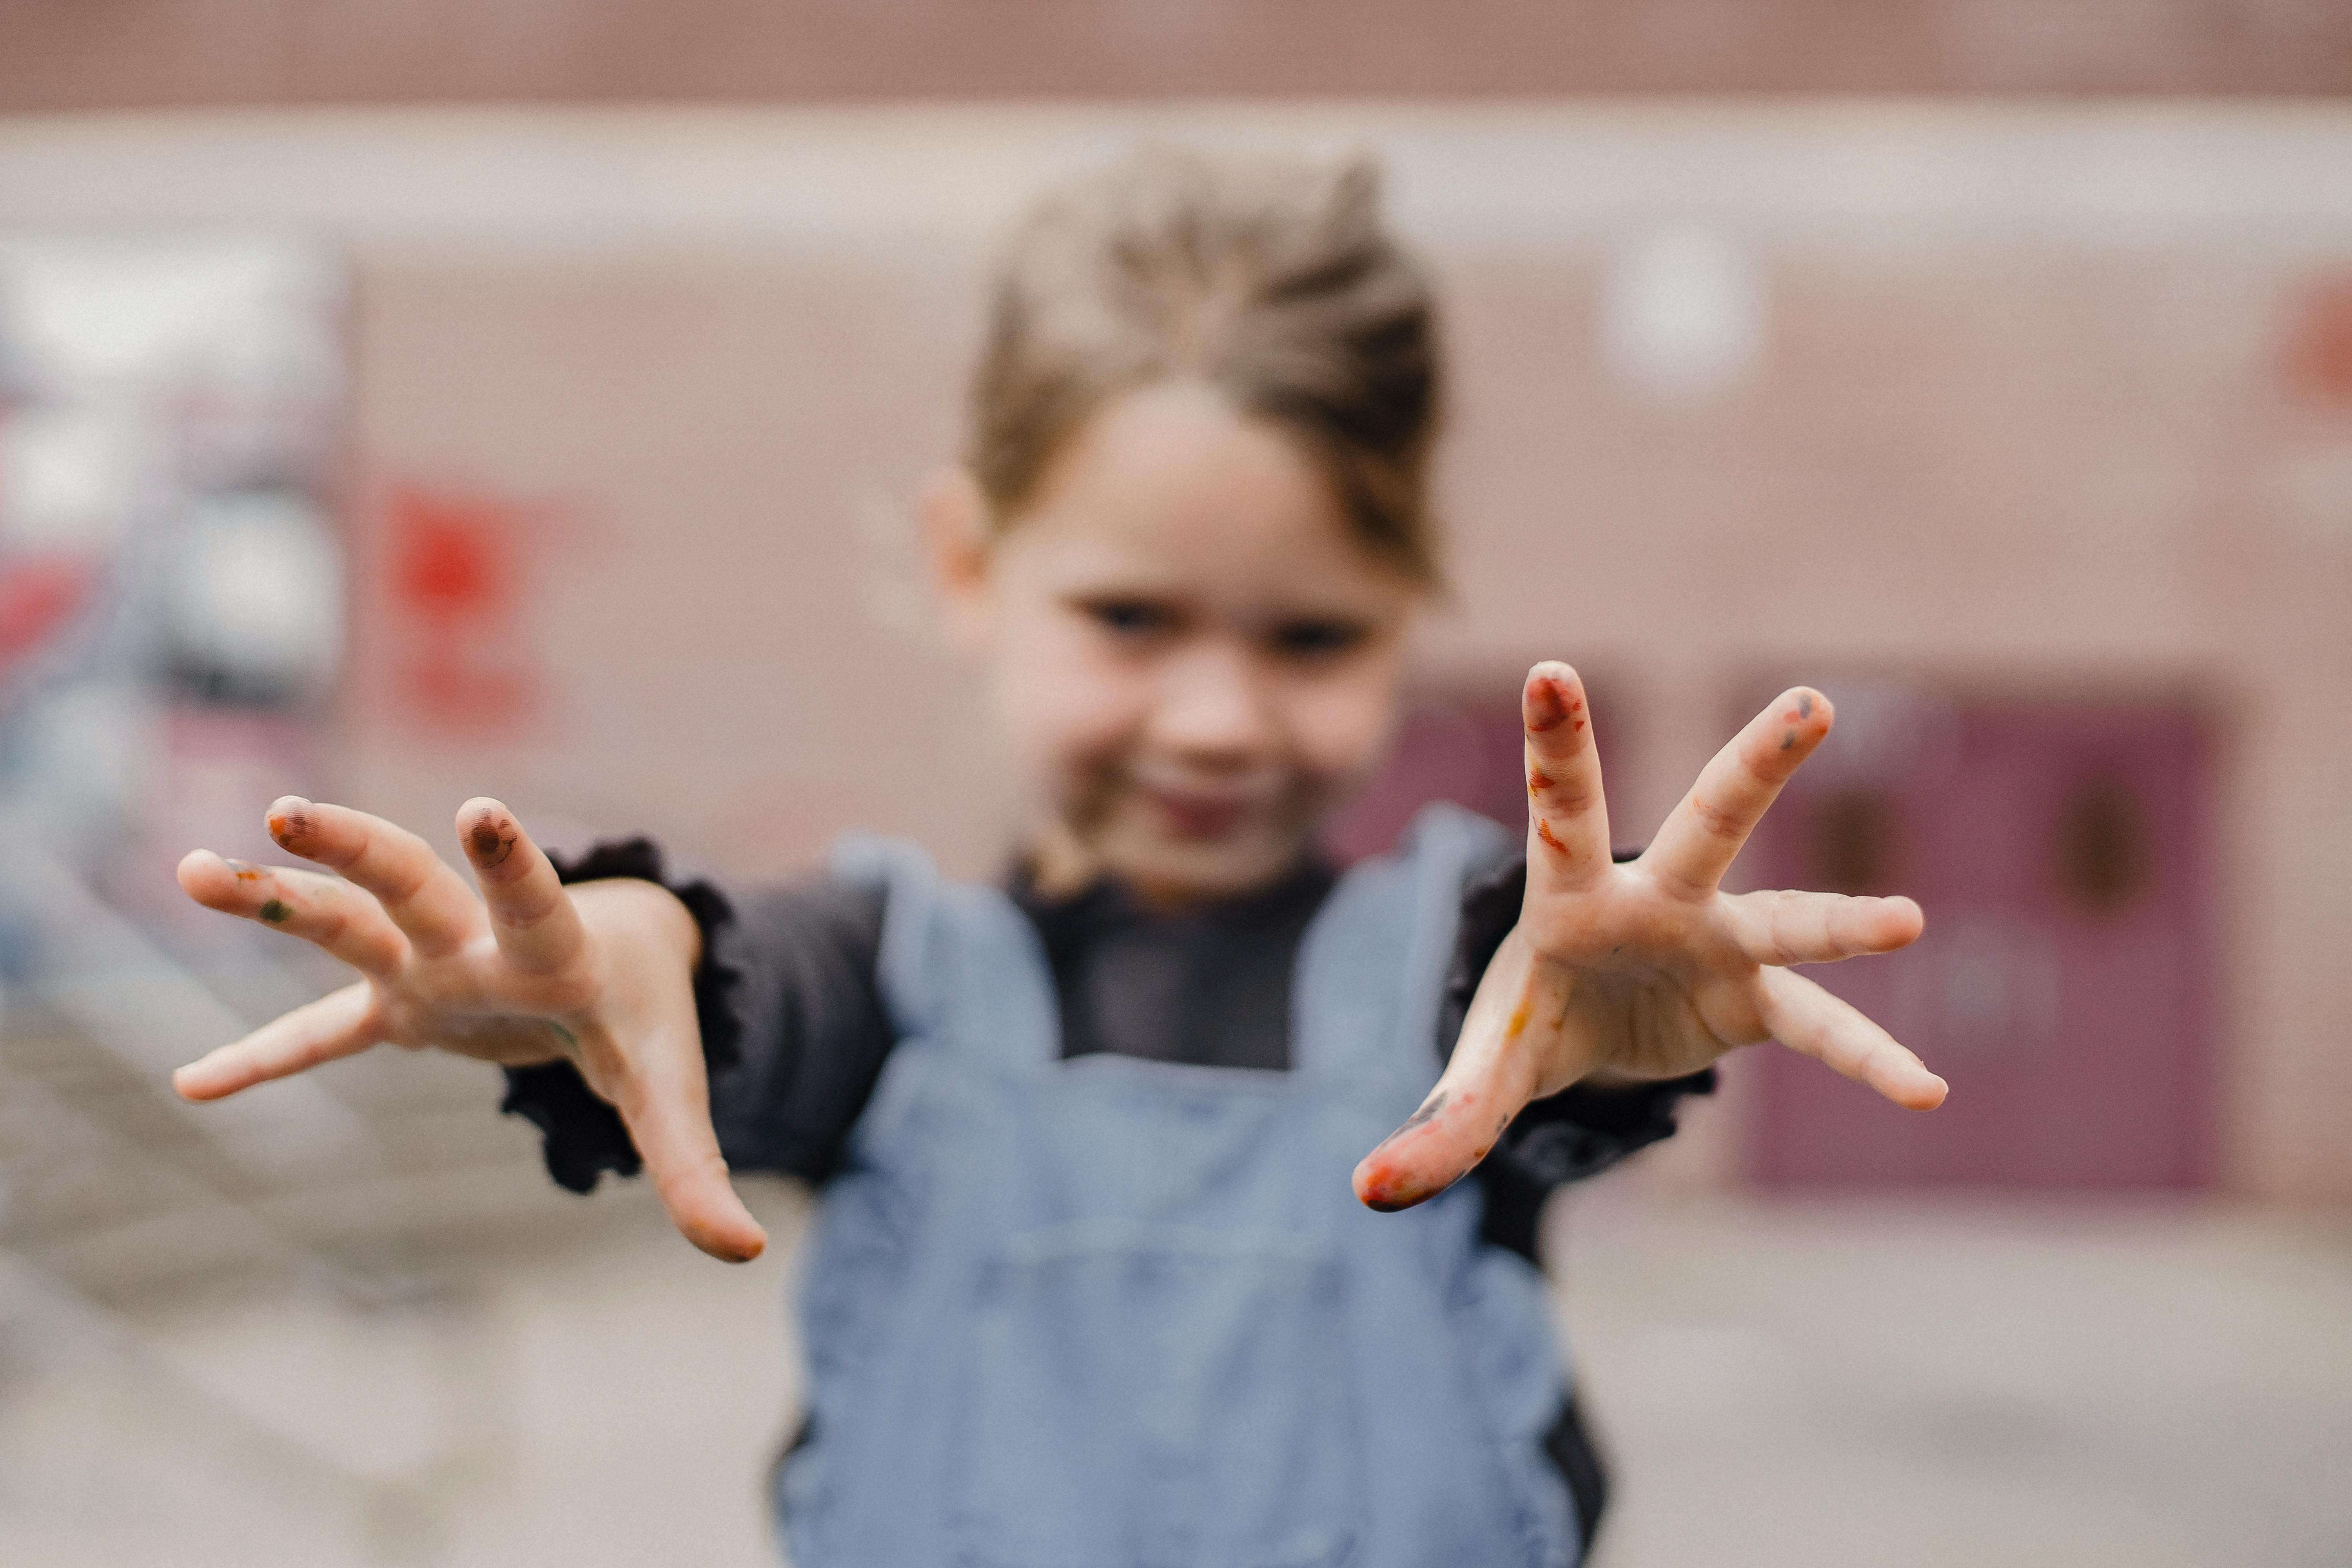
The Joy in Crafting Safe Finger Paint
In crafting this safe finger paint, joy truly lies in the process rather than just the outcome. Only a handful of basic kitchen ingredients are needed for this easy finger paint recipe. Think about the usual suspects in your pantry such as cornstarch, sugar, and salt, and a tad more vibrant - food coloring. The best part? The absolutely delightful time watching your kid's eyes light up when flour and water blend to bring their favorite colors to life. Not to mention, it takes little time to whip up this DIY finger paint. You’ll soon find your kitchen transforming into a makeshift laboratory, the bubbling anticipation of playtime enhancing the whole experience.
The Joy of Painting
Next up is the actual painting. Coming with no strict rules or instructions, edible finger paint introduces an unstructured style of play. Encourage your little ones to get messy and let their imagination run wild. Mush, smear, print or splatter, the choice is up to them! Finger painting ideas spring to life from their own unique perspective on the world, unfiltered and innocent. Whether it's a sunny day with rainbow colors or a blue splashed ocean filled with vibrant marine life, the stories they tell through their art can be captivating.
The Educational Side of Finger Paint
Diving deeper into why this Finger Paint recipe is such a win-win, it's educational! Quite a few toddler activities can claim to stimulate the senses like finger painting can. Touch, sight, sound, and even taste are all engaged in this fun at home kids activity. It’s a fantastic way to help those little minds understand textures, colors, and shapes. Fostering an environment for learning in the disguise of playtime is exactly what the non-toxic finger paint experience provides.
A Perfect Tool for Preschool Craft Session
This edible finger paint recipe is also perfect for those parent-led preschool crafts sessions. Replacing store-bought paints with homemade finger paint ensures safety while not compromising on the fun. What's more - it saves your wallet. It's an affordable and unique addition to your repertoire of kid-friendly activities that ties in creative play, learning, and sensory experience, all into one. With this, the fun doesn't end when the painting is done. Cleaning up after this messy play is a teaching opportunity to inculcate responsibility too.
A Fun Solution for Rainy Days and Daily Routine
So whether it's the weekend, a rainy day, or just a quest for a fun daily routine, edible finger paint is the engaging and safe solution. It’s easy to whip up, it's versatile, it's educational, and sure to bring endless hours of fun for kids.
Homemade and Edible Finger Paint
Now that we’ve explored this fantastic, homemade, and edible finger paint, isn't it tempting to embrace this messy yet educationally filled fun? So, on those cooped-up days when energy levels are running rampant, or simply when the usual toys just won’t cut it anymore, remember the answer might just be at your fingertips - literally. Go ahead and roll up your and your kids' sleeves. Raid the pantry for the ingredients and let the incredible adventure unfold.
This DIY finger painting activity
This DIY finger painting activity is not just about keeping the kids engaged, it’s about making memories, facilitating learning, and enjoying the simple pleasures of creating. Because every tiny smeared handprint on your fridge door isn’t merely a mess, it’s a treasured artistic masterpiece. A proof to a day well spent. And a reminder of an experience that was safe, educational, cost-effective, and, above all, loads of fun.
You May Also Like These:
Fruit and Veggie Paints
Overview
Create fun, non-toxic, and easy-to-clean finger paints using natural fruits and vegetables like beetroot. This activity provides the perfect opportunity for your little ones to explore their creative side while learning about different fruits and vegetables.
Ingredients
- 1 Beetroot
- 1 Spinach bunch
- 1 Carrot
- 1 cup of Cornstarch
- 1 cup of cold Water
Instructions
- Prepare the veggies: Clean and chop the beetroot, spinach, and carrot into small pieces.
- Boil each vegetable separately: In separate saucepans, add the chopped beetroot, chopped spinach, and chopped carrot to boiling water. Let them simmer until the water is colored. The beetroot will give a pink/red color, the spinach will give a green color, and the carrot will give an orange color.
- Filter the colored water: Strain each colored water into a separate container, discarding the vegetables.
- Prepare the paint base: In a separate saucepan, mix the cornstarch with cold water until smooth. Heat this mixture over medium heat, constantly stirring until it thickens into a pudding-like consistency.
- Mix the colored water with the paint base: Once your paint base has thickened, divide it into three portions. Add each colored water to each portion, stir well until the color is well mixed.
- Cool and store: Let the paints cool before using them. Store in airtight containers in the refrigerator when not in use.
Safety Note
Remember, even though these paints are made from edible ingredients, they are meant for painting, not for consumption. Always supervise your children while they are crafting.
Crafting with Spinach
Engage your little ones with this simple yet fun craft activity - Spinach Leaf Printing. This craft is perfect to help kids understand and appreciate the beauty of nature, while also enhancing their creativity.
You will need:
- Spinach leaves (large)
- Acrylic Craft paints (various colors)
- Paint brushes
- White construction paper
- Paper towels
Instructions:
- Begin by placing your spinach leaf on a flat surface.
- Choose a color of paint and generously paint one side of the leaf with your brush.
- Carefully pick up the painted leaf and press it down onto the white construction paper. Make sure the painted side is facing downwards.
- Press firmly, making sure to cover all parts of the leaf.
- Slowly lift the leaf off the paper to reveal your beautiful leaf print. Be careful not to smudge the design.
- Clean your leaf with a paper towel and repeat the process with different colors.
- Allow your beautiful artwork to dry and voila, you have completed your spinach leaf print!
Happy Crafting!
Carrot Crafts for Parents
Enjoy some quality crafting time with your little ones with these fun and creative carrot crafts. Ideal as an activity for learning about vegetables, for Easter, or simply to keep your kids engaged and busy.
Ingredients:
- Paper: Orange & Green (Can be construction or regular paper)
- Scissors
- Glue or Tape
- Marker Pens: Orange & Green
Instructions:
- Draw a carrot shape on the orange paper.
- Cut out the carrot shape using the scissors.
- Repeat step 1 and 2 to make several carrots.
- Draw and cut out some leaf-like shapes from the green paper.
- Glue the green cutouts to the top of the orange carrots.
- Allow it to dry properly and then use the markers to draw small lines on the carrot for a more realistic look.
These carrot crafts are not only super fun and simple, but they also let your children learn about shapes, colors, and develop their hand-eye coordination. Happy Crafting!
Blueberry Craft Instructions
Ingredients:
- 1 cup of fresh Blueberries
- 2 cups of water
- 1 medium-sized saucepan
- Paper, fabric or other material for painting
- Paintbrushes
Instructions:
Step 1: Prepare Your Ingredients
Gather all your required ingredients, a cup of fresh blueberries and two cups of water. Make sure to have your paper, fabric or the material you want to paint handy, along with the necessary paintbrushes.
Step 2: Boil the Blueberries
Pour the blueberries and water into your saucepan. Place the saucepan on a stove and turn on the heat to a medium setting. Allow the mixture to boil.
Step 3: Extract the Color
As the mixture begins to boil and heat up, you will notice the water changing color as the blueberries release their pigment. Continue boiling until you have obtained the desired shade. You may have to adjust the quantity of water depending on the desired color concentration.
Step 4: Let the Mixture Cool
Once you're satisfied with the color, turn off the heat and allow the colored water to cool down. This might take a while, so be patient.
Step 5: Begin Your Craft
Utilize your paintbrushes to apply the colored water from the blueberries onto your paper, fabric, or other material. Let your creativity flow and have fun!
```html
Yogurt Rainbow Paints
Ingredients:- Plain Yogurt
- Various Food Colors
- Small Mixing Bowls
- Paint Brushes
- Art Paper
- Gather all your ingredients and supplies together, ensure you have a variety of food colors to make your paint vibrant and fun.
- Divide the plain yogurt into as many small bowls as colors you wish to use.
- Choose a food color and add several drops into one of the bowls of yogurt. Repeat this step for each color, using a new bowl of yogurt every time.
- Stir the yogurt and food color together until the color is evenly distributed. Add more food color if a more vibrant shade is desired.
- Pick up your paint brush, dip it into one of your freshly crafted yogurt paints and let your creativity flow onto the art paper. Repeat steps with other colors.


