


As an affiliate, I earn from qualifying purchases, but this doesn't affect the reviews or recommendations—your trust is important to me!
Exploring : Creating Your Own Universe with a DIY Galaxy Jar Craft
Today, We're Making:
- - DIY Galaxy in a Jar Craft
- - Moon Phase Wall Hanging: Utilizing simple materials like wooden dowels, string, and painted wooden circles, children can create a visual representation of the lunar cycle. This craft idea can complement the DIY Galaxy in a Jar, while also adding an educational element about astronomy.
- - DIY Planet Bracelets: With colored beads representing each planet in our solar system.
Have You Ever Dreamt of Holding the Cosmos in Your Hand?
Welcome to the world of DIY crafting, where all your creative dreams take flight.
Your Personal Universe in a Jar: DIY Galaxy Jar Craft
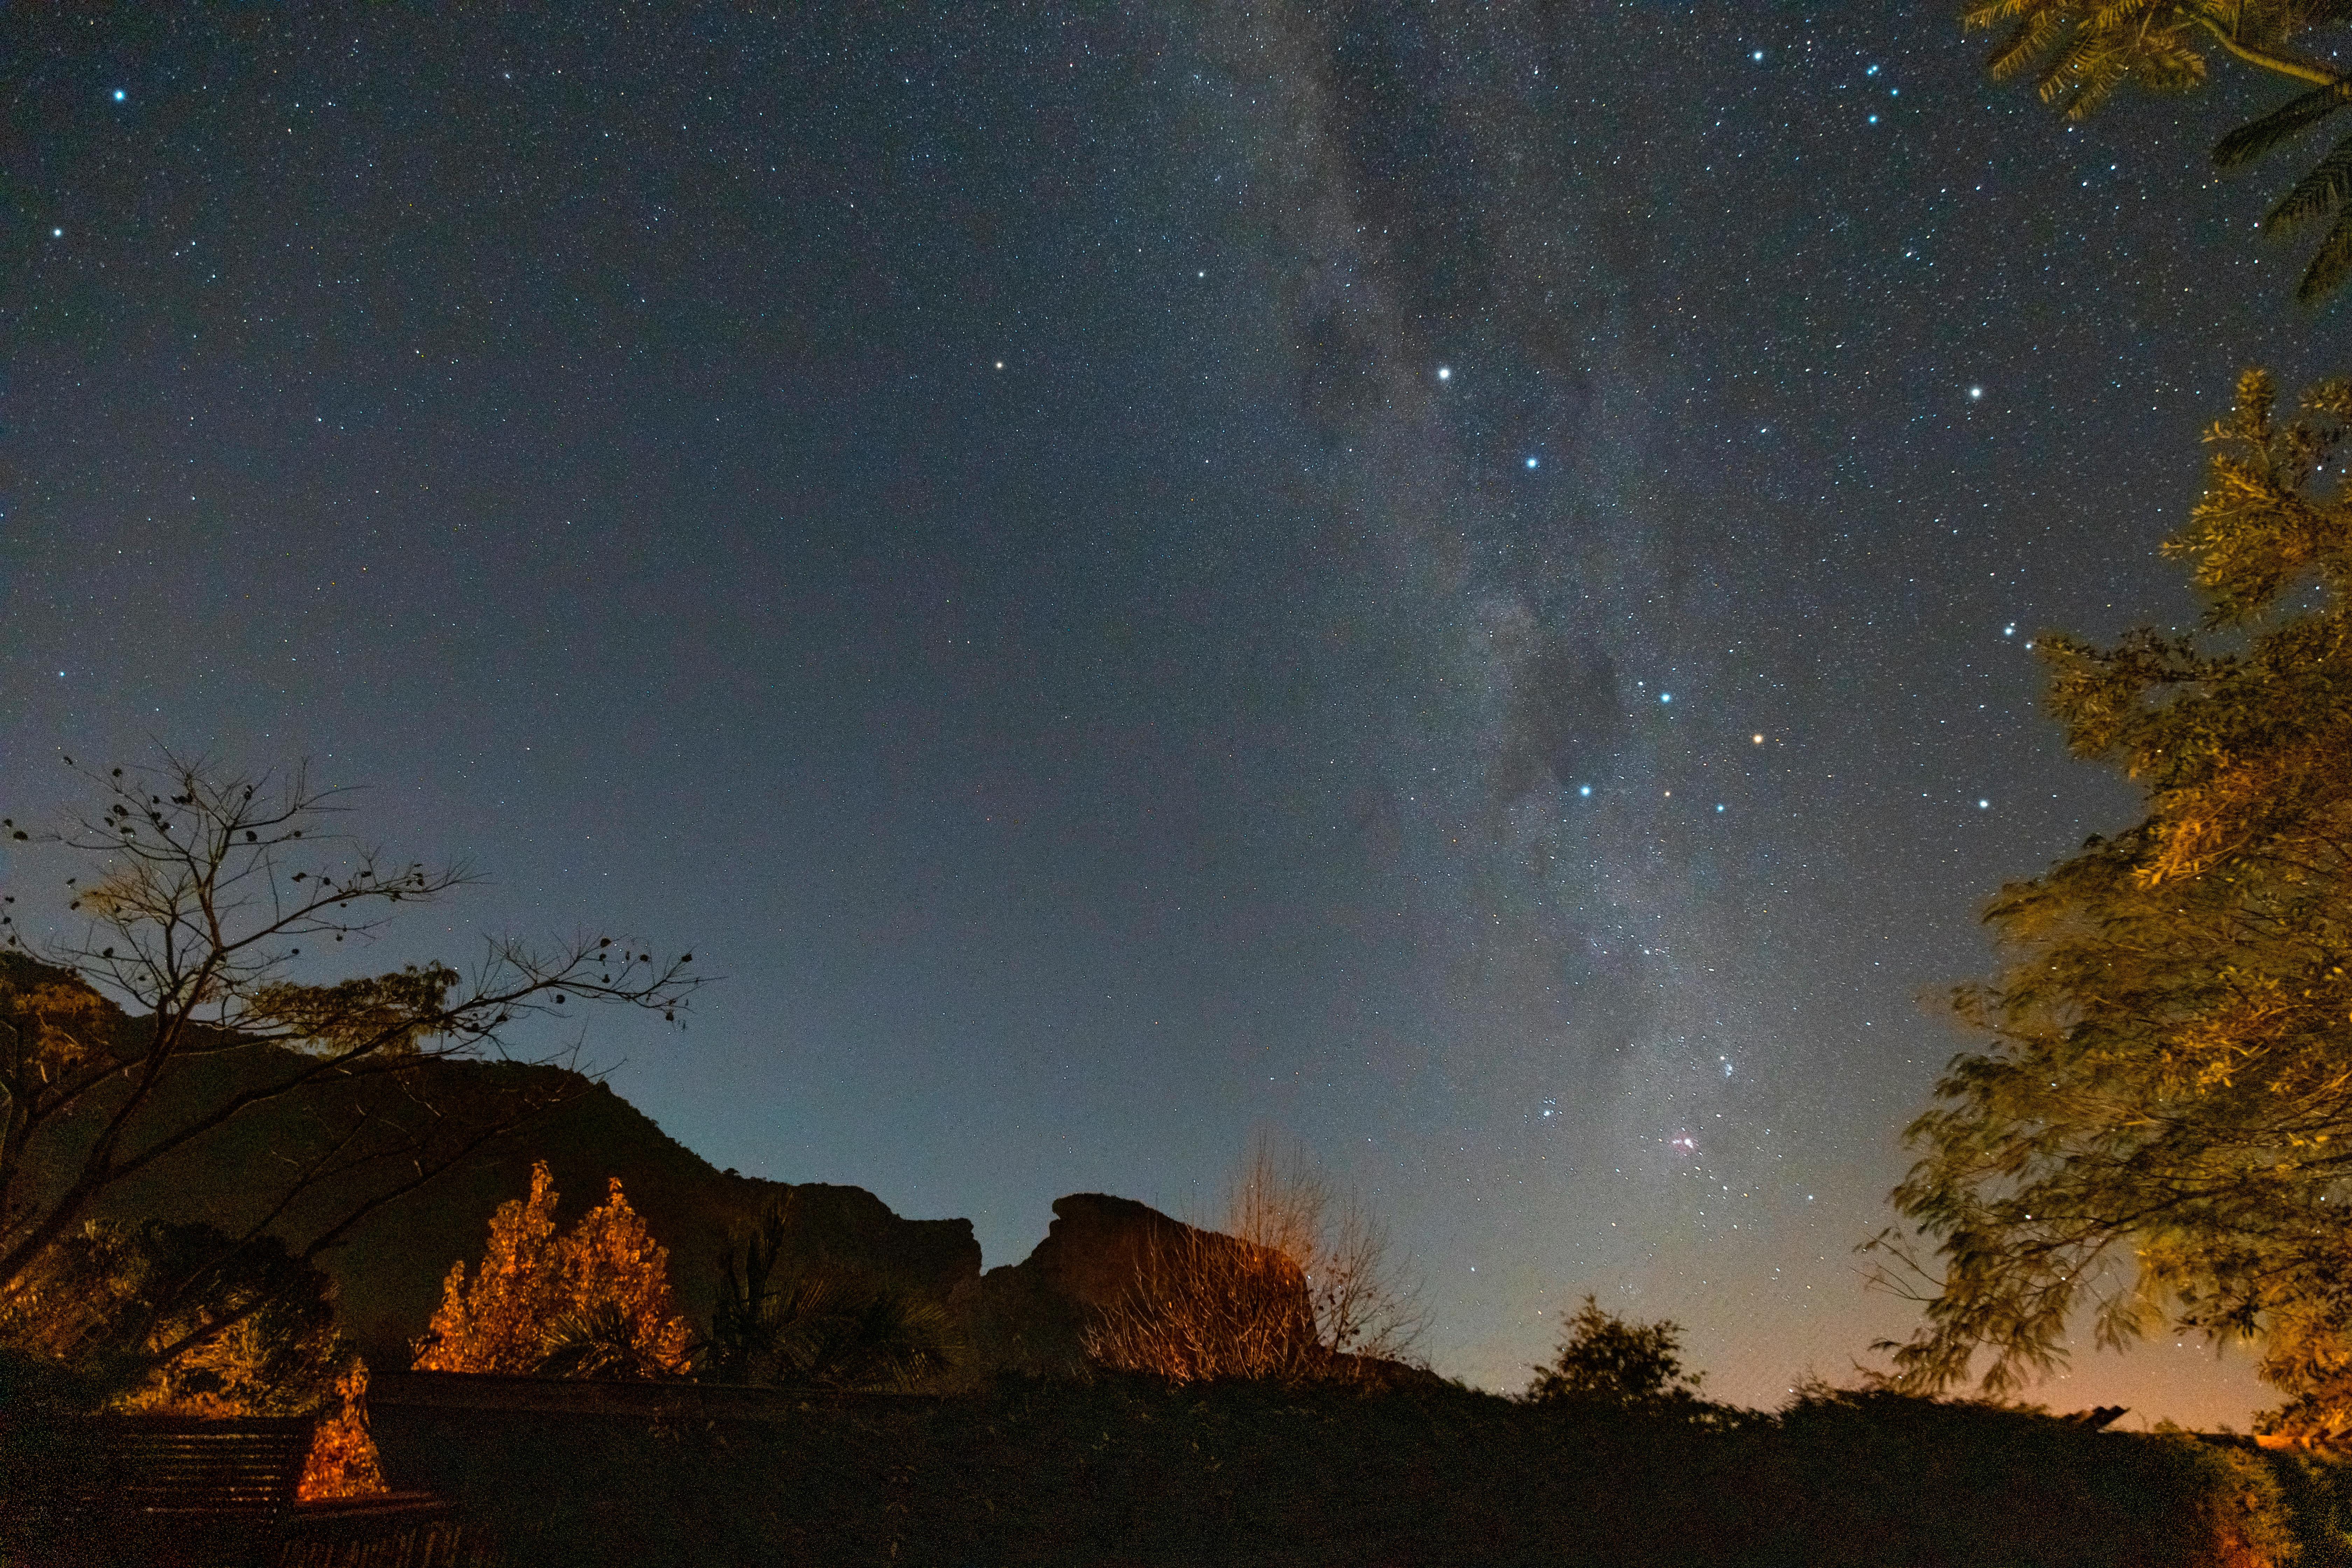
Take your fascination for the skies above and channel it into making a DIY Galaxy Jar Craft—your own personal Universe in a jar. Enthralling as a decorative piece and engaging as a family craft activity, these Galaxy Mason Jars are an easy yet magical way to bring the vastness of space right into your living room.
Fasten Your Seatbelts: Embarking on an Exciting DIY Journey
So fasten your seatbelts, as we embark on this exciting journey of creating a DIY Starlit Universe that you can call your own.
Ingredients for a Galaxy Jar: The Stars and Sky in Your Palms
First up, let's assemble the ingredients for your DIY Galaxy in a Jar Craft. Much like assembling a puzzle, the magic of creating your Galaxy Mason Jar lies in the simplicity of the elements and their transformation. All you need are some cotton balls, acrylic paint (in celestial shades of purple, blue, pink, and maybe a shimmering silver), glitter (for that stellar, starry sparkle), water, and of course, a Mason Jar. You can go ahead and impress the little ones with your 'Mom/Dad is making a Universe in a Jar' declaration - because, really, what's cooler than a DIY Universe Craft?
How to Make a Galaxy Jar: It's Time to Create!
Here's your step-by-step guide to creating the DIY Galaxy Jar.
- Start by stretching the cotton balls to give them an airy, cloud-like texture, almost like nebulas floating in space. These will form the basis of your starlit sky in the jar. Make sure to fill about one-third of the jar with these.
- Next up, into a separate container, mix water with your choice of acrylic paint. The idea is to create various shades of 'space' - deep dark blues, subtle purples, and electrifying pinks all swirled together. Pour this colored water into the jar next, fill up the jar until the cotton balls are soaked and the color spreads, simulating the backdrop of your universe. Enjoy the mini gasps from your little craft companions as they watch the transformation.
Sprinkle Stardust: Make Your Galaxy Sparkle
As you watch your DIY Galaxy Jar slowly taking shape, it's time to add a touch of magic. After all, what's a galaxy without the sparkle of stars? Sprinkle glitter on top of your soaked cotton layer in the jar. Choose glitter that compliments your base shade - silver on blue, gold on pinks - or melee a mix of different colored glitter. It will resemble distant stars twinkling in your Homemade Galaxy Jar. Repeat these layers until your Mason Jar is filled to the brim - layers of painted cotton interspersed with the star-like sparkle of glitter. Each layer enhances the depth, producing intrigue for an onlooker, curious about this captivating Universe in a Jar.
DIY Star Galaxy: Watching Your Universe Come Alive
What makes this so thrilling and personal is that every jar you make, every DIY Star Galaxy you create, will be uniquely your own. Each swirl of color will form patterns that will never reproduce, each smattering of glitter will catch the light differently, and each Homemade Galaxy Jar will be your very own corner of the universe. It's not just a craft activity; it's a wondrous adventure.
Do remember - the key to a successful DIY Cosmos is patience, creativity and not being afraid of getting a little messy.
So, unleash your inner Picasso, let the kids go wild with their imagination, and let's make space in a jar, one layer at a time. Creating your own universe has never been so fun and fulfilling! Embark on this wonderful journey through the cosmos, with the endless possibilities of a DIY Galaxy Jar Craft.

And so, as we wrap up our cosmic journey,
remember that your Universe-in-a-jar is more than just a captivating craft. It's a symbol of your creativity and passion for the mysterious world beyond our own.
It's a memento of family fun and bonding, a souvenir of learning, and most importantly, it's uniquely yours.
So, keep adding those galaxies, layer by layer, until your universe is as vast and magical as your dreams.
May the stars align in your favor and the cosmos come alive in your DIY Galaxy Jar Craft!
So, go forth and start creating your own worlds. After all, the universe is in your hands!
You May Also Like These:
Moon Phase Wall Hanging Craft for Kids
Ingredients
- Two Wooden Dowels: One long (approx. 20 inches) and one short (approx. 10 inches)
- White Nylon Thread: Approx. 5 feet
- Crafting Clay: White and Gray
- A Small Rolling Pin
- A Round Cookie Cutter
- A Plastic Knife: For cutting clay
Instructions
- Roll out the Clay: Using the rolling pin, roll out the white and gray clay to a thickness of about 1/4 inch.
- Make Moon Phases: Use your round cookie cutter to cut full moons from your white clay. Use the plastic knife to shape the first quarter and last quarter moons. Use the gray clay for the waxing and waning crescent moons.
- Make Holes: Make a hole at the top of each phase of the moon with a plastic straw. This is where you will string them onto the dowel.
- Let it Dry: Allow your clay moons to dry completely. This might take a few hours or overnight.
- String the Moons: Once your moons are dry, string them onto your wooden dowel in the correct order, using the nylon thread. The full moon should be in the middle, with the first quarter and last quarter moons on either side, and then the crescents.
- Attach to the Main Dowel: Attach your smaller dowel with the moons strung on it to the longer dowel using the nylon thread. Make sure it hangs in the middle of the longer dowel.
- Hang Your Wall Art: Finally, tie a length of thread to either end of the longer dowel so you can hang your moon phase wall hanging. Enjoy your handcrafted celestial art!
DIY Hand Painted Wooden Circles
Ingredients:
- Wooden Circles: You can purchase this from any local craft store or online. You can choose any size according to your preference.
- Non-Toxic Acrylic Paints: It is strongly recommended to use non-toxic acrylic paints, especially if this craft project will be done with children.
- Paint Brushes: A variety of paint brushes to achieve different textures and designs.
- Clear Sealant Spray: Keeps the paint on the wooden circles in pristine condition and helps it last longer.
- Disposable Gloves: To protect your skin from paint stains.
- Newsprints or Old Sheets: This will keep your workspace clean and prevent staining.
Instructions:
- Start by setting up your workspace. Spread the newsprint or old sheets on your work area to prevent any paint stains.
- Put on the disposable gloves before you start painting. This would protect your skin from any paint residues or stains.
- Take a wooden circle and start painting it using the non-toxic acrylic paints. You can use different paint brushes to create unique textures and designs. Let your creativity shine!
- Once you're satisfied with your painting and the paint is dry, spray a thin layer of clear sealant on the painted wooden circles. This will enhance the paint's color and prevent it from fading and chipping.
- Allow the sealant to dry completely before handling or displaying your hand painted wooden circles. The drying time may vary depending on the brand of the sealant, so follow the instructions given on the sealant's container.
Fun and Creative Painted Wooden Circle Crafts
Materials:
- Wooden circles: You can find wooden circles at any arts and craft store or online. Choose varied sizes for a fun mix.
- Paints: Acrylic paints will work best for this project. Choose a wide range of colors or your kids' favorite colors.
- Paintbrushes: Ensure you have various sizes suitable for both broad strokes and detailed work.
- Pencil and stencils: For sketching out designs before painting.
- Finish/sealant: to protect your finished craft.
- A clean, covered workspace: This will protect your home from paint spills.
Instructions:
- Preparation: Lay out some old newspapers or a tablecloth to protect your working surface. Set out all your materials.
- Design: Let your kids sketch out their designs on the wooden circles using the pencil. For younger kids, stencils may help them accomplish their visions.
- Paint: Start painting the circles. Starting with larger areas first and doing detail work last may help keep the work crisp.
- Drying: Allow the wooden circles to dry completely. This might take a few hours.
- Sealing: Once the paint is dry, apply a coat of sealant or finish to protect the artwork. Let this dry completely as well.
- Cleanup: With the hard work done, it's time to clean up, remember to rinse brushes thoroughly and put away unused materials.
Have fun and be creative. Remember, there's no wrong way to do art!
DIY Lunar Cycle Craft for Kids
This simple and fun lunar cycle craft is a great way to teach kids about the different phases of the moon. This activity complements perfectly with the DIY Galaxy in a Jar project. Let's get started!
Ingredients:
- Black and white craft paper
- A small round object to trace (such as a glass)
- A pencil
- Scissors
- Glue stick
- Markers or crayons
Instructions:
- Using your round object, trace 8 circles onto your black craft paper and cut them out.
- On your white craft paper, using the same round object, trace and cut out 8 more circles.
- On each white circle, draw and color in the different phases of the moon, from the new moon to the full moon. For younger kids, you might need to help them with this part.
- Now, take each black circle and match it with a white one, gluing the white circle just slightly off-center on the black one. This creates the illusion of the moon in different stages of its cycle against the night sky.
- Your lunar phases are now ready to be hung up for display. You can put them in sequence along a string or hang them up on the fridge. The fun part about this craft is deciding how and where to display them.
DIY Planet Bracelets
A craft activity for parents and kids that not only stimulates creativity but also teaches about our solar system. Let's make some Planet Bracelets!
Ingredients:
- Multicolored beads (different sizes representing different planets)
- Elastic cord
- Scissors
Instructions:
- Step 1: Start by sorting your beads into piles representing each planet. Pick varying sizes to represent the relative size of the planets. For example, Mercury is the smallest planet so pick your smallest bead for this. Jupiter is the largest planet so pick your biggest bead for this.
- Step 2: Cut a length of elastic cord. Be sure to give yourself extra length to work with, it is easier to cut excess off later than to add it.
- Step 3: Start threading your planet beads onto the cord. Begin with Mercury, followed by Venus, Earth, Mars, Jupiter, Saturn, Uranus, Neptune, and finally, Pluto (if you wish to include it as it's now classified as a dwarf planet).
- Step 4: Once you have all your beads on the cord, tie the ends together tightly. Make sure all your planets stay in their correct order.
- Step 5: Trim any excess string, and your Planet Bracelet is complete! You now have a wearable guide to the solar system.


