As an affiliate, I earn from qualifying purchases, but this doesn't affect the reviews or recommendations—your trust is important to me!
Ice Dye Beach Cover Ups Tutorial: Creative Spring Break Crafts
Ice Dye Beach Cover Ups Tutorial: Creative Spring Break Crafts
Remember when your teenager used to beg you to help them with art projects? Fast forward to today, and getting them off their devices feels like negotiating a peace treaty. Here's a surprising statistic: teens spend an average of 7-9 hours daily on screens, not counting school work. That number jumps even higher during spring break when structure disappears and boredom sets in.
But there's something almost magical about tie-dye that crosses generational boundaries. Maybe it's the unpredictability of the patterns, or the satisfaction of creating something wearable and unique. Whatever the reason, ice dyeing has become the perfect gateway activity for getting tweens and teens engaged in hands-on creation. This spring break, instead of battling over screen time, you can transform plain beach cover-ups into custom resort wear that your kids will actually want to show off on vacation.
Ice Dyeing for Spring Break
The Problem with Traditional Spring Break Plans
Let's be honest—spring break often becomes a week-long Netflix marathon punctuated by constant snacking and requests for expensive entertainment. You envision family bonding and maybe some creative activities, but reality looks more like everyone in separate rooms staring at separate screens.
Traditional tie-dye can feel messy, complicated, and time-consuming. The results are often predictable, and let's face it, your teen isn't jumping at the chance to make another spiral t-shirt like they did at summer camp when they were eight. They need something that feels more sophisticated, more Instagram-worthy, more them.
That's where ice dyeing comes in, especially when applied to beach cover-ups, sarongs, and resort wear. It's elevated enough to feel grown-up, unpredictable enough to stay interesting, and practical enough that the finished products will actually get used during your spring or summer beach trips.
Understanding the Ice Dye Technique
Ice Dyeing: The Simple Technique That Creates Stunning Beach Cover-Ups
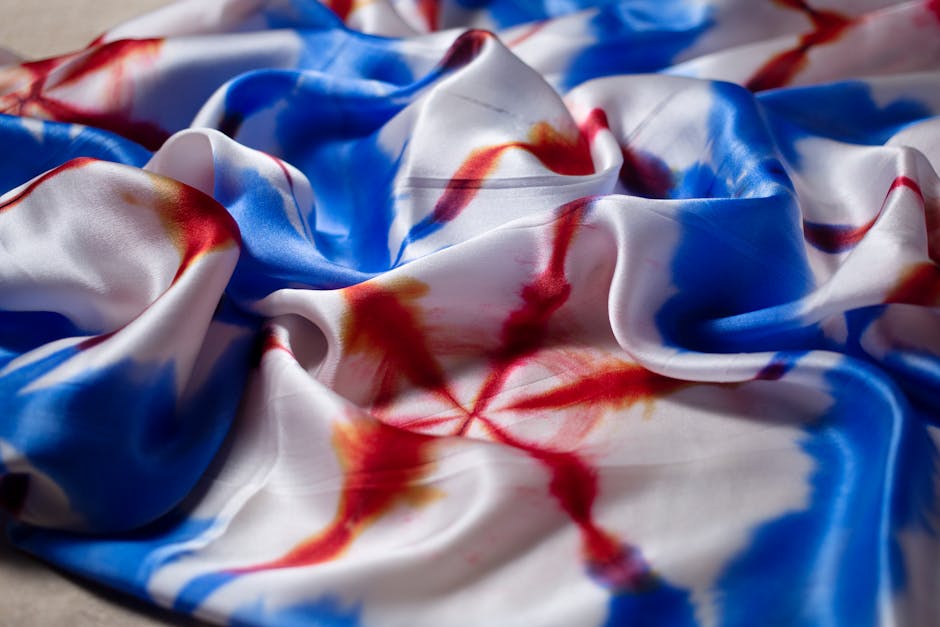
Ice dyeing creates watercolor-like effects that look expensive and complex but are surprisingly simple to achieve. Unlike traditional tie-dye where you apply liquid dye directly to fabric, ice dyeing uses—you guessed it—ice to slowly release dye onto the fabric as it melts.
The Magic of the Melting Process
The magic happens in the waiting. As ice melts over 8-12 hours, dye powder dissolves unevenly, creating organic patterns with beautiful gradients and unexpected color breaks. Some dyes separate into their component colors, so a navy might split into blues, purples, and even pinks. It's chemistry and art combined, which makes it particularly appealing to the middle and high school crowd.
Perfect for Beach Cover-Ups
This beach coverup tie dye guide works beautifully on lightweight fabrics like rayon, cotton voile, and jersey knits—exactly what most kimonos, kaftans, and sarongs are made from. The flowing nature of cover-ups means even simple dyeing techniques create dramatic results when the fabric moves.
Materials You'll Need
Start by gathering your materials. You'll need:
Fiber-reactive dye powder (like Procion MX)
Soda ash for pre-treating fabric
Plain white or light-colored cover-ups
Ice
Cooling racks
Plastic bins or aluminum pans
Gloves
Plastic wrap
Most items are available at craft stores or online, and the initial investment pays off because you can dye multiple items from one dye collection.
Step-by-Step DIY Ice Dye Sarong Instructions
Pre-Treating Your Fabric
Pre-treat your fabric by soaking it in a soda ash solution (one cup soda ash per gallon of warm water) for at least 20 minutes. This step is crucial—it opens up the fabric fibers to receive and hold the dye permanently. Your tween or teen can handle this part easily, and it's a good time to discuss fabric science if they're interested.
Manipulating the Fabric
Wring out excess soda ash solution but leave the fabric damp. Now comes the fun part—manipulating the fabric. For this ice dye swimsuit cover tutorial, scrunch the fabric randomly in a bin, fold it accordion-style, twist it into a spiral, or even leave it relatively flat. Each technique creates different effects. Let your kids experiment with different methods on different items.
Adding the Ice
Place a cooling rack over your bin (if the bin is deep enough) or directly in the bin, then arrange your scrunched fabric on top. Pile ice completely over the fabric—don't be shy, you want a substantial layer. Some families use 5-10 pounds of ice per large cover-up.
Applying the Dye
Sprinkle dye powder over the ice. This is where creativity explodes. You can use one color for an ombre effect, create sections of different colors, or randomly sprinkle multiple colors for a truly unique piece. Popular spring break combinations include:
Turquoise and coral
Purple and teal
Sunset colors like orange, pink, and yellow
The Waiting Game
Cover everything with plastic wrap to keep the melting ice from evaporating too quickly, then wait. This is the hardest part for impatient tweens, but it's also what makes the technique work. Let the ice melt completely—usually 8-12 hours or overnight. The slow melt creates those gorgeous watercolor transitions that make ice-dyed pieces look professional.
Variations for Different Beach Cover-Up Styles
The basic ice dye technique adapts beautifully to various cover-up styles, and this ice dye kimono tutorial variation creates especially stunning results. For kimonos with their wide sleeves and open front, try the "landscape" method: lay the kimono flat and create distinct color zones. Ice and dye the bottom third in ocean blues, the middle in sandy beiges or corals, and leave the top lighter for a sunset sky effect.
Kaftans and longer cover-ups work wonderfully with vertical ombre techniques. Scrunch the fabric lengthwise in a trough-like container, pile ice on top, and apply dye in graduated intensity from dark at the bottom to light at the top. When your teen wears it, they'll have a gorgeous gradient effect that's naturally flattering.
For this DIY pool cover up dyeing approach to sarongs and wraps, consider leaving some white space intentionally. Fold the sarong in quarters, apply ice and dye only to the edges, and you'll create a frame-like effect with white in the center. It's sophisticated enough that even your image-conscious high schooler will feel confident wearing it.
Beach tunics benefit from asymmetrical designs. Instead of centering the fabric in the bin, offset it to one side. Apply ice and complementary colors to create an off-center burst of color that flows across the tunic when worn. This ice dye kaftan guide technique makes even simple t-shirt style cover-ups look like boutique purchases.
Encourage your kids to dye multiple items in a single session—maybe one to wear and one to give as a gift. Making extras for friends turns this into a social activity, and suddenly you've got a spring break craft party instead of isolated screen time.
Quick Wins: Start Here
Not ready to commit to full beach cover-ups? Start with these easier projects to build confidence and skills:
Plain white t-shirts make excellent practice pieces and double as coordinating beach outfits
Flour sack towels from the home goods store dye beautifully and become custom beach or pool towels
Canvas tote bags for carrying beach gear turn into personalized vacation accessories
Pillow covers let you test color combinations without worrying about wearability
White cotton bandanas are inexpensive, quick to dye, and perfect for teens to trade with friends
The beauty of starting small is that the technique stays exactly the same—just scaled down. A successful bandana builds confidence for tackling that DIY swim coverup dyeing project.
Make This Spring Break Different
This spring break coverup dyeing activity offers something rare: a creative project that appeals to both the artistic tween and the too-cool-for-crafts teenager. The relatively hands-off nature means you're not hovering over them, but the dramatic results give everyone something to feel proud about.
There's real value in watching ice melt and transform fabric over hours. It teaches patience in a world of instant gratification. It demonstrates that some of the best results come from processes we can't control or rush. And honestly, the anticipation of unwrapping that plastic and seeing the final result creates genuine excitement.
Your spring break doesn't have to revolve around screens or expensive outings. Sometimes the best memories come from gathered around a table, comparing color choices, and unwrapping ice-dyed creations together. Plus, your family will be the best-dressed group at the beach, wearing truly one-of-a-kind pieces.
What Colors Would Your Teen Choose?
Think your tween or teen might enjoy this ice dye beachwear DIY project? What's holding you back from trying it this spring break? Maybe you're worried about mess, or you're not sure where to source materials, or you want to adapt this vacation coverup tie dye technique for your family's specific situation.
I'd love to hear what would make this more relevant and doable for your family. Reach out to WizardHQ@AngelinaAllsop.com with your questions, concerns, or ideas about tailoring this activity to fit your spring break plans. Let's figure out together how to make this homemade beach coverup dye project work for you.