


As an affiliate, I earn from qualifying purchases, but this doesn't affect the reviews or recommendations—your trust is important to me!
Create Stunning DIY Polymer Clay Jewelry Craft At Home

Today, We're Making:
- DIY Polymer Clay Jewelry Craft
- DIY Time Capsule: Since the date is 05-11-2025, a fun craft idea could be creating a time capsule. Children can create objects from polymer clay, write letters to their future selves, or include mementos that represent the year 2025. All these can then be stored in a homemade time capsule, which can be made from a decorated shoe box or can.
- Polymer Clay Story Beads: Have the kids craft story beads using polymer clay.
DIY Polymer Clay Jewelry Crafts: A Guide for Beginners
Have you ever found yourself captivated by the intricate designs of handmade jewelry, only to be taken aback by their hefty price tags? As if unraveling a secret, we're about to introduce you to the enchanting world of DIY Polymer Clay Jewelry Crafts. This increasingly popular craft hobby merges creativity and personalization, allowing you to create stunning pieces precisely the way you wish.
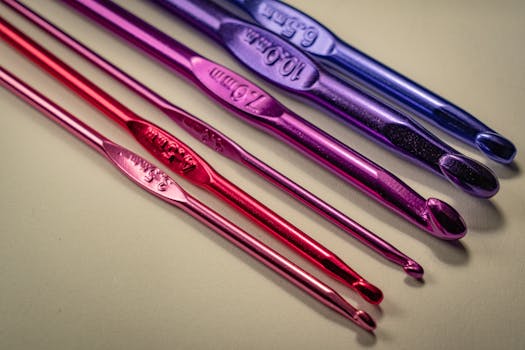
Molding Playful Polymer Clay Beads
Whether you're new to polymer clay crafts or are already familiar with clay jewelry making techniques, we'll guide you through an awe-inspiring journey, from molding playful polymer clay beads to crafting pristine, one-of-a-kind DIY earrings.
Crafting Pristine, One-of-a-Kind DIY Earrings
So, why not transform your kitchen counter into your personal jeweler’s bench? Let's dive into the world of DIY Crafts right at the comfort of your own home!
Understanding Polymer Clay
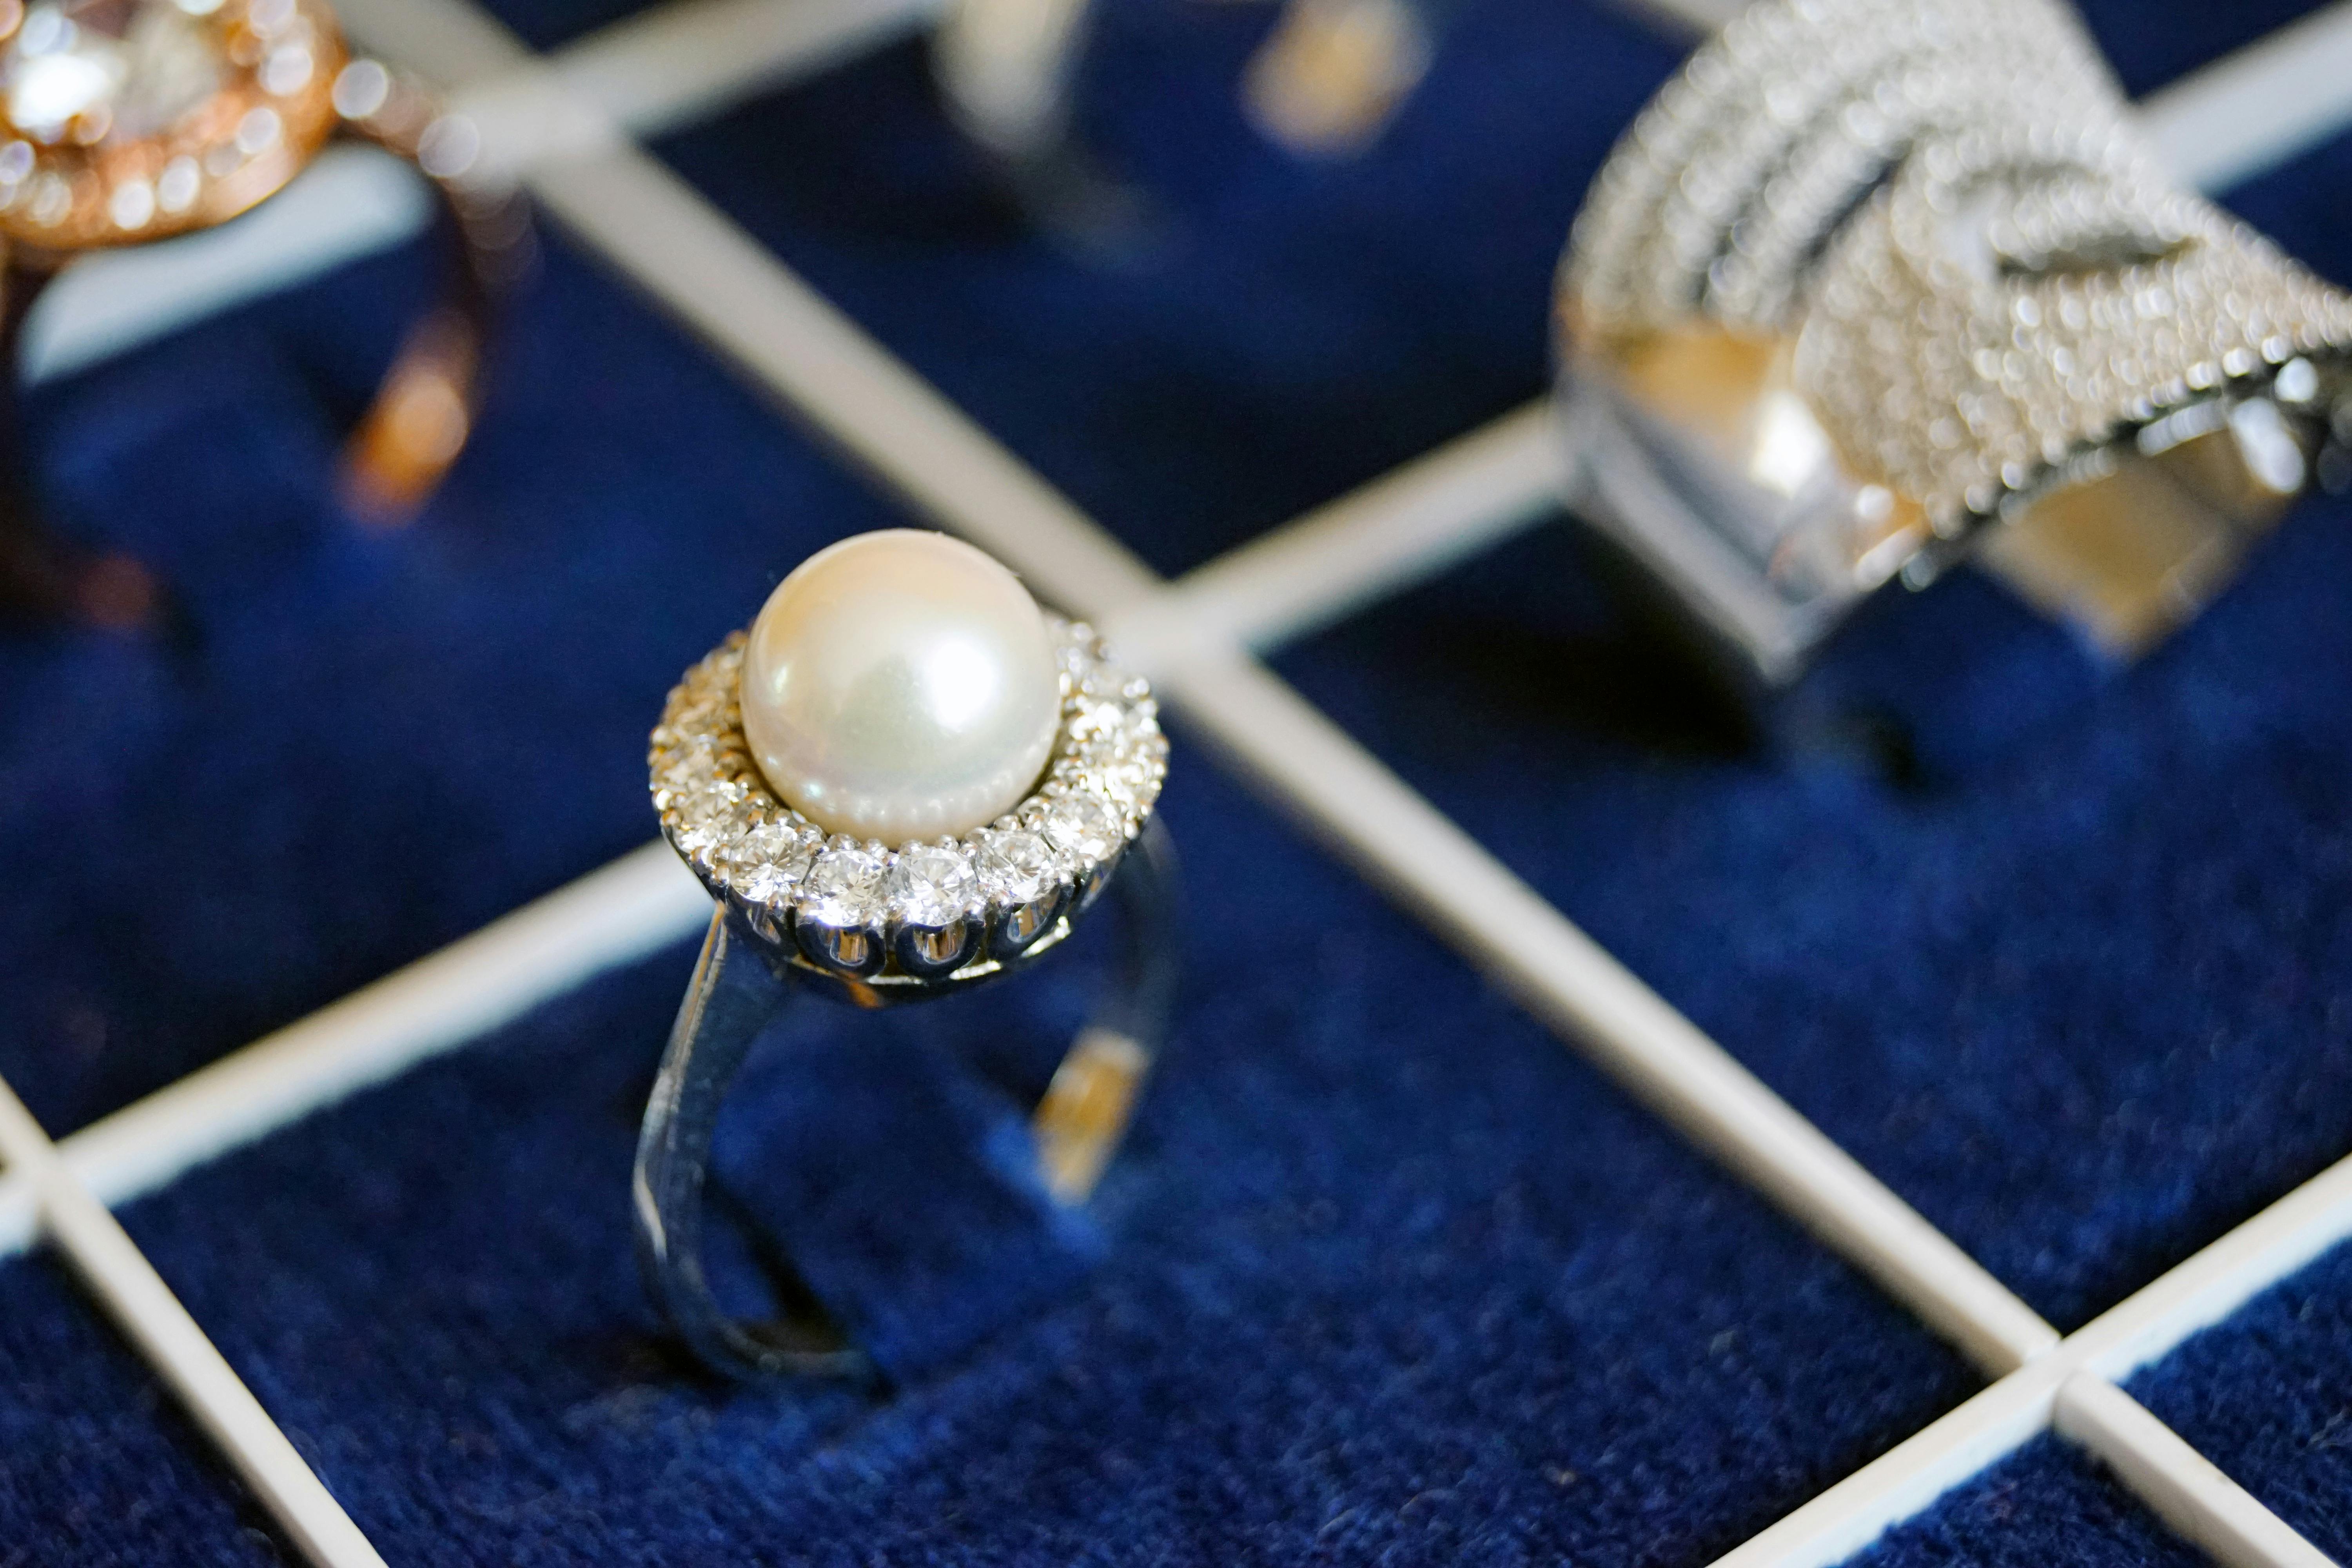
In the realm of DIY Crafts, polymer clay holds a special place. This versatile medium is not the regular malleable clay we played with as children. It's different. Polymer clay is a type of modelling clay that is baked in an oven to harden, similar to how a ceramic artist fires their pieces. It comes in a dazzling array of colours that can be mixed and moulded as you fancy. From delicate polymer clay beads in your DIY bracelet to your robust polymer clay necklace charms, the possibilities of your handmade jewelry creations are endless.
Get Started with Polymer Clay Crafts
Stock up on a few basic colours of polymer clay and start experimenting, or buy one of the many kits available online that provide the tools and instructions to kick-start your DIY Polymer Clay Jewelry Craft journey. Like most things, getting started with polymer clay crafts might seem overwhelming. But it's easier than you think! With a bit of practice and the right guidance, you can start crafting at home like a pro.
Moulding Polymer Clay Beads
Your creativity shines the brightest in these pieces of handmade jewelry. To mould your first set of polymer clay beads, you'll need to warm up a chunk of clay in your hands and knead it until it's smooth. You then roll it between your palms to create a round-shaped bead. If you're aiming for a unique shape, don't hesitate to carve or mould the softened clay as you wish. You can even blend different clay colours to create unique, attention-grabbing clay beads.
Polymer Clay Necklace and DIY Earrings
Why buy when you can make jewelry that's undeniably you? Just imagine the polymer clay necklace and DIY earrings you can bring to life. To create a polymer clay necklace, start by moulding a series of clay beads. String them altogether, interchanging with other jewelry findings on a necklace cord. Meanwhile, DIY earrings can be just as straightforward. Design two matching clay creations and attach them to two earring hooks. Voila - you've got two unique pieces of handmade jewelry that you can proudly wear or share!
Master the Art of Clay Jewelry Making
As you embark on your DIY Polymer Clay Jewelry Craft adventure, you might stumble or struggle. But remember that every artist develops their style and technique through trial and error. So, don't be afraid to experiment with your clay craft ideas. The more you learn, the better your polymer clay techniques become. And soon enough, you’ll be mastering this creative craft hobby. So why wait? Your journey to do-it-yourself jewelry creation starts now!
By being hands-on with your craft, your DIY polymer clay jewelry will exude a personal touch that store-bought jewelry simply lacks. Plus, having the ability to craft your jewelry leads to a more meaningful and engaged relationship with your accessories. Imagine the sense of accomplishment each time you put on a pair of DIY earrings or a polymer clay necklace that you crafted with pure love and creativity.
Unleash Your Creativity
Beyond necklaces and earrings, the scope of polymer clay jewelry crafting is limited only by your imagination. Try your hand in making sophisticated brooches, fashionable rings, stunning hairpins, and more. With the right tools and a touch of patience, your polymer clay art could even be a heartwarming gift for your loved ones. After all, nothing beats homemade jewelry crafted with love. Enjoy the process, feed your creativity, and rest assured, you'll be crafting pieces that are just as unique as you are!
In Conclusion,
There's a certain magic and fulfillment that comes with crafting your own polymer clay jewelry. Forget about overpriced store-bought pieces, indulge in the craft hobby that lets your creativity run wild. Your kitchen counter is ready to become the birthplace of stunning, custom-made pieces that showcase your creative spirit.
Crafting Sophisticated Jewelry
Whether you're crafting sophisticated brooches, delicate necklaces, bespoke earrings or bespoke rings, each piece will carry a piece of your imagination.
Here's To Breaking The Boundaries
So, here's to breaking the boundaries, to endless hours lost in colors, patterns, and shapes, and most importantly, to making stunning DIY polymer clay jewelry right at the comfort of your home!
This Is Where Your Creative Journey Begins
This is where your creative journey begins – embrace it, enjoy it and wear your art with pride.

You May Also Like These:
DIY Time Capsule: dated 05-11-2025
Materials Needed:
- Sealable Container: An old coffee can or mason jar can work quite well. Make sure it is clean and dry before starting.
- Acid-free Paper: For writing down notes, thoughts, predictions, or messages for the future self.
- Pens, Pencils: For writing. You can also use colors for drawing or sketching.
- Scissors: Useful for cutting out photos or articles to include in the capsule.
- Pictures, News Articles, Souvenirs: To encapsulate the current happenings and trends.
- Sealing Tape: To ensure the container is sealed tight
Instructions:
- Prepare all materials: Gather all the supplies needed.
- Write down the current date: Mark the start date on the top of the paper in bold lettering.
- Create content: Write down thoughts, memories, predictions, dreams, or draw what you currently love. You can also include your favorite song lyrics or a news clipping.
- Collect artifacts: Include photos, souvenirs, or keepsakes that represent the current time.
- Create a capsule: Place everything inside the container. Seal it tightly with the sealing tape to protect the contents.
- Mark an opening date: Write the date on the outside of the container to remind yourself when to open it. This can be anywhere from 5 to 20 years in the future.
- Store the capsule: Find a safe and dry place to store your time capsule until the opening date arrives.
Instructions for Crafting Letters to Future Selves
Help your child create a time capsule of their current self with a letter to their future self. Here's how:
Materials
- Paper: Any type of paper that can be easily folded.
- Pen or Pencil: Preferably non-erasable to maintain authenticity.
- Envelope: To keep the letter secure for years to come.
- Decorative materials: Stickers, stamps, glitter, or other materials for decorating (optional).
Steps
- Set the mood: Begin by creating a warm, cosy and quiet space where your child can sit undistracted.
- Plan the outline: Help your child think about what they would like to tell their future self. It can be about their favorite things now, their hopes for the future, a special memory, anything!
- Begin writing: Once they have an outline, encourage them to begin writing the letter. Remind them that there is no right or wrong here, so they can write whatever they feel.
- Decorate if desired: If your child wishes, they can also decorate the letter and envelope using stickers, glitter, colors or anything they like.
- Seal the letter: Once the letter is completed, help your child fold it and place it in the envelope. The envelope can be sealed or not according the personal preference.
And, voila! The letter to the future self is ready. Be sure to save it somewhere safe where it won't get lost or damaged.
Craft Activity: Writing Letters to Our Future Selves
Materials:
- 1 sheet of A4 paper per person
- 1 envelope per person
- Pens or pencils
- Stickers, decorative tapes, and/or colorful markers (optional)
Instructions:
-
Take the piece of paper and pen or pencil. Decide on what age you'd like to open your letter. It could be a special milestone, like your 16th birthday or your 20th wedding anniversary. Write the date and your current age at the top of the page.
-
Start writing your letter. Here are some topics you might want to address in your letter:
- Talk about your current self: likes, dislikes, hobbies, and hopes.
- Write down your present goals and dreams.
- Ask your future self some questions.
- Give your future self some advice or inspiring words.
-
Once you finish, you might want to decorate your envelope with stickers, and/or colorful markers to make it even more special.
-
Nest, seal the letter into the envelope. Write the date to open the letter on front of the envelope.
-
Finally, store your sealed letter in a safe place, where you'll remember to open it on the date you've chosen.
Crafting a 2025 Memento Time Capsule
Follow these simple steps to create a homemade time capsule filled with mementos that represent the year 2025.
Ingredients
- A durable container (plastic or metal)
- Items representing 2025
- Photos or illustrations
- Letters or notes
- Sealing materials (wax, tape)
- Decorative elements
Steps
- Select a Container: Choose a container that is durable and can withstand the test of time. A plastic or metal box is a great choice.
- Gather Mementos: Collect items that represent the year 2025. This could be photos, news clippings, or small trinkets that remind you of this year.
- Include Personal Touches: Write a letter to your future self, or include drawings and illustrations. These will make the time capsule uniquely yours.
- Seal the Container: Make sure your time capsule is well-protected by sealing it. You can use wax, sturdy tape, or any other method that will prevent damage.
- Decorate: Make your time capsule visually appealing by decorating the outside. This step is optional, but it can make the process even more fun.
- Store Safely: Finally, store your time capsule in a safe place where it won't be disturbed until you decide to open it.
Polymer Clay Story Beads: Craft Project for Kids
Ingredients:- Polymer Clay
- Toothpicks
- String or Yarn
- Acrylic Paint
- Paintbrush
- Prepare the Polymer Clay: Knead the polymer clay until it's pliable. Make small balls from the clay, around half the size of a marble.
- Shape the Beads: Roll each clay ball into the desired shape. This could be a simple sphere, cube, or more complex shapes like stars and hearts.
- Make the Bead Hole: Carefully insert a toothpick through the centre of each shaped clay piece, making a hole for the string. Rotate the toothpick to ensure the hole goes all the way through and is large enough for the string.
- Bake the Beads: Place your shaped and holed clay pieces on a sheet pan and follow the baking instructions on your specific polymer clay packaging.
- Paint your Beads: Once the beads have cooled, use your acrylic paint and paintbrush to decorate them. You can paint little symbols, pictures or initials to tell a story. Let them dry completely before the next step.
- String your Beads: Cut a length of string or yarn long enough to make a necklace or bracelet. String on your painted story beads in any order you like. Lastly, tie the ends of the string or yarn together.