


As an affiliate, I earn from qualifying purchases, but this doesn't affect the reviews or recommendations—your trust is important to me!
1. Mastering Your Craft: Making DIY Paper Mache Globe 2. STEM Fun: Creating Non-Newtonian Fluid at Home 3. Culinary Adventure: Mastering Homemade Sushi Rolls 4. Game Night Fun: Storytelling Improv Card Game Explained

Today, We're Making:
- - Craft: DIY Paper Mache Globe
- - STEM Experiment: Homemade Non-Newtonian Fluid (Cornflour Slime)
- - Food Recipe: Homemade Sushi Rolls
- - Game: Storytelling Improv Card Game
- - DIY Time Capsule Craft
- - DIY Homemade Weather Station STEM Project
- - Easy Kid-Friendly Recipe: Rainbow Fruit Skewers
- - DIY Chess Board Game
- - DIY Galaxy Jar Crafting Project
My Blog Post
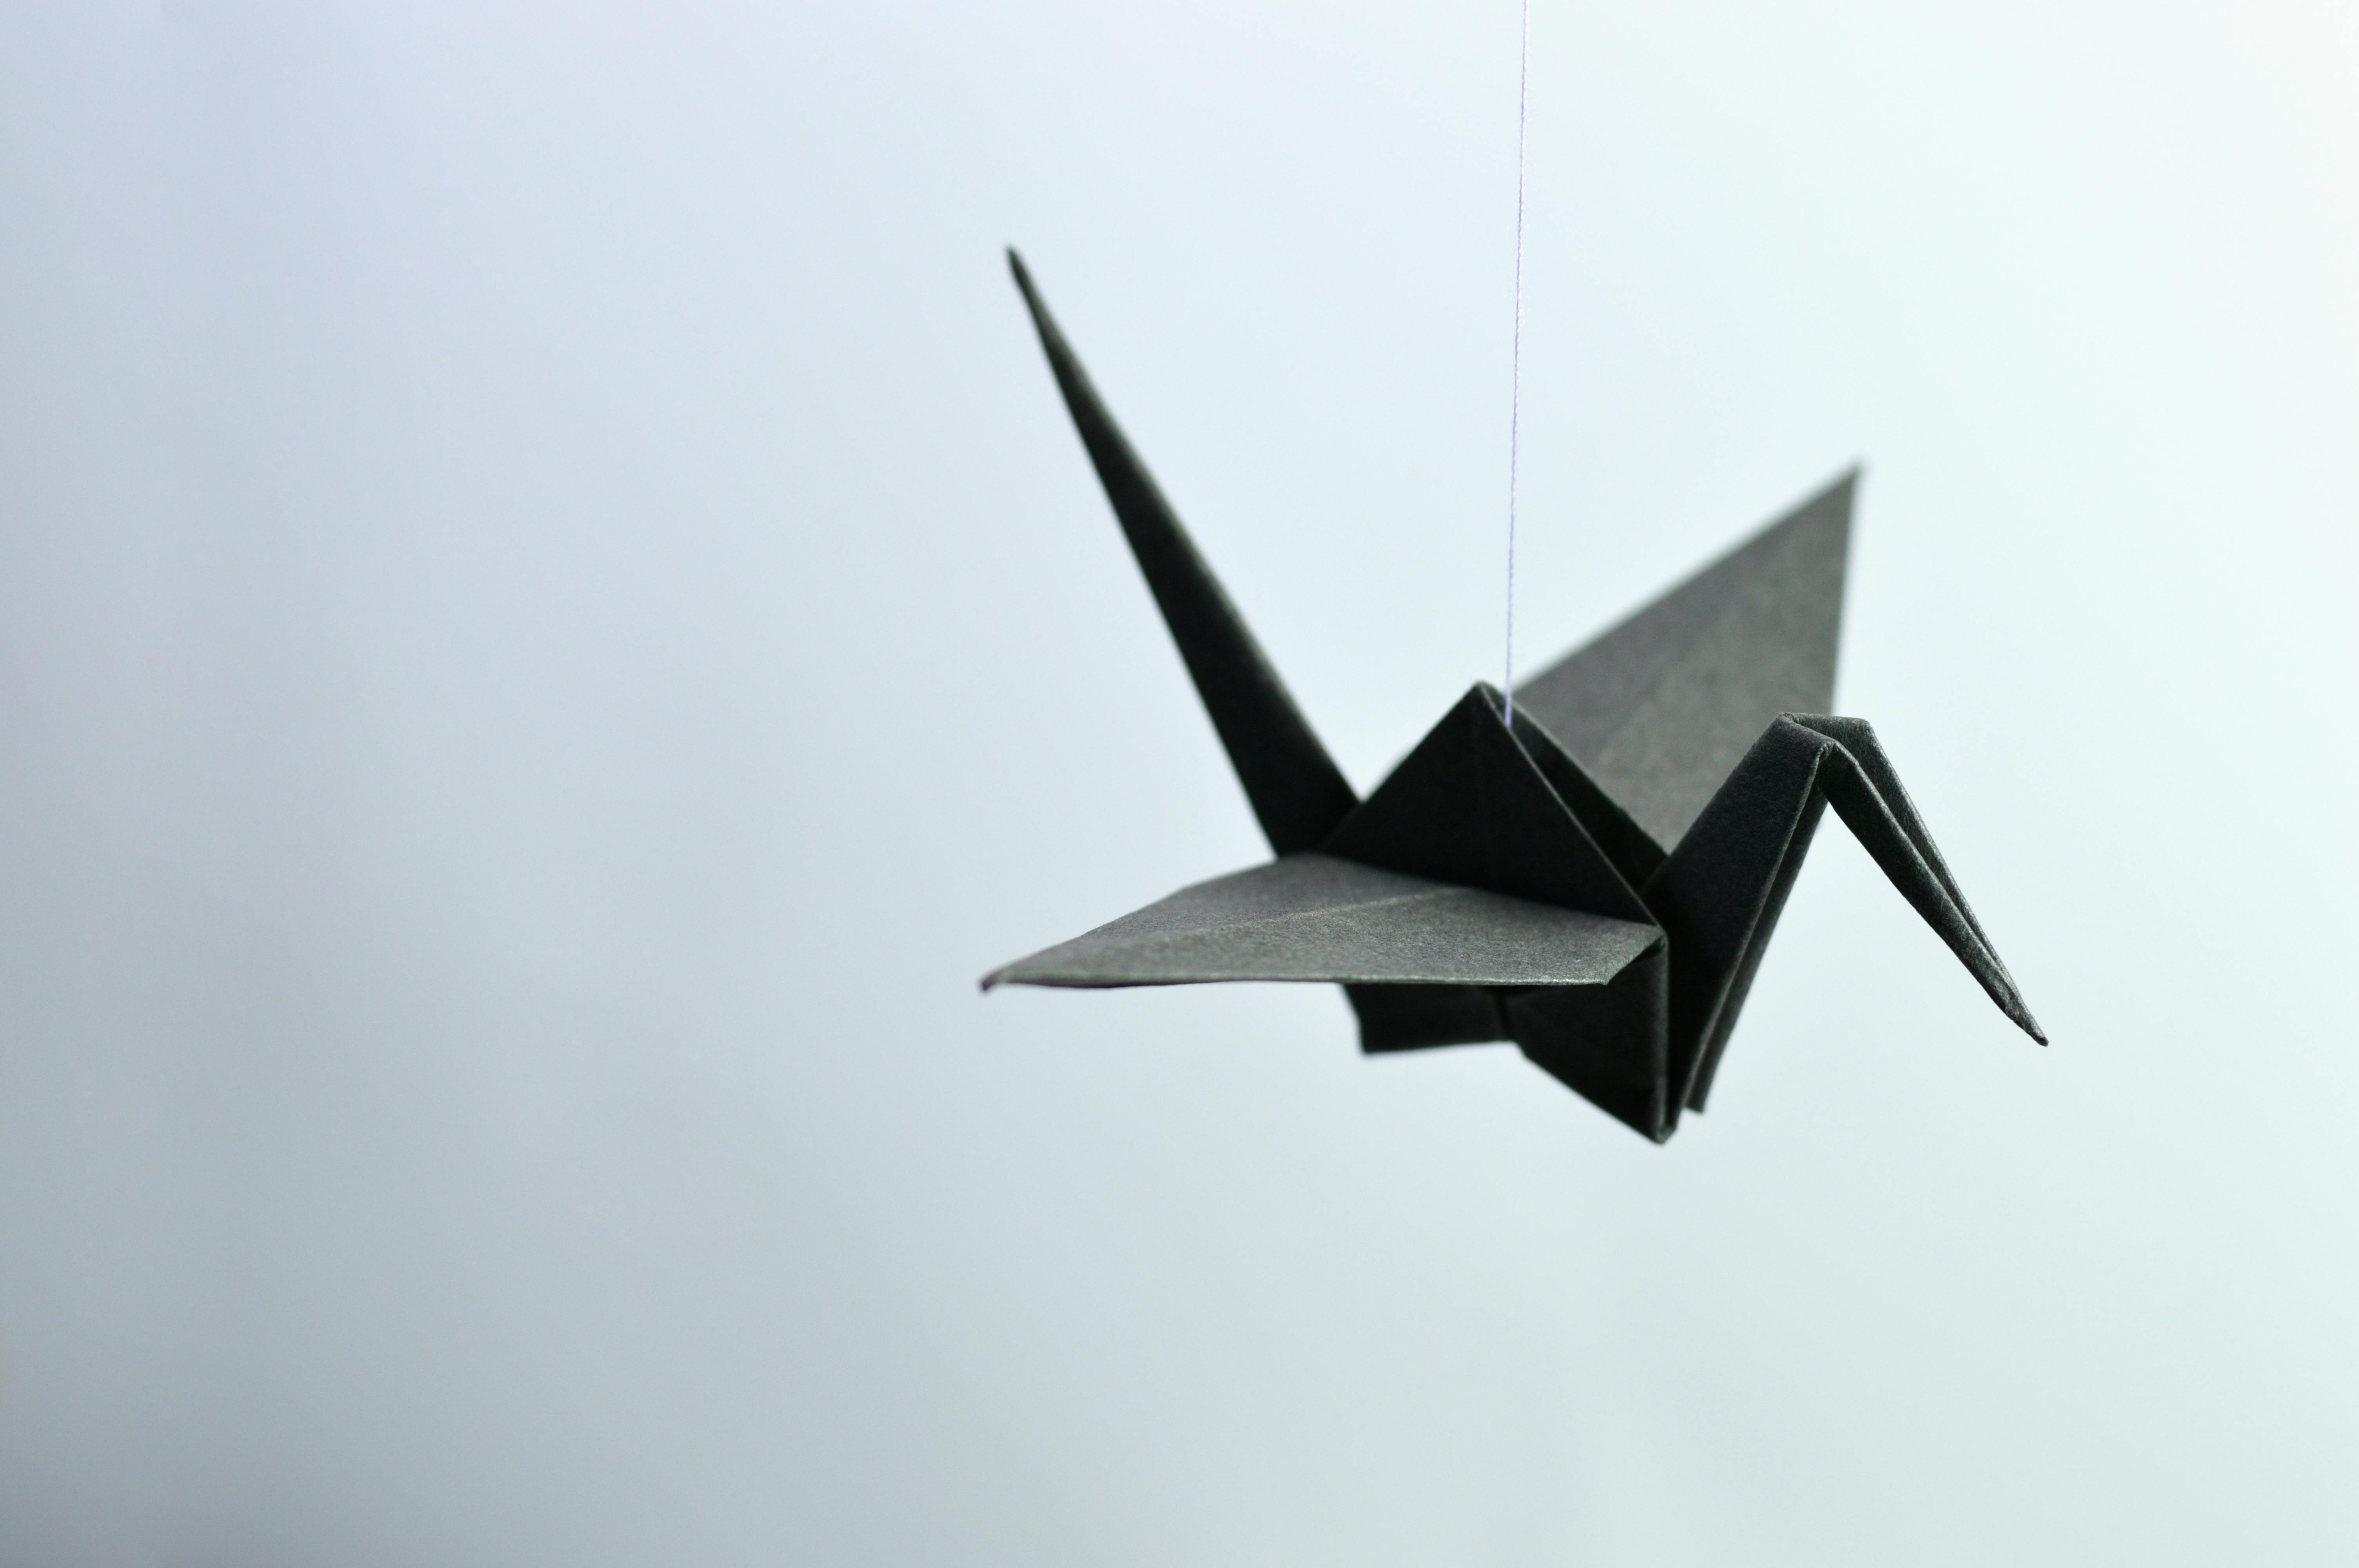
1. DIY Paper Mache Globe
Imagine drifting your hand into a heap of gooey, unpromising newspaper clippings, and then watching it evolve into your very own globe. Welcome to the fascinating world of DIY paper mache crafts! Today, we're zooming in on a home crafting project that's both educational and great fun to make— a DIY paper mache globe. Join us as we master the art of making paper mache and learn how to create a homemade globe. Let this craft not only decorate your space but also spark your wanderlust.
2. Defying Physics with Cornflour Slime
Have you ever wanted to defy the conventional laws of physics, all within the cozy confines of your home kitchen? Science might seem daunting, but with our easy STEM experiments, it's a whole load of fun! Today's adventure involves creating a Non-Newtonian Fluid, or as we prefer to call it, homemade cornflour slime. Yes, you read that right! We're taking the kids' science projects up a notch by delving into the magical world of Non-Newtonian fluids. Ready to learn physics at home in a way you've never imagined?
3. Mastering Homemade Sushi Rolls
The mouthwatering symmetry of a sushi roll. The satisfying crunch of a well-prepared maki piece. Have you ever wished to re-create the wizardry of an expert sushi chef, right in your own kitchen? Welcome to our latest culinary adventure- mastering homemade sushi rolls! We're plunging into the art of sushi rolling techniques, dishing out secrets on cooking sushi rice, and bringing you a step closer to the glory of making authentic Japanese cuisine at home. Ready to roll?
4. The Storytelling Improv Card Game
Imagine a game night where laughter and wild tales fill the air, where creativity and quick thinking are rewarded, and the entertainment flows non-stop. Sounds enticing? Get ready for the Storytelling Improv Card Game, a stimulating addition to your indoor activities that promises fun-filled memories. Perfect for both family gatherings and party sessions, this innovative game blends improv gaming techniques and storytelling into an experience that's as engaging as it is exciting. Ready to ride the roller coaster of imagination? Stay tuned.
Mastering Your Craft: DIY Paper Mache Globe
To learn paper mache is to unlock doors to a world of creativity. So, let’s dive straight into action. You might wonder, ‘how do I start making paper mache?’ The answer is quite simple: all you need is a mix of one portion water to one portion flour, some newspapers, and a big balloon. The combination of these modest elements is what will bring your DIY paper mache globe to life.
Let's talk about the intriguing process of making a paper mache globe. Inflate your balloon to the size you want your globe to be. Now dip your newspaper strips in the flour-water mixture and layer them on the balloon, covering it entirely while leaving a small hole at the top just big enough to pop the balloon after the mache dries. Sure, it's going to be messy, but isn't that half the fun?
STEM Fun: Creating Non-Newtonian Fluid at Home
The magic of this easy STEM experiment begins with only two simple ingredients: cornflour and water. Start by pouring two cups of cornflour into a bowl and slowly adding water till you have a mixture that's liquid when slowly stirred but stiffens up when stirred faster – voila, you've just created a non-Newtonian fluid!
If you thought STEM activities at home were boring, this homemade non-Newtonian fluid will be a game-changer. Now why is it named so, you wonder? Fun fact: it defies Newton’s law of viscosity that states fluids continue to flow under pressure! As perplexing as this may be, the moment you witness this fluid in action, science doesn't seem such a puzzle.
Culinary Adventure: Mastering Homemade Sushi Rolls
The journey to mastering sushi making starts with gathering up all your sushi ingredients. The essential ones include sushi rice, nori (seaweed sheets), fresh vegetables, and fresh fish if you prefer. And of course, the all-important sushi mat for that perfect roll.
Mastering the sushi rolling technique is an art that might take a few tries (and possibly a few misshaped sushi rolls). But the fruits of your efforts will be spectacular. Trust us, nothing compares to the satisfaction of slicing through your first perfectly rolled sushi, revealing the colourful interior feast. So, ready to bring Japan to your kitchen?
Game Night Fun: Storytelling Improv Card Game Explained
Welcome to the exciting world of the Improv Card Game. This unique, engaging game involves circulating cards with different prompts or characters on them, aiding you in weaving together a story. The trick? You never know what card is coming next!
Improving your storytelling techniques has never been this enjoyable. Join a knight on his daring quest or become an astronaut exploring the cosmos – the possibilities are endless! So bring out those snacks, clear that table, and brace yourself for a storytelling ride like no other.

Mastering Your Craft: DIY Paper Mache Globe
As we bring this adventure to a close, remember, crafting a DIY paper mache globe is more about the journey than the destination. So dip your hands in, layer up and watch in wonder as your very own orb begins to take shape. Embrace the opportunity to learn, create and above all, have unlimited fun with paper mache. Geographical boundaries may limit our travels, but not our crafting adventures! So what are you waiting for? Let's start this fascinating journey together.
STEM Fun: Creating Non-Newtonian Fluid at Home
In conclusion, creating a Non-Newtonian fluid at home is a dynamic, delightful STEM activity. Playing with nature's rulebook, defying laws of physics and dipping our toes into the unknown can be the best way to learn the quirkiest facts about the universe we inhabit. Science has just been upgraded from intimidating to inspiring. So grab that cornflour, throw in a little water, and get ready to create your very own magic potion!
Culinary Adventure: Mastering Homemade Sushi Rolls
To wrap up our culinary adventure, let's remember: making sushi at home is not just about preparing a meal. It's about crafting an art piece that lingers on the taste buds. Yes, the road to creating that perfect roll is sprinkled with a few inevitable hiccups. But let each misshaped sushi be a badge of honor, a testament of your will to learn. Ready to chef it up? Your sushi rolling mat awaits!
Game Night Fun: Storytelling Improv Card Game Explained
In closing - this entertaining escapade is about making game nights much more than just rolling dice or dealing cards. It's about unchaining the boundaries of our minds, donning different hats, and creating unforgettable stories. Who knows, an upcoming card might transform you into a whimsical wizard or a notorious pirate! So bring out those cards, fuel your imagination, and gear up for a storytelling journey like never before. Game night will never be the same again!
You May Also Like These:
DIY Time Capsule Craft
This crafty DIY project will get both the kids and adults excited. Creating a time capsule provides a snapshot of the present for future generations to look back on. Here are the step-by-step instructions you'll need to create a DIY Time Capsule.
Ingredients
- A sturdy box or container – This will serve as your time capsule. Consider something waterproof and rust resistant if you plan to bury it
- Memorabilia – Items like newspapers, photos, toys, and letters work great.
- A piece of paper and pen – to write down the current date and a 'do not open until' date.
- Airtight plastic bags or containers – To protect items from dampness and decay.
Instructions
- Prepare Your Items - Gather the items you want to include in your time capsule. make sure they're clean and dry before packaging them.
- Package Items - Place each item in an airtight bag or container to preserve them.
- Label - Write the current date and the 'do not open until' date on a piece of paper and add it to your time capsule.
- Seal Your Time Capsule - Pack everything into your chosen container and seal it tightly.
- Hide or Store Your Time Capsule - Decide where you want to keep your time capsule. Whether you bury it in the backyard or tuck it away in a closet, make sure it’s somewhere safe.
Enjoy!
Creating a DIY time capsule is not only a fun and engaging project that involves all family members but also serves as a valuable memento for future generations. So, get started and make your own time capsule today!
Kid-Friendly Recipe: Rainbow Fruit Skewers
Ingredients:
- Strawberries
- Oranges
- Pineapples
- Kiwi
- Blueberries
- Grapes
- Wooden skewers
Instructions:
- Wash all the fruit: Begin by thoroughly washing all the fruits to ensure they are clean.
- Prepare the Fruit: Chop the strawberries, oranges, pineapples, and kiwi into bite-sized pieces. Leave the blueberries and grapes whole.
- Assemble the Skewers: Once your fruit is prepared, start threading the fruits onto the skewers. Start with a grape at the bottom, followed by blueberries, kiwi, pineapple chunks, orange segments, and lastly, a strawberry.
- Repeat the Process: Continue this process until all skewers are filled. Remember to follow the colour order to create a beautiful rainbow effect.
- Serve and Enjoy: Arrange your rainbow fruit skewers on a platter and serve. They are best enjoyed fresh. These make a great snack for kids and are also a fun, interactive way to teach them about different fruits and colors.
Kid-Friendly Recipe: Rainbow Fruit Skewers
A fun, colorful, and healthy treat for kids! These rainbow fruit skewers are easy to make and a hit with the little ones. Here is a simple step-by-step guide to making them.
Ingredients:
- Strawberries
- Oranges
- Pineapple chunks
- Green grapes
- Blueberries
- Purple grapes
- Wooden skewers
Instructions:
1. Preparation: Begin by washing all the fruits thoroughly. Then, cut the strawberries and oranges into 1-2 inch pieces. Smaller pieces will be easier for children to eat. Pineapple chunks can be store-bought or fresh.
2. Arrange the skewers: Next, start arranging the fruits on the wooden skewers. Begin with a strawberry at the bottom, followed by an orange piece, a pineapple chunk, a green grape, and a blueberry. Top it all off with a purple grape.
3. Refrigerate: Once your skewers are ready, place them in the refrigerator for a few hours to chill.
4. Serve: Finally, serve the kids these pretty rainbow fruit skewers and watch them enjoy eating a rainbow.
Notes:
- Always supervise children while they are eating to prevent choking, especially if they are eating on skewers.
- Feel free to use any other fruits of your choice - just keep them colorful to maintain the 'rainbow' effect.
- These Rainbow Fruit Skewers are a fantastic way to get your kids to eat fruits and have fun while doing it! Enjoy creating and savoring these fruity delights!
DIY Chess Board Game
Create your own, personalized chess board game with these simple step-by-step instructions.
Materials Needed:
- A 20' x 20' piece of plywood
- White and black paint
- Painter's tape
- 32 chess pieces (16 each color)
- A ruler
- A paintbrush
Instructions:
Step 1: Prep the Board
Begin by painting the plywood white. Allow it to fully dry before moving on to the next step.
Step 2: Mark the Squares
Using the ruler, mark out 64 squares (8 rows of 8 squares). Each square should be about 2.5'.
Step 3: Paint the Squares
Using the painter's tape, tape off every other square. Paint the uncovered squares black. Once dry, remove the tape and tape the opposite squares. Paint these squares black.
Step 4: Place the Pieces
Finally, place your chess pieces on the board. Ensure both sets are complete (8 pawns, 2 knights, 2 bishops, 2 rooks, 1 queen, and 1 king).
Congratulations! You now have a custom, homemade chess board game. Enjoy playing!
DIY Galaxy Jar Crafting Project
Ingredients:
- One glass jar with a lid
- Glitter in multiple colors
- Cotton balls
- Paint or food coloring in galaxy colors (blue, purple, pink)
- Water
- Optional: glow in the dark stars
Instructions:
- Pull apart the cotton balls to make them fluffy and fill up a third of the jar.
- Add water to the jar covering the cotton balls.
- Add paint or food coloring of your first color to the jar.
- Add the first layer of glitter to the jar.
- Repeat these steps for the remaining two colors. Ensure each layer represents a different color to achieve a galaxy effect.
- If desired, stick glow in the dark stars in-between the cotton layers.
- Once your jar is filled and colored as desired, put the lid on tightly.
- Shake the jar to mix the colors and glitter/s.
- Enjoy your DIY galaxy in a jar!


