


As an affiliate, I earn from qualifying purchases, but this doesn't affect the reviews or recommendations—your trust is important to me!
Craft and Cook DIY Bead Bracelets Lava Lamp and Ziti

Today, We're Making:
- - DIY Handmade Bead Bracelets
- - Homemade Lava Lamp Experiment
- - Baked Ziti Recipe
- - Interactive Treasure Hunt.
- - DIY Time Capsule Craft
- - Rocket Science Experiment
- - Homemade Pizza Dough and Toppings
- - Family Board Game Tournament
- - DIY Origami Paper Planes
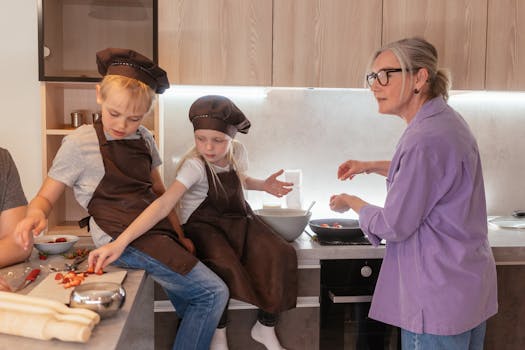
Welcome to another exciting adventure in the diverse world of DIY home crafts
Today, we'll journey through three distinct yet equally enthralling realms of crafting and cooking. Your creativity knows no bounds here, so let's dive in.
DIY Handmade Bead Bracelets
First, we will unlock our inner artisan with DIY Handmade Bead Bracelets, exploring a myriad of beading techniques that will bring your jewelry fantasies to life.
Homemade Lava Lamp
Next, we'll traverse to the intriguing world of at-home science experiments with a Homemade Lava Lamp, sparking both luminescent beauty and intellectual curiosity.
Baked Ziti Recipe
Finally, we will voyage to the delightful world of Italian cuisine, whipping up a hearty Baked Ziti recipe that fills your home with tantalizing aromas.
Our Craft and Cook DIY journey is like an interactive treasure hunt that stimulates the senses, sparks creativity, and ends in a plateful of comfort. So, whether you're a seasoned DIY crafts enthusiast or a curious newbie, buckle in for a tour de force of crafting, experimenting, and cooking that's sure to ignite your imagination.
```html
DIY Handmade Bead Bracelets: Unleash Your Inner Artisan
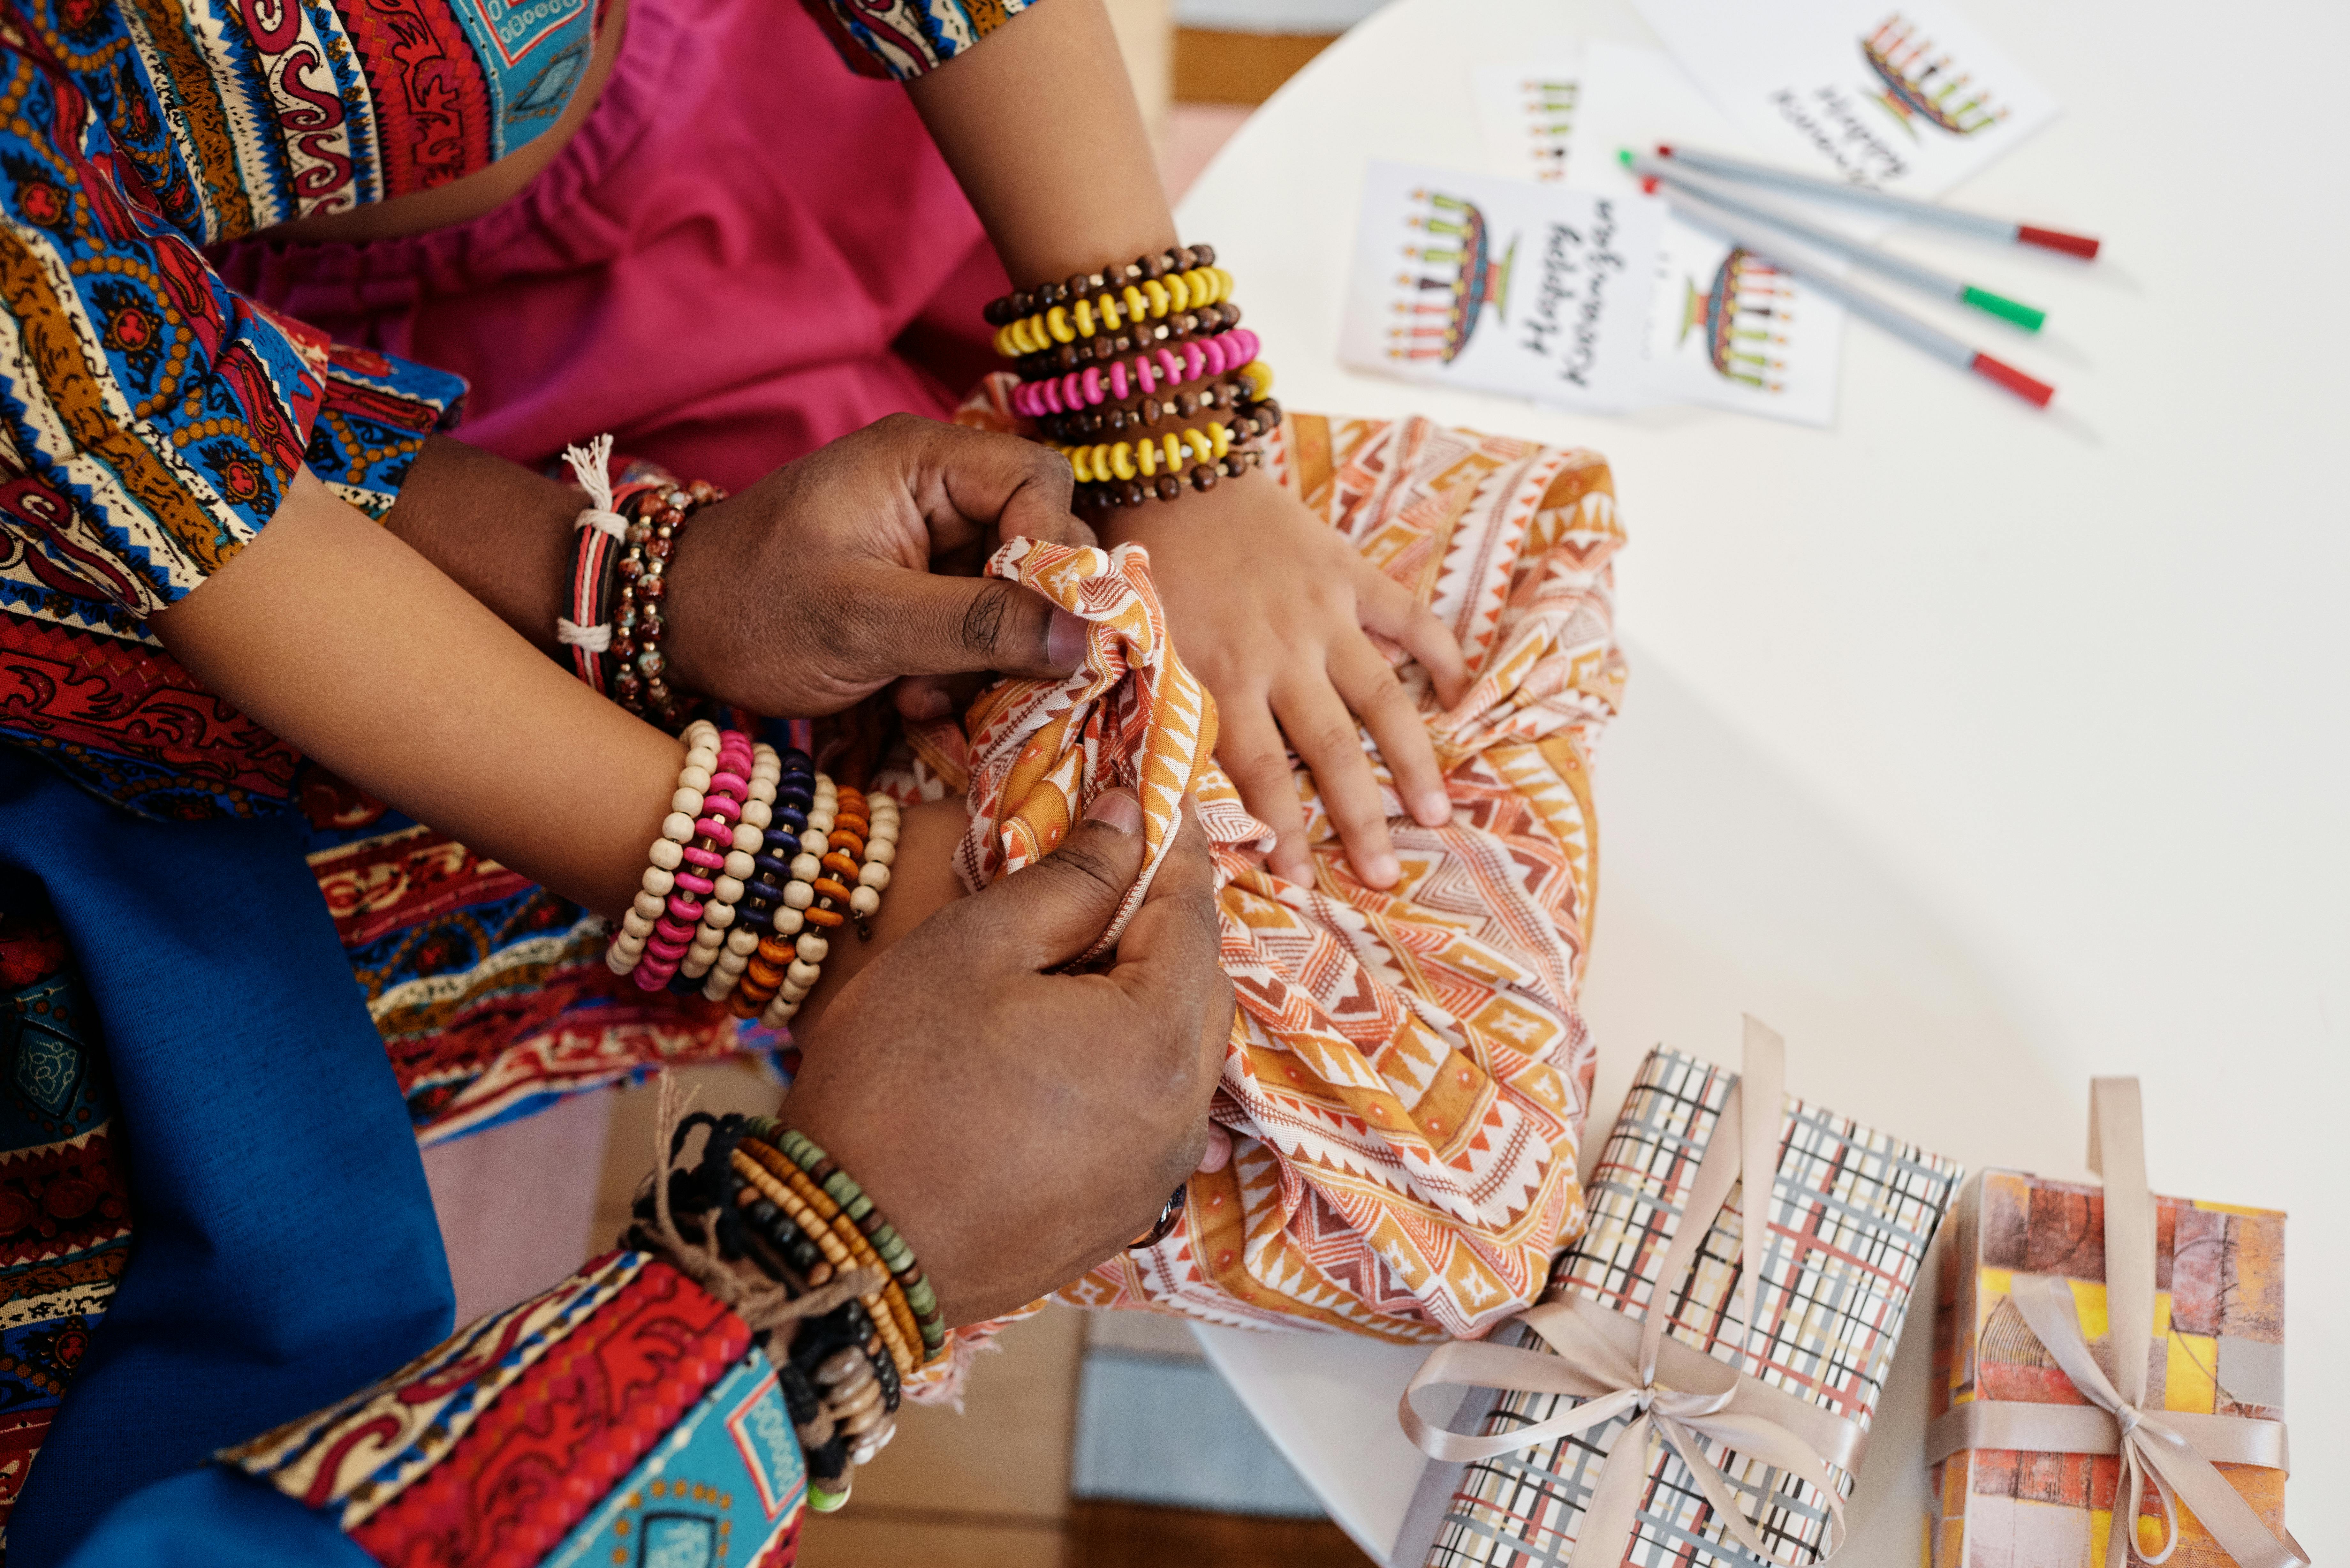
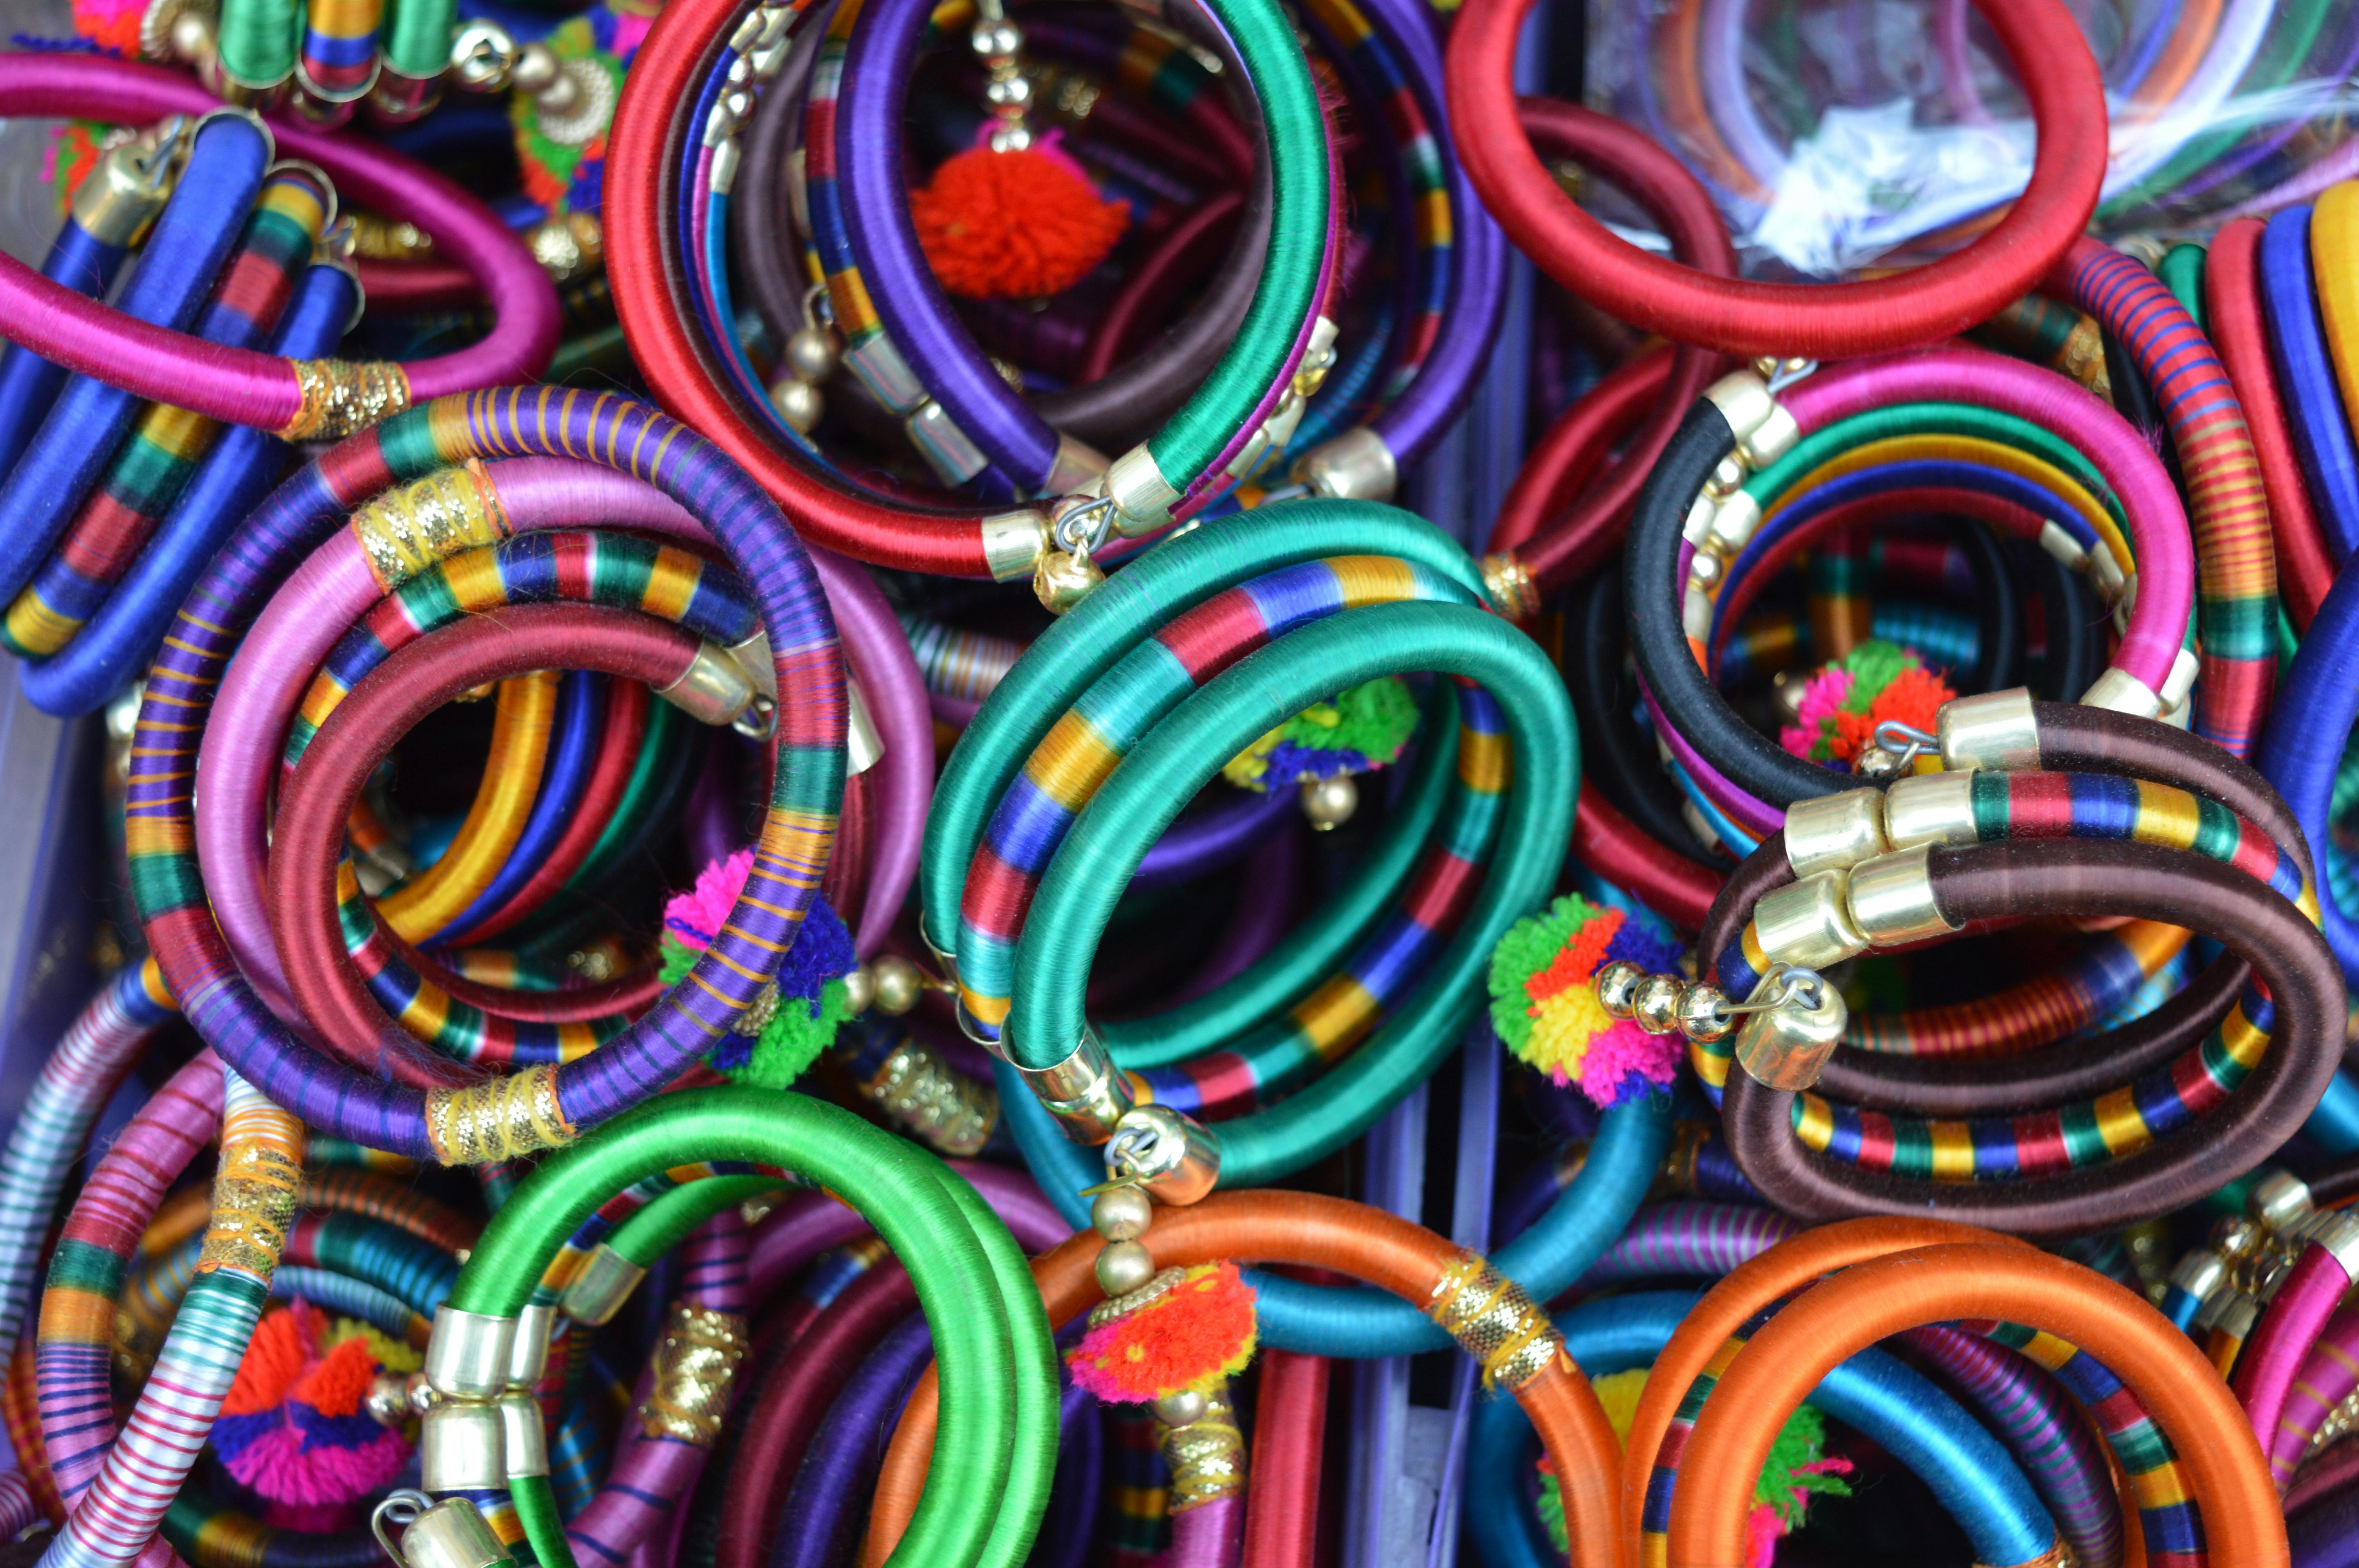
Immerse yourself in the mesmerizing world of bead crafting, as we delve into the creation of DIY Bead Bracelets. Hand-picking the most vibrant and stylish beads, you're about to launch into a beady adventure filled with creativity and beauty. Let's explore various beading techniques that will enable you to string together Bracelet Crafting wonders of your own.
Whether you're creating a simple design or eye-catching statement piece, you'll get to blend colors, shapes, and patterns into your unique, personal expression. The versatility of these Handmade Bracelets make them a fabulous addition to every wardrobe. Not only are they a joy to craft, but they also serve as treasured gifts for family and friends. Plus, this project is flexible and engaging for both adults and kids, making it a fantastic entry point for beginner DIY Crafts.
Homemade Lava Lamp Experiment: A Luminary DIY Project
Now, let's add a dash of science to our DIY journey by crafting a Decorative Lava Lamp. Lava Lamp DIY combines the tactile joy of crafting with a basic science experiment. Following the Lava Lamp Instructions, you'll learn how to create a mesmerizing spectacle using household items.
Prepare to be amazed at the beauty within a simple Lava Lamp Container, as you watch bubbles of color bob, meld, and separate in a dance of density and heat. You'll find this Lava Lamp Experiment to be thrillingly educational while producing a piece of decor that adds a cool, retro vibe to your space. This project, toeing the line between Arts and Crafts and science, is perfect for DIY Crafts for Kids and, well, kids-at-heart!
Baked Ziti Recipe: A Plateful of Italian Comfort
Finally, we'll traverse to the world of authentic, traditional Italian cuisine with a scrumptious Baked Ziti Recipe. Cooking Ziti might feel like a daunting endeavor, but we'll take it step by step to ensure you churn out a dish that would make Nonna proud!
Whipping up this hearty pasta dish brings together indulgent ingredients for a meal that will surely whisk you and your dinner guests straight to a rustic Italian diner. Equipped with expert Pasta Cooking Tips and an arsenal of delicious herbs and cheeses, you'll turn a humble Ziti Pasta into a true pièce de résistance. This wholesome, comforting dish is the culminating jewel on our DIY Home Crafts journey – a grand finale that is equal parts satisfying and delicious!
```
In Conclusion
Our vibrant exploration of DIY crafts - from bead bracelets and homemade lava lamps to baking a hearty dish of Ziti – has revealed the limitless possibilities and immense fun hidden within the realm of creating, experimenting, and cooking.
Embrace Your Inner Artisan
Embracing our inner artisan, scientist, and chef, we have discovered that crafting is more than just putting things together; it’s about transforming everyday items into something extraordinary.
Keep Venturing Into The Unknown
So, let's continue this exciting quest of creation. Keep venturing into the unknown territory of your creativity, for you never know what exceptional marvels will emerge from your own two hands.
The Real Magic Lies In The Journey
With each bead threaded, lava bubble created, and mouthful of ziti savored, remember that the real magic lies in the journey, not just the destination. Let's craft, cook, and create to our hearts' content!
You May Also Like These:
DIY Time Capsule Craft Instructions
Follow these simple steps to create a fun, memorable, and educational time capsule craft. Engaging in this activity allows children to learn about the concept of time, historical documentation, and more.
Ingredients / Supplies Needed:
- A sturdy box or container with a lid
- Acrylic paint and paintbrushes
- Paper and writing materials
- Printed photographs
- Any other items you wish to include (mementos, small toys, letters, etc.)
Instructions:
Step 1: Decorating the Container
Your children can paint or decorate the outside of the box/container. Encourage creative expression and allow the paint to dry thoroughly.
Step 2: Writing the Note/Letter
Provide the children with paper and writing materials. They can write a note/letter to their future selves, including current date, their age, and other interesting data such as their favorite toys, books, color, etc.
Step 3: Gather Other Items
This is the fun part where kids can add printed pictures, toys, mementos, or anything else that fits inside the container.
Step 4: Packing the Time Capsule
Once all items are collected, you can help your children neatly place everything into the container and firmly close the lid.
Step 5: Store the Time Capsule
Find a safe place to store the time capsule for years to come. You may want to label the container with a 'do not open until' date to build anticipation.
Enjoy the fun, sentimental, and historical value this craft brings to your family.
Homemade Pizza Dough and Toppings
Ingredients
- 1 & 1/2 cups warm water (110 degrees F/45 degrees C)
- 2 teaspoons sugar
- 2 & 1/4 teaspoons active dry yeast
- 3 & 1/2 cups bread flour
- 2 tablespoons olive oil
- 2 teaspoons salt
- Toppings of your choice (eg. cheese, tomato sauce, vegetables, meats)
Instructions
- Dissolve the sugar in the warm water: In a medium bowl, stir together the sugar in the warm water until sugar is completely dissolved.
- Add yeast: Sprinkle the yeast over the water and let it sit for 5 minutes until the yeast is dissolved. It should start to foam or bloom.
- Mix dry ingredients: In a large bowl, combine the bread flour and salt, mix through with your hands.
- Add water and yeast: Make a well in the center of the dry ingredients and pour in the water and yeast mixture, as well as the olive oil, then bring it together with a spoon until a dough starts to form.
- Knead the dough: Using your hands, knead in the bowl until it forms a ball and does not stick to the sides anymore.
- Let rise: Cover the bowl with a damp cloth and allow to rest in a warm area for at least 2 hours. The dough should double in size.
- Prep dough for baking: Preheat the oven to 475 degrees F (245 degrees C). Punch down the dough and divide it into 2 parts, and form into 2 round balls of dough. Roll out the dough to fit your pizza stone or baking sheet.
- Add toppings: Add your desired toppings and bake in the preheated oven for 13-15 minutes, or until crust is golden and cheese is melted and bubbly.
Kids' Crafts, STEM Projects, Food, Games: Homemade Pizza
Homemade Pizza Dough
Ingredients:- 3 1/2 cups bread flour
- 2 teaspoons sugar
- 1/2 teaspoon instant dry yeast
- 1 3/4 teaspoons salt
- 1 1/4 cups water
- 2 tablespoons olive oil
- In a large bowl, combine flour, sugar, and yeast.
- Add salt to the bowl and combine.
- Create a well in the middle of the flour mixture and add water. Mix until it forms a rough dough.
- Knead the dough on a floured surface for about 5 minutes, or until it becomes elastic.
- Place the kneaded dough in a greased bowl, cover it with a towel, and let it rise for 1-2 hours.
- Once risen, punch the dough down, knead it for another minute and roll it out into your desired pizza shape.
Pizza Toppings
Ingredients:- 1 jar pizza sauce
- 2 cups shredded mozzarella cheese
- Toppings of your choice (e.g. pepperoni, bell pepper, mushroom, black olives, etc.)
- Preheat the oven to 475° F (or according to your specific pizza dough instructions).
- Spread a layer of pizza sauce over your rolled-out pizza dough.
- Sprinkle the cheese evenly over the sauce.
- Add your chosen pizza toppings.
- Bake the pizza in the oven for approximately 12-15 minutes, or until the cheese is melted and golden brown.
Pizza Box STEM Project
Instructions:- Save the pizza box and clean it out after you've enjoyed your pizza.
- Using markers or paint, let your children decorate the pizza box however they like. Allow it to dry.
- Next, using string, ruler, and paper, have your kids create a pulley system to lift the pizza box lid.
- This will demonstrate simple mechanical concepts and produce a fun, finished product!
Pizza Themed Games
Instructions:- Create a 'pin the topping on the pizza' game. Draw a large pizza shape and cut out toppings. Blindfold players and let them try and stick their topping in the correct place.
- Play 'pizzaiolo says' - a twist on the classic 'Simon says' but with pizza-making actions (e.g., 'Pizzaiolo says, knead the dough!').
Crafts: Paper Mache Animals
Ingredients:- Old newspaper
- 1 cup of flour
- 1 cup of water
- Paint
- Scissors
- Masking tape
- Cut the newspaper into strips.
- Mix flour and water to make paste.
- Dip newspaper strips into paste and cover your animal-shaped object.
- Let it dry and paint as desired.
STEM Project: Growing Crystals at Home
Ingredients:- 3 cups of sugar
- 1 cup of boiling water
- String
- Pencil or popsicle stick
- Food coloring (optional)
- Dissolve sugar in boiling water.
- Add food coloring (optional).
- Pour the mixture into a jar.
- Suspend a string in the jar, making sure it doesn't touch the sides or bottom.
- Wait a few days and observe the growing crystals!
Food: Homemade Pizza
Ingredients:- Pizza dough
- Pizza sauce
- Shredded mozzarella cheese
- Your choice of toppings
- Preheat oven to 475F.
- Roll out dough to desired thickness.
- Apply a layer of pizza sauce, leaving some space around the edge for crust.
- Sprinkle cheese and add your desired toppings.
- Bake for about 15 minutes, or until crust is golden and cheese is bubbly and browned.
Games: Family Board Game Tournament
Ingredients:- Various board games
- Paper for scorekeeping
- Pick out your family’s favorite board games.
- Create a tournament bracket on a piece of paper.
- Earn points by winning games, and track points on the paper.
- The person with the most points at the end of the tournament is the ultimate board game champion!
DIY Origami Paper Planes
Ingredients:
- A4 size paper
Instructions:
- Fold the paper in half vertically.
- Unfold the paper and fold each of the top corners into the center line.
- Fold the peak down to meet the edge of the previous step.
- Fold both top edges into the center line.
- Fold the plane in half along the center line.
- Create the wings by folding both sides down along the lines shown.
- Your paper airplane is now ready for flight. Enjoy!
STEM Project: Liquid Rainbow in a Glass
Ingredients:
- 5 glasses
- Food Coloring (Red, Yellow, Green, Blue)
- Sugar
- Water
- Pipette or Straw
Instructions:
- Fill all 5 glasses with the exact same amount of water.
- Add 1 tablespoon of sugar to the first glass, 2 tablespoons to the second, 3 to the third, and 4 to the fourth.
- Mix until sugar is completely dissolved.
- Add 2 drops of food coloring to each glass - Red to the first glass, yellow to the second, green to the third, and blue to the fourth.
- Take the pipette and slowly layer the sugar water into the 5th glass, starting from the highest-density liquid (the one with the most sugar) to the lowest one. Your liquid rainbow is complete!
Chocolate Chip Cookies
Ingredients:
- 2 1/4 cups all-purpose flour
- 1/2 teaspoon baking soda
- 1 cup (2 sticks) unsalted butter, room temperature
- 1/2 cup granulated sugar
- 1 cup packed light-brown sugar
- 1 teaspoon salt
- 2 teaspoons pure vanilla extract
- 2 large eggs
- 2 cups (about 12 ounces) semisweet and/or milk chocolate chips
Instructions:
- Preheat oven to 350 degrees. In a small bowl, whisk together the flour and baking soda; set aside.
- Combine the two sugars into a large bowl, add butter, and beat until light and fluffy.
- Add the salt, vanilla, and eggs and mix well.
- Gradually add the flour mixture, and beat until just combined.
- Stir in the chocolate chips.
- Drop tablespoon-size balls of dough about 2 inches apart on baking sheets lined with parchment paper.
- Bake until cookies are golden around the edges, but still soft in the center, 8 to 10 minutes. Enjoy!


