


As an affiliate, I earn from qualifying purchases, but this doesn't affect the reviews or recommendations—your trust is important to me!
Creating a DIY Lava Lamp Experiment at Home Easily

Today, We're Making:
- - DIY Lava Lamp Experiment
- - Solar system model: Complement the Lava Lamp project by having kids create a model of the solar system. Make informed guesses about how space exploration might evolve by 2025, where Mars rovers might be exploring, and what we might know about distant planets. Use inexpensive materials like styrofoam balls or painted rocks to represent the planets, and string to make a hanging mobile.
- - Homemade weather station: Teach kids about meteorology by creating a weather station that can measure temperature, humidity.
Are you looking for a fun, easy science experiment?
Are you looking to captivate your little ones and spark their interest in learning? What about a DIY project that not only educates but also adds a dash of colorful aesthetics to your home?
Look no further.
Our DIY Lava Lamp Experiment
Our DIY Lava Lamp Experiment perfectly blends home education with some vivid chemistry magic. Engaging in this simple science for kids is much like being a wizard. Even using just ordinary household items, you can create something truly extraordinary.
Whether you're a homeschooling veteran, a frazzled parent seeking new ways to engage your young and restless learners, or even just a science enthusiast, this homemade lava lamp project is an exciting and memorable way to bring science to life right at your kitchen table.
Let's dive in!
Involve Your Little Scientists in Gathering Materials
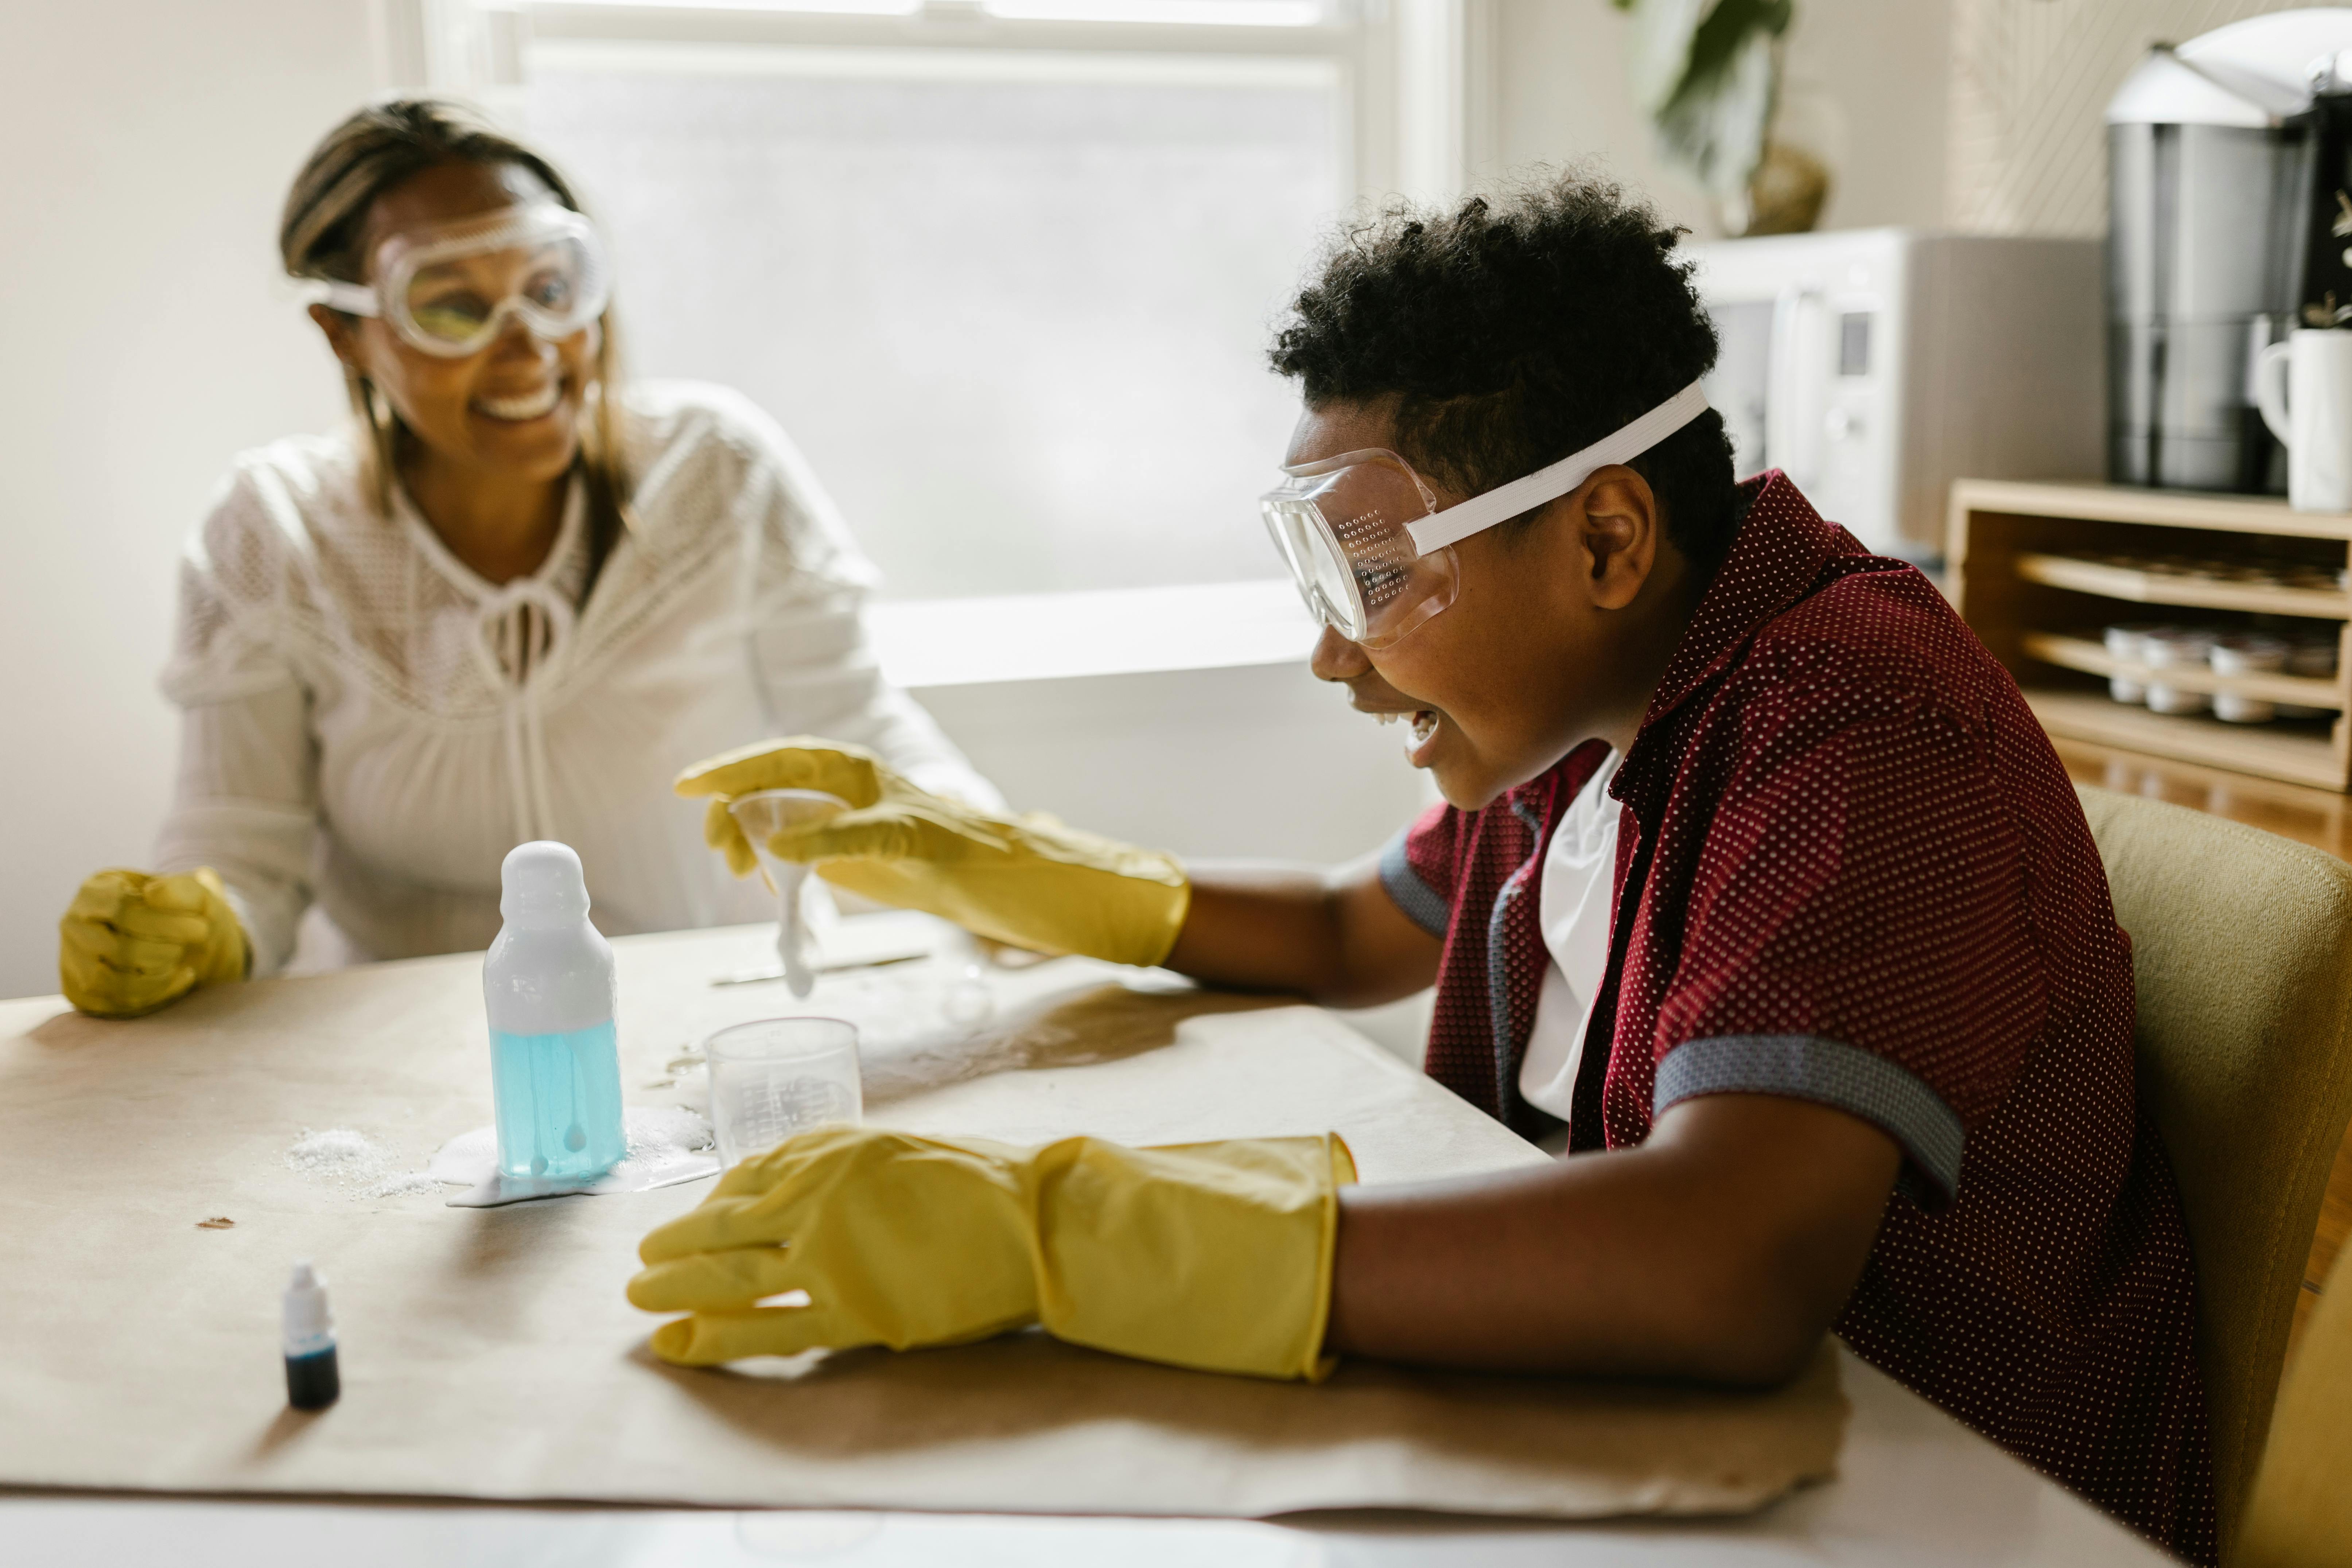
First, let's gather the ingredients for this remarkable DIY Lava Lamp Experiment. Astonishingly, most of what you need is probably already in your kitchen. See, easy science experiments, like creating a homemade lava lamp, are not just convenient but also cost-effective because they make use of everyday household items. For this bewitching concoction, you will need a clear glass or plastic container, water, oil, food coloring, and effervescent tablets. Did your little scientists' eyes just light up while running around the house for these supplies? Their excitement is just the beginning!
Step by Step Guide to Your Homemade Lava Lamp
Now, let's move on to the fun part, the actual DIY science! Firstly, fill your chosen container with water until it's about a quarter full. Next, pour oil into the container, filling it almost to the top. Kids love this step particularly because of the magical way oil and water refuse to mix - don't be surprised if they want to repeat this oil and water experiment again and again! Be sure to explain the difference in the densities of the two liquids and how that causes the oil to float on top of the water.
The Magic Potion Comes to Life
Next, it's time to bring some color into our DIY Lava Lamp experiment. Let your child choose their favorite food coloring and add a few drops to the container. Watching the colorful beads dart around in the oil layer before making an eye-catching journey down to the water layer is pure chemistry magic. It's a captivating process that turns this simple science for kids into an enchanting visual treat.
Lastly, we come to the grand finale - the effervescent tablet! Break it into a few pieces, drop them in one by one, and watch as your homemade lava lamp truly comes to life. Explaining to your young ones how the tablet creates gas bubbles that rise through the layers, dragging some colored water along with it and then sink as the bubble pops, turns this children's experiment project into a captivating introduction to physics.
Extra Tips for the Best DIY Science Experience
Remember, safety is paramount when conducting any home experiment. Always supervise your little ones during this process and ensure they don't ingest any of the ingredients. Also, do experiment with different food colors or even try two colors in a single lamp to strengthen and add a layer of charm to their curiosity. This way, your DIY Lava Lamp Experiment can be repeated over and over, becoming a riveting science lesson that never gets stale or boring!
Creating this easy homemade lava lamp is not just a fantastic way to encourage a love for science at home, but it also gives your little ones a sense of accomplishment as they admire their colorful creation. Plus, it's a craft project for kids that doubles up as a trendy room décor item. So, are you ready to turn your kitchen into a tantalizing science lab?

A simple, fun and educational science experiment
So there you have it! A simple, fun and educational science experiment that's as vibrant as your child's curiosity. Empowering your little ones with hands-on learning experiences, like this DIY Lava Lamp experiment, contributes to their growth in a holistic and gratifying way.
Making learning fun and creative
Be it homeschooling or to simply beat the boredom on a weekend, this project offers a blend of creativity, science, and magic, guaranteeing a delightful learning affair. You've made learning both tangible and fun, all while creating a thrilling spectacle of color and chemistry.
Experience the magic of science
So gear up, dive into this science adventure, and witness the wonder unfold in your child's eyes. After all, who knew you could create such dazzling magic with simple household items? Certainly, your eager young scientists do now!
You May Also Like These:
Solar System Model STEM Project
Complement your Lava Lamp project with a model of the solar system that's both exciting and educational. Here's how to do it:
Ingredients
- Foam balls of varying sizes (for planets)
- Acrylic paint set
- Dowel rods or skewers
- String
- Spray paint (optional for backdrop)
- Large foam board or cardboard (for the backdrop)
Instructions:
- Plan your model: Layout the foam balls and decide which size represents each planet. Remember the relative sizes of the planets as you make your choices. Also plan how far apart each planet will be.
- Paint the planets: Using your acrylic paint set, paint each foam ball to resemble the planets. Allow time for the paint to dry.
- Arrange the planets: Once your planets are dry, pierce each one with a dowel rod or skewer. Attach a string to the other end of the dowel and tie it off.
- Create a backdrop: If you'd like to present your solar system with a backdrop, paint your large foam board or cardboard black or deep blue to represent space. Allow to dry before moving on.
- Hang the planets: Hang each planet from the top of your backdrop at the appropriate distance apart according to your plan.
Bonus Thought Experiment:
Now that you have your solar system, make some predictions! How do you think space exploration might have evolved by 2025? What new technologies could we have? Which planets might we have visited? Compare your predictions as a family and see who's most accurate when 2025 comes around!
DIY Solar System STEM Project
Materials Needed:
- Styrofoam balls or Painted Rocks (9 pieces in different sizes)
- Acrylic Paint (Various Colors)
- Paintbrushes
- Stick or Rod for Holding Planets
- String
- Loading Tags
Step-By-Step Guide:
Step 1: Gather Materials
Start by gathering all the materials listed above. You can find these easily at a dollar or craft store.
Step 2: Paint the Planets
Use the acrylic paint to color the Styrofoam balls or painted rocks to represent the planets. Use appropriate colors for each planet. Allow the paint to dry completely before moving on to the next step.
Step 3: Attach the Planets to the Stick
Once the planets are dry, attach them to the stick or rod in the order of their occurrence in the solar system. Use the string to tie each planet to the stick. Ensure there's enough space between each planet to provide an indication of distance.
Step 4: Label the Planets
Using the loading tags, label each planet. This will also help kids learn the names and order of the planets in the solar system.
Step 5: Discuss What We Know about Distant Planets
Once the project is complete, it’s a good opportunity to talk about what we know about each planet and the ongoing exploration and discoveries about distant planets in our solar system.
Create Your Own Model of the Planets
Ingredients
- Styrofoam balls: for larger planets like Jupiter and Saturn.
- Painted rocks: for smaller planets like Mars and Earth.
- Acrylic paint: to paint the planets.
- Wire hangers: to arrange the planets in their orbits.
- String: to suspend the planets from the hanger.
Instructions
- Pick your Planets: Decide which planets you want to include in your model.
- Prepare Your Planets: Paint the styrofoam balls and rocks to match the color of the planets you chose in step one.
- Attach your Planets: Tie a piece of string around each painted styrofoam ball and painted rock.
- Prepare Your Orbits: Unravel the wire hangers and shape them into circles. These will represent the orbits of your planets.
- Attach the Planets to their Orbits: Tape the string of each planet to its corresponding wire hanger orbit.
- Display Your Model: Find a suitable location to hang your model, and admire your work!
Learn More About the Planets
You can use this project to discuss and learn more about our solar system. Discuss the order of the planets, their size in comparison to the sun, and what we might know about the planets. For instance, discuss what we know about the terrain, weather, and possible existence of life on distant planets.
Homemade Weather Station Project
Project Objective: Learning about weather and meteorology by making a DIY weather station that can measure temperature. Required Materials:- Analog Thermometer
- Cardboard sheet
- Pencil
- Ruler
- Glue
- Markers
Step 1: Gathering the Materials
Setup your workspace and gather all the required materials. Make sure the area is clean and safe for working.
Step 2: Create a Base
Using a ruler and pencil, draw a rectangle with dimensions of 30cm x 20cm on the cardboard sheet. Cut out the rectangle; this will serve as the base of your weather station.
Step 3: Thermometer Placement
Position your analog thermometer in the center of the cutout cardboard base. Mark the area with a pencil. After you’re sure of the placement, secure the thermometer onto the cardboard using glue.
Step 4: Decoration
Once the glue is dry and the thermometer is secure, allow your child to decorate their homemade weather station as they wish! Encourage them to make it colorful and personal.
Understanding the Weather Station:Once your weather station is complete, it’s time to start observing! Every day, have your child record the temperature displayed on the thermometer. Over time, they will start to understand how temperature fluctuates and how it relates to the overall weather pattern. This understanding is the first step into the vast field of meteorology.
STEM Project: How to Measure Humidity
Materials Needed
- Hair that hasn't been washed in a while or a clean toothpick
- Empty Aluminum Can
- Straw
- White glue
- Sticky tape
- Cardboard
- Felt-tip pen
- Scissors
Instructions
- Clean the Aluminum Can: First, ensure that the aluminum can is empty and clean. If not, wash the can thoroughly and dry.
- Cut the Straw: Cut a piece of straw that is long enough to stick out of the top of the can and reach almost to the bottom inside.
- Attach Hair or Toothpick to Straw: Attach the hair or toothpick to the end of the straw that will be inside the can. Ensure it is attached securely and let the glue dry.
- Prepare the Cardboard: Cut a piece of cardboard that will fit snugly onto the top of the aluminum can.
- Insert Straw: Create a hole in the middle of the cardboard piece and insert the straw through, making sure the hair or toothpick end is inside the can.
- Seal the Top: Apply glue around the hole on the cardboard piece in order to seal any gaps around the straw. Let the glue dry.
- Mark the Cardboard: Use your felt-tip pen to make an initial mark on the piece of cardboard. This will serve as your initial humidity level.
- Measure Humidity: To measure the humidity, wait for the hair or toothpick to be affected by the moisture in the air. This will cause it to move the straw, which will, in turn, move the end of the straw on the outside of the can. Compare the movement to your original mark to see how the humidity level changed.