


As an affiliate, I earn from qualifying purchases, but this doesn't affect the reviews or recommendations—your trust is important to me!
Creating a DIY Lava Lamp Experiment Step by Step guide

Today, We're Making:
- - DIY Lava Lamp Experiment
- - 'Solar System Mobile' – Coinciding with the International Day of Astronautics, this project will get kids excited about space. Using simple materials like cardboard, paint, and string, kids can create a hanging mobile of the solar system. They can learn about each planet as they paint and position them.
Are you on the hunt for a unique and exciting DIY project?
Perhaps, an easy science experiment that can serve as an engaging home science project for your kids? Well, look no further!. Today, we're going to delve into a fun science activity that's not only captivating for the youngsters but also offers an enriching experience — the DIY lava lamp experiment.
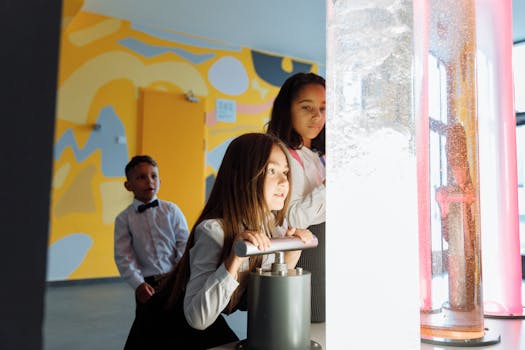
Transform Your Home into a Science Laboratory
Transform your humble abode into a makeshift science laboratory and create a homemade lava lamp with your little ones, step-by-step. This hands-on STEM experiment will help your kids not just learn science at home but also appreciate the wonders of the water and oil science experiment, while making aesthetics and learning collide.
Ignite That Spark of Learning and Creativity
So, gear up to ignite that spark of learning and creativity with this DIY craft that doubles as an educational craft.
Let's Embark on Our Journey!
Let's embark on our journey to making a lava lamp at home, one bubbly step at a time!
Getting Ready for Your DIY Lava Lamp Experiment
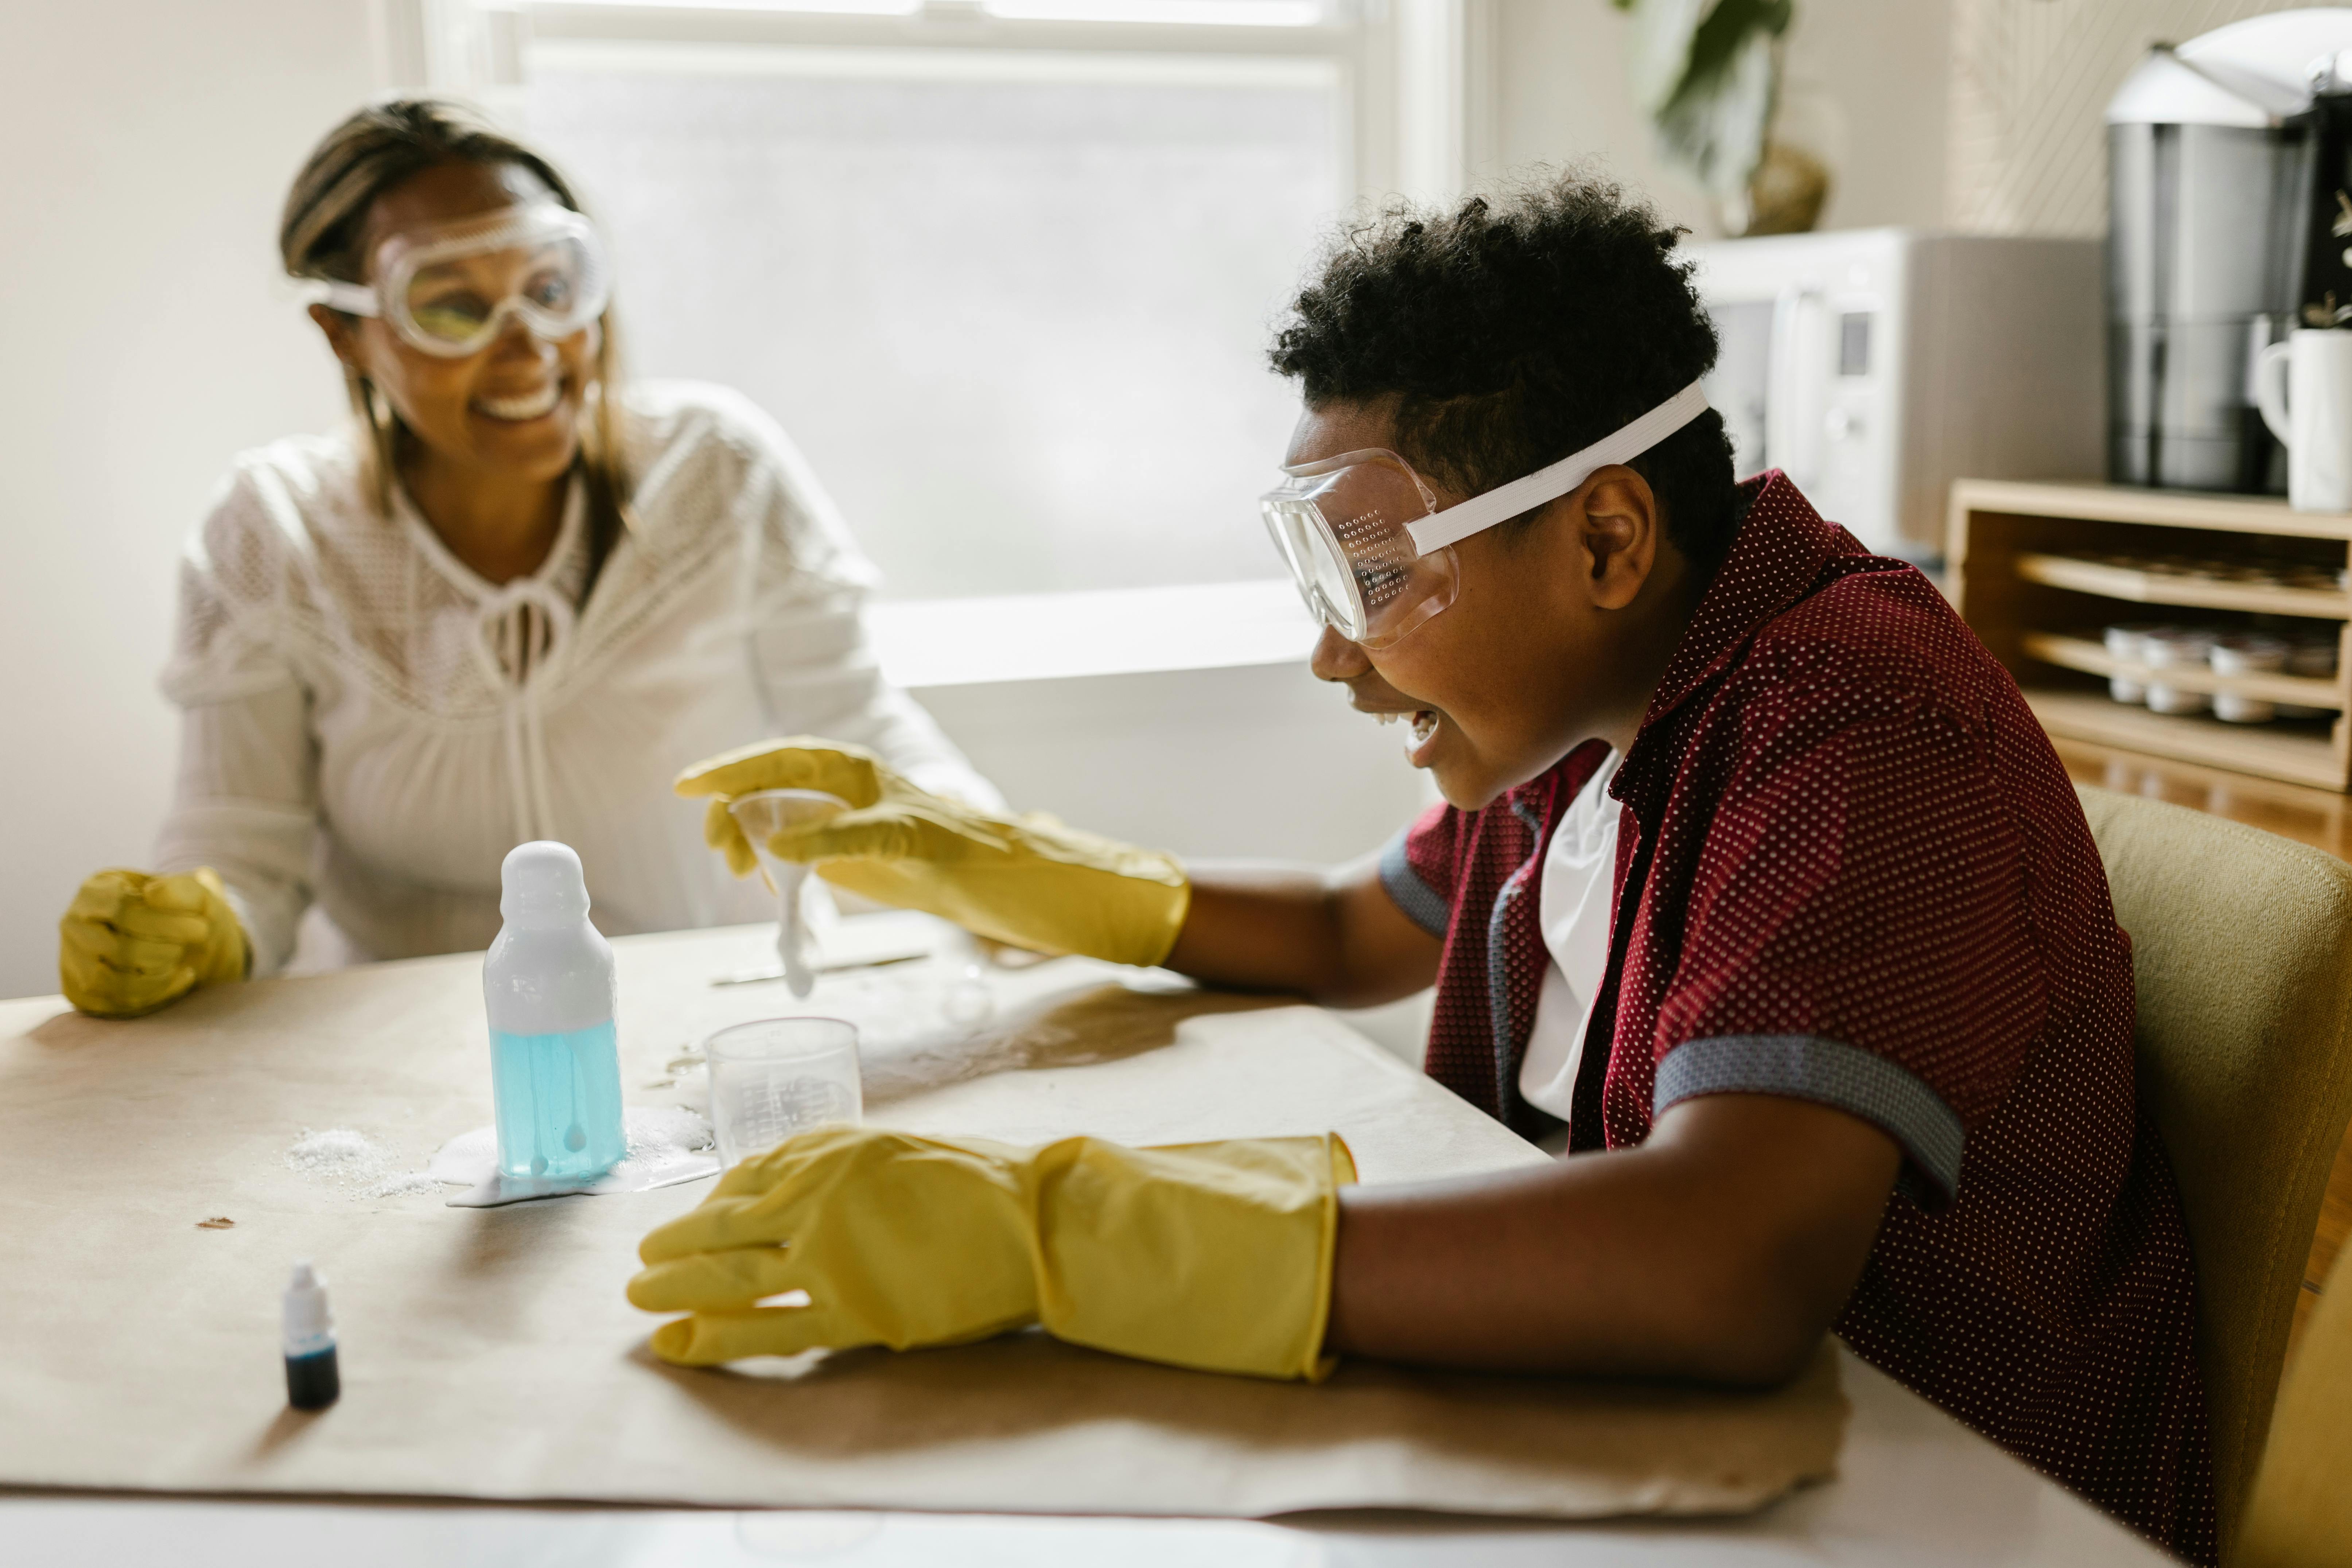
So, let's get started on our thrilling journey of making a lava lamp at home! This DIY project for kids will keep them engrossed and will substantially help them learn science at home. You only need a few supplies for the experiment which you probably already have lying around your house: a transparent container, food coloring of your choice, vegetable oil, effervescent tablets, and water. With these ingredients in hand, you're well on your way to igniting some kitchen science with this hands-on science project. And remember, safety always comes first. If your little helpers are very young, make sure you perform the steps involving the effervescent tablets to avoid any potential hazards.
Step-by-step Guide to Making Your Homemade Lava Lamp
The process to make your own lava lamp is not as complicated as you might think. Start by filling up about three-fourths of your transparent container with the vegetable oil. Next, fill the rest of the container with water. Don't worry if it mixes a little at first - the magic of oil and water science comes in handy here as they’ll eventually separate due to their density difference. Then, add a few drops of your chosen food coloring. Remember, water and food coloring mix up but oil does not, meaning only the water portion would get dyed, shaping the aesthetics for your lava lamp experiment.
Creating the Spectacular Lava Effect for Your DIY Lava Lamp
Now comes the fun part! Carefully break an effervescent tablet into 2 or 3 pieces and drop them into the container. Keep an eye out, as the proverbial 'lava' in our DIY lava lamp begins to form! Watch as the combination of the water and effervescent tablet creates gas bubbles that rise through the oil, creating a mesmerizing lava effect. The beauty of this STEM experiment is that kids not only partake a creative project but also grasp the science principles behind the activity in a fun, engaging manner.
As a parent or minder, there's nothing more gratifying than making learning an enjoyable experience for children. This DIY Lava Lamp Experiment is not just a DIY project that quenches the thirst of science fun for kids; it is also an amalgamation of educational craft and visual delight! So, wait no more, and let the young science enthusiasts relish this easy science experiment today!
As we wrap up this exciting exploration into the world of DIY science...
I can't help but get a bit bubbly thinking about how much fun you and your little ones will have creating your own lava lamp experiment. Not only does the joy of homemade science serve as a fantastic opportunity to foster a love for learning and create lasting memories, but it also ignites a flame that kindles curiosity and creativity in our youngsters' beautiful minds.
So go ahead, dive into this delightful blend of art and science, embrace the magical lava dance, and watch the rising bubbles of imagination and understanding illuminate your home science lab. Exciting adventures await you and budding scientists in your DIY journey of discovery and creation. Remember, every bubble holds a new opportunity to learn, grow, and have fun together!
You May Also Like These:
Solar System Mobile STEM Project
Mark the International Day of Astronautics with this fun and educational project. Create your very own model of the solar system, perfect for sparking curiosity and nurturing learning in children of all ages. Here's what you'll need:
Ingredients:
- Wire Hangers: Two should be enough for most mobiles.
- String: Fishing line or any sturdy, thin string will do.
- Styrofoam balls: In various sizes to represent the planets. You'll need one large one for the sun, and smaller ones for the planets.
- Paint: Different colors to accurately depict the planets. Don't forget bright yellow for the sun!
- Craft wire or pipe cleaners: For attaching your planets to the wire hangers.
- Scissors: For cutting your string to size.
Instructions:
- Paint the Styrofoam balls: This part can be a lot of fun! Use your paints to color the Styrofoam balls like the planets in our solar system. As you paint them, discuss each planet - what it's like, its size, and its color. This can be a great way to learn as you play. Allow the paint to dry completely before going on to the next step.
- Cut your string: Cut varying lengths of string. The lengths need not be exact, but try to get a variety so your mobile has some depth and dimensionality.
- Attach the planets to the string: Push a piece of craft wire or a pipe cleaner through each of your painted Styrofoam balls, then tie a length of string to it. Do this for all the planets.
- Attach the planets to the hangers: Once you have your planets strung, begin to tie them to your wire hangers. You might need to play around with the placement to get the balance right, but that’s part of the fun.
- Hang your solar system: Find a place to display your new solar system mobile. You can hang it from a ceiling hook in the classroom or the child's room. This project is a great way to learn about our solar system and the universe beyond.
STEM Project: Magic Milk Paint
Ingredients:
- Full-Fat Milk: Enough to cover the bottom of your dish
- Dish Soap: Just a few drops
- Food Coloring: Various colors of your choice
- Cotton Swabs
- A Shallow Dish
Instructions:
- Pour the Milk: Pour enough milk into the dish to cover the bottom.
- Add Color: Add drops of different food coloring all around the milk.
- Apply Soap: Dip a cotton swab into the dish soap.
- Create Magic: Touch the soapy end of the cotton swab to the center of one of the color drops and watch as the color spreads creating a magical effect.
- Explore: Continue to experiment by touching the soapy cotton swab to different color drops and areas of the milk.
Note: This experiment is a great way to explore color mixing and reactions, but it's not suitable for consumption due to the use of dish soap. Ensure to supervise children during this project.
DIY Paint-Based STEM Projects for Kids
Help your little ones explore the fascinating world of Science, Technology, Engineering, and Maths (STEM) with these fun, educational, and paint-based STEM Projects. The projects are designed to be affordable, simple, and exciting for all ages. Materials used are readily available, and the steps are easy to follow.
1. Rusting Paint Project
Materials Required:
- A piece of iron or steel
- Vinegar
- Salt
- Two paint brushes
- Red and orange paint
- Water
- A shallow dish
Procedure:
- In the dish, create a mixture of vinegar and salt.
- Place the iron or steel in this mixture and let it sit for a day. You will notice the signs of rust starting to form.
- Take your paint and mix it with a little water to create a ‘rust effect’ color. You can mix red and orange paint to achieve this.
- With one of the brushes, paint the non-rusted parts of the metal with this mixture, simulating rust.
- With the other brush, paint the rusted parts in the same color, highlighting areas where rust has naturally formed.
- Discuss the rusting process and how paint can be used to simulate such natural phenomena.
2. Surface Tension Art
Materials Required:
- Milk
- Food coloring
- Dish soap
- A shallow dish
- Cotton swabs
Procedure:
- Pour milk in the shallow dish, just enough to cover the bottom.
- Add drops of food coloring in different places in the milk.
- Mildly touch the milk surface with a cotton swab soaked in dish soap and watch the color burst!
- Discuss the concept of surface tension and how the soap disrupted this, causing the burst of color.
Engage your child's imagination and enhance their scientific knowledge with these STEM-based paint projects. Enjoy and learn!
DIY Solar System Model
Ingredients:
- Styrofoam balls or plastic spheres of different sizes representing different planets.
- Spray paint in various colors to paint the planets.
- Round sticks to hold the planets.
- Styrofoam or plastic half sphere to represent the Sun.
Instructions:
- Paint the Styrofoam balls or plastic spheres to resemble each planet, then let them dry.
- Punch a hole in the bottom of each planet to insert the round stick.
- For the Sun, paint the Styrofoam or plastic half sphere in a bright yellow or orange color, then let it dry.
- Begin assembling your solar system by placing the Sun at the centre, then arrange the planets in order on the sticks, with Mercury being the closest to the Sun and Neptune being the farthest away.
Homemade Slime
Ingredients:
- A bottle of school glue.
- Baking soda.
- Contact lens solution.
- Food coloring (Optional).
Instructions:
- Mix a full bottle of school glue with one teaspoon of baking soda until well combined.
- Add a few drops of food coloring, if desired.
- Slowly add two tablespoons of contact lens solution, stirring continuously until the slime starts to come together.
- Once the slime has come together, knead it with your hands for a few minutes until it becomes less sticky.
Solar System Mobile STEM Project Instructions
Materials:
- Cardboard
- Scissors
- Acrylic Paint - Assorted Colours
- Paint Brushes
- Fishing Line or String
- Glue Gun
- Black Marker
- Hole Punch
Instructions:
Step 1: Research on Planets
First thing's first, research on planets' sizes and colours. This will make your solar system mobile as accurate as possible.
Step 2: Drawing Planets
Use your black marker to draw out the planets on the cardboard. Draw to scale as best as possible and cut them out.
Step 3: Painting Planets
Using your research and assorted paints, paint your planets accordingly. Be creative and have fun but remember to stay true to your research!
Step 4: Dry Out The Planets
Let your painted planets dry. This may take a few hours. You can speed up drying by placing them in a warm and dry place.
Step 5: Hanging The Planets
Once completely dry, punch a hole at the top of the planets. Thread a piece of the fishing line or string through this hole, taking care not to tear the cardboard. Repeat this process for all the planets.
Step 6: Assemble Your Mobile
Using a glue gun, attach the stringed planets to a suitable frame, such as a piece of dowel or thin branches. Remember the order of the planets in the solar system for accuracy, with the Sun at the top, followed by Mercury, Venus, Earth, Mars, Jupiter, Saturn, Uranus, and Neptune. Hang your solar system mobile in a prominent place and voila, you have your own universe!


