


As an affiliate, I earn from qualifying purchases, but this doesn't affect the reviews or recommendations—your trust is important to me!
Creating Your Own Lava Lamp Experiment at Home Easily

Today, We're Making:
- - DIY Lava Lamp Experiment
- - DIY Solar-Powered Hot Air Balloon: Combine science and environmental education by creating a DIY Solar-Powered Hot Air Balloon. The kids will learn about renewable energy sources as well as heating power of the sun. They need large black trash bags, scissors, transparent tape, thin wires, straws.
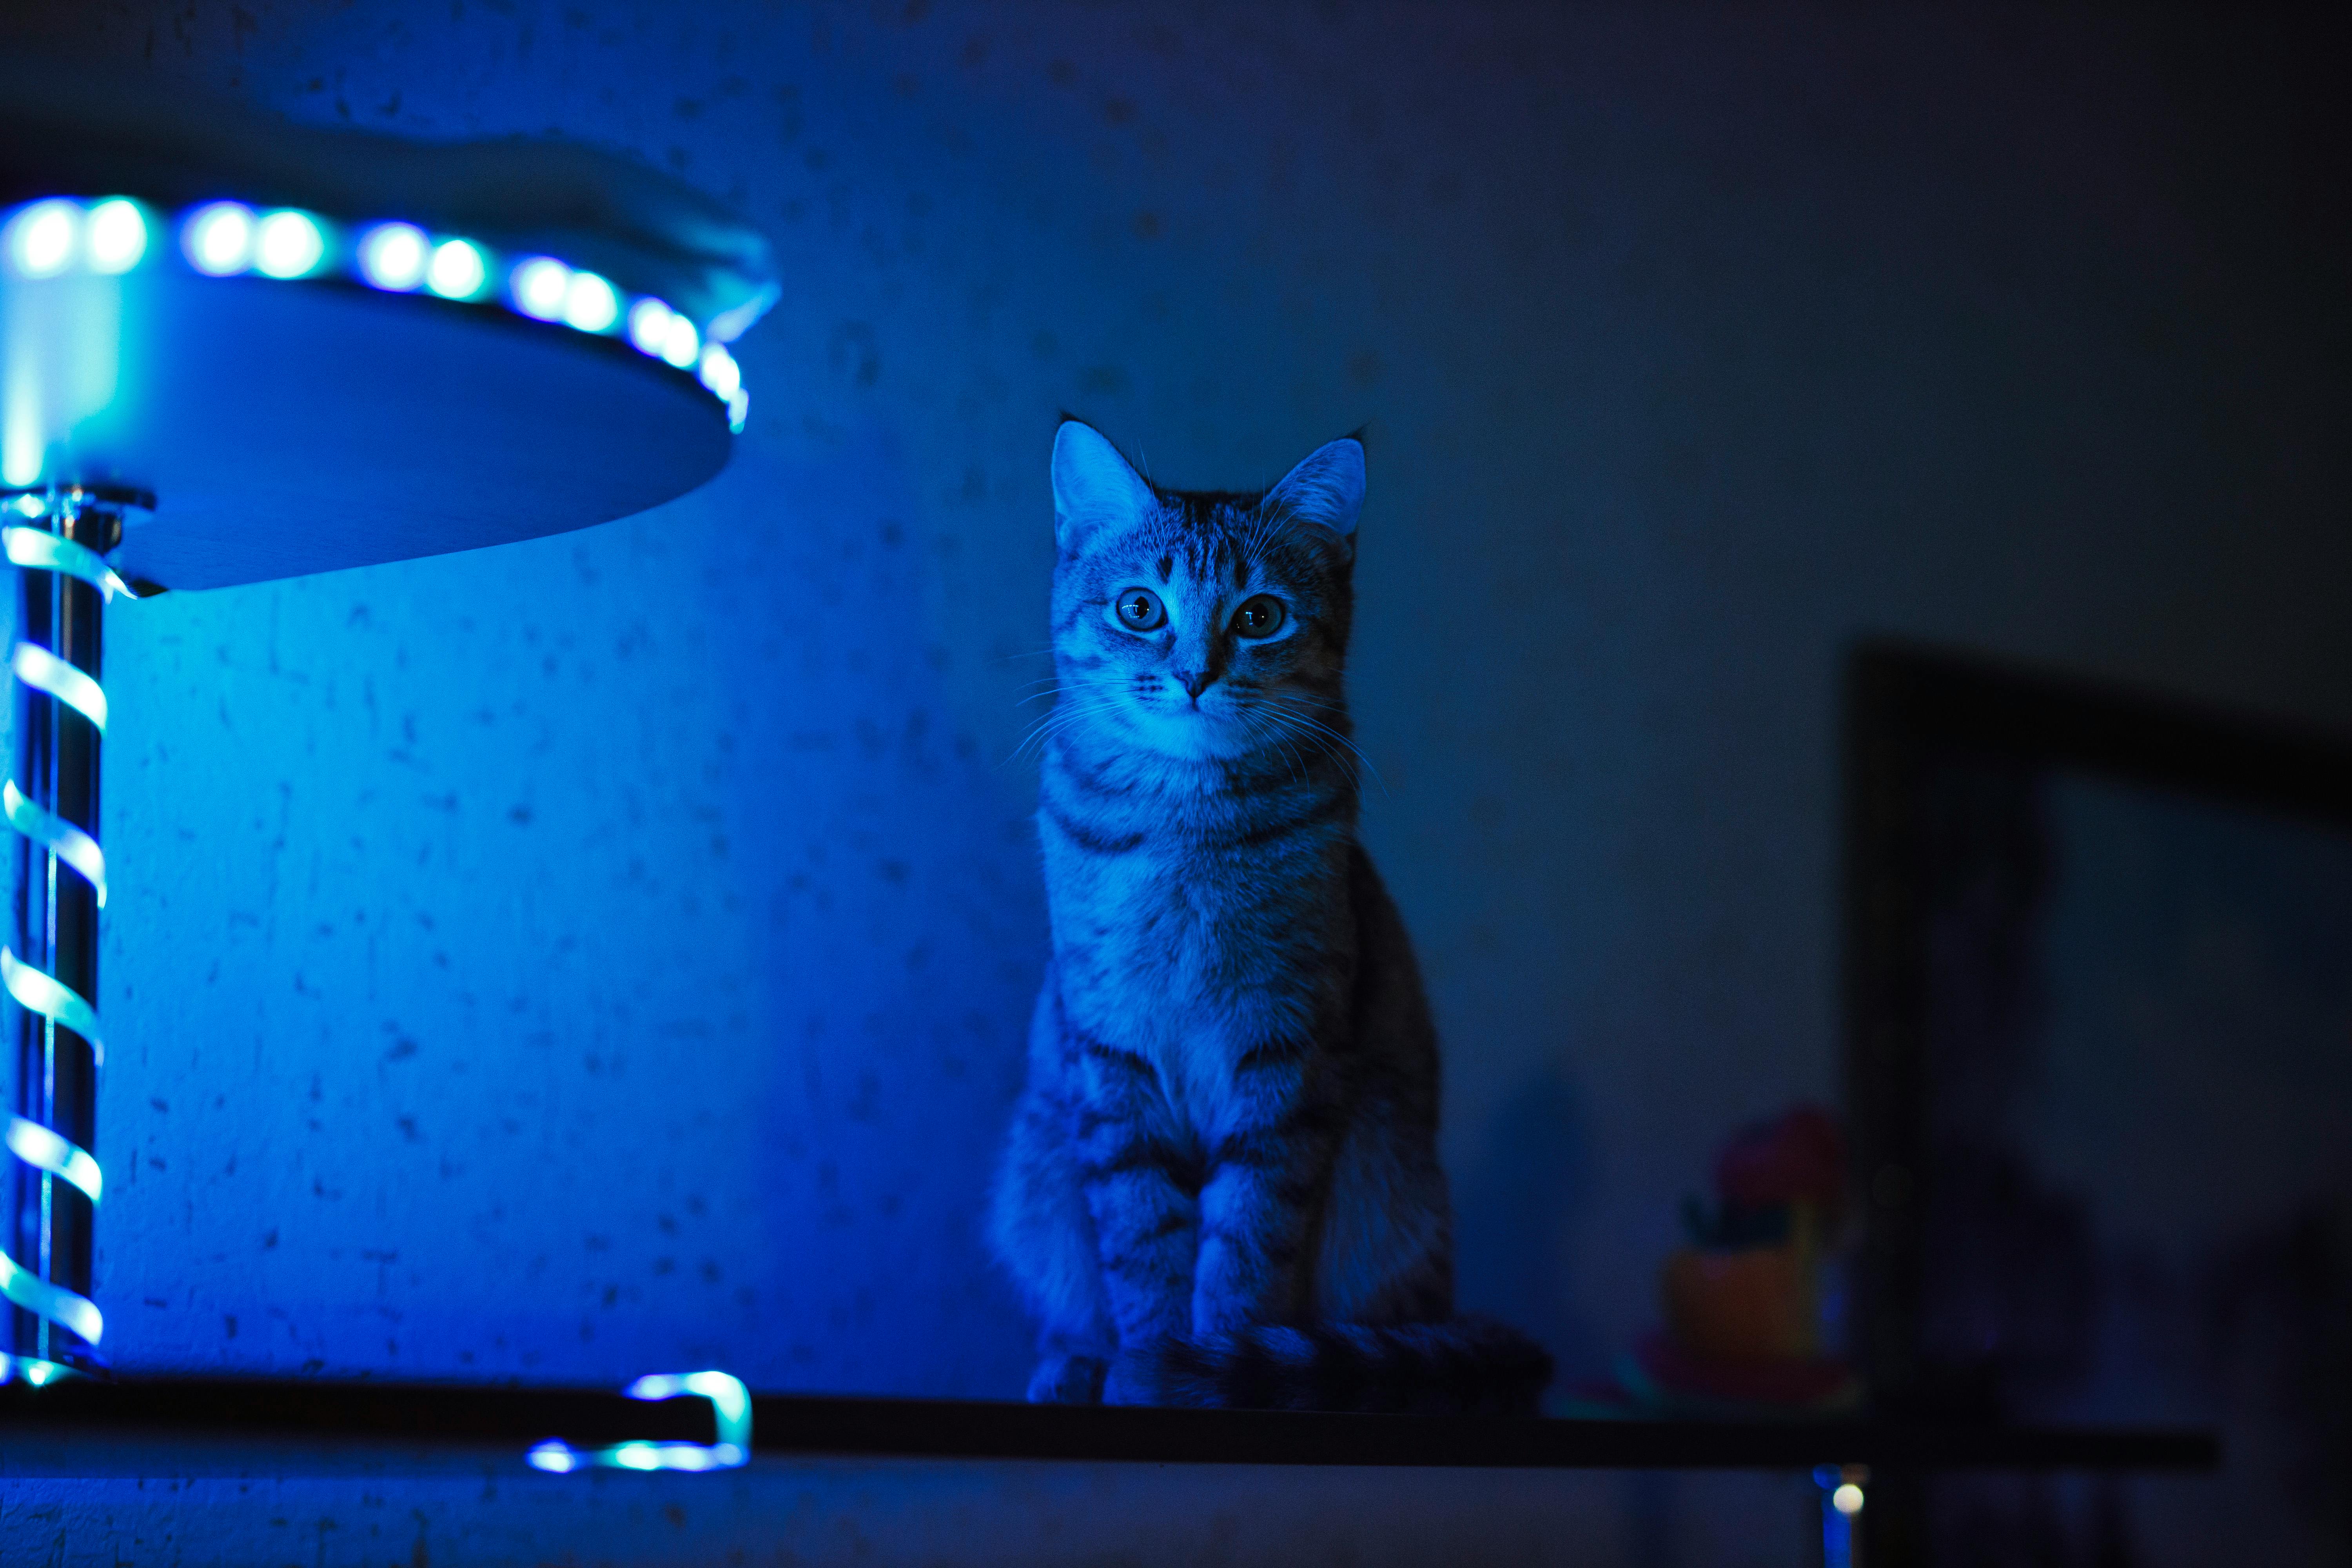
Imagine your very own kaleidoscopic light show
Imagine you could spark a mesmerizing, kaleidoscopic light show right in the comfort of your own home? Well, you don't have to daydream anymore. With a little mix of science and creativity, the captivating DIY Lava Lamp Experiment can easily become part of your living space. It's like a miniature fireworks display encased within a bottle!
Not just a science experiment
These retro-inspired DIY projects are not only an exciting home science experiment to engage your little ones, but also a unique piece of décor that's sure to catch any visitor's eye.
Ready, set, craft!
So, are you ready to dive into the world of crafting and explore the mesmeric symphony of floating blobs? Your guide to creating a homemade lava lamp awaits.
Materials You will Need
Before we dive into our Lava Lamp Experiment, it’s crucial to gather all the necessary materials. You might be surprised at the simplicity of our list for this easy home experiment. Most items you need to create a lava lamp are likely to be within an arm's reach in your home already. If not, they're a quick trip away to your nearest grocery or craft store.
To get you started on your Lava Lamp DIY, here's your materials checklist:
- A clear glass or plastic container
- Vegetable oil
- Water
- Food colouring
- Effervescent tablets (like Alka-Seltzer)
- Flashlight (optional)
Remember, the better quality your materials, the more fun and effective your science experiments at home will be!
Starting Your DIY Lava Lamp Experiment
Now that you have all your materials, let’s get started on your DIY Science Experiment, full of bubbling delight. First, pour water into your chosen glass or plastic container until it is approximately one-quarter full. Next, carefully add the vegetable oil until the container is nearly full. You’ll immediately notice that the oil floats on top of the water, creating the perfect base for your DIY Lava Lamp. Why does this happen, you ask? Well, it's a small scientific secret called the Law of Density that you’ve cleverly discovered through this engaging indoor science activity!
For the next step of your home DIY experiment, choose your favourite colour food dye and add several droplets into your mixture. Watch in amazement as the droplets dance through the oil but do not mix with the water. This creates fascinating blobs of colour suspended in the oil layer, bringing your DIY Lava Lamp Experiment to life!
The Magic of the Homemade Lava Lamp
The final step in bringing your DIY projects to fruition lies in the effervescent tablet. Break it into a few pieces and drop them into your container to create a fizzy reaction that brings your Lava Lamp at home to life. As they dissolve, they create gas bubbles that rise through the oil, carrying some coloured water along with them. When the gas bubble reaches the top, the coloured water falls back down, resulting in captivating blobs floating up and down, mimicking a real lava lamp! This methodical process of making a lava lamp is a perfect way to foster scientific curiosity while keeping kids entertained.
Providing an extra touch of magic, shine a flashlight under the container in a dark room. There you have it! With just a few common household items, you’ve created a mesmerizing Lava Lamp project right in your home! This is an excellent opportunity to learn science at home while crafting something beautiful.
Wow, isn't it amazing what a dash of creativity and a sprinkle of science can create?
With your homemade lava lamp, each day can be a new exploration of color, light, and movement. As your captivating light show starts to shimmer and bubble, you'll not just have a unique decor piece, but also a fun-filled memory of creating a science marvel right at your home.
That's the magic of DIY projects, they're about more than just the end-product; they're about the joy of making, learning, and bonding.
So, keep sparking wonder, spread the light, and most importantly, keep experimenting. After all, your next extraordinary DIY project could be just a daydream away.
Now go on, light up your world with your DIY Lava Lamp, and let the magical journey continue.
You May Also Like These:
DIY Solar-Powered Hot Air Balloon
In the following STEM project, you will learn to create a Solar-Powered Hot Air Balloon using household materials. This project is a fun combination of science, innovation and environmental education as you will get insights about renewable energy sources and heating power of the sun.Essential Ingredients:
- Large Black Trash Bags (3-4)
- Scissors
- Clear Packing Tape
- Ruler or Measuring Tape
- String
- Straws (2)
Instructions:
Step 1: Construct the Balloon- Take your large black trash bags and cut them open at the seams to form large sheets of plastic.
- Arrange the sheets carefully on top of each other and get them attached using your clear packing tape. Make sure that all the edges are perfectly sealed.
- Now trim these taped bags into the shape of a hot air balloon. It should be a teardrop shape, wide at the top and narrow at the bottom.
- Take the two straws and cut them to the same length, it should be slightly shorter than the diameter of the bottom of your balloon.
- Stick these straws together in a cross shape using your tape.
- Attach the Straw frame to the bottom of your balloon using clear tape. Make sure the straws are attached firmly and the balloon's opening is held wide.
- Tie the string around the end points of the straw-frame crossing.
- Take your DIY Solar-Powered Hot Air Balloon outside on a sunny day and hold it by the string end. The black material of the bag will absorb the heat.
- As the air inside the balloon heats up, it will start to rise. Let go of the string and watch your Solar-Powered Balloon fly into the blue sky.
Notes:
This activity should always be carried out under adult supervision. Do not let the plastic bags fly away in the environment as it can cause harm to wildlife.
Transparent Tape Project
Materials Needed
We have prepared a simple list of materials you will need for this project:
- Transparent tape
- Colored Paper
- Scissors
- Ruler
- Marker Pens
- Clear workspace
Instructions
- Prepare Your Workspace: Clear a space for you and your child to work comfortably. This space should be clear of any clutter and provide plenty of room to spread all your materials out.
- Design Your Pattern: Use the ruler and marker pens to draw a design on your colored paper. This can be any shape or pattern you like. Allow your child to be creative with this step.
- Apply the Tape: Using the transparent tape, cover your design. Make sure the tape lies flat and cover the design completely. This step may require some patience and precision.
- Cut Out Your Design: Once you've covered your entire design with transparent tape, use the scissors to cut out your design.
- Show Off Your Design: Now your design is complete and ready to be displayed. You could hang it on a window to catch the light or stick it to a wall or fridge.
Remember, the most important part of this project is to have fun! Happy creating!
STEM Project 1: Transparent Tape X-rays
Ingredients:- Transparent Tape
- Black Paper
- White Paper
- Scissors
- Tear off a piece of transparent tape and stick it on the black paper.
- Use the scissors to cut out different shapes from the white paper.
- Stick these shapes onto the tape to create your 'bones'.
- Repeat the process to create an entire 'skeleton'.
STEM Project 2: Tape Tower Challenge
Ingredients:- Transparent Tape
- Straws or Toothpicks
- Give each child an equal amount of tape and straws or toothpicks.
- The objective is to build the tallest tower possible in a given amount of time.
- The structure must stand on its own for at least 10 seconds to count.
STEM Project 3: Making a Tape Slide
Ingredients:- Transparent Tape
- Toy cars or marbles
- Any flat and inclined surface (like a book)
- Use the transparent tape to create a 'slide' by sticking it on the inclined surface.
- Have the children roll their toy cars or marbles down the slide and observe the movement.
- Discuss concepts of gravity and friction extracted from this activity.
- 1 thin wire
- 1 AA battery
- 1 small lightbulb
- Tape
- Ensure that your working area is clean and you have all the necessary ingredients.
- Begin by taking your thin wire and making sure it is straight and without kinks.
- Next, tape one end of the wire to the positive end of the AA battery.
- Attach the opposite end of the wire to the base of your small lightbulb. Be careful not to break the bulb.
- Next, attach another piece of wire to the negative end of the AA battery and to the metal ring on the lightbulb. Use tape to secure the connections.
- The complete circuit should cause the lightbulb to light up! You have now created a basic electrical circuit using a thin wire.
- Always be careful when working with electricity, even at a small scale.
- Never leave your project unattended when the circuit is complete and the lightbulb is on.
- 50 Straws: preferably plastic drinking straws.
- Tape: clear adhesive or masking tape will do.
- Ruler: to measure the straw length.
- Gather Materials: Ensure you have all your ingredients ready for use.
- Prepare Straws: Separate the straws into bundles of 10. This will make construction easier.
- Build Base: Begin by taping four straws together at their ends to form a square. Repeat this with another four straws. Then, connect these two squares with two straws to create a 3D box. This will serve as your tower's base.
- Building Up: Continue to add levels to your tower by repeating step 3 until you have reach your desired height.
- Reinforce your Tower: To make your tower as strong as possible, add in diagonal straws inside each square section of your tower. These additional supports will help distribute the weight evenly throughout the tower.
- Make sure you securely tape together the straws at every connection point in your tower to ensure its stability.
- Experiment with different tower designs and shapes. The learning is in the trying!
STEM Project: Working with Thin Wires
Ingredients:
Instructions:
Remember:


