


As an affiliate, I earn from qualifying purchases, but this doesn't affect the reviews or recommendations—your trust is important to me!
Discover Origami, Pizza Making, Rainbow Experiments and Dungeons & Dragons

Today, We're Making:
- - Origami Paper Folding Craft
- - Rainbow Walking Water Experiment
- - Homemade Pizza Making
- - Dungeons & Dragons Tabletop Game
- - DIY Time Capsule Crafting
- - Baking Soda and Vinegar Volcano Experiment
- - Make-Your-Own Taco Bar
- - Minecraft Themed Puzzle Challenges
- - DIY Whimsical Wind Chimes Craft
Ever thought about trying your hand at the fascinating art of Origami, or perhaps the wholesome task of homemade pizza making?
Maybe you're intrigued by the mesmerizing illusions of color science in Rainbow experiments, or you've been itching to dive into the mythical, adventurous universe of Dungeons & Dragons tabletop games.
Whether you're a die-hard DIY enthusiast, or just exploring family activities and educational pursuits for kids, this is your goldmine. From Origami paper folding crafts for beginners to getting the bubble of joy over your very own pizza dough recipe, we're about to embark on a delightful journey.
Stick around if you're ready to make life a tad more colorful, a slice more delicious, and significantly more magical.
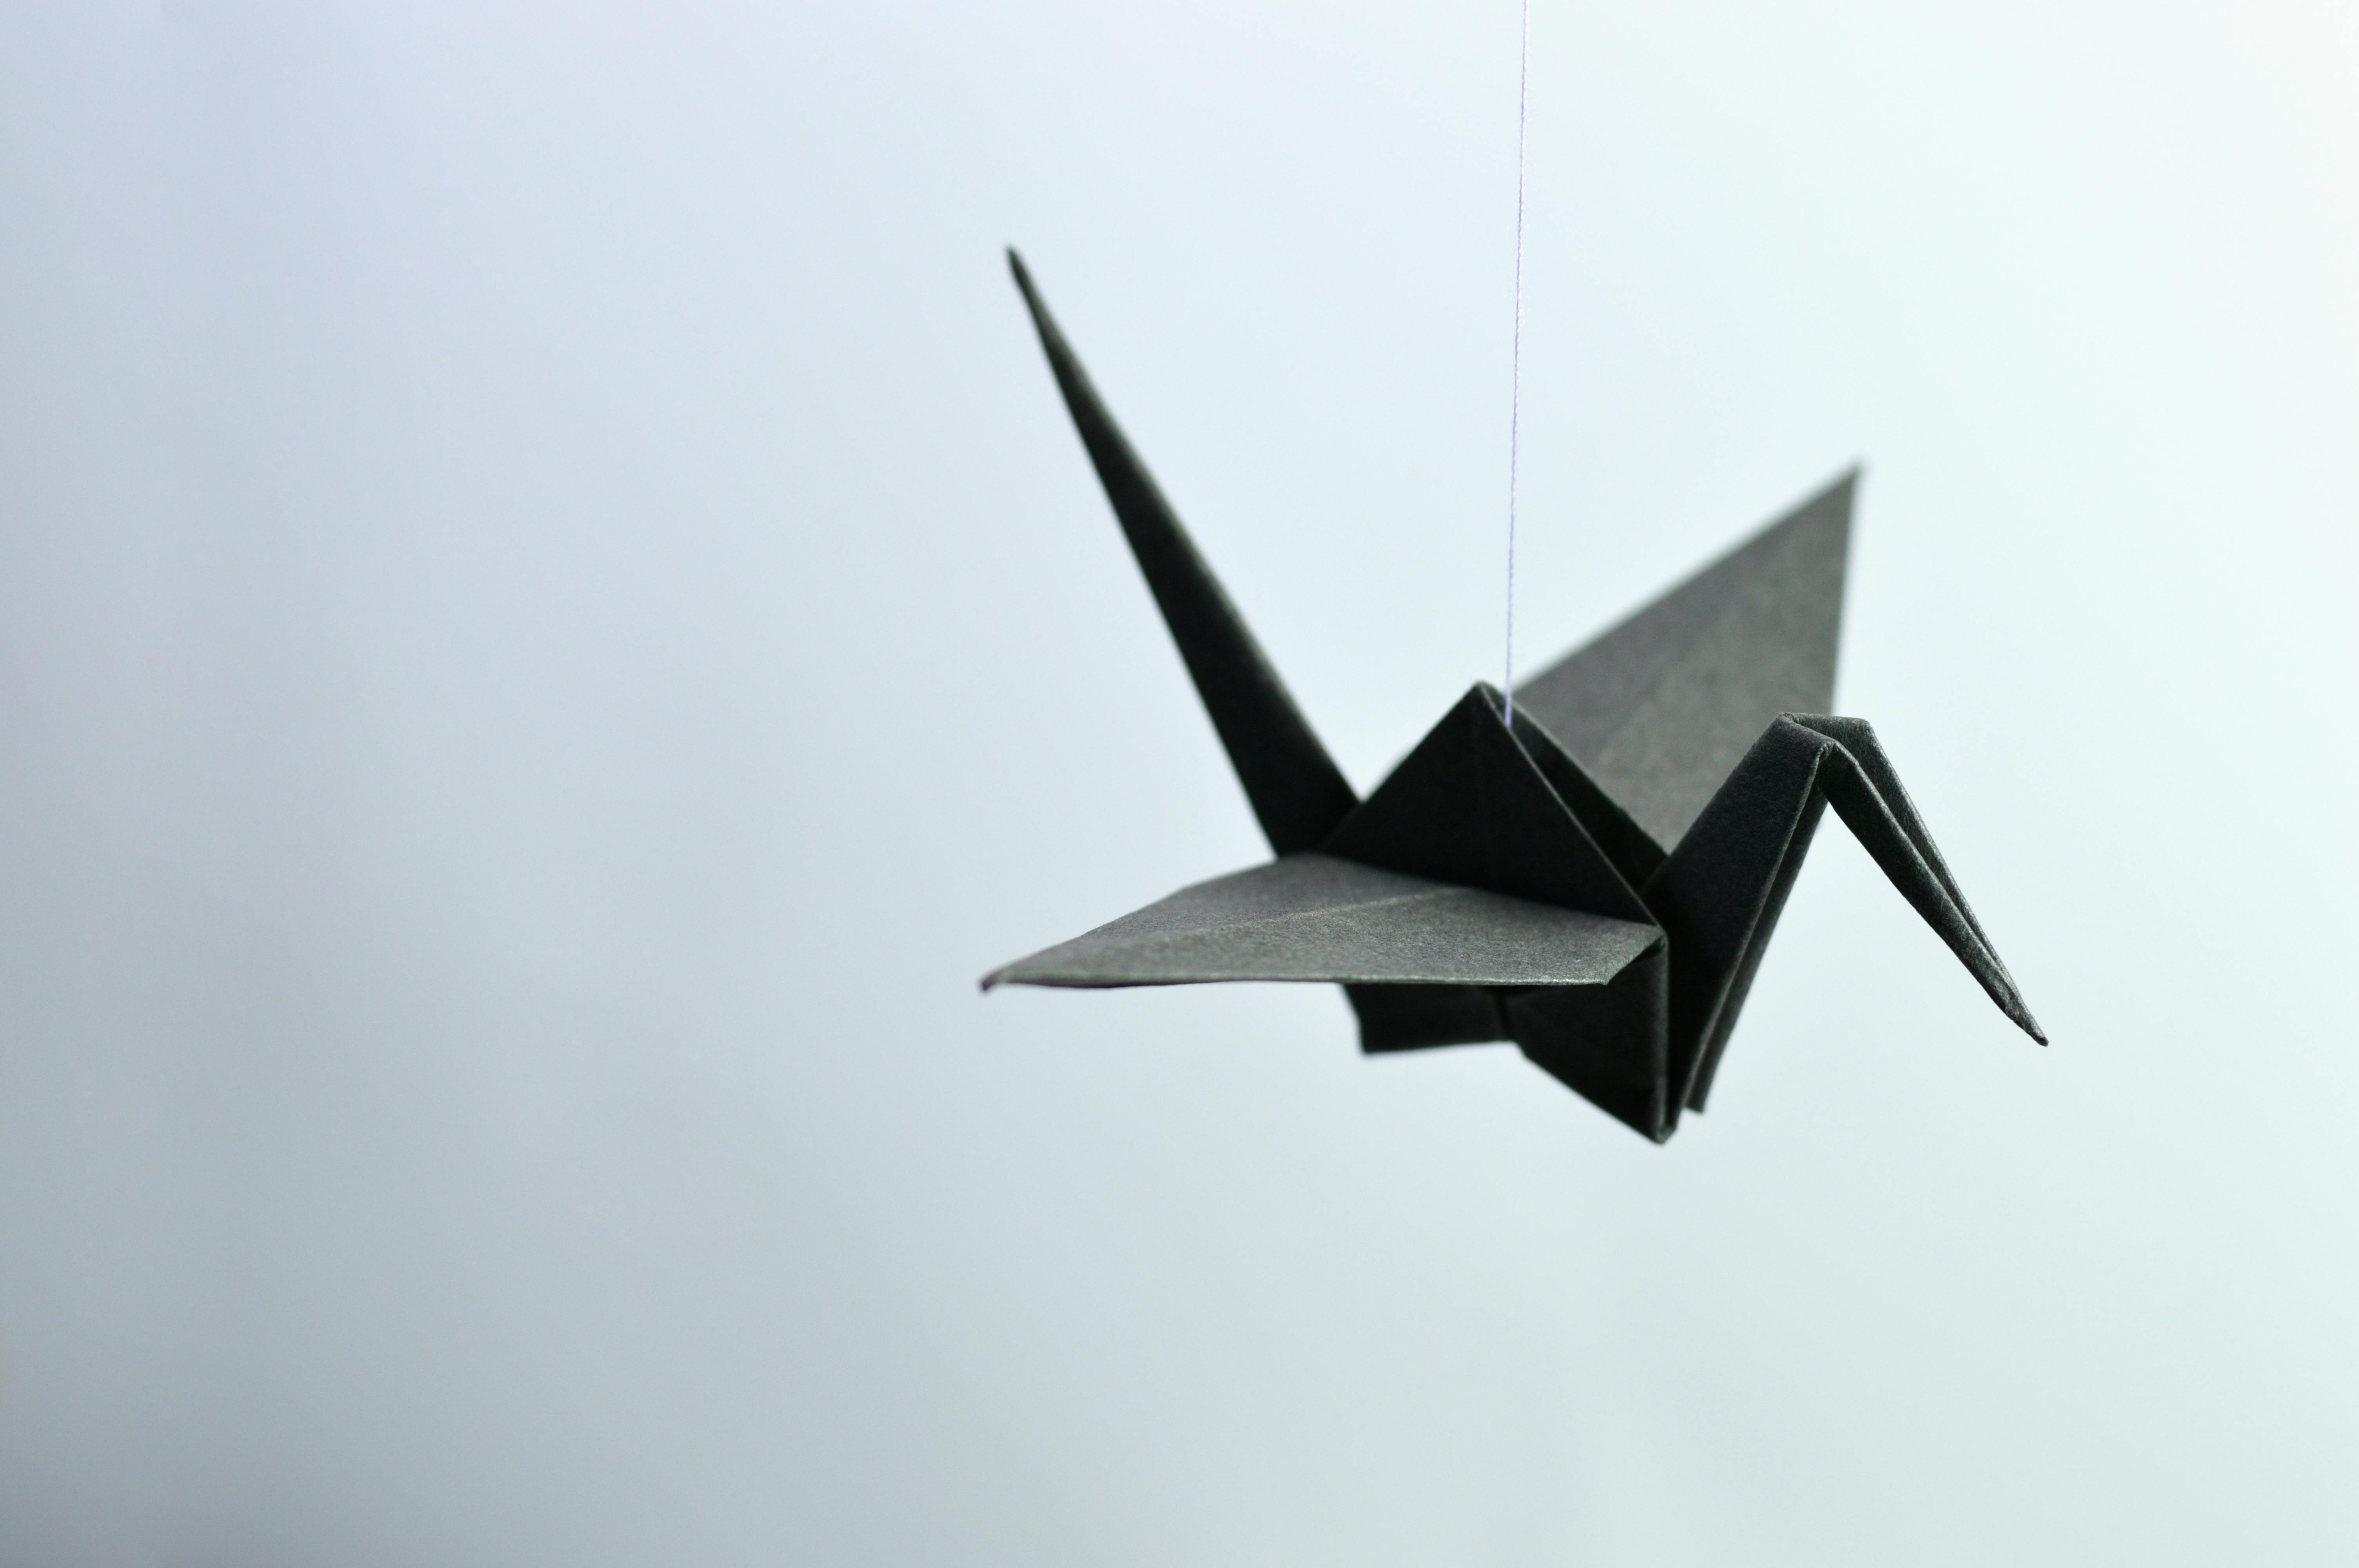
Origami: The Delicate Art of Paper Folding
When you think of Origami Paper Folding Craft, do you imagine intricate miniature sculptures that seem daunting to create? Fret not, because the world of Origami is far more accessible than what you might perceive. This Japanese art form goes beyond just folding paper; it's a meditative process that cultivates patience and attention to detail. Start with Origami basics, perfect for beginners. You'd be surprised at how a humble piece of paper can transform into a fluttering butterfly or a sturdy box via your fingerwork. And if you are seeking to bond with your family, this could be one of the educational activities to pursue. Nothing beats the joy of witnessing the smiles on your children's faces as they accomplish their first Origami art, all by themselves.
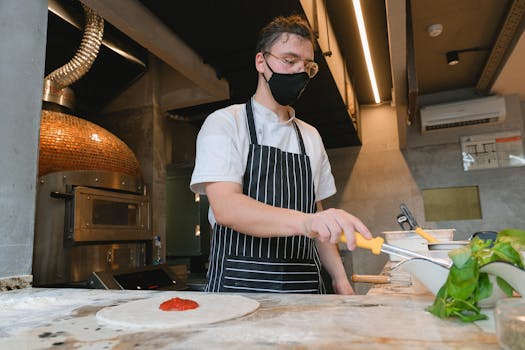
Pizza Making: DIY The Italian Way
Next stop on our journey - the mouthwatering world of Homemade Pizza Making. If the thought of sizzling cheese and a crispy, golden crust makes your heart race, surely diving into Pizza Making and whipping up your family’s new favorite dinner sounds like an enticing proposition. Don't be intimidated by the process; making pizza at home can be as easy as pie. All you need is a handy Pizza Dough Recipe and your favorite toppings. This is a DIY activity everyone in the family can sink their hands into. Literally! Plus, an added bonus is the heavenly aroma of a baking pizza that engulfs your home.
Rainbow Experiments: The Magic of Color Science
From dough kneading, we now move on to stepping into a scientist’s shoes with fascinating Rainbow Experiments. This is where art meets science in a delightful mixture of creativity and learning. Ever wanted to create your own Rainbow? Say hello to the Rainbow Walking Water Experiment. This activity offers a playful way of learning about color science. By harnessing the power of water and color, you can watch as a rainbow springs to life right before your eyes! A Rainbow DIY experiment would not only add a splash of color to your day but also pique your curiosity about the phenomenal laws of nature.
Dungeons & Dragons: Unleash Your Inner Hero
Lastly, immerse yourself in the enchanting realm of Dungeons & Dragons Tabletop Game. This iconic role-playing game paints a world governed only by your imagination. If you're unsure about the rules or how to create compelling D&D characters, fear not! Learning Dungeons &D Dragons basics is quite a straightforward process. In D&D, you either play the game or tell the story. Regardless of the role you choose, epic adventures await on this side of your gaming table. Whether you are looking to host a game night or looking for family activities that everyone would enjoy, D&D delivers a rich blend of strategy, creativity, and lots of fun.
As We Wrap Up This Eclectic Round-Up of Hobbies, Remember:
Everything new starts with one small step. Whether it's folding your first paper crane, kneading your own pizza dough, creating a rainbow in a glass, or embarking on an epic quest in Dungeons & Dragons, it's all about letting curiosity guide you.
It doesn’t matter if a crisp pizza base or the graceful origami swan doesn't turn out perfect the first time. Or if your tabletop hero takes a wrong turn in his adventure – that's the beauty of it.
In These Pursuits, Learning Is Half the Fun
So go ahead and get your hands dirty with some flour, dip your fingers into a pool of vivid colors, let your imagination soar, and most importantly, have a blast while doing it.
Here's to Embracing the Delights of Trying Something New
And making beautiful memories along the way.

You May Also Like These:
DIY Time Capsule Crafting Instructions
This easy and fun project is perfect for parents and kids who want to treasure their favorite memories. You will need the following materials:
Materials Needed:
- A sturdy box or container
- Various keepsakes (photos, drawings, toys, etc.)
- Paper and pens/markers for letters or notes
- Tape or glue (if needed)
Instructions:
- Prepare your keepsakes: These can be anything from letters to loved ones, photos of favorite moments, drawings, or anything else that signifies 'today' for you and your family.
- Select a container: Choose a sturdy box or container that can survive the elements. This could be a waterproof plastic box, a stainless steel container or even a glass jar, as long as it's durable and can be sealed.
- Pack your time capsule: Arrange your items in your box. You can place them randomly or arrange them in a particular order.
- Seal your time capsule: Once you’re happy with what’s inside, it’s time to close your time capsule. Make sure it’s sealed well to protect your items.
- Decide on a reopening date: The last step is to choose a date for when you will reopen your time capsule. This could be in a few years, or even decades from now. Write this date on the outside of your box.
STEM Project: DIY Crystal Growing
This fun and educational STEM project is a great way to introduce kids to science. Below are the steps and materials needed:
Materials Needed:
- A clean jar
- String
- Pencil or popsicle stick
- Water
- Borax
- Food coloring (optional)
Instructions:
- Tie a string to a pencil or popsicle stick.
- Hang the string inside the jar without touching its sides or bottom.
- Boil water and fill the jar with it.
- Add borax to the boiling water: Start with 3 tablespoons of Borax for every cup of water. Stir until it dissolved.
- Wait and watch as your crystals grow day after day.
DIY Food Project: Marshmallow Pops
Here's a simple and yummy DIY food project that kids will surely love!
Ingredients:
- Marshmallows
- Melted chocolate or candy melts
- Sprinkles
- Lollipop sticks
Instructions:
- Stick the marshmallows: Prepare your marshmallows by sticking them onto the lollipop sticks.
- Melt the chocolate or candy: In a microwave or over a double boiler, melt your chosen candy or chocolate.
- Dip marshmallows into the melted chocolate: Dip each marshmallow into the melted candy/chocolate, making sure all sides are covered.
- Add sprinkles: While the chocolate is still wet, sprinkle your toppings onto the marshmallow.
- Let it dry: Allow your marshmallow pops to dry and then enjoy!
DIY Game: Homemade Bowling Alley
Bring the fun of a bowling alley into your own home with this DIY game project.
Materials Needed:
- 10 empty plastic bottles
- Vinyl floor runner (or any long, smooth surface)
- A small ball
Instructions:
- Set up the 'pins': Arrange the empty plastic bottles in a traditional bowling formation at the end of your floor runner.
- Mark a 'foul line': Decide where players will stand when throwing the ball and mark this line using a piece of tape or a marker.
- Time to bowl: Each player takes turns bowling to try and knock down the pins.
- Keep score: You can keep score just like in real bowling game - a strike earns ten points, a spare earns ten plus the points from the next roll, and an open frame earns the total number of pins knocked down.
Make-Your-Own Taco Bar: Instructions
Ingredients
- For the meat: You will need 1Kg of ground beef, taco seasoning, and cooking oil.
- For the Taco shells: This recipe uses both soft flour tortillas and crispy corn taco shells for variety.
- For the toppings: Prepare shredded lettuce, diced tomatoes, chopped onions, shredded cheese, sour cream, guacamole, and taco sauce.
Instructions
- Prepare the meat: First, apply medium heat under a large skillet and add a splash of cooking oil. Next, add in the ground beef and sprinkle the taco seasoning across the meat. Sauté until evenly browned.
- Prepare your Taco shells: If using soft tortillas, you can warm them in the oven or microwave. For crispy shells, follow the instructions on the packaging.
- Prepare your toppings: While the meat is browning, this is a prime time to prepare all of your toppings. Dice your tomatoes, chop your onions, shred your lettuce, and keep all the toppings in different bowls.
- Assemble the Taco Bar: Once all the elements are ready, it’s time to assemble your taco bar. Reserve a prominent place on your table and start arranging. Put plates at one end, followed by napkins and cutlery. Arrange the tacos or tortillas first, followed by the cooked meat, and then line up the toppings.
- Enjoy: Finally, let everyone build their tacos with their favorite ingredients and enjoy a fun-filled family party or meal.
Make-Your-Own Taco Bar
Ingredients:
- Hard and soft tacos shells
- Ground beef or chicken
- Taco seasoning mix
- Refried beans
- Shredded cheese
- Diced tomatoes
- Chopped lettuce
- Sliced olives
- Chopped onions
- Jalapenos
- Sour cream
- Salsa
- Guacamole
- Cilantro
Instructions:
- Prepare the meat: Cook ground beef or chicken in a skillet over medium heat until browned. Drain excess fat then stir in taco seasoning until fully coated.
- Prepare other fillings: Heat the refried beans in a saucepan over medium heat. Chop the lettuce, tomatoes, onions, cilantro, and olives.
- Arrange the table: Place all ingredients in separate bowls and arrange them on your table. Place the taco shells, meat, and beans first, followed by the vegetables, cheese, and other condiments.
- Serve: Invite your family to assemble their own tacos by filling their shells with their favorite ingredients.
Sure, here are your instructions broken into four sections: Crafts, STEM Projects, Food & Games. Crafts ```html
Crafts: Minecraft Pencil Holder
Materials:- Glue Gun
- Green and Black Acrylic Paint
- Masonry line block
- Brushes
- With the black paint, draw the face of a Creeper on one side of the block. Let it dry.
- Paint all the remaining sides of the block green.
- Once dried, you have a Minecraft-themed pencil holder.
STEM Projects: Minecraft Redstone Circuit
Materials:- Minecraft Redstone
- Several Redstone torches
- Pressure Plates
- Doors
- Create a path with the Redstone.
- Place the Pressure Plates at the start and end of the path.
- Place the Doors anywhere along the path.
- The pressure from walking on the plates will open the doors!
Food: Minecraft Cake
Ingredients:- Green Fondant
- Chocolate cake mix
- Chocolate frosting
- 8 inch square cake pan
- Bake the chocolate cake according to the package directions.
- Once cooled, frost the cake with the chocolate frosting.
- Cover the cake with the green fondant, leaving some chocolate showing to create a grass/dirt effect.
Games: Minecraft Scavenger Hunt
Instructions:- Create a list of Minecraft items that players need to find!
- Hide the items around your home or yard.
- Give each player a copy of your list.
- The first player to find all items on the list wins!
DIY Whimsical Wind Chimes Craft
Ingredients/Materials:
You will need:
- Colorful beads
- 5 metal keys
- A sturdy tree branch
- 5 pieces of fishing line in varying lengths
- Craft paint
- Paint brushes
Instructions:
Follow these steps:
- Prepare Your Key: Start by finding an old key that you no longer need. Paint it with your craft paint and let it dry.
- Attach the Fishing Line: After your key has dried, tie one end of a piece of fishing line to the key and the other end to the tree branch. Make sure it's tightly secured.
- Thread the Beads: Thread colorful beads onto the fishing line above the key. Make sure to leave some extra line at the top to tie around the tree branch.
- Tie the Beaded Line to the Branch: Now, tie the end of the line to the tree branch, ensuring that the key hangs down freely.
- Repeat: Repeat steps 1-4 for the remaining keys, arranging them at different lengths for variety.
- Hang Your Wind Chime: Once all of your keys are attached and decorated, hang your beautiful new wind chime outside. A gentle breeze will create a lovely jingle.


