As an affiliate, I earn from qualifying purchases, but this doesn't affect the reviews or recommendations—your trust is important to me!
DIY Painted Pots: Fun and Creative Craft for Kids

Today, We're Making:
- - Painted Pots
- - 'Storytelling Pots': Parents can encourage their kids to paint characters and scenes from their favorite storybooks on the pots. This is a great way to nurture creativity, as well as their love for literature.
- - 'Glow-in-the-Dark Galaxy Pots': Children can enjoy painting a night sky on their pots with glow-in-the-dark paints. This can inspire them to learn about astronomy while they can keep their pot in their bedroom and watch it 'light up' at night.
- - 'Cactus Painted Pots': Kids can paint colorful or creative designs on their pots and plant a low-maintenance cactus inside. This is a fun way to spark interest in botany and care for their own plant.
- - 'Emoji Painted Pots': Paint pots to look like their favorite emojis. This could be a great way to introduce kids to different emotions and expressions, helping them to understand how they are feeling and communicate more effectively.
- - 'Handprint and Fingerprint Pots': Parents can paint their kid’s hands or fingers with non-toxic paint and make designs on the pots. This craft can be a great keepsake, showcasing how small your child's hands were at that age. Plus, it could be a sweet and personal gift for grandparents or other family members.
Have you ever looked outside on a restful weekend morning and thought about making those boring, plain garden pots a riot of color and creativity?
Well, you're not alone. Today, we delve into the wonderful world of DIY Painted Pots: a delightful, engaging and kid-friendly craft idea that not only puts those idle hands to work but also provides an excellent opportunity for family activities.
This creative craft stands as a testament to the imaginative power of budding artists in the smallest of us and a way to bring life to your personal space, doing-it-yourself, right from the comfort of your home.
Let's put on our craft hour hats, gather our painting crafts supplies, and embark on one of the most fun and easy craft projects your kids will love!
DIY Painted Pots: A Fun and Creative Project for Kids
The first step to assembling your DIY Painted Pots is to gather all the necessary craft supplies. Make sure you have pots of different sizes and shapes, some primer, acrylic paint in various hues, and clear sealer to protect your art from the elements. Don’t forget the paintbrushes too, smaller ones for intricate details and bold one for large strokes. Most importantly, always have a few extra pots on hand. Kid's Art is an adventure—there will be mistakes, do-overs, and lots of experimentation!
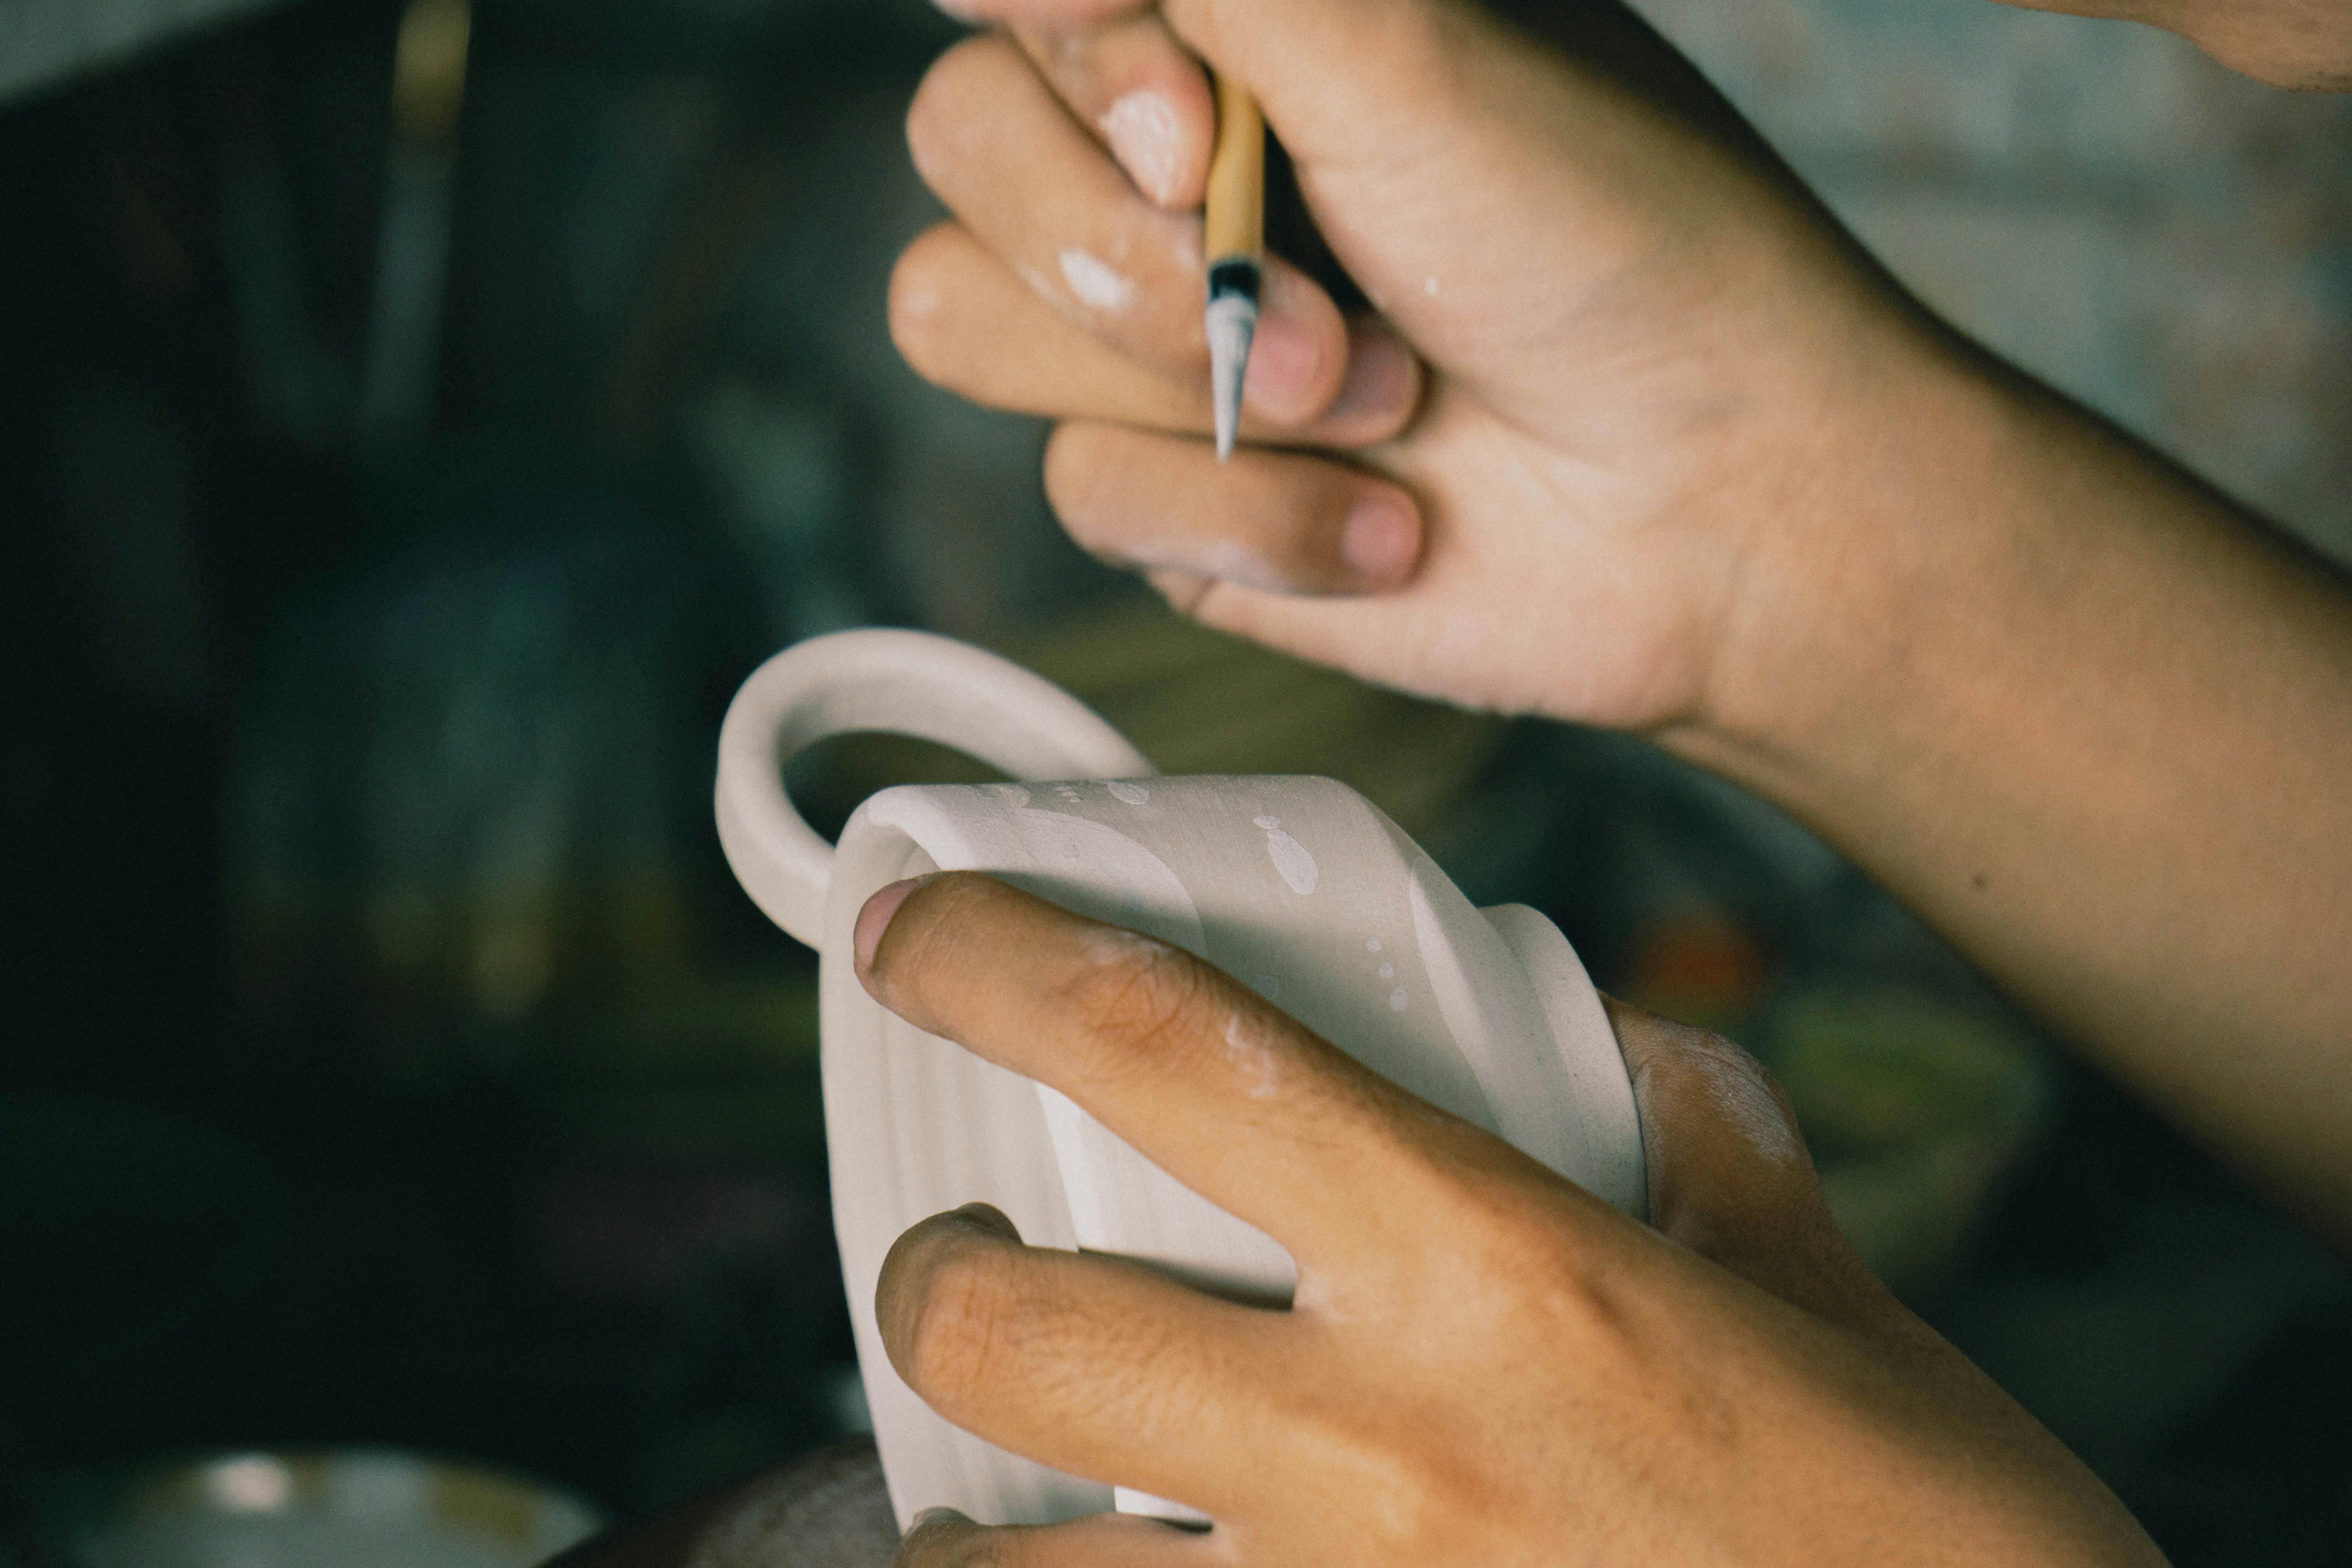
After you've gathered your craft supplies, it's time to dive headfirst into the painting crafts. Involve your young artists in the process; let them choose their color palette, select which pot to paint first, and decide on design. It could be anything—a vibrant sunset, a field of flowers, or even their favorite cartoon character. The goal of this DIY project is to allow their imagination to run wild. The more liberty the kids have with their DIY Painted Pots, the more unique and personalized pots you'll end up with.
Keep It Simple But Exciting
But, remember, DIY Pottery doesn't have to be complicated. If your child isn't quite ready for intricate patterns like stripes or polka dots, encourage them to splash the pots with their favorite colors. Simple crafts can often lead to the most beautiful results! Plus, with DIY projects, it's all about the journey of creation—not just the end result. Allow your child to learn and experiment with pot painting ideas, making them an active participant in decorating their own spaces.
Making Art a Part of Everyday Life
Let's face it, kid-friendly crafts like painting pots also double as great indoor activities. Especially on days when it's too cold or rainy to play outside. It offers the opportunity to cozy up and spend quality time with the family while also fueling your child’s creativity. These children's activities also present an excellent platform for them to express their feelings and develop their motor skills, painting colorful pots with bold strokes and delicate details.
Turning Art Into Decor
Now, once the pots are all painted and dried, it's time to bring them out in the world. What a wonderful DIY Home Decor addition these pots can make! You will be surprised how these little craft hour endeavors can transform a mundane corner into a vibrant, personal space filled with art by your little one. Or perhaps these painted pots can claim places of honor in your garden, adding a splash of color and joy.

And there you have it – a fun-filled craft journey that not only sparks children's creativity but also adds personal charm to your home or garden.
Through DIY Painted Pots, your kids learn much more than mere painting; they learn to create, experiment, and express themselves, all while making something beautiful and meaningful. So next time the weekend rolls around and the kids are looking for something to do, remember the magic of painted pots crafts.
Not only will you have unique, vibrant flower pots to liven up your space, but also delightful memories of quality time spent with your little artists. Unleashing imagination, fostering creativity, and colorful pots; truly what more could you ask for from a DIY craft for kids?

You May Also Like These:
Storytelling Pots Craft Instruction
Create unique works of art while bonding with your kids with these easy-to-follow Storytelling Pots instructions. Nurture your child's creativity while bringing their favourite storybooks to life, painting characters and scenes on terracotta pots.
Ingredients
- Terracotta Pots (Various sizes available at your local craft store)
- Non-Toxic Acrylic Paint Set
- Paint Brushes (Various sizes for different pot details)
- Water Pot & Paper Towels (For paintbrush cleaning)
- Clear Acrylic Sealer (To protect your finished pots)
- Parent’s Supervision (Safety First!)
Instructions
- Prepare your painting area: Cover your workspace with newspaper or a drop cloth to protect it from paint.
- Choose your story: Let your child select his/her favorite storybook, which will be the design theme for the pot.
- Sketch out the design: Have an overview sketch of the characters/scenes on a piece of paper before starting to paint.
- Start Painting: Begin with painting larger objects and characters first, then adding smaller details.
- Take breaks: Allow one set of painted details to dry before moving on to the next. It helps prevent smearing of paint.
- Apply clear sealer: After the paint is completely dry, apply a layer of clear acrylic sealer over the pot to protect and enhance the colors of your art. Allow the sealer to dry completely.
Enjoy your new storytelling pots! They make great decoration pieces for the garden, front porch, or your child's room!
Craft Instructions for Parents
Glow-in-the-Dark Galaxy Pots
Ingredients:- Clay pots
- Glow-in-the-dark paints
- Paint brushes
- Smocks or old clothes for kids to wear while painting
- Put the smocks on your kids to avoid any paint splashes on their clothes.
- Allow your kids to paint a night sky on their pot using the glow-in-the-dark paints.
- Let the pot to dry before moving to a dark room.
- Have fun watching the galaxy glow in the dark!
Cactus Painted Pots
Ingredients:- Clay pots
- Acrylic paints
- Paint brushes
- Smocks or old clothes
- Cactus plant
- Put the smocks on your kids.
- Hand them their paints and brushes and let them paint their pot however they like.
- Once the pot is dry, help your kids plant the cactus inside the pot.
Emoji Painted Pots
Ingredients:- Clay pots
- Acrylic paints
- Paint brushes
- Smocks or old clothes
- Put the smocks on your kids.
- Choose some emojis that your kids like. On the pot, paint the pot to look like the emoji.
- Allow kids to express themselves through their favorite emojis right on their pot.
- Let the pot to dry.
Handprint and Fingerprint Pots
Turn your little one's handprint or fingerprint into a treasured keepsake by creating personalised pots. Not only will this craft activity help in understanding their feelings but also provide an effective mode of communication while indulging in fun times.
Ingredients
- Non-toxic paint
- Ceramic pots (any size, as per preference)
- Paintbrushes
- Clear sealant spray (optional, to preserve the artwork)
Instructions
Step 1: Prepare Your Materials
Get all of your materials ready. Make sure your pots are clean and dry before you start painting on them. Get your non-toxic paints handy, as well as any paintbrushes you might need. If you plan on sealing your pot, make sure your sealant is nearby and ready to use.
Step 2: Determine the Handprint/Fingerprint Design
Decide on the design you want to create on your pot using either fingerprints or handprints. You could use one color or multiple colors. You could make each print distinct, or you can overlap the prints to create a layered effect.
Step 3: Paint the Hand/Fingers
Use a paintbrush to apply a thin coat of non-toxic paint onto your child's hand or fingers. Try to cover the entire hand or finger(s) evenly.
Step 4: Create the Print on the Pot
Gently press your child's painted hand or fingers onto the pot. Carefully lift their hand/finger so as not to smudge the design. Depending on your design, you might want to rinse and dry your child's hand/finger before making a new print.
Step 5: Let it Dry
Set your pot aside in a safe spot where it won't be disturbed. Allow plenty of time for the paint to dry completely.
Step 6: Seal the Design (Optional)
If you wish to protect and preserve your child's artwork, you can apply a clear sealant over the dried paint. If you decide to use a sealant, make sure you allow plenty of time for it to dry before handling the pot.
Remember: The process is meant to be fun and creative, don't fret over making it perfect!
Children's Handprint Craft Instructions
Overview
This is an enjoyable, easy, and memorable craft project to showcase just how small your child's hands were at their current age. This project can be a fun activity for both you and your child. The final product can be placed in a photo album, showcased on the wall, or kept as a keepsake.
Ingredients
- Non-toxic paint (color of your choice)
- Thick paper or canvas (200gsm or more recommended)
- Paintbrush
- Wet wipes or damp cloth for clean up
- Picture frame (optional)
Instructions
- Gather all required materials
- Ensure your child's hand is clean and dry
- Apply a thick layer of non-toxic paint onto your child's hand using the paintbrush
- Press your child's painted hand firmly onto the paper or canvas. Make sure each finger and palm makes contact with the surface. Do not move the hand sideways to avoid smudging
- Lift the hand straight up to prevent smudging
- Allow to dry fully. This may take a few hours depending on the thickness of the paint layer
- Clean your child's hand thoroughly with the wet wipes or damp cloth
- Once the handprint is dried, put in a picture frame if desired
Additional Tips
- Consider doing this activity outdoors or on an easy-to-clean surface for easy clean up
- Keep wet wipes or a damp cloth nearby to quickly clean up any mistakes or spills
- You can also add your child's name or the date on the paper or canvas before it dries for a personalized touch
- Remember to enjoy this activity with your child and cherish these memories
DIY Family Craft Instructions: Family Handprint Frame
Overview
This craft project is perfect for creating a personalized and meaningful gift for grandparents or other beloved family members. It involves creating a beautiful frame featuring handprints of the whole family, a visual reminder of the bond shared within the family. It's fun, easy, and the end result is absolutely adorable!
Ingredients
- Non-toxic paint: Choose a different color for each family member.
- Paper or canvases: One per handprint.
- Picture Frame: Should be large enough to fit all the handprints.
- Wet wipes or cloth: For quick cleaning up.
Instructions
Step 1: Gather Materials
Collect all the required materials listed above. Pick colorful paints that will capture the attention and make each family member's handprint distinguishable.
Step 2: Prepare Your Work Area
Spread a tablecloth or newspaper over your work area to protect it from potential paint spills. Have wet wipes or a damp cloth handy for cleaning up any unexpected messes.
Step 3: Create The Handprints
Get each family member to paint their hand with their chosen color and press it down firmly onto a piece of paper or canvas. Make sure to press each finger down to capture all the details.
Step 4: Allow to Dry
Let each handprint dry completely before moving on to the next step. It might take a couple of hours, depending on the thickness of the paint.
Step 5: Frame the Handprints
Arrange the handprints in your chosen order within the picture frame and secure them in place. You can add names, ages or a personal note to each handprint, if you'd like.
Conclusion
The Family Handprint Frame craft is a fun and heartfelt project that the whole family can participate in. This unique piece of art will make a special, personalised gift for lucky recipients, who will undoubtedly cherish it for years to come. Happy crafting!


