As an affiliate, I earn from qualifying purchases, but this doesn't affect the reviews or recommendations—your trust is important to me!
DIY Paper Plate Masks: Fun and Creative Craft for Kids

Today, We're Making:
- Paper Plate Masks
- Jungle Animal Paper Plate Masks: This idea requires paper plates, paint, and craft-paper to create fun masks of jungle animals like lions, elephants, or monkeys. It's a great way for kids to learn about different animals and use their imagination.
- Superhero Paper Plate Masks: Kids love superheroes and creating masks of their favorite characters could be an exciting activity. Use paint.
Imagine this; it's a typical weekend afternoon, the weather's not the best for outdoor play and your kids have grown tired of the same old indoor games. What now?
How about injecting some creativity and craft into their afternoon, all while adding some family-friendly fun that keeps everyone entertained? Welcome to the world of DIY Paper Plate Masks.
This inexpensive kids craft idea is more than just a fun art project for kids. It's also a joyous exercise in imagination, bonding, and innovation.
It's about turning ordinary paper plate crafts into extraordinary homemade masks. So, if your afternoon needs a colorful lift, let's dive, or rather mask-up into the art of mask making with paper plates!
So, how do you get started with these exciting DIY Paper Plate Masks?
As demonstrated by countless craft bloggers and Pinterest moms, turning paper plate crafts into homemade masks is relatively simple, requiring nothing more than a few inexpensive supplies you most likely already have at your disposal. All you need are some paper plates, paint, string, and the most important ingredient of all, creativity. But remember, the process isn’t as much about creating museum-worthy masterpieces as it is about engaging with your kids, sparking laughter, and painting memories that go beyond the canvas of the paper plates. After all, these DIY kids activities are primarily about spending quality time together as a family.
The Variety of Masks You Can Create
There's a great variety in the kinds of masks you can create. From ferocious lions and mystical unicorns to superhero disguises or spooky Halloween creations, the sky is indeed the limit with these paper plate crafts. An intuitive and straightforward craft idea with paper plates, these mask-making projects help your children explore their creativity without getting overwhelmed. These masks also double up as awesome props for imaginative play sessions, allowing your children to dive into their make-believe worlds with more vigor and enthusiasm. They make fantastic party pieces and are great fun DIY for kids who love arts and crafts.
Making DIY Paper Plate Masks: There's No Limit to the Materials You Can Use
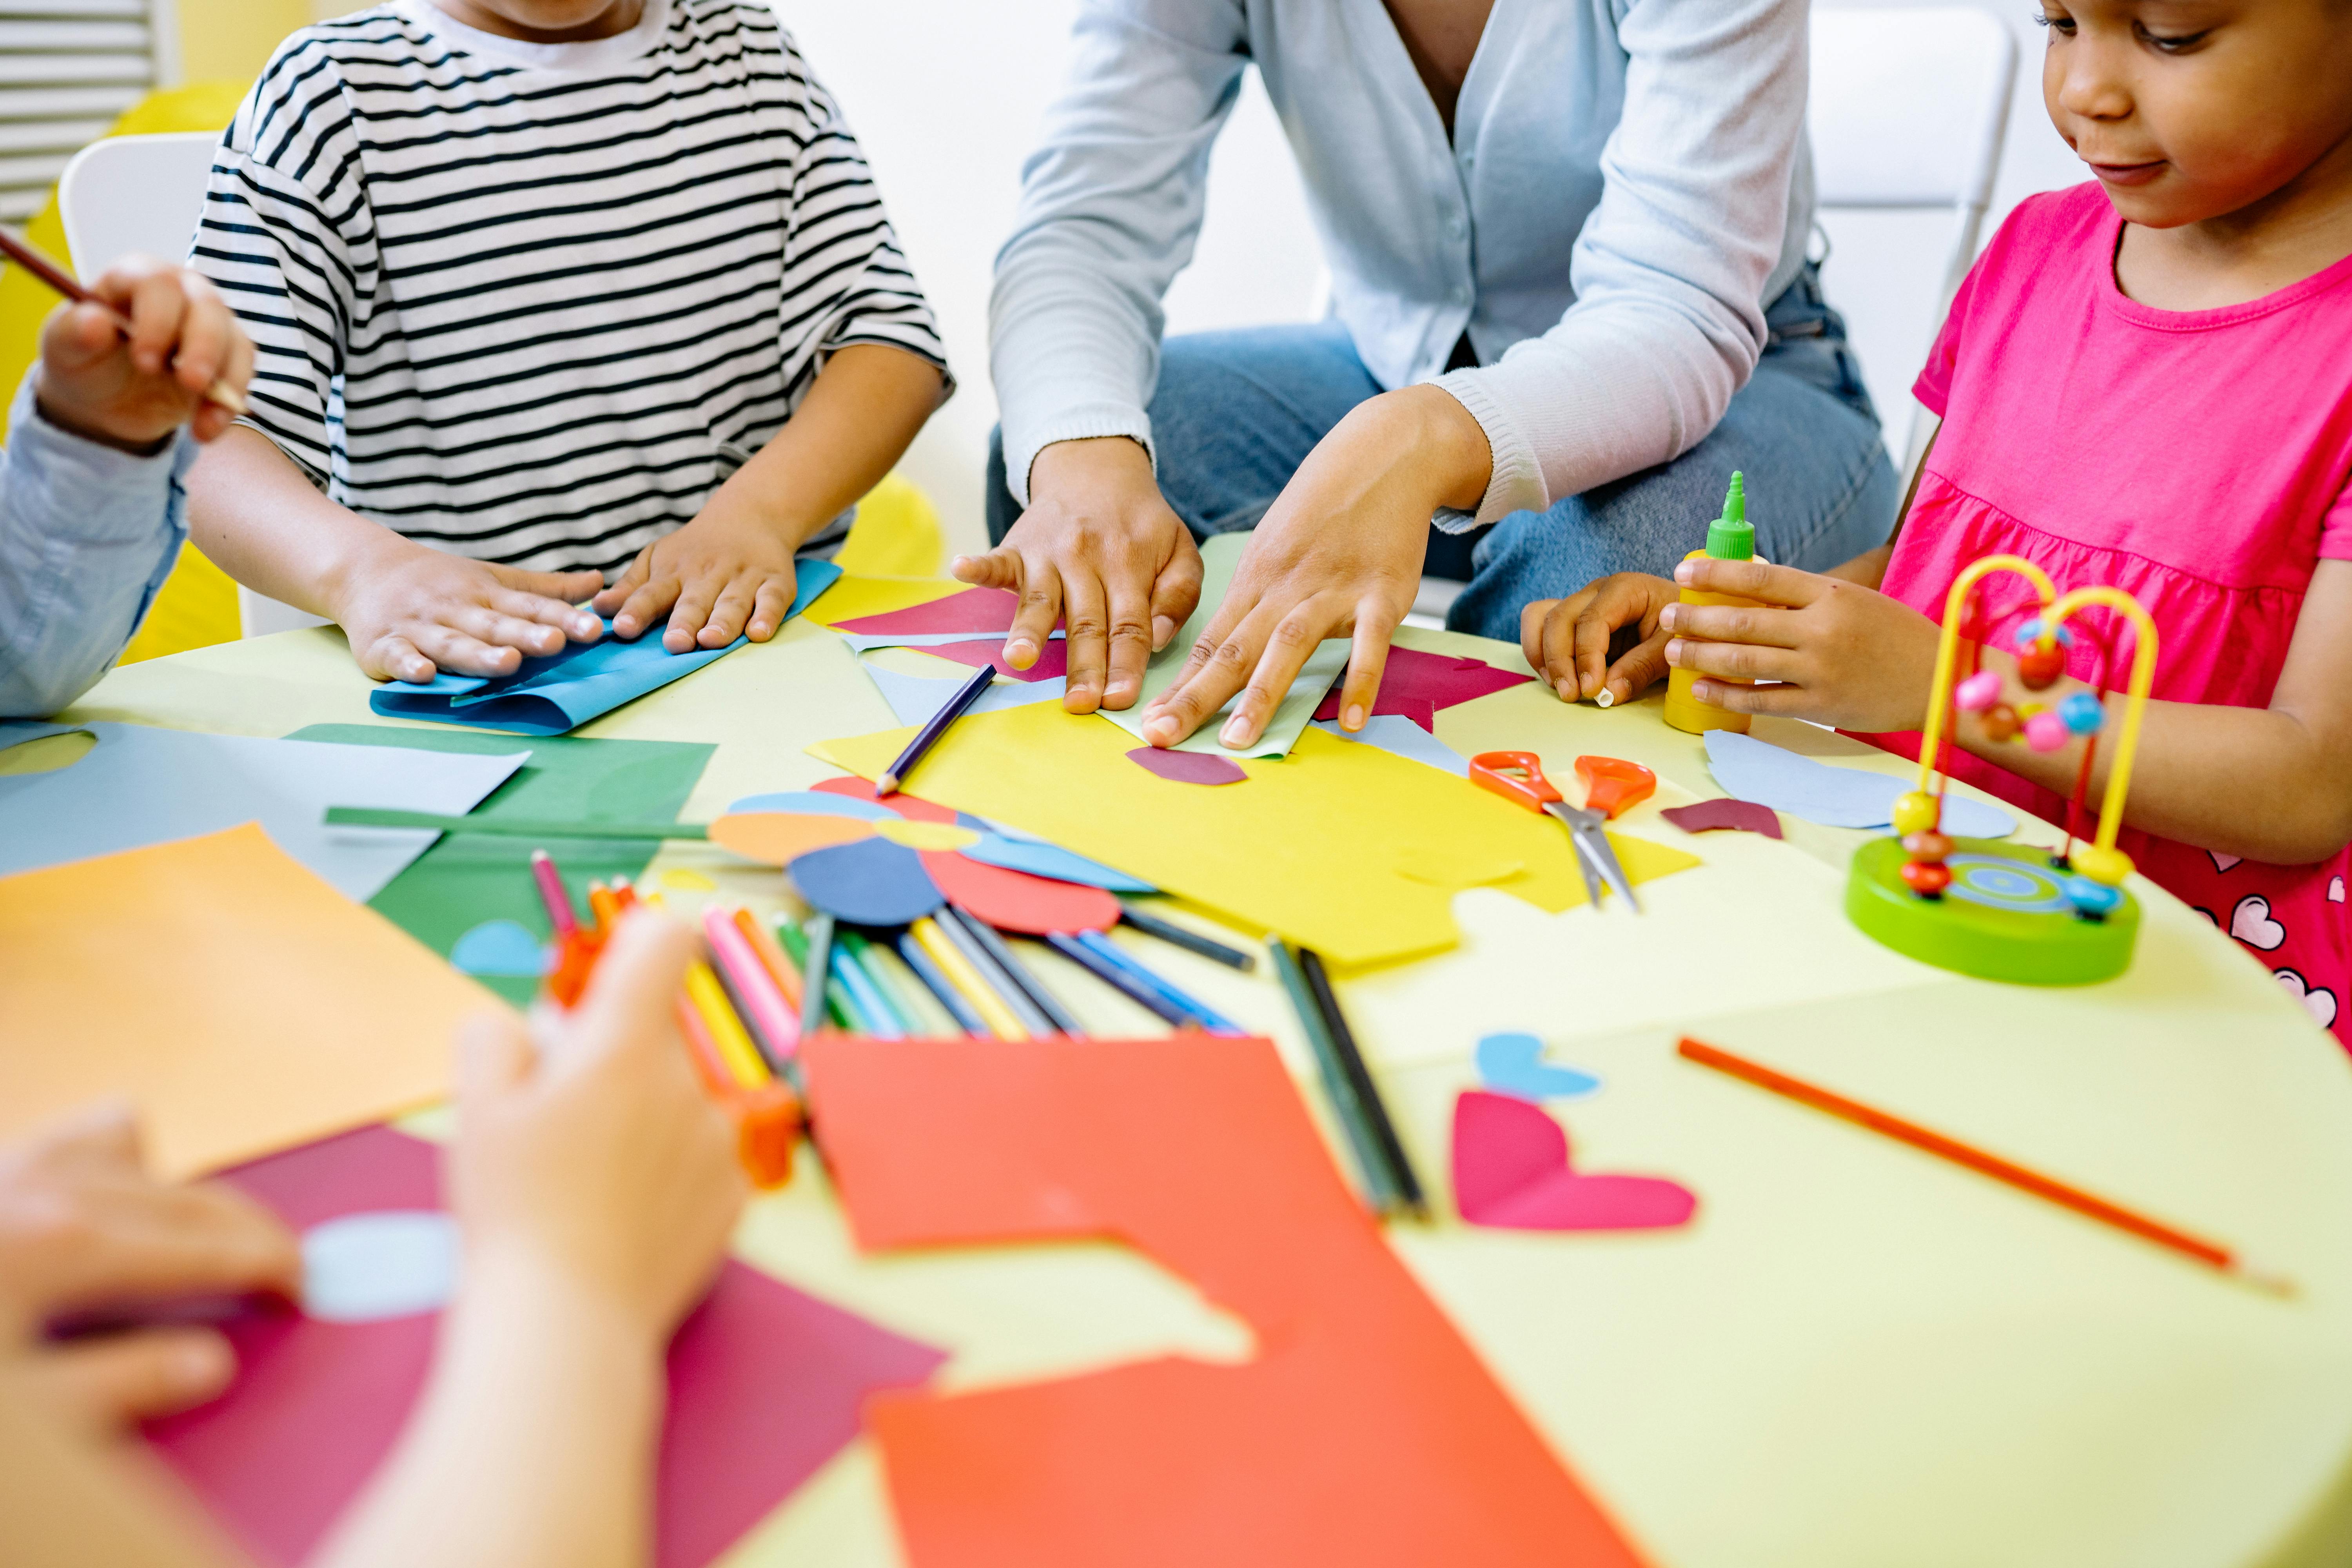
When making DIY Paper Plate Masks, there's no limit to the materials you can use to decorate them. Crayons, markers, glitter, sequins, felt, feathers, cardboard - the possibilities for paper crafts are endless. Just be sure to have child-safe scissors and glue available for the kids to use. Depending on the age of the children involved, this might be a step where some adult supervision or assistance is needed. Still, it's an incredible way to transform simple paper plate art into something magical.
Educational Elements in this Creative Crafts Venture
This creative crafts for kids venture not only showcases the fun aspect of DIY masks, but it also has several inherent educational elements. Children develop fine motor skills as they carefully cut out eye holes and intricately design their own masks. They sharpen their problem-solving skills as they figure out how to attach strings or sticks to their masks. They learn about different shapes, colors, and textures as they decorate their masks, further expanding their learning horizons. Many parents have also found these inexpensive kids crafts to be a great way to broaden their children's cultural understanding by creating masks from different global traditions.
The Therapeutic Benefits of Making Paper Plate Masks
Making paper plate masks can also be therapeutic. This family-friendly craft allows kids to express themselves freely without fear of judgment, fostering a healthy outlet for their emotions and thoughts. Whether it's a giggling ghost, a grinning cat, or a beaming sunshine, every mask reveals a slice of your child's unique personality, ultimately becoming craft projects for kids that also act as a window into their young, imaginative minds. Who knew a straightforward kids craft idea could pack such a powerful punch? Yes, these DIY paper plate masks most definitely do!
Let the Mask-Making Fun Begin!
Remember that each mask created in this joyous process doesn't just turn into an impressive exhibit of homemade masks on your living room's favorite wall. It becomes a vibrant testament to an afternoon well spent – a celebration of creativity, family-time, fun, and the boundless imagination of your child. It's indeed one of the most wholesome indoor kids activities you can engage in. So why wait? Grab those paper plates and let the mask-making fun begin!

In Conclusion:
DIY paper plate masks are not just crafts, they're journeys into the heart of creativity and the magic that family bonding can bring. They capture imagination, foster self-expression, and create lasting memories – all from the humble materials you have lying around your home. Most importantly, they highlight the incredible mix of joy, learning, and bonding that can come from embracing DIY children’s activities.
So, next time you're faced with a rainy afternoon or just seek a simple, creative escape, look no further than DIY paper plate masks. As we’ve discovered, they're much more than masks - they are portals into new worlds of creative exploration, fun, and heartfelt family memories.
Let’s go ahead and unmask the fun!

You May Also Like These:
Jungle Animal Paper Plate Masks
Ingredients:
- Paper plates
- Acrylic Paint (various colors)
- Paint brushes
- Pair of scissors
- Glue
- Colored papers
- Marker Pens (optional)
- Elastic strings
- Hole punch
Instructions:
- Preparation: Gather all your materials and cover your working area with an easy-to-clean material to avoid paint stains.
- Sketch: Gently sketch your chosen jungle animal's features on the paper plate using a pencil.
- Paint: Fill in your sketches with the appropriate acrylic paint colors using your paint brushes, then allow it to dry.
- Cut Out Features: While waiting for the paint to dry, you can cut out extra features (like ears, trunks, beaks etc) from the colored papers. You may need to paint some of these too.
- Glue On Additional Features: Once the paint on both the paper plate and the cut-out features is dry, you can now glue the extra features onto the mask.
- Eyes: Cut out the eye holes on your mask; do this by measuring where your child's eyes will be when they wear the mask.
- String: Punch holes on either side of the mask with the hole punch and attach the elastic strings to the mask.
- Finishing Touches: Use your marker pens to add any fine details that may be missing. This could be anything like stripes, spots, whiskers etc.
- Final step: Have fun! Your jungle animal paper plate masks are ready to be worn and played with.
Craft: Let's Play with Paint!
Ingredients:
- Non-toxic Washable Paints
- Palette or Mixing Trays
- Thick Paper or Canvas
- Paint Brushes in Various Sizes
- Water and Cloth for Cleaning Brushes
- Apron or Smock to Protect Clothing
- Newspaper or Plastic Sheet to Protect Your Table
Instructions:
- Start by laying down the newspaper or plastic sheet on your table to protect the surface from any paint spills.
- Let your child wear an apron or smock to protect their clothes from getting stained.
- Place the paint brushes, palette, paints, and the water container with cloth on the table, ensuring they are within your child's reach.
- Show your child how they can pour paint colors onto the palette and mix them to create new colors.
- Demonstrate how to dip a paintbrush in the paint, and then apply it to the paper or canvas.
- Encourage your child to get creative with their painting! They can paint objects they like, generate abstract art, or use their fingers instead of brushes.
- Once the painting session is over, help your child clean up. Teach them the importance of taking care of their tools and cleanliness.
```html
Jungle Animal Masks Craft Instructions
Materials Needed:
- Cardstock or heavy craft paper in various colors
- Pencil
- Scissors
- Glue
- Markers
- String, elastic or pipe cleaners
- Single-hole punch
- Printable templates of jungle animals (optional)
Instructions:
- Outline or Trace: Start by drawing the outline of the jungle animal mask on your cardstock or heavy craft paper. If you are using a printable template, simply trace the pattern onto your paper. Remember to include eye holes so your child can see when wearing the mask.
- Cut Out: Using the scissors, carefully cut out your jungle animal mask. Also, cut out the eye holes.
- Decorate: Now, it's time to decorate your mask! Use markers to add color and details to your jungle animal. Stick to natural colors like browns, greens, and yellows for a realistic animal mask, or let your child’s creativity loose with any colors they choose.
- Attach String or Elastic: Once the marker is dry, use the single-hole punch to make a hole on each side of the mask. String a piece of elastic, string, or pipe cleaner through each hole and secure it. Make sure the mask fits your child’s face comfortably and securely.
- Try on Your Mask: Hold the mask up to your child’s face and adjust the elastic, string, or pipe cleaner until it fits just right. Now, your child has a fun jungle animal mask to play with!
Craft for Elephants
Preparation
Before delving into crafting, ensure you create a clean, clutter-free workspace. This promotes your children's safety and allows them to get creative in a conducive environment.
Ingredients
- Grey colored construction paper
- White colored construction paper
- A pencil
- A pair of safety scissors
- Glue
- Googly eyes or a black marker for the eyes
Instructions
Step 1: Draw the Elephant Parts
First, draw the outline of an elephant's body on the grey colored construction paper. Be sure to depict the legs, ears and a trunk. On the white construction paper, draw the tusks.
Step 2: Cut out the Shapes
Use safety scissors to cut out the drawn shapes.
Step 3: Assemble the Elephant
Apply glue to the back side of the cut-outs and align them on a separate piece of construction paper.
Step 4: Decorating the Elephant
If you are using googly eyes, attach them to the elephant's head, or you can use a black marker to draw them. Paste the drawn tusks to the elephant's face alongside the trunk. Now your elephant craft is ready.
Safety Precautions
Always supervise your children when they use scissors or any sharp objects. Ensure they handle scissors and glue responsibly.
Superhero Paper Plate Masks
Sparkle your children's creativity and let them learn about their favorite superheroes while they have fun! Follow these easy steps to help your children create their superhero paper plate masks.
Ingredients:
- Paper plates
- Paints
- Paint brushes
- Scissors
- String or elastic band
- Hole punch
Instructions:
- Choose Your Superhero: Let your children choose their favorite superheroes. Search for images of these superheroes online to use as reference.
- Design The Mask: Draw the design of the superhero mask on the back of the paper plate. Make sure you include eye holes.
- Cut Out The Mask: Carefully cut out the mask design from the plate with the scissors. Get an adult to do this if the children are too young.
- Paint The Mask: Paint the mask with colors that represent the chosen superhero. Allow it to dry.
- Attach The String: Punch holes on both sides of the mask. Pass the string or elastic band through the holes and make a knot on each side. The mask is now ready to be worn!
This fun activity will not only allow your children to express their creativity, but also help them learn about different superheroes. Be a part of their journey and have a super fun experience!


