


As an affiliate, I earn from qualifying purchases, but this doesn't affect the reviews or recommendations—your trust is important to me!
Exploring Chemistry: DIY Bath Bombs Science Experiment Guide
Today, We're Making:
- - DIY Bath Bombs Science Experiment
- - DIY Telescope project: Parents can guide kids to build a simple telescope using magnifying glasses, cardboard tubes, and tape. This project will allow them to learn about lenses and how they work together to magnify objects. It can be scheduled on the night of June 10, 2025, to observe the night sky and celestial bodies.
- - Homemade Barometer: A barometer is a scientific instrument used to measure air pressure. Using a balloon.
Gone are the days when the fascinating world of chemistry was strictly confined within the four walls of a science laboratory.
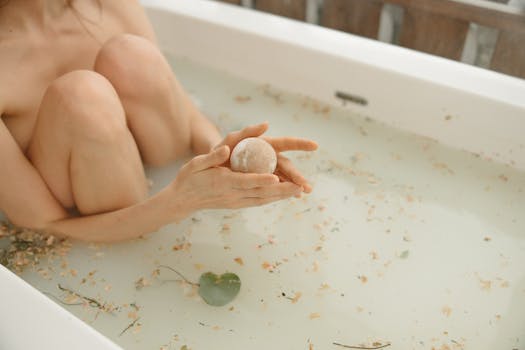
Welcome to the era of kitchen science with this enriching DIY Bath Bombs Science Experiment!
Add a little bit of fun to your learning or introduce your little ones to the wonders of basic chemistry. Unleash the magic hidden in everyday bath bomb ingredients like baking soda, Epsom salt and citric acid. Combine, mix, observe!
Witness how simple chemical reactions can result in homemade bath bombs that are not just a treat to your senses but also a testament to science’s impact in our everyday life. From understanding the science behind the relaxing fizz of bath bombs to mastering the art of crafting them at home, our guide promises an invigorating journey of exploring chemistry, at the comfort of your kitchen.
So, roll up your sleeves, it's time for some bathtub science that ensures learning, fun and relaxation all rolled into one!
So, What’s the Science Behind Bath Bombs?
For beginners, exploring chemistry with this DIY Bath Bombs Science Experiment can seem like sorcery. However, the magic lies in the chemical composition of home ingredients significantly baking soda and citric acid. When these ingredients blend, they undergo a chemical reaction that leads to the creation of carbon dioxide- the magical fizz in your bath bomb. These fun science experiments show how chemistry is part of our everyday routine. Interestingly, every ingredient in the bath bomb recipe plays an essential role and is thoroughly backed by chemistry.
Understanding the Bath Bombs Recipe
In a typical DIY Bath Bombs formula, the primary components are baking soda and citric acid. Also known as Sodium Bicarbonate, baking soda behaves as a base in this chemistry experiment. Equally important is Citric Acid, which acts as your acid. Contrary to what you might expect, the kitchen science reaction does not kick off until these dry ingredients hit water. Epsom Salt, another key player in this homemade bath bombs routine, serves numerous roles from softening water to acting as a binder.
Breaking Down the Bath Bomb Process
For ensuring success in our DIY Bath Bombs Science Experiment, there's more to just mixing our bath bomb ingredients. Following the right steps is equally important to make your exploration of chemistry fruitful. First, carefully mix the dry ingredients in a bowl until they achieve a consistent look. Ensure there are no clumps - those nasty unpredicted fizzes can ruin the perfect bath bomb process. Next, slowly add in your liquid ingredients, and mix cautiously to avoid sparking the chemical reaction prematurely. Patience is vital here – a successful experiment requires a slow, careful mix.
Get Creative with Bath Bomb Molds
A fun aspect of making bath bombs is getting to choose your own bath bomb molds. Round molds are an obvious choice for first-timers in all kids science projects. However, there are endless options waiting to be explored for DIY bath bombs’ enthusiasts - from heart-shaped molds to the unconventional star-shaped molds. This aspect underlines the importance of creativity in science. Making bath bombs isn’t a rigid process; it allows you to add a personal touch to your bath bombs.
Chemistry at Home: Education and Relaxation Combined
Above all, the DIY Bath Bombs Science Experiment isn't just about learning chemistry at home or mastering the bath bombs' recipe. It's a way to bring family together, engage kids in a worthwhile activity, and generate excitement while gaining knowledge. This practical approach to education can be a game-changer, cementing concepts in young brains through interactive hands-on experience. On top of this, homemade bath bombs are excellent for the skin and extremely relaxing. Hence, it's a win-win situation - not only do you get to explore the fascinating world of chemistry, but you also get to enjoy the fruits of your experiment.

Experiencing the Wonders of Everyday Chemistry
As we wrap things up, it's clear just how exhilarating it is to immerse ourselves in the wonders of chemistry hidden in our everyday life. It makes you appreciate the symphony of science at work all around and within us. The DIY Bath Bombs Science Experiment is indeed a perfect blend of engaging fun, relaxing therapy, and meaningful learning.
The Best Part of Experience
The best part? It's happening right there in your kitchen! Who knew science could be so accessible, so layman-friendly, and yet so thrilling. Together, let's say yes to more such shared moments of discovery and ingenuity!
Beyond the Textbook
Surely, Chemistry isn't confined to textbook pages or laboratory walls, after all. It's in your every day, your every hour, your every minute - and you get to create, to experiment, and to learn. So, let's keep exploring, innovating, and bath-bombing our way to even more excitement and knowledge!
You May Also Like These:
DIY Telescope STEM Project
Ingredients:- Two Magnifying Glasses (One larger and one smaller one)
- Paper Towel Roll or a similar tube
- Black Construction Paper (optional)
- Tape
- Start by examining the magnifying glasses: This step is important because the quality of your telescope depends on the lens you choose. The larger lens will be for the end you look into, where the smaller lens will be for the far end of the telescope.
- Insert the smaller lens into one end of the tube: Apply tape around the lens to hold it in place. Make sure it is secure and nicely centered.
- Insert the larger lens into the other end of the tube: Similar to the smaller lens, apply tape around the lens to hold it in place. Ensure it is well centered.
- Adjust the lenses: Carefully look through the tube and move the lenses closer or further apart until you have a clear field of vision. Once you have it focused correctly, secure the lenses in their present positions with more tape.
- Decorate the telescope (optional): Use black construction paper and tape to cover the tube. This will give it an authentic, finished look.
- Survey the Skies: Your DIY Telescope is now ready. Encourage your child to view different objects from a distance, comparing how different they look through the telescope.
Note: Supervise your child throughout the project, to ensure safety especially when handling the magnifying glasses.
Lenses STEM Project
Ingredients
- Magnifying glasses (you will need 2 of different sizes)
- Transparent tape
- Piece of paper (any variety will work)
- Pencil or pen
Instructions
1. Positioning the Lenses- Take your 2 magnifying glasses and place them with a small space in between. The bigger lens should be on the bottom and the smaller on top.
- Use the transparent tape to fix the lenses in their position. Make sure the tape is secure so the lenses won't move.
- Choose a small object you would like to magnify and draw it on your piece of paper.
- Now, place your drawing beneath the setup of the lenses. Look down through the top (smaller) lens, and observe how the image of your drawing appears bigger!
Science Behind
Lenses work by bending light and changing its direction so that the object appears to be bigger than it actually is. By using two lenses of different sizes, you are magnifying the image twice, hence it appears larger and clearer.
Scheduled on
June 10
STEM Project: Learn about Lenses
Scheduled for: June 10
Ingredients:
- A magnifying glass
- Transparent tape
- Straight edge or Ruler
- Pencil
- Piece of white paper
- Small objects for magnification (coins, leaves, etc.)
Instructions:
Follow these step-by-step instructions to understand how lenses work and how they help magnify objects:
- Lay your magnifying glass directly on top of the piece of white paper.
- Using your pencil, trace around the magnifying glass to draw a circle on the paper.
- Place the small object you'd like to magnify in the centre of the circle you've drawn.
- Hold the magnifying glass between the object and your eye, adjusting the distance until the object appears clear and magnified.
- Observe how the object appears larger when viewed through the magnifying glass versus with the naked eye. This is due to the lens bending (or refracting) light rays to create a larger image of the object.
- For additional learning, use the transparent tape to create different layers on top of the lens. Observe how the levels of magnification change as you add or decrease layers.
- Discuss your observations and understanding of how lenses work, recording any questions or interesting discoveries to further explore.
This project can help families understand the basic function of lenses and refine their observational skills.
STEM Project Instructions for 2025
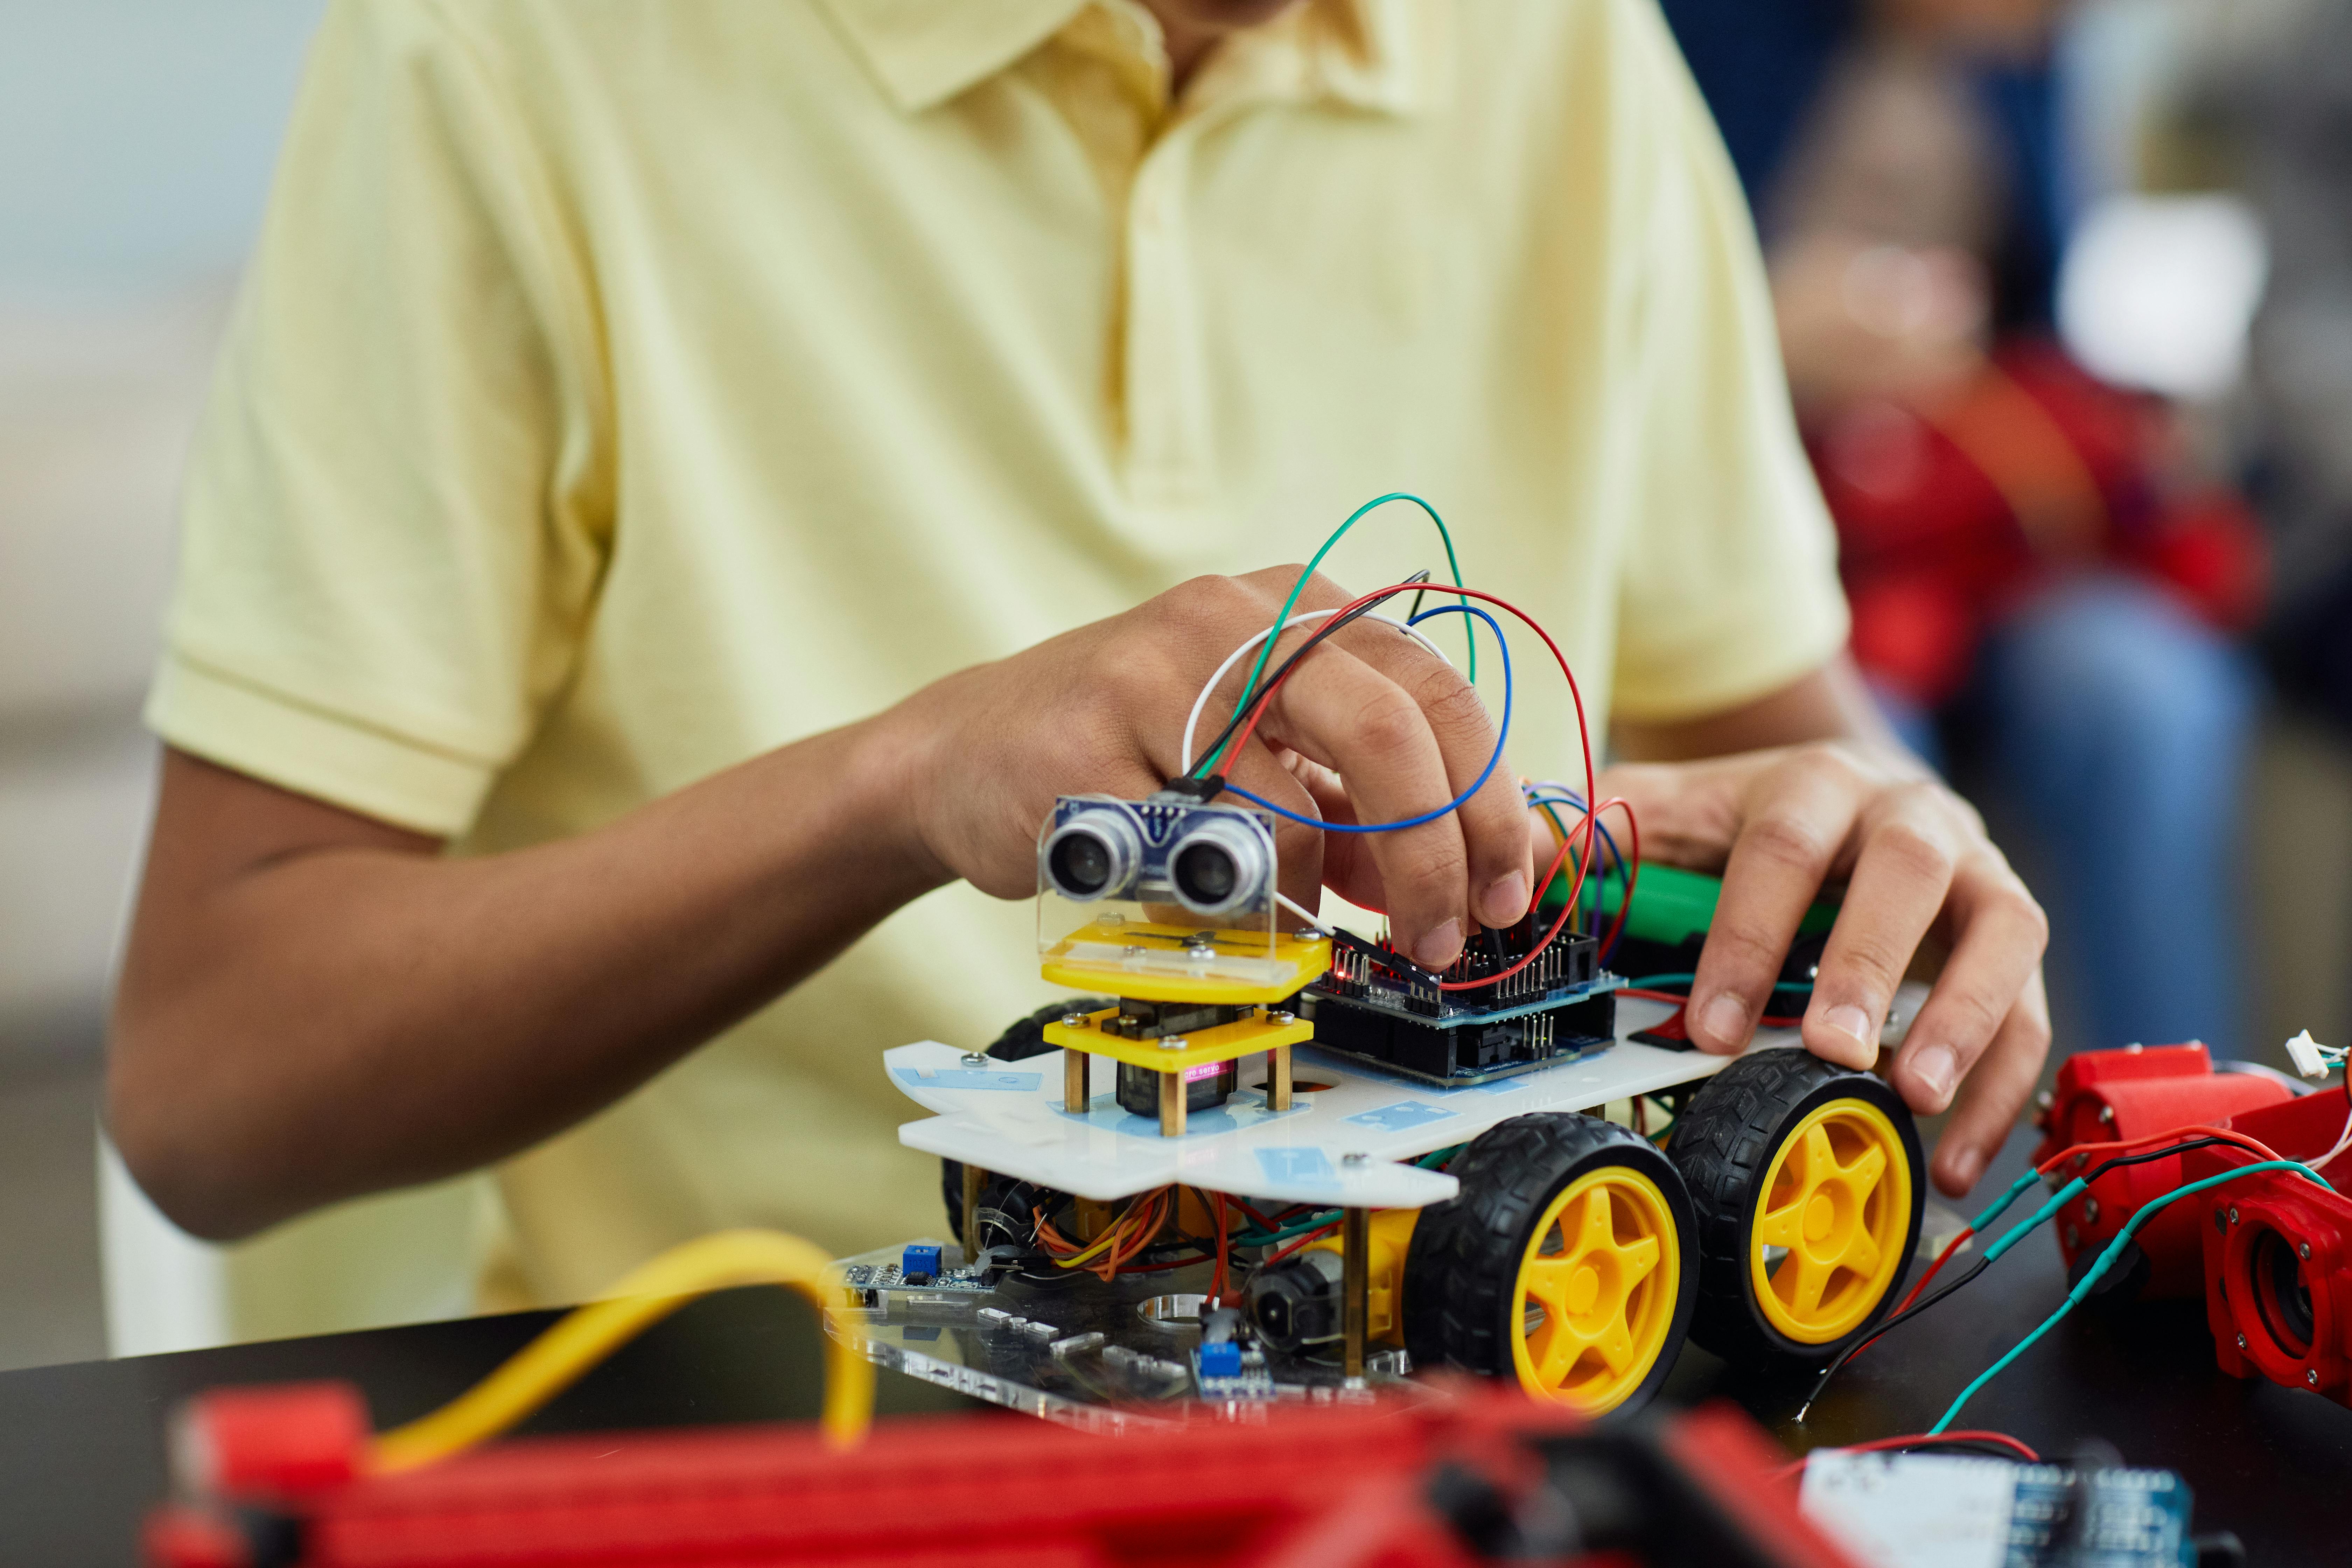
Solar Powered Robot
Study Area: Renewable Energy & Robotics
Ingredients:
- Solar panel (5V)
- DC Motor (3V)
- Motor Driver IC
- Capacitor (100uF)
- Wheels & Robot Body
- LEDs, Resistors, Cables etc.
- Soldering Iron
- Solder and Heat Shrink Tubing
Instructions:
- Prepare Your Workspace: Make sure your workspace is clean and clutter free. Have all your ingredients within reach. Be careful with the soldering iron to prevent burns.
- Assembling the Components: First solder the motor driver IC, capacitor and other components as per the circuit design.
- Rigging the Solar Panel: Next, hook up the solar panel to the circuit. It is important to connect it properly to generate enough power for the robot.
- Testing the Circuit: Under proper sunlight, test to see if the circuit works. The DC motor should turn on and the LEDs should light up.
- Building the Robot Body: Now, mount the wheels and connect the robot body to the DC motor(s).
- Final Testing: Place your Solar Powered Robot under sunlight and see if it moves.
Remember, this project involves electrical components. Always be careful when handling them and provide assistance to your child, especially while soldering.
Homemade Barometer STEM Project
Overview
A barometer is a scientific instrument used to measure air pressure. Here's a fun and easy way to create your own homemade barometer!
Materials
- A clear jar or can
- Scissors
- Straw
- Index card
- Glue
- Tape
- A balloon
Instructions
- Cut a balloon - Begin by cutting off the end of a balloon.
- Cover the Jar - Stretch the cut balloon over the top of your jar or can. Make sure it is secure and airtight! You can use a rubber band to help hold it in place.
- Assemble the straw - Tape a straw onto the middle of the balloon that is stretched over your jar. The straw should be hanging off the edge slightly.
- Create a scale - Draw a straight line scale on your index card.
- Position the scale - Place your index card so that it is aligned with the straw as the straw moves up and down, it will indicate the air pressure on your card scale.
Observe
After setup, observe the barometer's measurements over the course of several days. Note any changes and correlate them with the weather conditions.


