


As an affiliate, I earn from qualifying purchases, but this doesn't affect the reviews or recommendations—your trust is important to me!
Exploring : DIY Guide: Galaxy Rocks, Volcano Experiments, Sushi and Scavenger Hunts
Today, We're Making:
- - DIY Galaxy Painted Rocks
- - Baking Soda and Vinegar Volcano Experiment
- - Homemade Sushi Rolls
- - Interactive Scavenger Hunt Game
- - DIY Mars Rover Model (crafts & STEM)
- - Strawberry-Blueberry Smoothie Solar System (Food)
- - Pin-the-Ring on Saturn (Game)
- - Telescope Making with Recycled Material (STEM)
- - Alien Foil Sculpture (Craft)
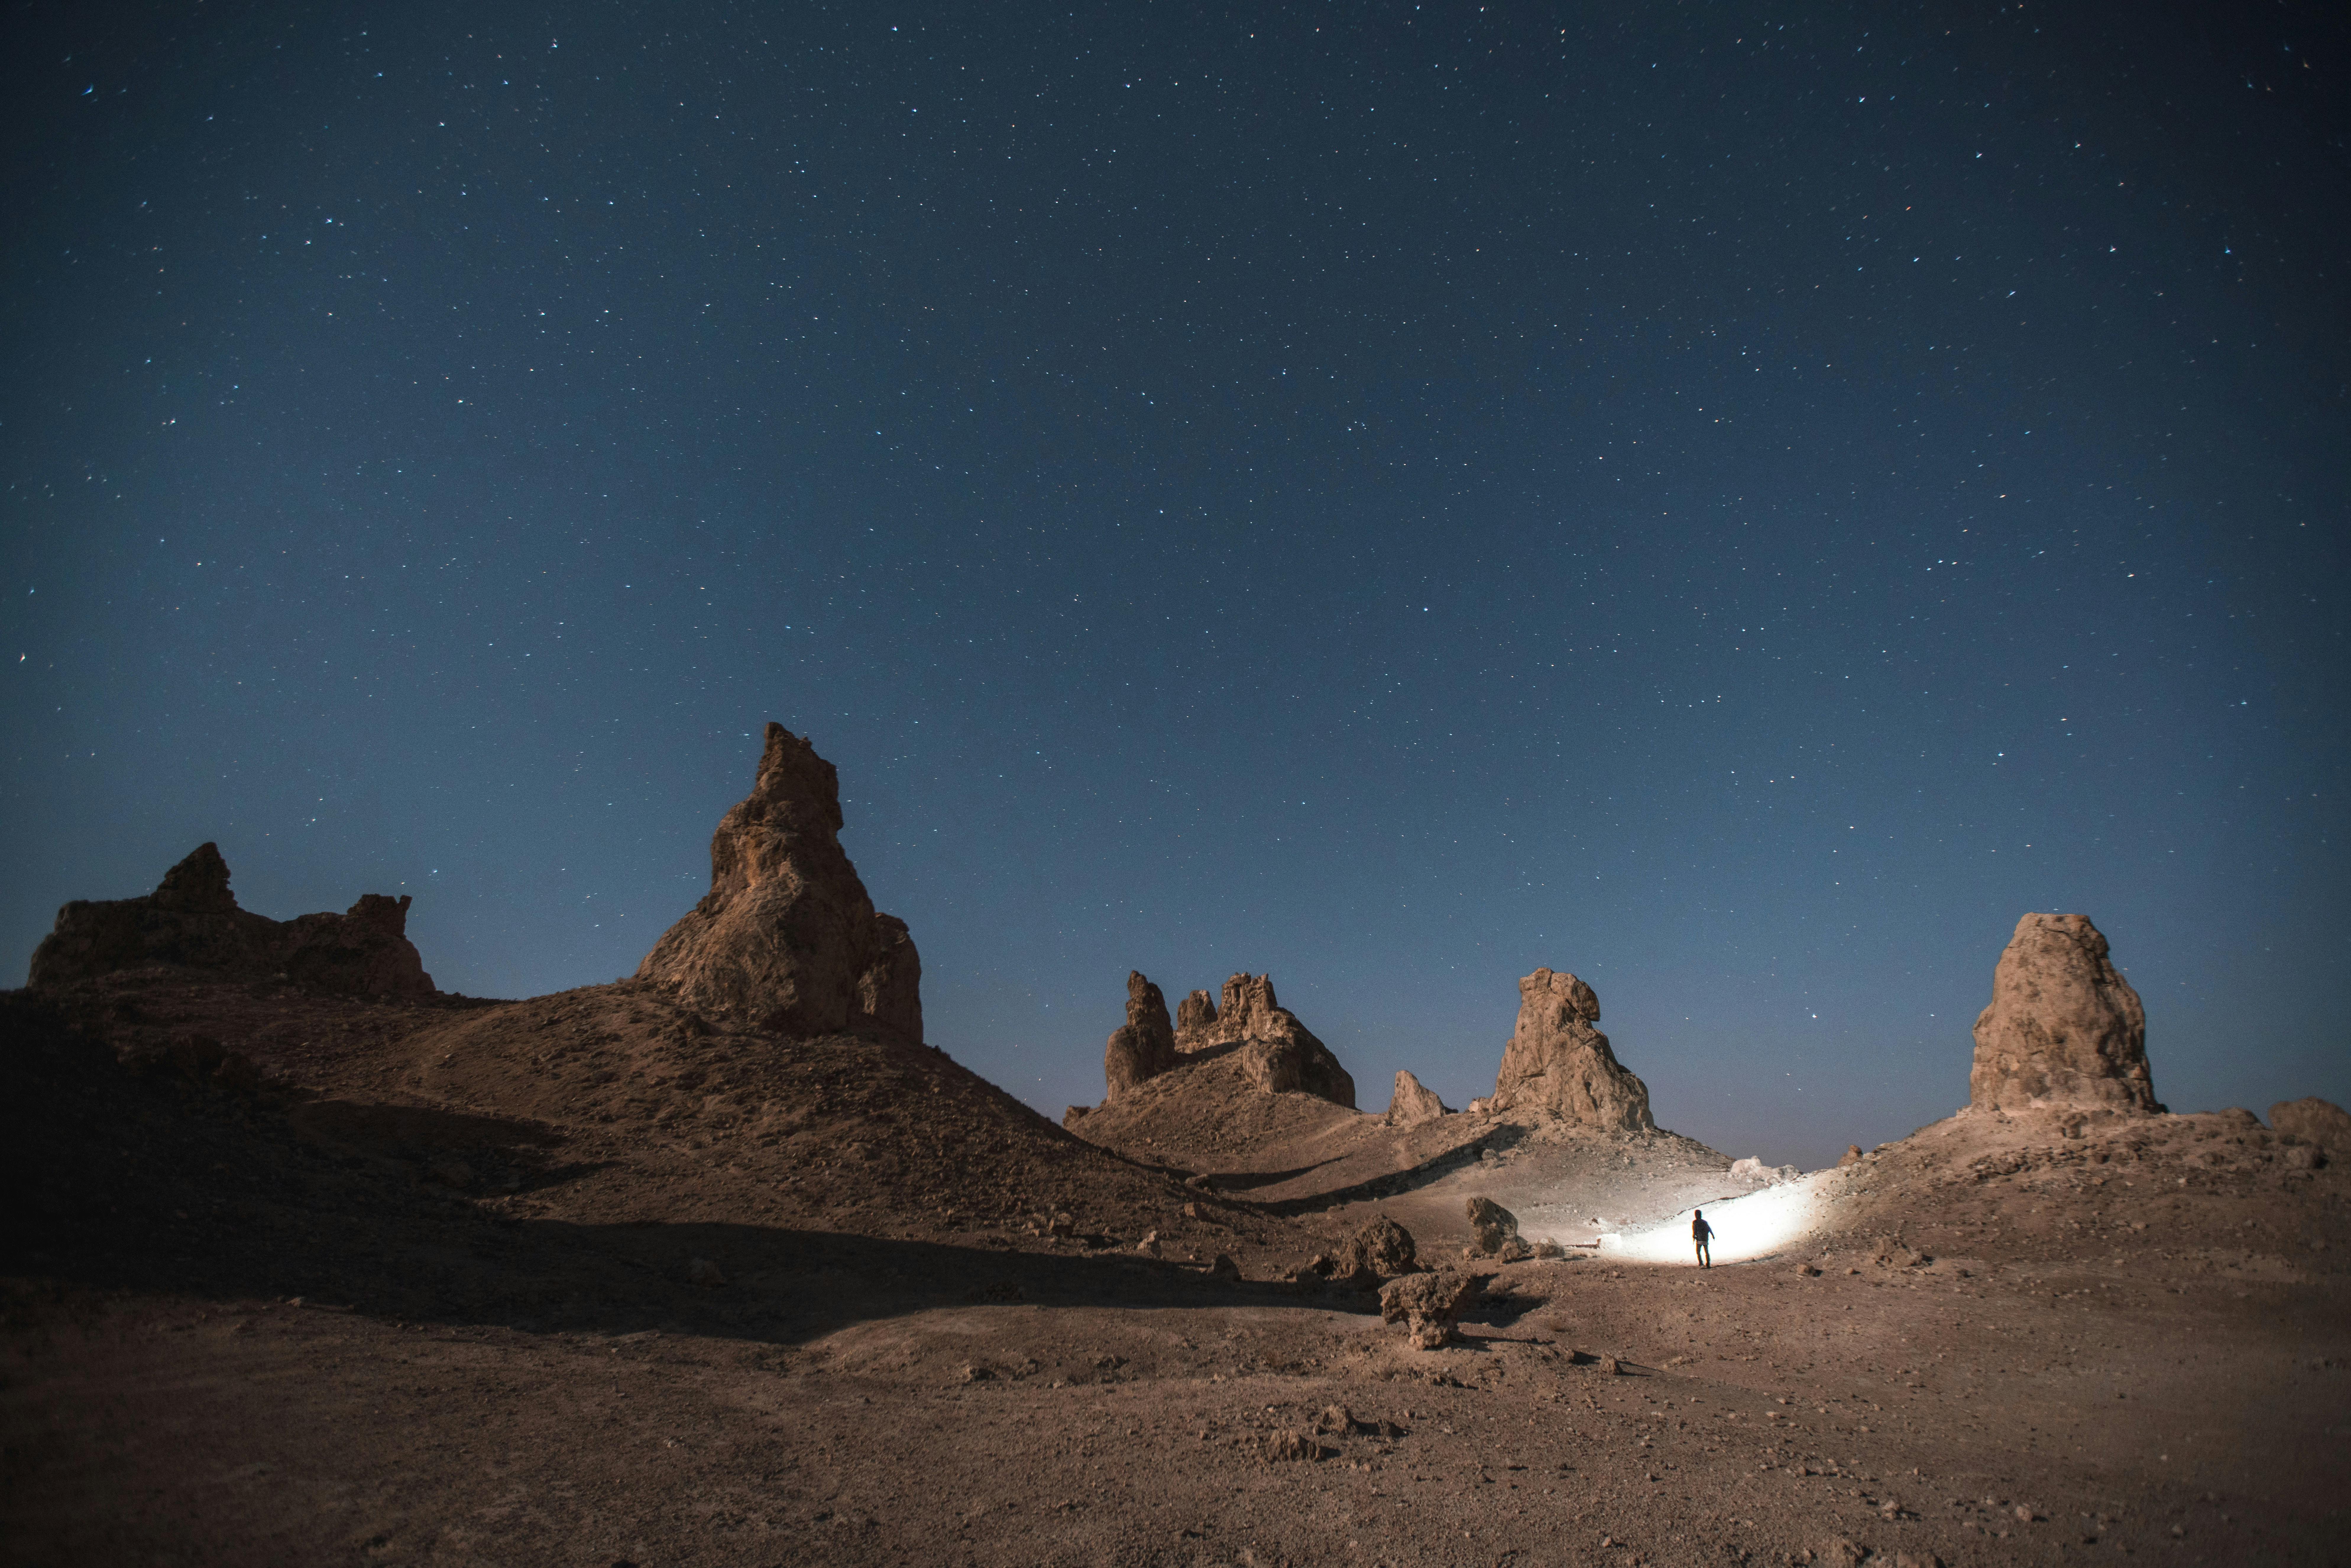
Ever looked up at the starry night sky and wished you could capture a fragment of the galaxy in your palms, right here on Earth?
Well, with our DIY Galaxy Painted Rocks guide, you're about to do just that and more. Unleash your inner scientist as we dive into a world of homemade volcanic eruptions, immerse ourselves in the mouth-watering art of crafting sushi rolls, and ignite the adventurer in us with an interactive scavenger hunt game.
Whether you're an ardent fan of geology, a home-based masterchef, or a champion of fun DIY projects, we've got a delightful exploration into crafts, earth science, and kitchen science lined up.
This is your one-stop-guide to both wonderful discovery and home fun. Welcome!
DIY Galaxy Painted Rocks: Putting Stardust in Your Hands
Coming face-to-face with the maths and physics of the cosmic world might seem intimidating. But we've found a fun way to bring the far reaches of the universe to you. DIY Galaxy Painted Rocks! This craft project combines the beauty of astronomy, the earthiness of geology, and a generous sprinkle of creativity.
To start, you'll need a small, smoothly polished rock. This is your canvas and your participant in this rock crafting adventure. Next, gather your painting supplies - specifically, acrylic paint in deep blue, white, purple, and pink. Your paintbrush is going to be the magic wand that sprinkles stardust across your canvas.
Begin with a solid coat of deep blue, and while it's still wet, blend in dabs of purple and pink. All done with that? Now comes the fun part! Dip a toothbrush in white paint, flick the bristles, and there you have it. The starry, glittery galaxy etched right on your rock. Keep in mind, the beauty of this DIY Guide is its room for creative freedom. Imperfections aren't flaws here, they are features. Take it a notch above and use fluorescent paint for a glow-in-the-dark galaxy that lights up your room at night!
Baking Soda and Vinegar Volcano Experiment: Home Science At Its Best
Inching from astronomy to earth science, we're bringing the thrilling spectacle of volcanic eruptions right to your backyard with our volcano experiment. This exciting DIY project is an inspired blend of geology made fun and kids experiments made enlightening.
Start by crafting your own volcano. It's a simple blend of play dough or paper mache wrapped around a small glass jar or cup. Paint an earthy exterior, and you've got yourself a mini Mt. Vesuvius!
The eruption is the crux of this volcano activity and it's easier than you'd guess. The infamous baking soda and vinegar combination is your secret weapon here. Pour baking soda into your volcano's crater first, followed by a fair splash of vinegar. And voila! You have a homemade experiment mimicking nature's most awe-inspiring spectacle. Safety goggles are recommended for this part because, let's not forget, safety comes first, even in the name of home fun.
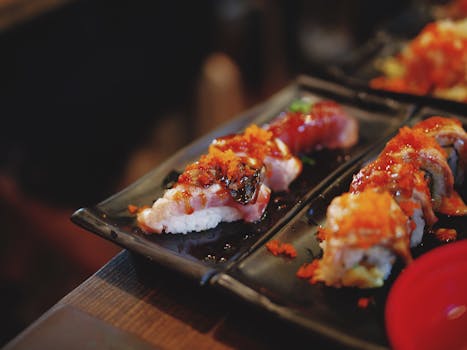
Homemade Sushi Rolls: Kitchen Science Meets Edible Art
Exhausted from guilding the galaxy on rocks and erupting your DIY volcano? We believe it's time for some culinary relaxation. Behold, the art of crafting homemade sushi rolls. It's where kitchen science meets edible art, a testament to the fact that cooking is just as much science as it is an art.
First, we're combining sushi rice with seasoned vinegar - it's the chemistry that gives it its unique flavour and texture. Then, we're going to use nori sheets as a canvas, adding on thinly sliced seafood or veggies, for a pop of vibrance and a burst of flavours. A bamboo sushi mat aids in rolling this intricate edible art and with a sharp knife, you can transform it into bite-size pieces of heaven. It's a sushi recipe that's easy, fun, and immensely gratifying.
Interactive Scavenger Hunt Game: Unleash the Adventurer in You
After spending a day crafting galaxies, experimenting with volcanoes, and rolling sushi, it's time for some active fun. What better way to end the day than with an interactive scavenger hunt game? This adventure game is a treasure hunt inside your home, where your wit and speed are your greatest allies.
Reality-shaping clues and tricky challenges design this scavenger game. As the excitement of finding each clue piles up, all the family members join in on the fun. As the final treasure is discovered, you can already feel the satisfaction washing over you.
Remember, in this DIY Guide there are no winners or losers. It's about fun, it's about connecting - and it's about the joy of doing something different, something rewarding. Enjoy this handpicked collection of DIY projects and let us know how your adventure unfolds!
In a world where everyday routines can become monotonous, disrupting the norm with some high-spirited DIY projects can infuse a fresh breath of air.
Through galaxy painted rocks, homemade volcanoes, sushi making, and engaging scavenger hunts, we've journeyed through the cosmos, dived into earth science, tickled our taste buds and put our problem-solving skills to the test.
Every step of the way, we've learned, we've laughed, and we've discovered a vast playground in our very own home. Crafting, experimenting, cooking, and hunting – the day was filled with dynamic activities that thrilled our senses and engaged our minds.
We hope this guide has ignited your passion for DIY projects and helped you appreciate the fun and diversity they bring.
Keep this spirit alive and explore the endless list of activities yet to be discovered, make this a part of your routine, and see how the ordinary transforms into extraordinary. So keep crafting, keep exploring, keep learning, and keep having fun.
To many more starry nights and homemade sushi rolls. Enjoy your DIY journey!

You May Also Like These:
DIY Mars Rover Model
This fun and educational at-home project requires few ingredients and provides a great learning opportunity for kids interested in space! Follow the instructions below and immerse your family into the astrological world of STEAM education.
Materials Needed:
- Popsicle sticks
- Cardboard
- Glue
- Scissors
- Paint – preferably grey and black
- Two small buttons
- String or pipe cleaners
Instructions:
- Cutting: Begin by cutting out a rectangle out of your cardboard (approx 10cm x 6cm), four smaller rectangles (approx 4cm x 1cm), and six squares (2cm x 2cm). Set these pieces aside.
- Building the Body: Next, glue your popsicle sticks on the top of the large cardboard rectangle to form the base of the rover. Allow the glue to dry completely.
- Creating the Wheels: Now, take your six squares of cardboard and glue a button to the centre of each. These will act as your wheels. Give plenty of time for the wheels to dry before moving on.
- Attaching the Wheels: Once the wheels are dry, attach them evenly along the sides of your rover base using the glue and allow them to dry.
- Creating the Antennae: Take your string or pipe cleaners and attach them to the top of your rover by gluing them to one of the smaller rectangles. Then, affix the rectangle with the antennae to the rover body. Let the glue dry thoroughly.
- Painting the Rover: Once your rover is completely dried, you can now paint it. We recommend shades of grey, black and even some red to simulate Mars dust on it.
- Final Touch: Once the paint dries, your Mars Rover is ready for exploration!
Enjoy your DIY Mars Rover Model - perfect for encouraging imagination play and sparking discussion about space exploration!
Pin the Ring on Saturn Game
This game is an educational and fun activity that will boost your kids' knowledge about our solar system while keeping them entertained. Here are the detailed instructions for parents:
Materials Needed:
- Poster board
- Yellow paint
- Glue
- Scissors
- Printable Saturn images
- Printable ring images
- Blindfold
- Double-sided tape
Preparation:
- Paint the poster board: Use the yellow paint to color the poster board. It will serve as our game's background.
- Print Saturn images: Print out big images of the planet Saturn without the rings. Cut out the images. Glue these on the painted poster board.
- Print ring images: Print out images of Saturn's rings and cut them out. Make sure you have as many rings as there are players.
- Prepare the blindfold and double-sided tape: Each player will be blindfolded when it's their turn. You will use the double-sided tape to stick the rings on the Saturn poster.
How to Play:
- Explain the game: Brief the children about the game. Explain why Saturn has rings and what they are made of. This adds an educational aspect to the game.
- Start the game: Blindfold the first player and hand them a ring with tape on it. Spin them gently a couple of times.
- Pin the ring: Point them in the direction of the poster board and let them stick the ring anywhere on the poster.
- Next player's turn: Once done, it's the next player's turn. Repeat the procedure until each player has had a turn.
- Declare the winner: The player who gets their ring closest to the correct position wins the game.
Pin-the-Ring on Saturn Game
Materials Needed:
- Saturn Poster: You can either purchase from a store or print out a large picture of Saturn
- Cardboard Rings: These can be made easily from cutting out strips of cardboard and taping them into ring shapes
- Adhesive: Tape or sticky tack will do
- Blindfold:
Instructions:
- Prepare Saturn: Ensure your Saturn poster is positioned at a correct height for the children. Tape or tack it securely onto a clear wall.
- Prepare Rings: Using your cardboard strips, create several rings. Add a small piece of tape or sticky tack at one end of each ring so it will stick to the Saturn poster.
- Game Begin: Blindfold the first player and give them one of the rings. Turn them around a couple of times (for fun, and to disorientate them slightly!), then point them in the direction of Saturn.
- Pin the Ring: The blindfolded player then tries to stick their ring onto Saturn.
- Next Player’s Turn: Once they've had their turn, it's the next player’s turn. The player who gets their ring closest to Saturn's actual rings wins!
Telescope Making with Recycled Material (STEM Project for Kids)
Materials Needed:
- Two empty paper towel rolls
- Scissors
- Pencil
- Paint (optional)
- Paintbrushes (optional)
- Glue
STEP-BY-STEP INSTRUCTIONS:
- Gather Your Supplies: Ensure all the materials listed above are ready.
- Cut the Paper Rolls: Cut one paper roll slightly shorter than the other.
- Color Your Telescope): If you want to customize your telescope more, you can paint or color both paper rolls. Let the paint dry completely.
- Attaching the Paper Rolls: Apply glue to the outside of the smaller roll and slide it into the larger roll. Ensure it fits snuggly.
- Tada! The telescope is ready to use. Hold it up to your eye and look through.
Note: This is a pretend telescope and won’t actually magnify anything. It’s perfect for imaginative play.
Alien Foil Sculpture (Craft)
Looking for a fun and creative craft project for your kids? Try this exciting Alien Foil Sculpture! All you need is some aluminium foil and your imagination.
Materials Required:
- Aluminium Foil
- Googly Eyes (optional)
- Artificial Antennas(optional)
- Glue (incase the googly eyes and antennas are used)
Instructions:
- Preparing your workspace: Clear a work area and make sure it's clean and flat. This will allow your kids to work comfortably while they create their masterpiece.
- Creating the body: Start with a large piece of foil. Bunch it up into the shape of your alien's body. This can be a simple oval shape or something more complex.
- Creating the head: Using a smaller piece of foil, create your alien's head. Attach this to the top of the body by gently pushing it into the top of the body piece.
- Add features: Develop an interesting alien by creating different facial features. You can make eyes by pressing small balls of foil onto the head, ears by adding foil loops to the sides of the head, and a mouth by pressing a line into the foil with your finger.
- Finishing up: Once your alien is fully formed, you can smooth out any rough edges by gently pressing on the foil with your hands. Alternatively, you can leave the rough edges for a more alien look.
- Optional extras: If you want to add googly eyes or antennas to your alien, use a bit of glue to attach them. Note that these are optional and your alien will still look great without them!
There you have it! Your very own Alien Foil Sculpture! Remember, the only limit is your imagination, so feel free to create whatever type of alien you or your child wishes.


