


As an affiliate, I earn from qualifying purchases, but this doesn't affect the reviews or recommendations—your trust is important to me!
Exploring DIY: Origami Bookmarks, Lava Lamps, Gingerbread Houses, Escape Games

Today, We're Making:
- - DIY Origami Bookmarks
- - Homemade Lava Lamp Experiment
- - Gingerbread House Making
- - Interstellar Escape Room Game
- - DIY Star Maps for night sky observation on 06-01-2025
- - Create a Time Capsule including the date and current events
- - Bake Solar System themed Cupcakes
- - DIY Recyclable Materials Board Game
- - Craft Biodegradable Seed Paper
Are you one of those creative souls who thrive on transforming simple materials into something extraordinary?
Welcome! This blog is the perfect pitstop in your DIY journey. We understand the joy of crafting something with your own hands - be it designing unique DIY Origami Bookmarks for book lovers, conducting the mesmerizing Homemade Lava Lamp Experiment that adds a decorative touch, constructing awe-inspiring Gingerbread Houses that visually delight before delightfully vanishing from your festive table, or architecting your very own Interstellar Escape Room Game for a thrilling, interactive experience.
Leap into the enchanting world of DIY crafting, where imagination meets creativity, your hands work wonders, and every step becomes an exciting adventure.
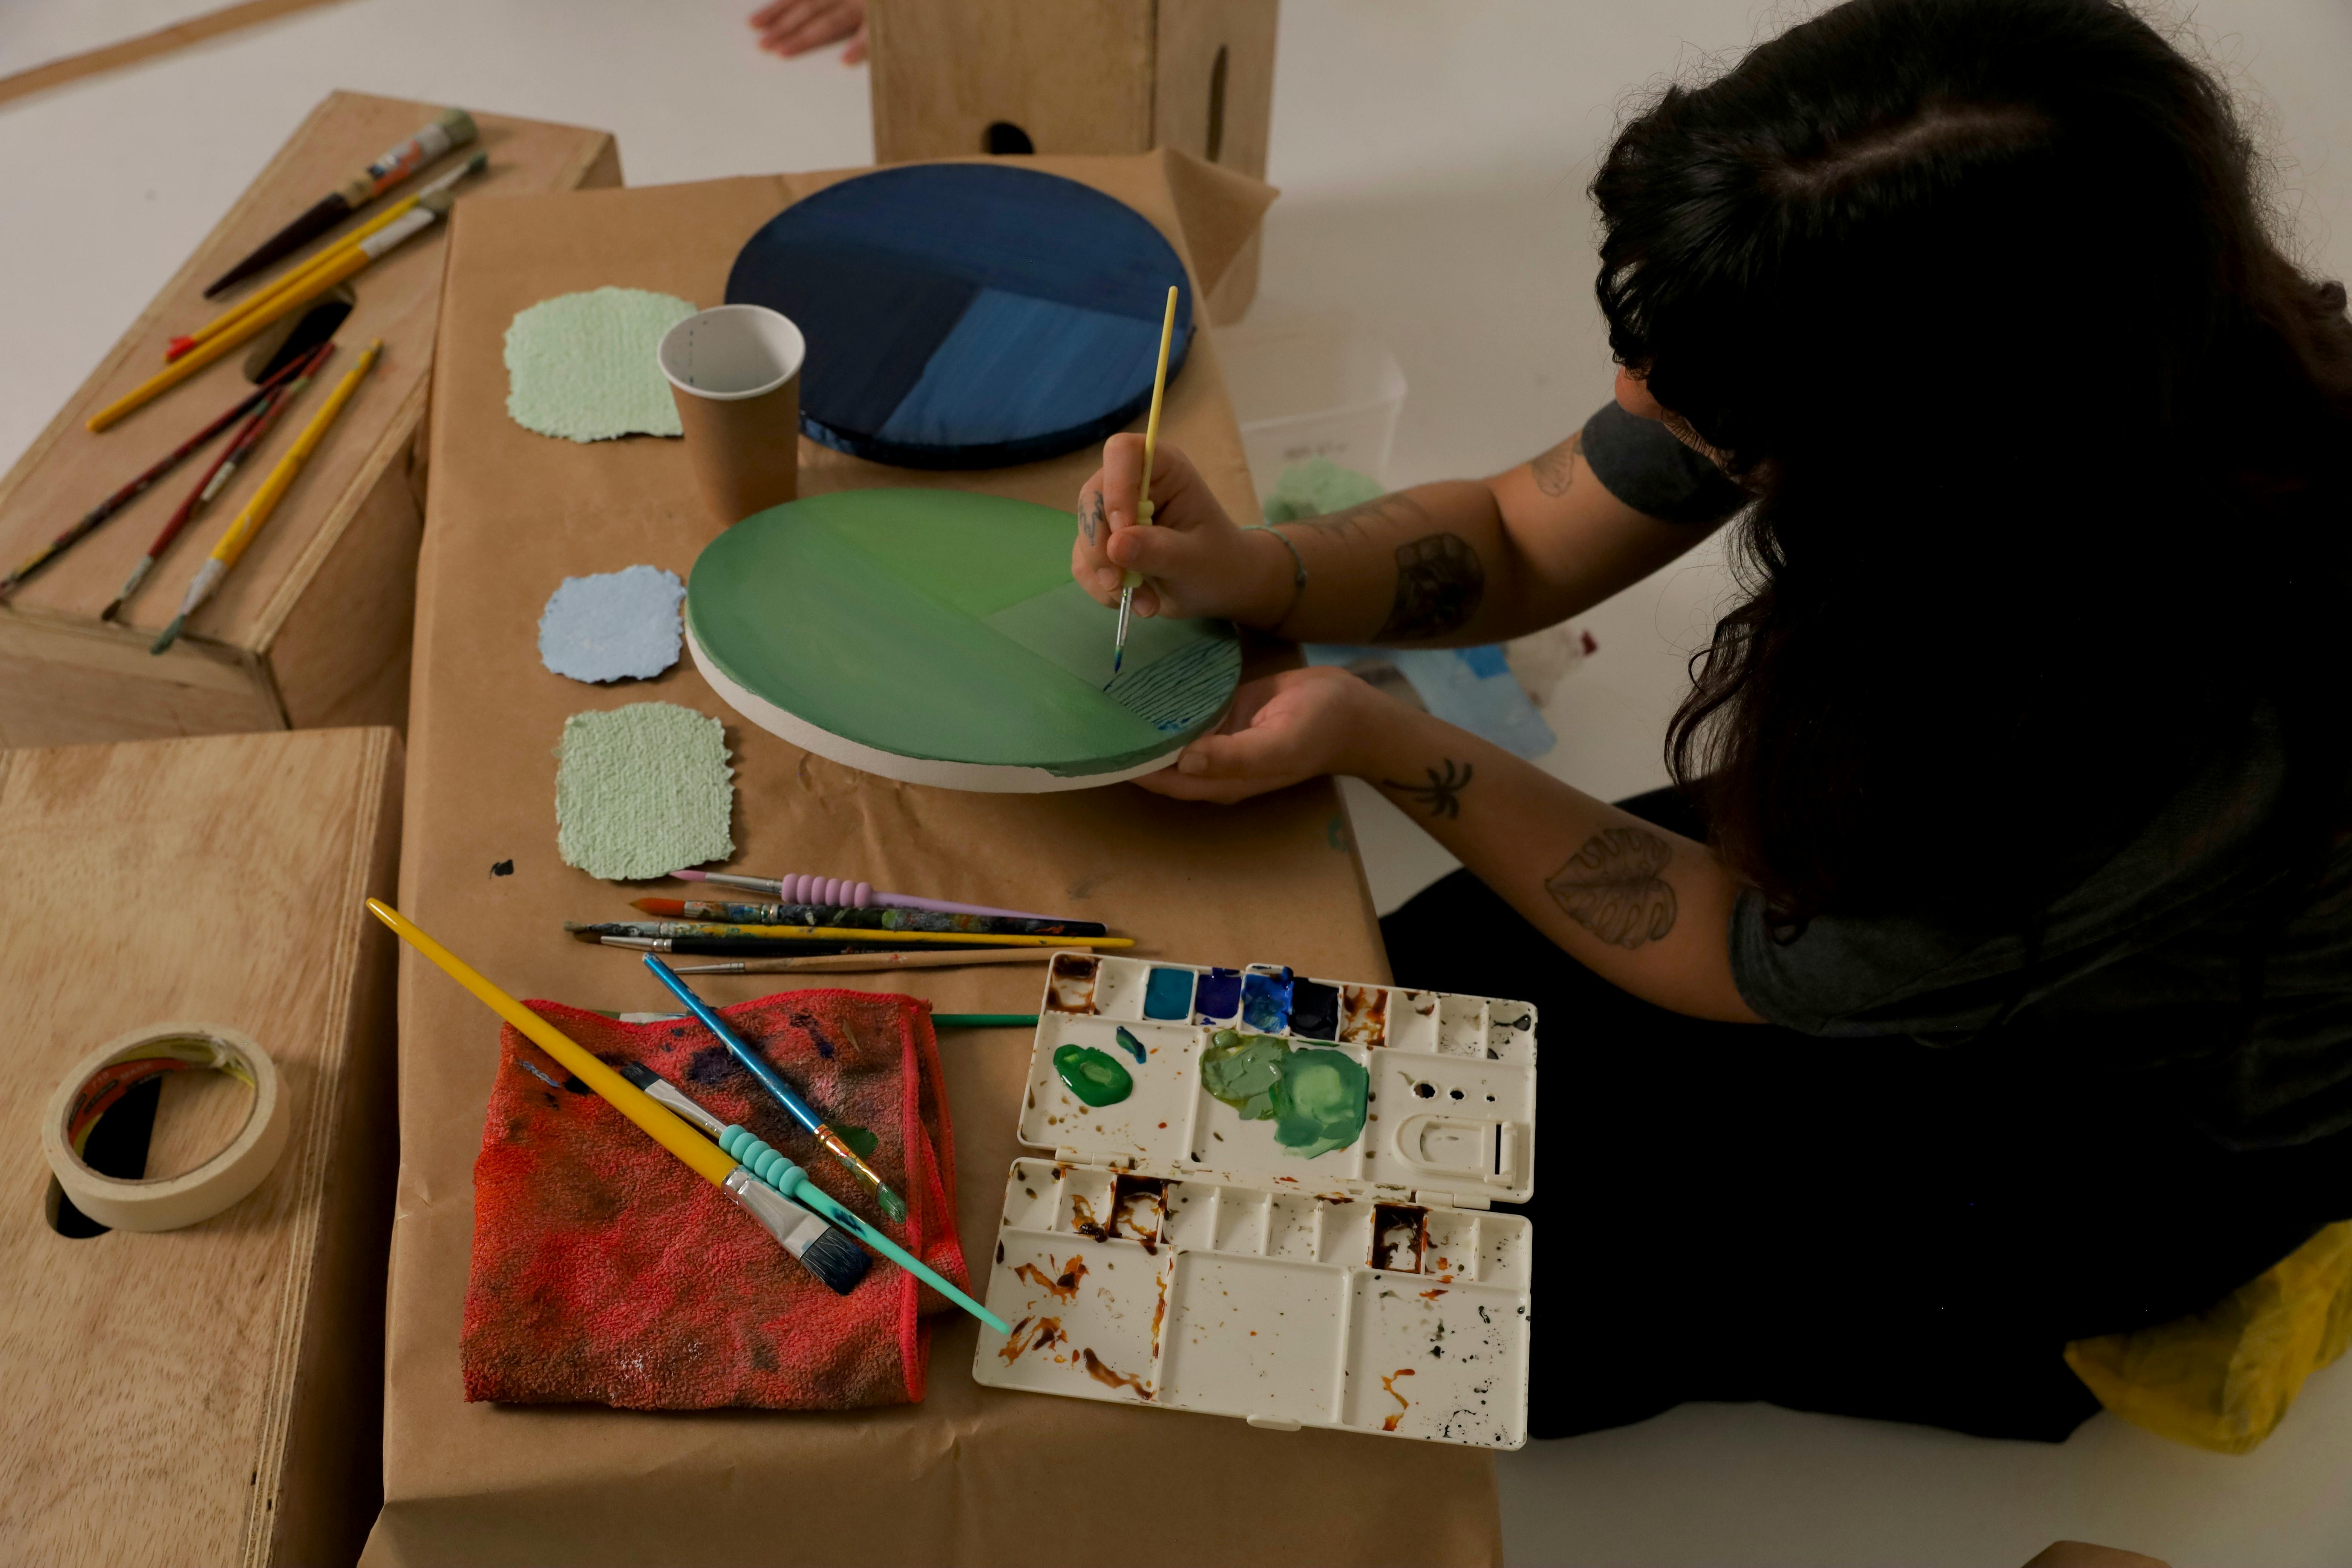
Unleashing the Artist Within: DIY Origami Bookmarks
Do you resonate with the exquisite appeal of Origami Bookmarks? Do vivid colors and the magical art of paper folding ignite your aesthetic senses? We unraveled a DIY experience that's ideal for you; creating paperback treasures of your own. Whether you're a prolific reader, a paper crafts enthusiast, or a DIY aficionado, get set for a magnetic journey into paper manipulation!
Origami Bookmarks present a creative outlet allowing you to pour your heart into crafting spectacular shapes and designs. They serve not only as a perfect memento for book lovers but also introduce an engaging hands-on activity for kids who are new to the DIY world. The crafting process requires minimal tools, affordable yet durable paper, and most importantly - your inventive spirit. Generously dotted with budget-friendly crafts, the domain of Origami Bookmarks is as rewarding as it is entertaining.
Light up Your Space: Homemade Lava Lamp Experiment
Picture this. A glimmering lamp on your desk radiates a vibrant hue, casting a mystical aura around your room. No, it's not a deco piece you picked from a store. It's your very own Homemade Lava Lamp that you've kindled using simple items from your cupboard!
Delve into a world of home decor meets science with a Homemade Lava Lamp Experiment. This DIY project is as educational as it is visually captivating, making it a perfect addition for your kids' study table or your office desk. All you need are clear containers, food coloring, vegetable oil, water, and effervescent tablets to kickstart the effervescent magic dome. The vivid colors floating, sinking, and bobbing around provide continuous kinetic entertainment, taking your decorative lamps game a notch up.
A Dash of Festivity: Gingerbread House Making
Gingerbread Houses have long been associated with the joy and merriment of festive seasons. Ever wondered how thrilling it would be to construct your own to grace your festive table? Here's your DIY calling!
Creating your own Gingerbread House designs is an irresistible journey of edible crafts presenting a sweet challenge. The art of baking, designing, and decorating these gingerbread architectures turns the journey into a cooking expedition, where you learn, create and, eventually relish the product of your hard work. While it nurtures your creativity, Gingerbread House Making also engages family members or friends, making it an interactive and bonding activity. Who knew crafting ideas could taste this delicious!
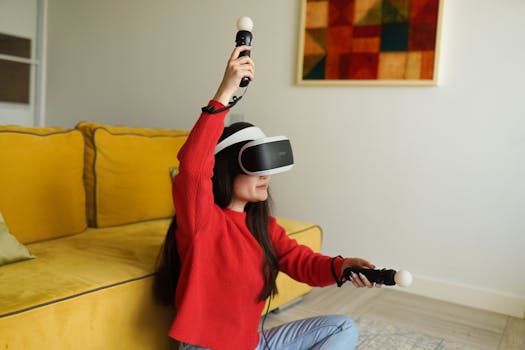
Engage Your Wits: Interstellar Escape Room Game
An Interstellar Escape Room Game ensues an adrenaline-pumping and wits-testing experience right at your home. If DIY crafting were an Olympic sport, creating these homemade games would probably clinch the golden laurel.
Designing your own Interstellar Escape Room Game casa is exceptionally exhilarating and mind-stimulating. Unlike other crafts, it demands strategic planning, logical thinking, and implementing visual clues. Whether you're creating this for a family game night or an unforgettable birthday party, the creation process provides a distinctively memorable experience. DIY escape games have the potential to trigger the detective within you, transforming your home into an alien world waiting to be explored!
As our magical journey through the captivating realm of DIY folds to a close,
ponder about the adventure that awaits your crafty touch. Whether it's a love story bookmarked by your Origami Bookmarks, a silent disco in the glow of Homemade Lava Lamps, sweet holiday memories rooted in Gingerbread Houses, or mind-boggling sagas echoing from your homemade escape room – the DIY world is a dreamland where everyday objects transform into masterpieces.
Remember, the heart of DIY is all about unveiling your creative spirit, harnessing it, and most importantly - having fun. Every stroke, fold or idea you execute is a reflection of your inner artist, and each creation is a triumph.
So, grab your tools, let's roll up our sleeves and make DIY magic together. Ladies and Gents, the world is your canvas, splash on it with the vibrant hues of your imagination!
You May Also Like These:
DIY Star Maps for Night Sky Observation on 06-01-2025
Materials Needed:
- Pencil
- Ruler
- Compass
- Plain Paper
- Printable star chart for 06-01-2025
Instructions:
- Download and Print the Star Chart: Fetch the printable star chart for your location on 06-01-2025 from a trusted astronomy website. Ensure that the date and time are correctly set.
- Draw a Circular Bound: Use your compass and draw a large circle on your plain paper.
- Mark Cardinal Directions: Draw a straight horizontal line across the middle of the circle and label the ends as East (E) and West (W). Draw another line perpendicular to it and label the ends as North (N) and South (S).
- Transfer the Star Positions: Start placing the stars from your printed chart onto your plain paper by marking the location of each star.
- Name the Stars: Label the stars with their names or constellations.
- Join the Stars: Connect related stars to form constellations.
- Verify Your Map: Cross-check your DIY Star map with the printed star chart to make sure all the stars and constellations are correctly marked.
Star Gazing Night:
- Date: 06-01-2025
- Time: The best observation times are usually after sunset or before dawn.
- Location: Choose a location with less light pollution for the best star gazing experience.
Tips:
- It’s helpful to familiarize yourself with the major constellations before the star gazing night.
- Use a telescope or binoculars for a closer look at the stars.
Solar System Themed Cupcakes
Ingredients
- 1 box of your favourite cake mix or your favourite homemade cupcake recipe
- 1 box of white fondant
- Food coloring (Violet, Blue, Green, Red, Yellow, Orange and Brown)
- 1 container of your favourite frosting
- Edible silver glitter (optional)
- 1 roll of black paper
- 1 roll of black ribbon
- 1 toothpick
Instructions
- Prep the cupcakes: Follow the instructions on your cake mix box or your homemade cupcake recipe to create the base of your cupcakes. Allow them to fully cool before frosting.
- Create your planets: Divide your white fondant into eight equal parts (for eight planets). Use food coloring to color each piece a different color-representing Mercury, Venus, Earth, Mars, Jupiter, Saturn, Uranus, and Neptune. Sculpt them into sphere shapes using your hands. Use a toothpick to create details such as Jupiter's big spot or Saturn's ring.
- Frost and decorate: Evenly cover your cooled cupcakes with frosting. Carefully attach your fondant planets onto the frosting. If you'd like, you can add a sprinkle of edible silver glitter on the top for an outer-space effect.
- Create your display: Arrange your cupcakes on a table or counter with the black paper underneath and black ribbon surrounding. The ribbon represents the vastness and mystery of outer space, while the black paper gives the overall presentation a lovely contrast.
Solar System Themed Cupcakes
Ingredients:
- 1 package of any vanilla cupcake mix
- 3 cups of frosting (multiple colors)
- Food coloring (blue, purple, yellow, orange, red)
- White and silver edible glitter
- Black cupcake liners
- Black cake board or serving tray
Instructions:
Step 1: Prep the cupcake mix
- Follow the instructions given on the cupcake mix package.
- Once the mixture is ready, add it to the black cupcake liners and bake as per the instructions.
Step 2: Prepare the colored frosting
- Divide your frosting into different bowls. One for each color you plan to use.
- Add a few drops of food coloring to each bowl and mix until you achieve the desired color.
Step 3: Decorate the cupcakes
- Once the cupcakes have cooled, start decorating them with your colored frosting.
- Imitate the appearance of each planet and the sun. For example, use blue and green frosting for Earth, red for Mars, and yellow for the Sun.
- Sprinkle some white and silver edible glitter over the frosting to represent stars.
Step 4: Arrange the cupcakes
- Arrange the cupcakes according to the solar system order on the black cake board or serving tray.
- Starting with the Sun, followed by Mercury, Venus, Earth, Mars, Jupiter, Saturn, Uranus, and Neptune.
Enjoy your Solar System Themed Cupcakes!
<h1>DIY Recyclable Materials Board Game</h1> <p>Instruct your kids about recycling and sustainability while having lots of fun with this DIY recyclable materials board game. All materials used for this project can be found at home.</p> <h2>Materials Needed</h2> <ul> <li>Cardboard (like an empty pizza box)</li> <li>Markers</li> <li>Ruler</li> <li>Scissors</li> <li>Recyclable items (like bottle caps, paper scraps, etc) - for player pieces</li> <li>Dice</li> </ul> <h2>Instructions</h2> <p>Here are simple steps to create your DIY Recyclable Materials Board Game.</p> <ol> <li><b>Prepare the Board:</b> Using the scissors, cut the cardboard into your desired board shape. A square or rectangle is recommended.</li> <li><b>Draw the Game Paths:</b> Use the ruler and markers to draw your game path on the board. This could be a simple path from start to finish, or a complex maze depending on your preference and creativity.</li> <li><b>Mark the Start and Finish:</b> Clearly indicate where players must start and where they aim to finish on the board.</li> <li><b>Create Game Spaces:</b> Along the game path, draw spaces. Each of these spaces could be an actionable space (e.g., 'Skip a turn', 'Move ahead two spaces', 'Return to start') or just a step closer to the finish line.</li> <li><b>Create Player Pieces:</b> Each player will need a piece to move along the board. This could be any small recyclable item and should be unique for each player.</li> <li><b>Play the Game:</b> Each player takes a turn rolling the dice and moves their player piece forward the number of spaces indicated on the dice. The first player to reach the finish line wins!</li> </ol> <p>Enjoy creating and playing this eco-friendly board game that assists in teaching kids about recycling and reducing waste.</p>
Craft Biodegradable Seed Paper
This guide provides step-by-step instructions on how to craft biodegradable seed paper. This is a great activity for adults and children alike, offering a wonderful opportunity to learn about sustainability while creating a fun craft project.
Materials
- Old paper
- Seeds (non-invasive species)
- Water
- Blender
- Baking sheet or a flat, portable surface
- Screen mesh
- Sponge
- Towel
Instructions
- Prepare Your Paper: Tear up your paper into small pieces and drop them into the blender. The paper can be of any sort, obviously recycled would be best!
- Add Water: Pour water into the blender until it just covers the paper. Blend until it it forms a pulp.
- Add Seeds: Mix in your choice of seeds, but avoid blending so you don't harm them.
- Prepare Your Screen: Lay your screen mesh on top of your baking tray or flat portable surface.
- Pour Out: Pour the seed-loaded pulp onto the screen. Use your hands to spread the pulp evenly across the screen.
- Sponge: Use the sponge to press out any excess water.
- Dry: Once you've removed as much water as you can, leave the seed paper to dry.
- Use: Once fully dried, use it to make cards, bookmarks or whatever you like. When you're ready, plant it in soil, water it and watch it transform into plants.


