


As an affiliate, I earn from qualifying purchases, but this doesn't affect the reviews or recommendations—your trust is important to me!
Exploring France: Creating Your Own DIY Eiffel Tower Pop-Up Card at Home
Today, We're Making:
- - DIY Eiffel Tower Pop-Up Card
- - DIY Versailles-Inspired Flower Crowns: Using faux flowers and wire,kids can create their own royal crowns,inspired by the gardens of the Chateau de Versailles. They can learn about the famous palace and its history while doing a fun,hands-on activity
- - French Flag Pinwheel Craft: Kids can make pinwheels in the colors of the French flag (blue
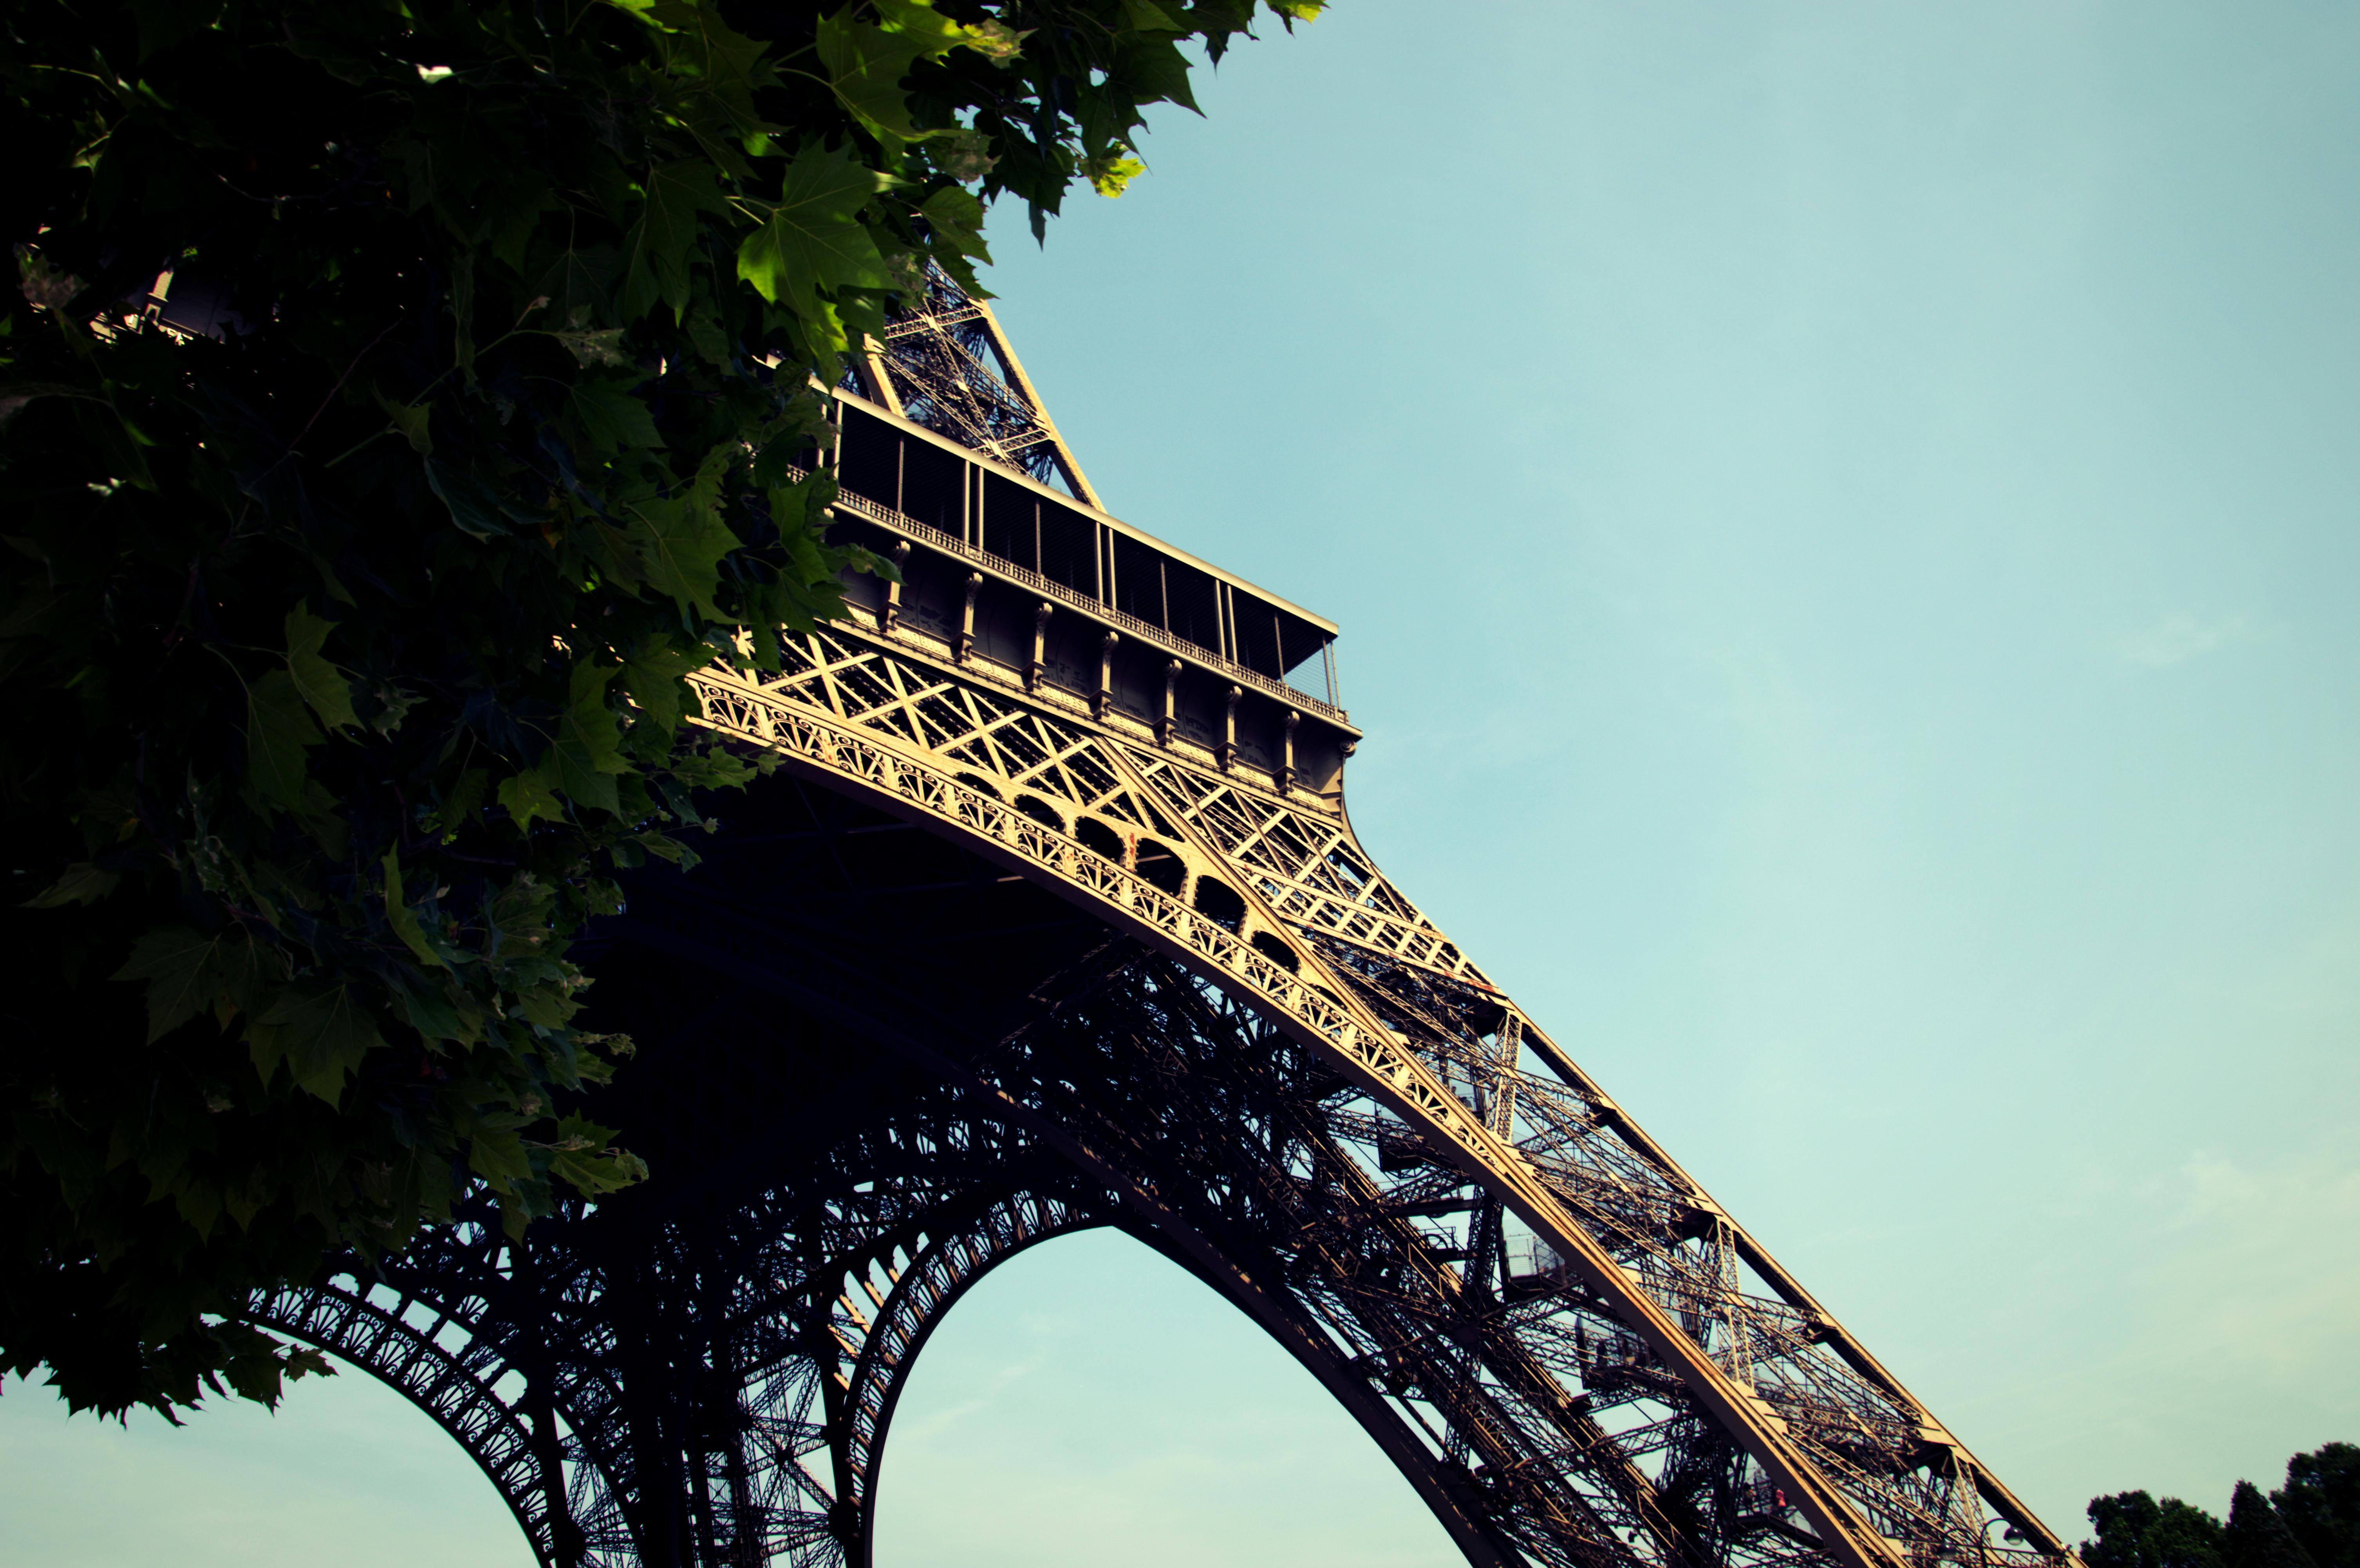
There's something undeniably magical about the Eiffel Tower
One of the most recognizable structures in the world. Its allure beckons many to dream of visiting the captivating streets of Paris someday. But what if we could bring a piece of this Parisian charm into our homes?
Welcome to this DIY Eiffel Tower Pop-Up Card tutorial
Here, we turn that dream into a tangible, creative reality. In this home DIY project, we are stepping into the exciting world of homemade pop-up cards and Paris-themed crafts. You don't need to be a seasoned crafter to enjoy this venture.
So, whether you're crafting cards at home for the first time
Or looking for new DIY paper crafts to try, we'll guide you through the process of making your Eiffel Tower card DIY. Let's embark on this crafty adventure together!
Gathering Your Materials for the DIY Eiffel Tower Pop-Up Card
Before we get started on your homemade pop-up cards project, you will need to gather your materials. I bet the anticipation is giving you butterflies already, right? Don't fret – this is not a long list of intricate items. In fact, you might already have most of them laying around! Here's what you'll need:
- A4 size cardstock paper (preferably in a color that embodies the chic streets of Paris)
- A ruler
- A pencil
- An exacto knife or a pair of sharp scissors
- Glue
Remember, this home DIY project is all about enjoying the process, so take your time when gathering your materials. Every artisan needs their toolkit, and the same goes for this Eiffel Tower card DIY.
Drawing Your Eiffel Tower Design
Once you've gathered your materials and have your crafting station ready, the next part is a whole bunch of fun: we're going to draw the Eiffel Tower design cards. I guarantee this will awaken the hidden artist inside you.
To make things simple and enjoyable, take your pencil, place it on your cardstock paper, and let your thoughts about the city of love guide your hands. Let these strokes be the foundation for your Eiffel Tower crafts. Don't worry about making a mistake - pencil marks can be erased and cardstock paper is not in short supply, so you can always start over. Remember, perfection isn't the end goal; it's about the fun and satisfaction of creating Paris-themed crafts.
Cutting Out Your DIY Paper Crafts
The moment has arrived to bring your Eiffel Tower design cards to life. Using your exacto knife or your pair of scissors, carefully start cutting around the outer edges of the Eiffel Tower you've drawn. For intricate corners and sections, proceed with care and patience. This will ensure that your DIY paper crafts have a clean and detailed look. Be sure to follow safety measures while handling sharp objects, especially if kids are participating in this kid-friendly craft.
Assembling the Eiffel Tower Pop-up Card
Next, we move on to the pop-up card creation part, the beating heart of our project. Start by folding your base card in half and apply glue carefully around the edges of your Eiffel Tower cut-out. Then, position it onto the base card at the fold. This is the crucial moment that transforms your Eiffel Tower crafts from two dimensional flat design into a delightful, three-dimensional pop-up card!
Also, it's such a rewarding feeling to see this Eiffel Tower card DIY begin to take a stand on your card. As a budding DIY card-making enthusiast, this is the moment you've been waiting for!
Personalising Your DIY Eiffel Tower Pop-Up Card
Now that your pop-up Eiffel Tower is secure and standing tall, you have the freedom to add more creative embellishments to your card. Add some glitters, hand-drawn elements, stickers or any other embellishments that give more personality to your card. This is the final touch that stamps your signature style onto your crafty card project. This is also a great way to engage more with the people you might be giving these handmade pop-up cards to, as each card can be uniquely theirs. You get to decide how to embellish each card based on the recipient's personality and taste.
Remember, DIY Eiffel Tower Pop-Up Card is not just a card, but a mini canvas where you can express your artistic flair and appreciation for one of the world's most iconic landmarks in the privacy and comfort of your own home.
And there you have it - your very own Eiffel Tower popping up at home
Anchoring your creative energy into an artsy representation of your dream destination. This innovative DIY project merges the world of travel and crafts into one delightful, tangible reality that you can hold in your hands.
As you've experienced, it's not just about the end product, it's about the journey. Each cut, fold, and glue application has been a step closer to Paris, cementing your connection to an iconic symbol of beauty and grandeur.
So each time you craft an Eiffel Tower Pop-Up Card, remember, it's not just a piece of cardstock; it's your personal expressway to the City of Lights, lovingly crafted by your own hands.
In your creativity, you've truly made Paris a little closer to home. Keep crafting and keep dreaming, my fellow DIY enthusiasts!

You May Also Like These:
DIY Versailles-Inspired Flower Crowns
This quick and easy DIY craft project is perfect for anyone who loves the elegance and beauty of the French monarchy. These lovely Versailles-Inspired Flower Crowns are great for pretend play, dress up parties, or just to wear around the house. Let's get started!
Ingredients
- Faux Flowers: Choose a variety of shapes and colors you prefer. The mix and match will give an authentic touch to your crown.
- Floral Wire: This will serve as a base for your flower crown. Make sure it's flexible yet strong enough to hold the flowers.
- Floral Tape: This will help secure the flowers to the wire. It's best to choose a color that blends with your flowers.
- Wire Cutters: To cut the wire and adjust the length as per your need.
Instructions
- Measure your Head: Wrap the floral wire around your head to get a perfect fit. Cut it a little bit longer to make room for the final adjustments.
- Shape the Wire: Shape the cut wire into a circle, then twist the ends together to secure. This will now serve as a base.
- Prepare the Flowers: Remove the flowers from the stems. Make sure to remove any excess part attached to it. The back side of the flower should be flat to fit correctly on the wire.
- Add Flowers to the Wire: Start attaching the flowers one by one using the floral tape. Wrap the tape around the base of the flower and the wire till it is well secured.
- Continue Adding Flowers: Continue adding flowers in the same way. You can either follow a pattern or place them randomly as per your choice.
- Final Adjustments: Once you are happy with how your crown looks, make sure everything is secured well. You may need to add some extra floral tape in places where the wire is visible. There you have it - a homemade Versailles-inspired flower crown!
Crafts Inspired by the Gardens of the Chateau de Versailles
Not only can your children explore their creativity with this fun craft project, but they can also learn about the famous Chateau de Versailles and its intricate garden design. Follow these simple steps to complete your very own miniature Versailles garden.
Ingredients:
- Rectangular piece of cardboard
- Green craft paper
- Scissors
- Glue
- Coloured markers
- Miniature plastic trees and flowers
Instructions:
- Gather all your ingredients.
- Position your rectangular piece of cardboard. This will act as the base of your miniature Chateau de Versailles garden.
- Cut your green craft paper. We recommend cutting into small rectangular strips to represent the different sections of the garden.
- Glue the strips of green craft paper to your cardboard base. You can refer to pictures of the Versailles garden for layout inspiration.
- Draw on your green craft paper strips. Add detail using your coloured markers. You can draw paths, fountains, and other garden details to mimic the Versailles garden.
- Add your miniature plastic trees and flowers. Glue these on top of the green craft paper to add depth and texture.
Voila! Just like that, you have your very own miniature Chateau de Versailles garden. This craft activity is a beautiful way to spend quality time with your children and teach them about French history.
Crafts Inspired by the Gardens of the Chateau de Versailles
Let's create beautiful crafts inspired by the stunning gardens of the Chateau de Versailles!
Ingredients:
- 1 Sketchpad
- 1 set of Colored Pencils or Watercolor Paints
- 1 pair of Scissors
- 1 Glue Stick
- 1 set of Colored Construction Paper
Steps:
- Look up and print photos of the Gardens of the Chateau de Versailles for inspiration.
- Sketch your own version of the gardens on your sketchpad.
- Once you are happy with your sketch, color it in with your colored pencils or watercolor paints.
- Let your artwork dry completely before moving on to the next step.
- Cut out shapes from your colored construction paper to mimic the flowers, trees, and structures in your garden sketch. This will add some three-dimensional elements to your artwork.
- Glue your paper cutouts on top of your sketches to finish your 3D garden artwork.
- Done! You have now created unique craft inspired by the Gardens of the Chateau de Versailles.
Dinosaur Clay Model: Craft Project for Children
Materials Needed:
- Air-dry clay - 2 packs
- Acrylic paints - Green, white, black and any other colors of your choice
- Paintbrushes - One large for base coloring and one small for detailing
- Wax paper or plastic tablecloth - For covering your work area
- Toothpicks - To give your dinosaur texture
Instructions:
- Prepare your workspace: Cover your table with either wax paper or a plastic tablecloth. This helps in easy clean-up after the craft activity.
- Shape the Clay: Take out the clay and begin shaping it into a dinosaur. Remember, it doesn't need to be perfect! This activity is supposed to be fun, not stressful.
- Add Texture: Once you have your basic dinosaur shape, use your toothpicks to add some texture and details like scales and eyes.
- Let it Dry: When you're happy with your dinosaur, leave it to dry. Make sure to check the clay's packaging for recommended drying times because each brand is different.
- Paint the Model: Once your dinosaur is dry, you can start painting! However, you may decide to leave a natural clay finish for a more authentic look.
- Let the Paint Dry: Once you've finished painting, put your dinosaur somewhere safe to dry. Again, dry times will depend on the type of paint you used so check the paint's packaging.
This craft is a great hands-on activity that can be enjoyed by children of all ages. Plus, it provides an opportunity to learn more about dinosaurs!
French Flag Pinwheel Craft
In this DIY project, kids will have fun making pinwheels in the vivacious colors of the French flag – Blue, White, and Red. Here are simple, step by step instructions to create this delightful pinwheel at home!
Materials You Will Need:
- 1 Sheet of Blue Paper
- 1 Sheet of White Paper
- 1 Sheet of Red Paper
- 1 Wooden Dowl or Straw
- Pencil with eraser
- Scissors
- Glue stick
- A Pushpin or a small pin
Instructions:
- Cut: Start by cutting three 10cm x 10cm squares, one from each colored paper.
- Glue: Glue the squares together side by side in this order: blue, white, red.
- Draw and Cut Lines: Draw two diagonal lines crosswise from corner to corner. Then cut along these lines but stop around 1cm before the center.
- Create Pinwheel Shape: Gently fold every other point towards the center of the square. Do not crease these folds.
- Secure: Using a pushpin or small pin, carefully puncture the center where all points meet, securing the folds. Wiggle the pin a bit to expand the hole. Be careful with this step, adult supervision is recommended.
- Attach: Insert the dowel or straw into the back of the pinwheel and secure it with the pushpin or small pin. Ensure the pinwheel can rotate freely.
- Play and Enjoy: Enjoy spinning your self-made French flag pinwheel!


